Perspective Drawing
Easy and clear drawing guide for beginners
.
By Marco T. Brand
Copyright2016 by Marco T. Brand
All Rights Reserved
Copyright 2016 by Marco T. Brand
All rights reserved. No part of this publication may be reproduced, distributed, or transmitted in any form or by any means, including photocopying, recording, or other electronic or mechanical methods, without the prior written permission of the author, except in the case of brief quotations embodied in critical reviews and certain other noncommercial uses permitted by copyright law.
Table of Contents
Disclaimer
While all attempts have been made to verify the information provided in this book, the author does assume any responsibility for errors, omissions, or contrary interpretations of the subject matter contained within. The information provided in this book is for educational and entertainment purposes only. The reader is responsible for his or her own actions and the author does not accept any responsibilities for any liabilities or damages, real or perceived, resulting from the use of this information.
The trademarks that are used are without any consent, and the publication of the trademark is without permission or backing by the trademark owner. All trademarks and brands within this book are for clarifying purposes only and are the owned by the owners themselves, not affiliated with this document. **
Introduction
Welcome to the Guide to Perspective Drawing. Have you ever been looking around and saw a setting that you absolutely wanted to be able to draw? Maybe it was just the layout of your own living room, or beautiful architecture you happen across while out in the world. Either way, this book will show you how you can capture that beauty and translate it to paper. Using walkthroughs of 10 different settings to show you how to construct an elegantly crafted perspective drawing from any setting.
Its a great way to immortalize a sight that you never want to forget, or to tribute a display that has significant meaning. It can be tasking and take some time but the creative and artistic value is priceless and consequently always worth it. Each section will have a step by step walkthrough on how to get from a blank page, to the setting you have before you. We will cover the line work, the shading, and even how to properly visualize the sights around you as an image on paper. For this book you will need blank sheets of paper, a pencil and a sharpener, as well as a ruler.
You can utilize other tools as well if you wish, but only the basics are required for this specific venture. This book can be invaluable to someone who studies architecture, or even to someone who just appreciates it. No matter where you come from or where you're going, this information and instruction can be life altering in a creative way, and allow you to express yourself in a format you maybe never thought you'd be able to.
The steps will all be easy to follow along while still being detailed and immersive. Another truly great and inspiring aspect to this book is the practice it provides for any form of artwork. The concentration level, focus, determination and ability to follow through on a project are all things required, and if you were seeking to improve in any of those categories then this book is for you. Again, you dont need to be an architect for this, just someone who is visually expressive and wants to really flex those artistic muscles of yours on a project that is as rewarding as it is skill testing and strengthening. Without much further ado, it is time to get started on the first drawing in this adventure in perspective. Grab your pencils, sharpen them up, and proceed with courage!
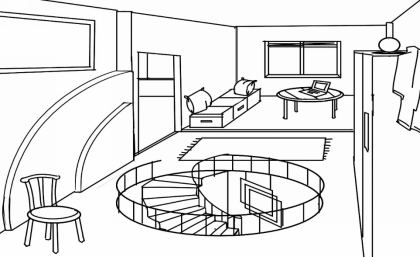
First Perspective Drawing: Common Area
For the first drawing in this series were going to start with a a perspective drawing of a common area. A simple room with a couch, a window and curtains with pictures on the walls and a tv against one of the walls as well. May sound complicated to start but I assure you it starts much
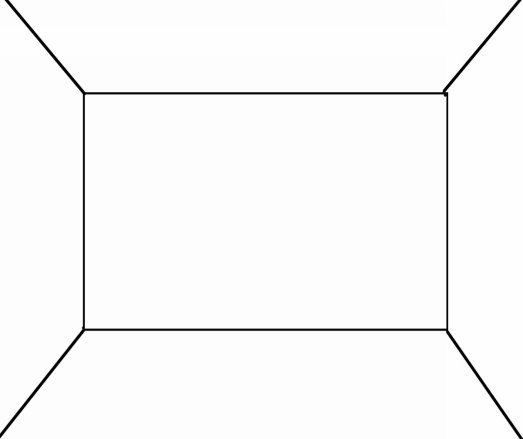
easier than that. For this first drawing we want to focus on learning the line work properly and knowing how to handle the actual concept of the drawing.
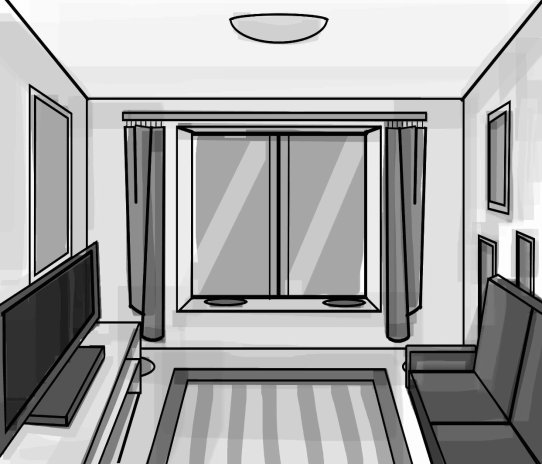
The photo on the left is the complete drawing, and the one on the right is the very first step! So as you can see there is a grandiose difference in what you start out with and what you are hoping to achieve. Dont let that discourage you but let it guide you. So lets get into it then. Follow that first photo on the upper right and get your lines drawn straight edge and perfect
. 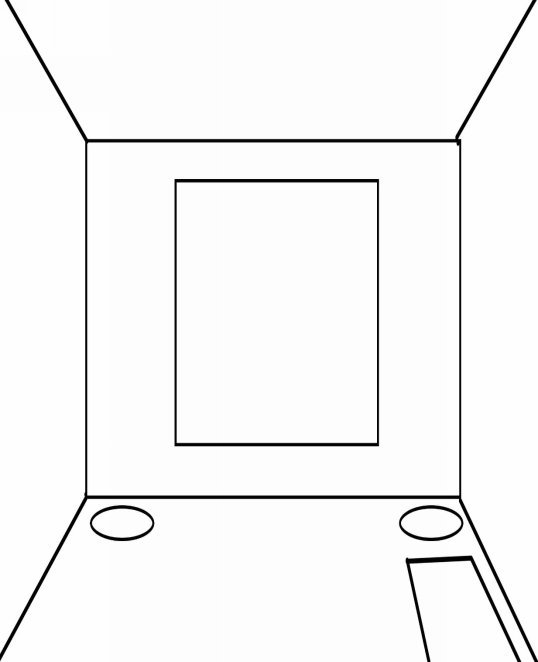
The next two steps are as seen above. So in the one on the left you start adding in the beginnings of the couch on the bottom left, and the window in the middle. As you can see it all starts out very basic looking. Nothing to be too intimidated by. In the photo on the right you can see that it adds the light on the ceiling and the crossbar for the curtains.
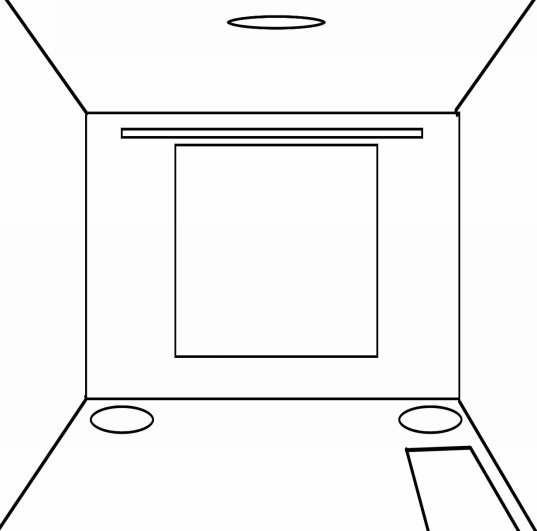
Now in these next two it starts to add more objects and also build on top of older ones with bolder lines. In the photo on the left it adds the pictures on the wall as well as the carpet. Then as you can see there are some thicker outlines on pre-existing objects. The photo on the right adds upon more of the same with the window frame.
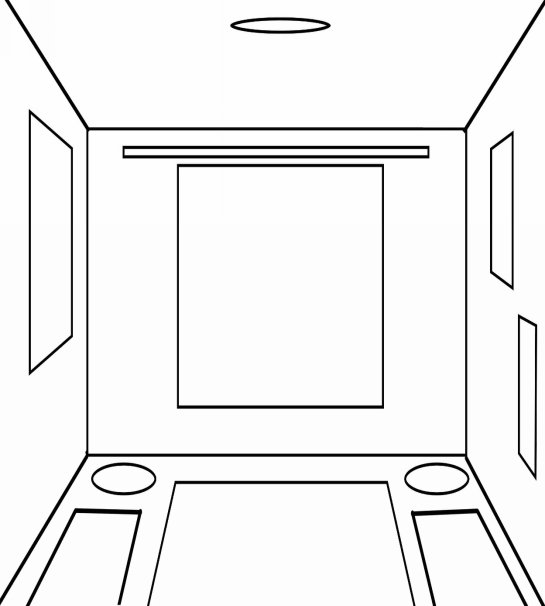
For the next two steps try not to get discouraged but they start ramping up the escalation of additions. In the first one you have more outlining for the photo frames and the window. In the next one we see the first addition of the curtains as well as a lot of detail in the initial production of them.
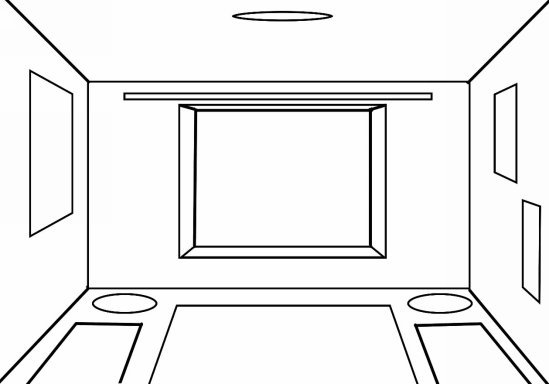
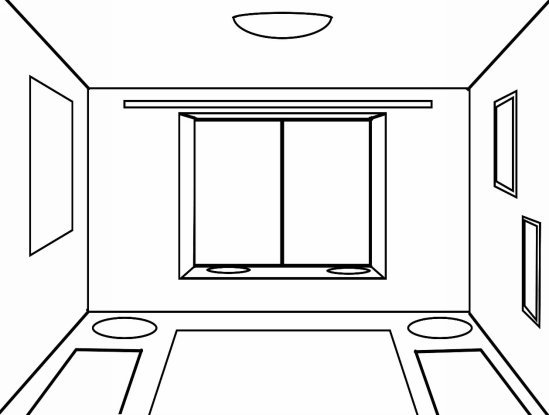
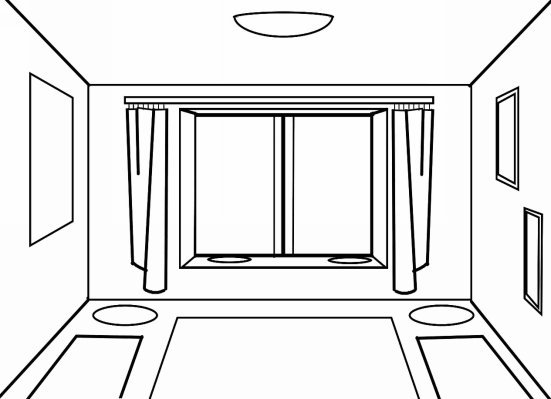
Now the next two are again a little more elaborate, but also more of the same type of idea. You're building on top of pre-existing objects. So keep that in mind as you start to add elements of the couch and the tv stand in the first step, and build even further upon them in the second. Also keep an eye on the picture frames and the carpet.
Next page


