Contents
Guide
Dedication
To my Grammy and Grampy, my mom, and my little princess.
To my ancestors who put the love of carving in my blood. And to my fellow carvers who inspire and encourage me every day.

Sara Barraclough lives in southern Utah with her daughter. She started carving about two years ago to carry on the legacies of her great grandpa and great great grandpa, two Scandinavian master carvers. Find her on Etsy and Instagram @theclevercarver.
2019 by Sara Barraclough and Fox Chapel Publishing Company, Inc., 903 Square Street, Mount Joy, PA 17552.
Weekend Whittling Projects is an original work, first published in 2019 by Fox Chapel Publishing Company, Inc. The patterns contained herein are copyrighted by the author. Readers may make copies of these patterns for personal use. The patterns themselves, however, are not to be duplicated for resale or distribution under any circumstances. Any such copying is a violation of copyright law.
Print ISBN 978-1-4971-0103-6
eISBN 978-1-6076-5929-7
The Cataloging-in-Publication Data is on file with the Library of Congress.
To learn more about the other great books from Fox Chapel Publishing, or to find a retailer near you, call toll-free 800-457-9112 or visit us at FoxChapelPublishing.com.
We are always looking for talented authors. To submit an idea, please send a brief inquiry to
.
For a printable PDF of the patterns used in this book, please contact Fox Chapel Publishing at customerservice@foxchapelpublishing.com, with 9781497101036 and Weekend Whittling Projects in the subject line.
Contents
Introduction
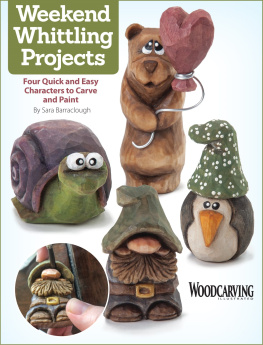
I am so excited to introduce these four little carving projects! They are designed to be made with just a carving knife and some imaginationno cutouts or power tools, just good ol fashioned whittling. Theres plenty of room to add your own flair and personality once you get the general shapes down.
People who know me know that I carve in my carA LOT. All of these creatures were created in my car, so all I had were a detail knife and a rough out knife. I like my carvings to be easily transportable, so you can carve one anywherefrom a campsite to a baseball game. Although these are small carves, there is plenty of material to take off, so MAKE THOSE CHIPS FLY!
One of my main goals when carving is to make the end design look nothing like the original blockso dont be afraid to make deep cuts and take off more material than you might be used to. The projects are meant to be on the cartoony side, with exaggerated details and features. With a few strategically placed cuts, youll have a myriad of options for little changes and personalization. The #1 goal is to have fun (and maybe impress your friends with a cute little creature)!
Before You Begin
I get a lot of questions about painting and antiquing. As a general rule, I water down my paints substantially. It is much easier to add an extra coat of paint than it is to take paint off. Plus, I like to see some of the wood grain when its all said and done. I usually follow approximately a 10:1 ratio (10 drops of water to every one healthy drop of acrylic paint).
I also get many questions on shading/antiquing. I liken it to the peaks and valleys of a mountain range. Mountain peaks are always in the sunlight, so they will look lighter; valleys are shady and dark. The same concept applies to carvings. In the places with deep cuts (under hat brims, arm creases, between pants and shoes, etc.), you want to apply a darker shade of antiquing wax, leaving the high spots alone. Working with the peaks and valleys will add lots of personality and depth to your finished carving.
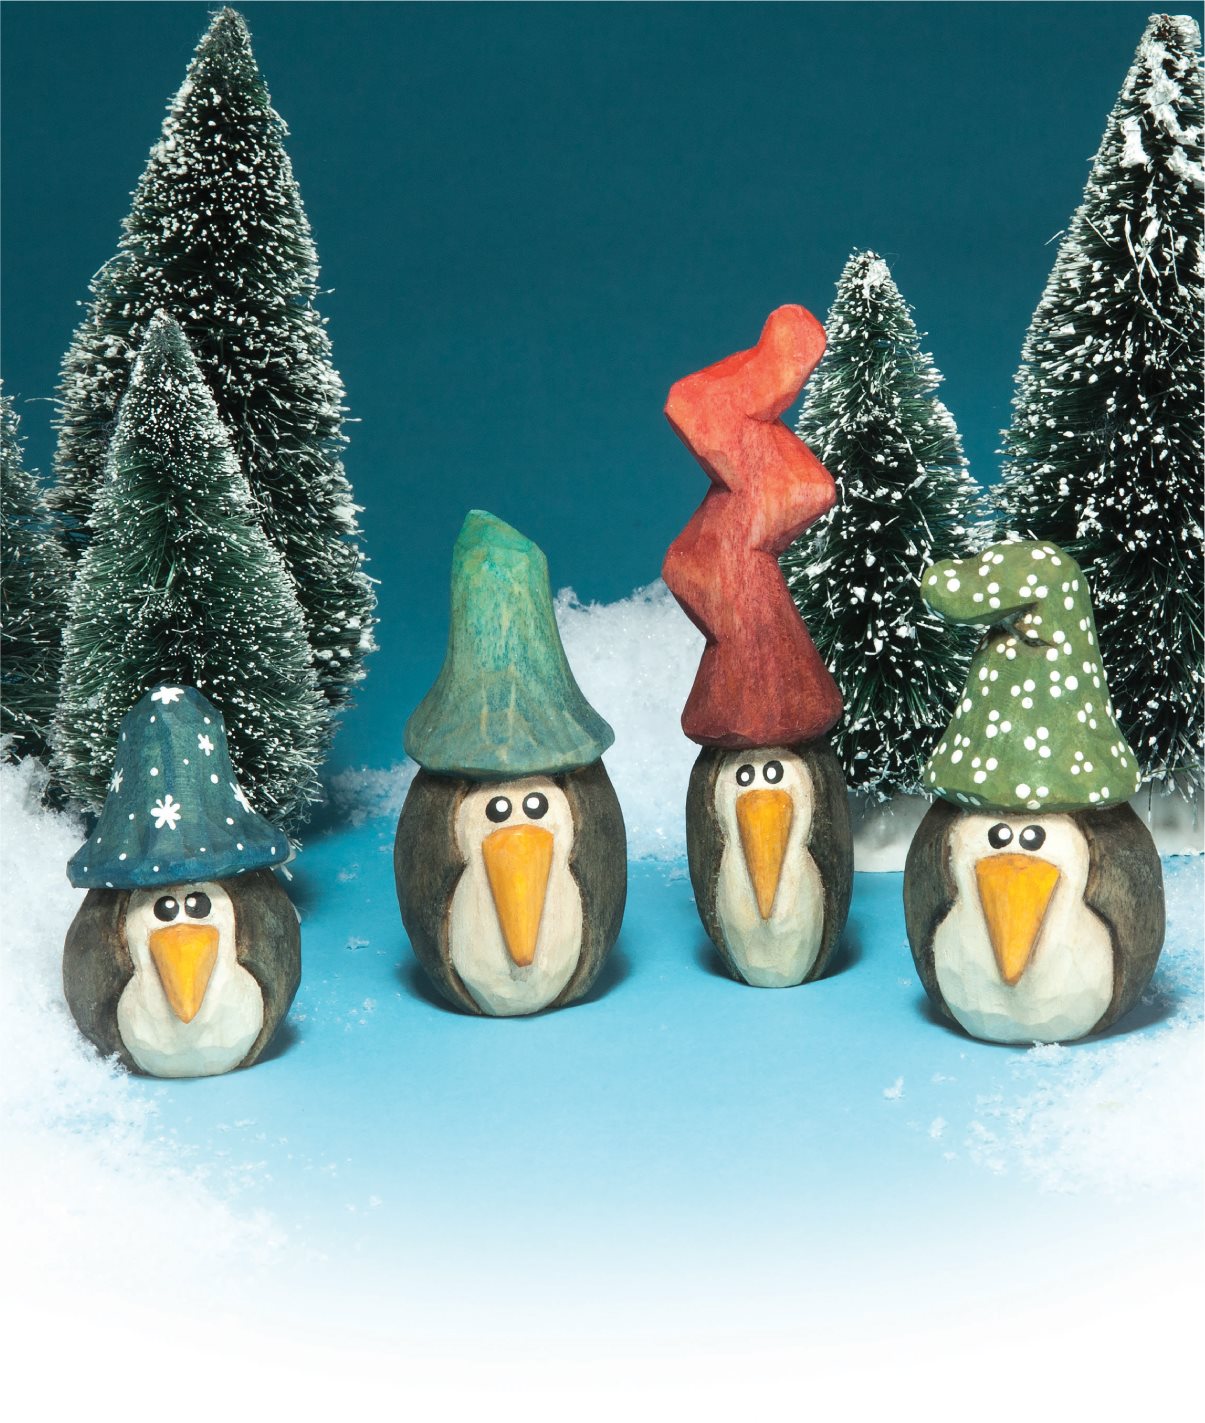
Plucky Penguins
Carve a colony of flightless birdswith just one knife!
I came up with these silly little penguins as I was sitting in my car waiting for my daughter. We were in a penguin everything phase, and I wanted to make a quick gift that would bring a smile to her face. I thought a penguin with a whimsical hat would do the trickand it did. I chose to carve these on the corner because it allows the beak to stand out a little more than usual, giving them depth and personality.
The fun thing about these little guys is that theyre easily scaled up or down and have endless possibilities for hat shapes and painting patterns. You can turn them into everything from shelf sitters to ornaments and carve them from start to finish with one knife. They are delightfully quick and easyand, needless to say, super cute! Note: I always wear a carving glove. The photos were taken without one to clearly show hand and knife positions.
PREPPING AND CARVING
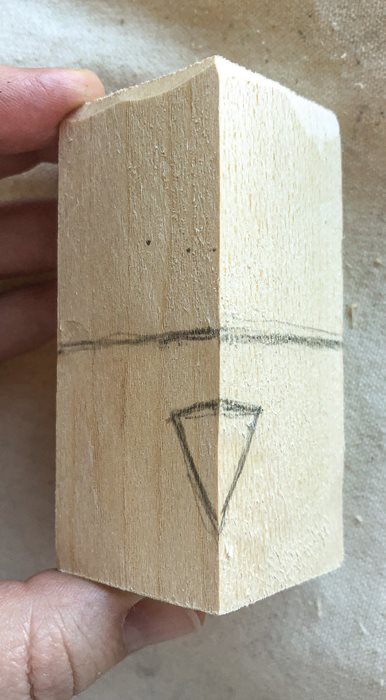
Draw the basic landmarks. Make a horizontal line where the brim of the hat will sit, about halfway or 1.5" (3.8cm) from the top. Then draw the beak on one of the corners of the blank.
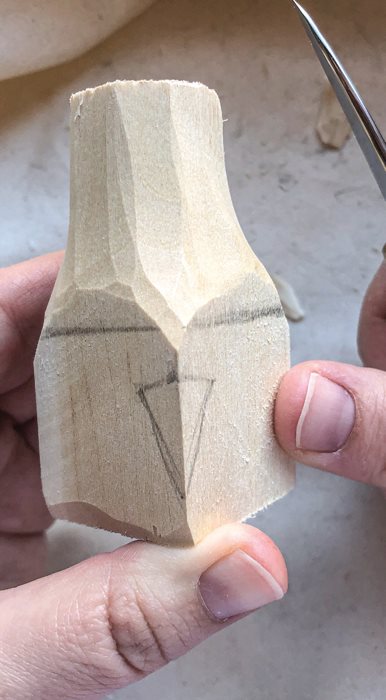
Start to remove material from the hat. Use a knife. Round all the sharp corners and taper the hat slightly toward the top, giving the blank a pear shape. Round it evenly on all sides.
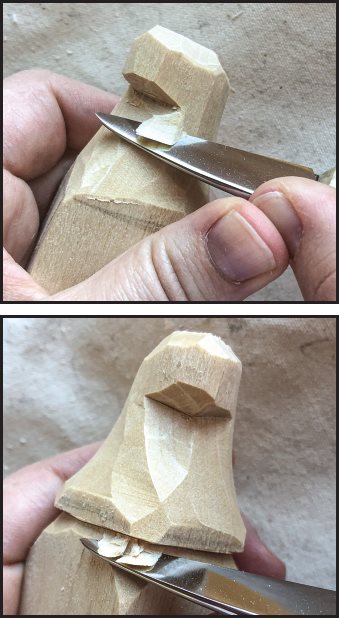
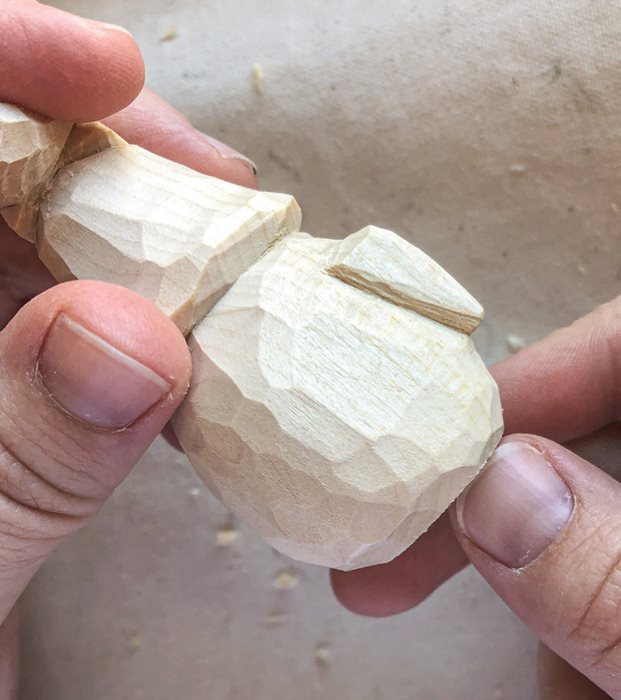
Shape the hat. Create a bend about " (6mm) down from the top of the blank. To do this, make a stop cut straight into the side and carve up to it in several short strokes. (Too much force will knock off the tip of the hat.) Make a stop cut around the entire base of the hat, carving up to it to separate the hat from the head.
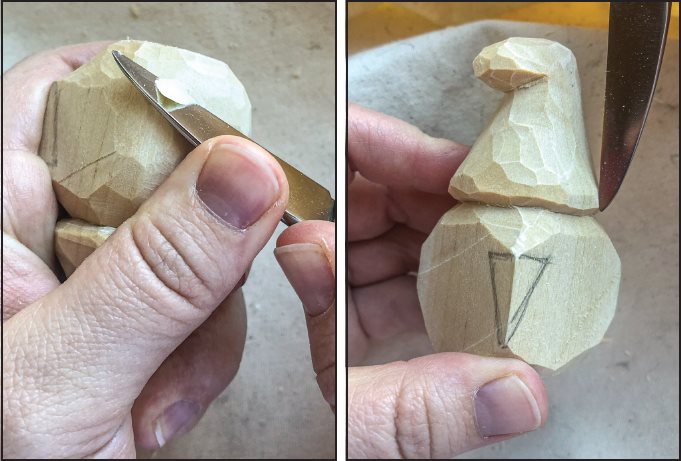
Round the sides and back of the penguin. As you start to remove more material, you can also remove some material from the hat to keep it in proportion. Bring the body into the hat brim and round off the bottom of the piece to give him a plump, little body. Try to remove as many flat sides as you can while keeping the carving in proportion. DO NOT carve the nose and face yet.
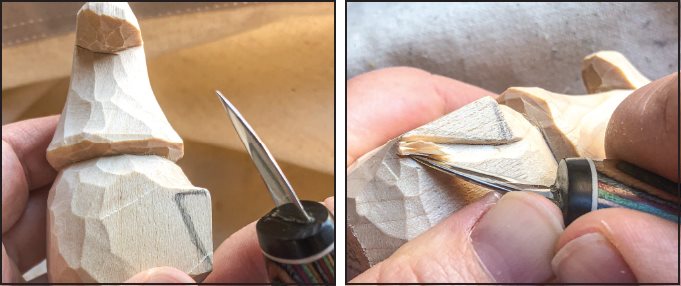
Shape the beak. Remove wood from the top and bottom to establish the height of the face. Then make V-cuts following the line of the beak on each side, outlining the triangle.
Round the beak slightly. Soften the hard edge along the perimeter, but dont remove too much materialyou want it to stand out from the body.

