Contents
Guide

2020 by Sara Barraclough and Fox Chapel Publishing Company, Inc., 903 Square Street, Mount Joy, PA 17552.
Learn to Carve Gnomes, Trolls, and Mythical Creatures is an original work, first published in 2020 by Fox Chapel Publishing Company, Inc. The patterns contained herein are copyrighted by the author. Readers may make copies of these patterns for personal use. The patterns themselves, however, are not to be duplicated for resale or distribution under any circumstances. Any such copying is a violation of copyright law.
Print ISBN: 978-1-4971-0112-8
eISBN: 978-1-6076-5822-1
To learn more about the other great books from Fox Chapel Publishing, or to find a retailer near you, call toll-free 800-457-9112 or visit us at www.FoxChapelPublishing.com.
We are always looking for talented authors. To submit an idea, please send a brief inquiry to .
Table of Contents
Dedication
Every ounce of credit for this book goes to my mum. Id still be on the preface if it werent for her. I also want to give a shout-out to my little love bug, who has proudly taken sole custody and ownership of all carvings in this book. In loving memory of my uncle Ron, and to WendyI love you dearly.
I must also add that this project was fueled by copious amounts of Red Bull and a whole lot of no sleep.

Layout Designer: Chris Morrison
Producing Editors: Hannah Rachel Carroll and Kaylee Schofield
Contributing Photographer: Mike Mihalo
Step-by-Step Photographer: Sara Barraclough
Preface
My biggest hope is that you have as much fun carving these characters as I had coming up with them.
I am so excited to share these projects with you! My one and only inspiration for everything is my three-year-old little girl. She has more imagination and character in her pinky finger than anyone Ive ever metwhich makes life pretty darn fun. She lives in a world of magic and fairies, talking animals, and all things cartoons and to be quite honest, Id much rather live in a world with talking animals and magic than one without. My goal with these projects is to capture that magic and wonder in a small space.
I tried to design carves that would be fun and new, and hopefully have a little something that everyone would enjoy. My hope is that as you go through the book and take on these projects, you can find ways to change them and make them your own. Carving books and patterns should be viewed as blueprints and guidelines, rather than hard-andfast rules. The wonderful thing about art, in all its forms, is that no two people produce the same thingeven from the same pattern. We all have our own artistic fingerprint, and that is worth celebrating.

St. George, Utah
Materials
All of the materials referenced in this book can be purchased at your local craft and woodworking supply stores. Affordable options are available for everything from paints to wood; these projects are infinitely adaptable, so use the brands and products that work best for you.
Basswood
Basswood is my go-to wood for carving, as its soft and lightweight with a tight, consistent, and understated grain. Some carvers prefer poplar, pine, cherry, or even walnut, although these are typically more expensive and harder to work. (Each wood absorbs paints and finishes differently, too.) Use what youre comfortable with and whats available to you.
Acrylic Paints
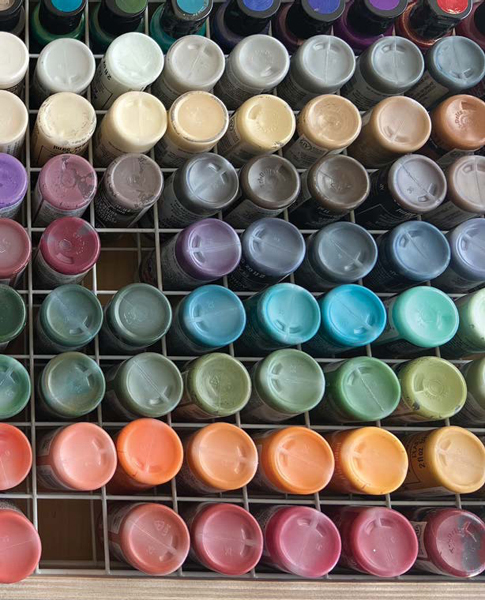
My preferred paints are acrylic; I dont use watercolors or oils. I love the painting process as much as the carving and enjoy experimenting with acrylic paints to achieve different effects. As youll see in the pages to follow. Plaid Crafts makes some fun varieties of paint that can really add personality to your carves. Dont be afraid to try new things!
I thin my paints substantially before applying them to carvings to see a hint of the wood grain peeking through whenever possible. Another benefit of thinning your paints is that you can stretch them farther, so they last longer.
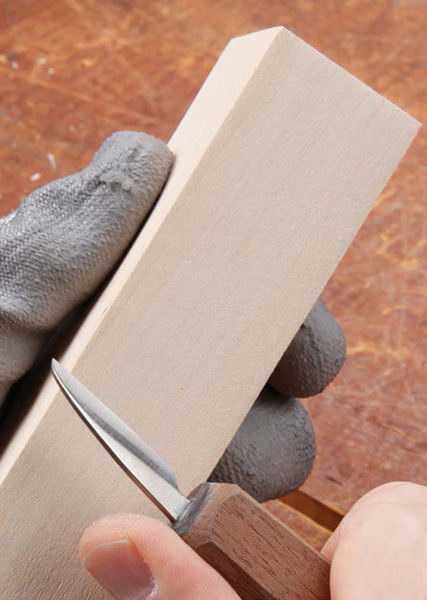
Basswood is soft and lightweight with a tight grain.
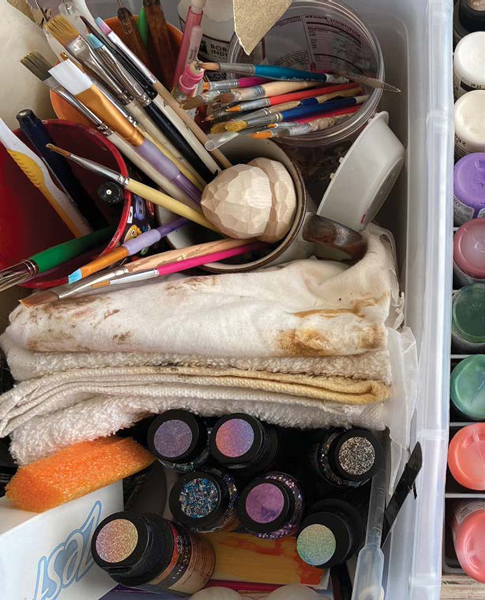
I use acrylic paints from my local craft store.
Boiled Linseed Oil
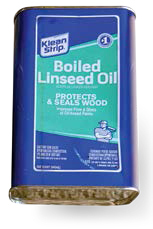
I always treat my carvings prior to painting. This is a personal preferencenot everyone likes or wants to use boiled linseed oil. Acrylic paint is water-based, and boiled linseed oil is (obviously) oil, so a slight learning curve is required in order to make the two work together harmoniously. I will dip my carving (or apply the BLO with a sponge brush if its too big to fit into the jar) and then let it sit on a paper towel while I get my paints and supplies all set up (so only a few minutes). Once Im ready to paint, I will wipe down any standing or residual oil still on the carve with a clean paper towel or rag. You dont want oil to pool in the creases or anywhere else; it should only just be absorbed into the wood.
Antiquing Wax
A common question I get about painting regards the use of antiquing wax. I did not use antiquing wax on any of the projects in this book for a reason. I have found that its easy to misuse or abuse antiquing wax, which can make a really good carve look dirty rather than adding the depth and character you may have been going for. Instead, I use a common acrylic painting technique called floating or shading, as demonstrated in many of the projects throughout this book. Shading provides a graduated look to give a project dimension and depth.
Sealers
There are a number of ways to finish or seal your carving. Clear polyurethane, Krylon, Howards Feed-n-Wax, beeswax each of these will give a different finished look to your carve, so it all comes down to personal preference. Krylon comes in satin, matte, and gloss and each look different. Howards Feed-n-Wax doesnt change the overall finished look of the wood. Decide what kind of finished look you want, experiment with different products, and determine which works best for you.

