Foreword
Corrugated cardboard has become an indispensable creative material. In addition to the environmental benefits of using a recycled material, it exhibits many surprising aesthetic qualities.
Corrugated cardboard possesses a discreet elegance; its flexible, repetitive motifs and grooves give it a rhythm all of its own.
Its texture is soft; its colours are warm and subtle.
It is an ideal material with which to invent shapes and create smooth effects: it is light and resistant and can easily be folded, curved, rolled and twisted.
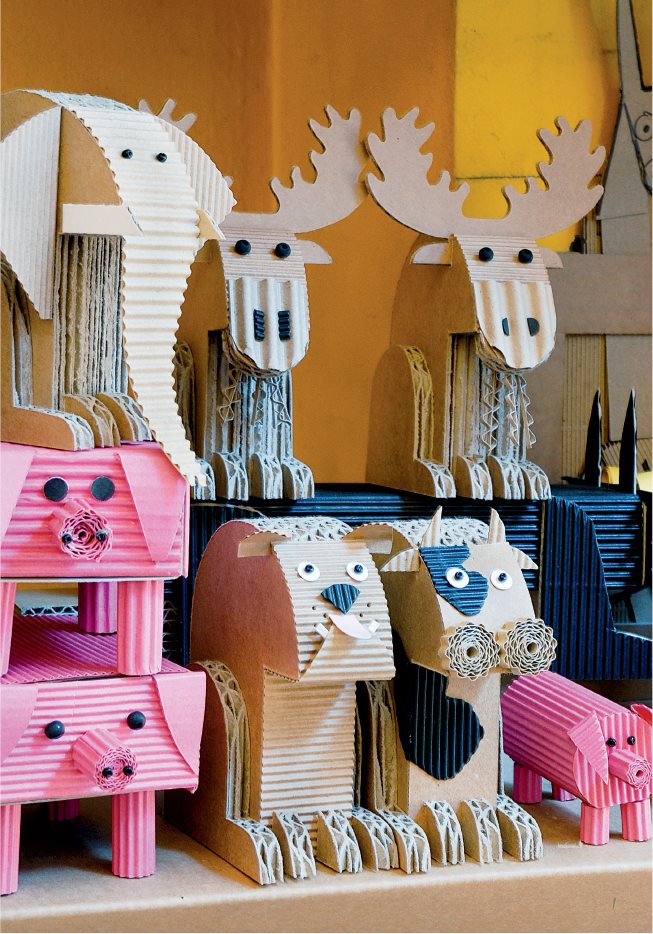
This book aims to use corrugated cardboard to create a wealth of animals that are both imaginative and humorous.
Contents
Materials and general techniques
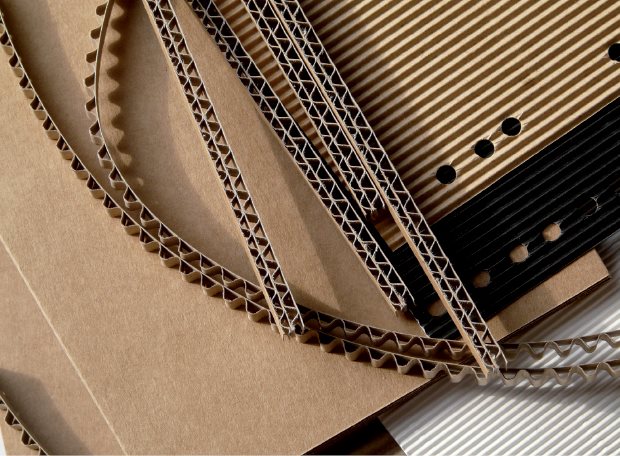
All of the animals in this book are made using natural or coloured corrugated cardboard, sometimes decorated with coloured micro-fluted cardboard.
Flexible cardboard is corrugated cardboard with a groove. It has one smooth side and one corrugated side.
Black, kraft, white or blue micro cardboard is a flexible corrugated cardboard with micro-fluting. It is flexible and available in various colours, with one smooth side and one corrugated side.
0.6 cardboard is a type of rigid corrugated cardboard with double grooves. It is 6mm(in) thick, with two smooth sides.
0.3 cardboard is a type of rigid corrugated cardboard with a single groove. It is 3mm(in) thick, with two smoothsides.
0.1 cardboard is a rigid corrugated cardboard with a single groove. It is 1mm(in) thick, with two smooth sides.
The essential materials: a pencil, an eraser, a metal ruler, a set square, a pair of compasses, tracing paper, a small cutter, scissors, tweezers, a hole punch, a bradawl, a toothpick, vinyl adhesive, adhesive tape.
Production
Simple techniques that will enable you to make the animals in this book.
Cutting
Drawings must be traced and reproduced directly onto the cardboard with a pencil before being cut out. All geometrical shapes mentioned (rectangles, squares, circles, etc.) are accompanied by their dimensions.
Strips and sticks should always be traced perpendicular to the grooves.
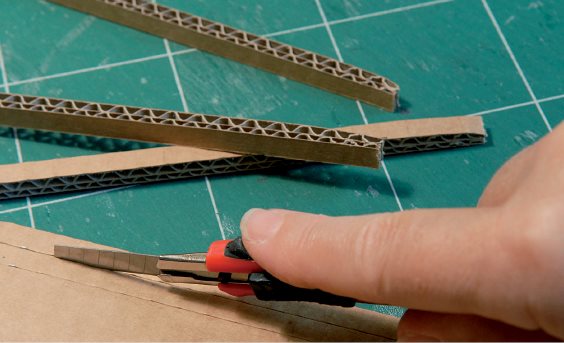
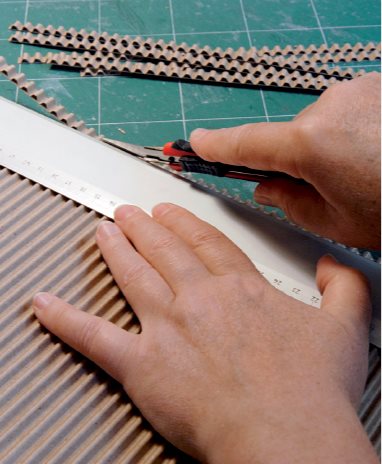
Cutting should be done primarily with a cutter, using a metal ruler for straight lines. In order to obtain the cleanest possible cuts, the blade must be changed frequently.
0.6 cardboard is used frequently and is also the most difficult to cut out, particularly when there are curved shapes involved. Start by gently scoring the layout with the cutter to create a track for the blade to follow. Then go over this track several times, scoring the cardboard until it is finally cut all the way through. During this process, the blade must be mostly taken out in order to give it greater flexibility, and kept perpendicular to the thickness of the cardboard so that it is not cut at an angle.
The smaller and more curved the shape, the more essential this advice is. It is important not to place your other hand in the path of the blade, to avoid cutting yourself.
Flexible cardboard should be cut on the corrugated side, keeping most of the cutter blade out.
Micro cardboard can be cut with the cutter or with scissors.
Finishing
Vinyl glue should be used so that it disappears when dry. To keep the assembly in place during drying, we recommend pinning it in position. To elevate a part, it is sufficient to glue a small piece of cardboard underneath as a wedge.
Decorations are created for the majority of the animals using spirals, cones, cylinders and pieces of confetti.
A spiral is made from a strip of flexible cardboard or micro rolled up tightly around a toothpick with the grooves facing outward. It only needs to be glued at the end.
A cone is a spiral with the shape altered by pushing very gently in the centre. To fix this in place, coat the interior with glue.
A cylinder is made by rolling up a rectangle of cardboard.
Pieces of confetti are small circles cut out with the hole punch.
Useful decorative items
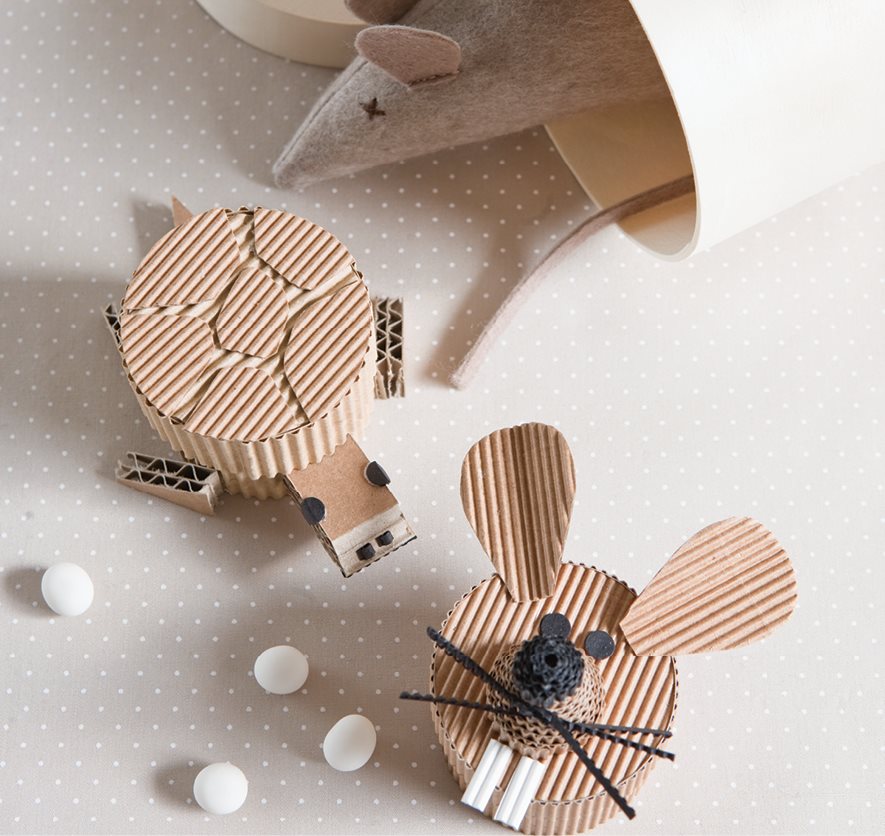
Mouse and tortoise
Original boxes for storing milk teeth
SUPPLIES
Flexible cardboard: 39 4cm (15x1in)
Kraft micro: 30 22cm (12 8in)
Black micro: 10 10cm (4 4in)
White micro: 5 5cm (2 2in)
0.6 cardboard: 10 10cm (4 4in)
The mouse box: Make a spiral with a 38 1cm (15 in) strip of flexible cardboard.
Cut out a 3 15cm (1 6in) rectangle from kraft micro and glue it around the spiral with the grooves facing out. Cut out a 4.5cm(1in) circle from kraft micro and glue it to the bottom of the box.
Make the lid using the same method as for the box in a slightly larger size: the strip should be 39 0.5cm (15 in) and the rectangle 1.5 16cm ( 6in). Attach a circle of kraft micro to the top.
Head: Draw and cut out two ears from kraft micro (A). Fold and glue them to the top of the lid.
Make a cone for the snout from a 0.5 30cm ( x 12in) strip of kraft micro.
Make a small cone for the nose with a strip of black micro. Glue the nose onto the snout, and glue the finished nose onto the lid.
Cut out and glueon small strips of black micro for the whiskers, two rectangles of white micro for the teeth and two black pieces of confetti for the eyes.
The tortoise box and lid: These are made based using the same method as the mouse box.
Head: Cut out two 2.7 1.7cm (2 1 in) rectangles of 0.6 cardboard. Glue together then cut them at an angle ()

