Introduction
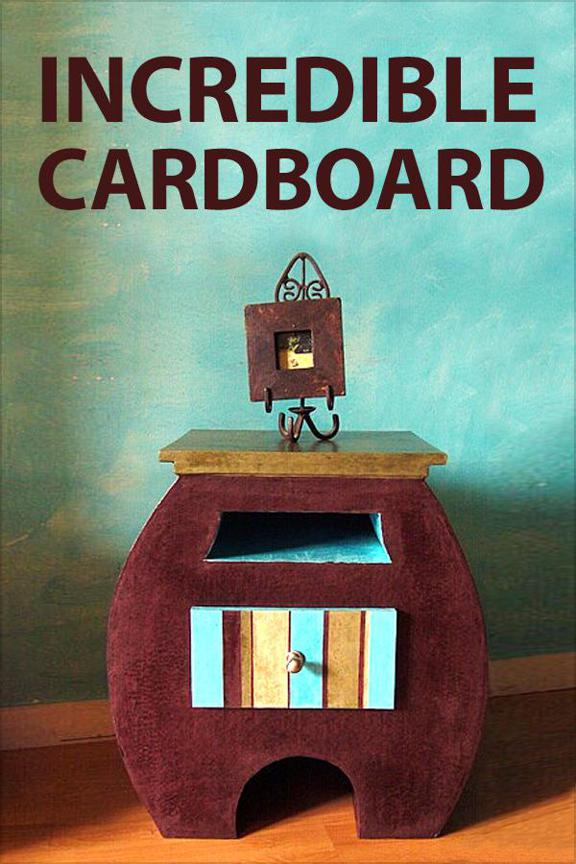
Welcome to the Instructables eBook, Incredible Cardboard!
Cardboard is light-weight, cheap, accessible, and ridiculously versatile. You can use it to build incredible things and furnish your home, even on the tightest of budgets. These projects will enable you to wow and impress your friends, and cost next to nothing!
The Instructables editors have chosen some of our best do-it-yourself cardboard projects to educate and inspire you to make great things with easily-available tools.
Instructables is the most popular project-sharing community on the Internet. Since August 2005, Instructables has provided easy publishing tools to enable passionate, creative people to share their most innovative projects, recipes, skills, and ideas. Instructables has over 40,000 projects covering all subjects, including crafts, art, electronics, kids, home improvement, pets, outdoors, reuse, bikes, cars, robotics, food, decorating, woodworking, costuming, games, and life in general.
Table of Contents
Author and Copyright Notices
Instructable: Cardboard Coffee Table
Author: Grahamwithimps
License: Attribution-NonCommercial-ShareAlike (by-nc-sa)
Instructable: How To Make a Cardboard Coffee Table With Chairs
Author: ppatches24
License: Attribution-NonCommercial-ShareAlike (by-nc-sa)
Instructable: How to Make a Medieval Trebuchet Out of Cardboard
Author: ineverfinishanyth
License: Attribution-NonCommercial-ShareAlike (by-nc-sa)
Instructable: How to make a Cardboard Laptop Stand
Author: =SMART=
License: Attribution-NonCommercial-ShareAlike (by-nc-sa)
Instructable: Make A Cardboard Dragon!
Author: Creativeman
License: Attribution-NonCommercial-ShareAlike (by-nc-sa)
Instructable: Cardboard Critters
Author: Creativeman
License: Attribution-NonCommercial-ShareAlike (by-nc-sa)
Instructable: A Pair of Sandals From A Cardboard Box
Author: Creativeman
License: Attribution-NonCommercial-ShareAlike (by-nc-sa)
Instructable: Cardboard .357 Magnum Prop
Author: junkfactory886
License: Attribution-NonCommercial-ShareAlike (by-nc-sa)
Instructable: Cardboard Armor
Author: rachel
License: Attribution-NonCommercial-ShareAlike (by-nc-sa)
Instructable: How to build a cardboard Rocket ship
Author: Stryker
License: Attribution-NonCommercial-ShareAlike (by-nc-sa)
Instructable: Hydraulic robot made of cardboard and scotch duct tape.
Author: nelson8815
License: Attribution-NonCommercial-ShareAlike (by-nc-sa)
Instructable: Designing Cardboard Furniture
Author: Scriptone
License: Attribution-NonCommercial-ShareAlike (by-nc-sa)
Instructable: Circular Cardboard Bookshelf
Author: Scriptone
License: Attribution-NonCommercial (by-nc)
Instructable: Use Cardboard To Make A Billfold or Wallet!
Author: Creativeman
License: Attribution-NonCommercial-ShareAlike (by-nc-sa)
Instructable: Cardboard Chairs 101
Author: wholman
License: Attribution-NonCommercial-ShareAlike (by-nc-sa)
Instructable: Cardboard Cantilever Chair 2.0
Author: wholman
License: Attribution-NonCommercial-ShareAlike (by-nc-sa)
Instructable: FedEx Stool
Author: wholman
License: Attribution-NonCommercial-ShareAlike (by-nc-sa)
Instructable: Cardboard Chaise Lounge
Author: DesignEs
License: Attribution-NonCommercial-ShareAlike (by-nc-sa)
Instructable: Cardboard Lumber
Author: theRIAA
License: Attribution-NonCommercial-ShareAlike (by-nc-sa)
Instructable: Cardboard Ball Chair
Author: gdufford
License: Attribution-NonCommercial-ShareAlike (by-nc-sa)
Disclaimer
All do-it-yourself activities involve risk, and your safety is your own responsibility, including proper use of equipment and safety gear, and determining whether you have adequate skill and experience. Some of the resources used for these projects are dangerous unless used properly and with adequate precautions, including safety gear. Some illustrative photos do not depict safety precautions or equipment, in order to show the project steps more clearly. The projects are not intended for use by children.
Many projects on Instructables are user-submitted, and appearance of a project in this format does not indicate it has been checked for safety or functionality. Use of the instructions and suggestions is at your own risk. Instructables, Inc. disclaims all responsibility for any resulting damage, injury, or expense. It is your responsibility to make sure that your activities comply with all applicable laws.
Cardboard Coffee Table
Published by Grahamwithimps on February 14, 2010
Intro: Cardboard Coffee Table
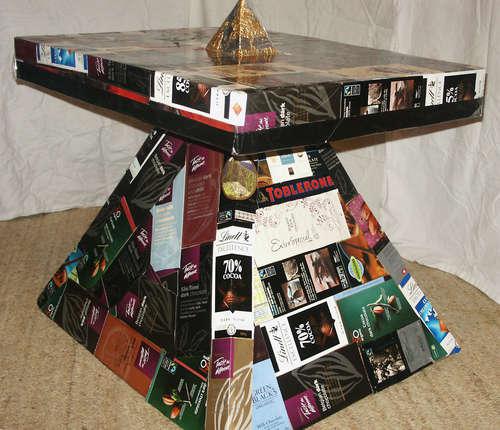
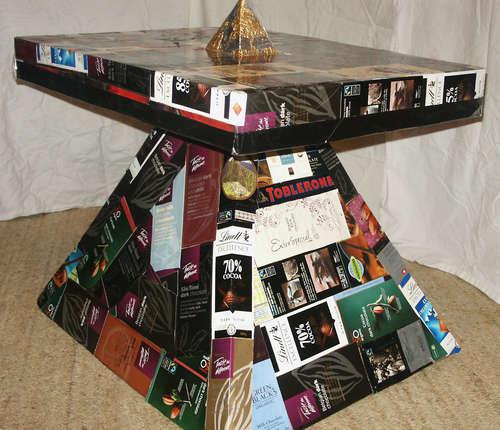
This is my take on cardboard furniture. I made a coffee table previously, but it did have problems. I hope I've fixed those problems in this version. It's a monopod - it has just one foot. This has a big flat base so that when it's in use it can be pushed out of the way. Hopefully this has got rid of any weakness where the legs join on to the top. My table is decorated with discarded chocolate bar wrappers - but you can choose your own decoration.
Step 1: Gather your materials and tools
Cardboard is the main thing you need. Before I started this build, we got a new cooker delivered. Luckily for me it came with two big bits of cardboard, top and bottom, both built like shallow boxes. The top was polystyrene reinforced with lovely bits of wood. Added to this pile of scrap, I added some stout boxes I was hoarding in the garage.
My original fascination for working with cardboard was the way the corrugations could be reinforced by gluing two layers together at right angles. I've since learned (the hard way) that the weakest point is the folds where the box flaps are. You can see here that I've reinforced them.
The only tools I used were a tenon saw, a hammer and chisel, a file, a box-cutter knife, some big scissors and some wood glue.
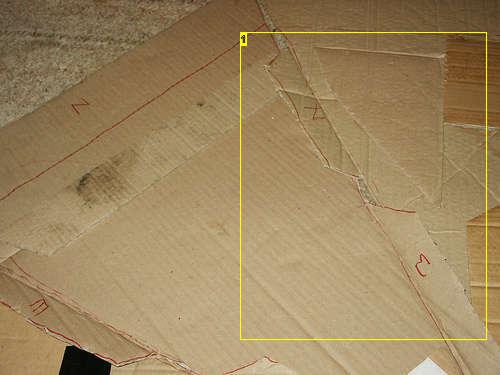
Image Notes
1. Interlocking, labelled tags.
Step 2: Make the pyramid
In this step I'm going to show you how I made the pyramid. First I cut out the four triangles. Because the box I was using for the base and top was rectangular I made a rectangular pyramid with two different sizes of triangle. Instead of just cutting triangles, I put two tags on each one, so that they would all interlock properly. Took a bit of head scratching but I got there in the end. For convenience I labelled the four sides N, S, E & W although I suppose ABCD or 1234 would have worked just as well.
For the base, I took one of the shallow boxes apart and cut the tags at an angle so they would fold in nicely. I also labelled them to match their triangles.
When this was done, I glued three of the four sides to make a big flat area, which was glued down and weighted with books. I glued it by interleaving the tags. You can see in photo 3 I also labelled the tags so I knew which tag went onto which side. You can see this shape in photo 2. When it was dry, I folded it up to make the final pyramid which was glued direct onto the base, again weighted with books. (My 2 year old was on hand to give advice)
Next page


