YOUR ADVENTURE STARTS HERE
Have you dreamed of traveling the world? Going back in time? Putting on a show? This book will help you do all that and more, using
C A R D B O A R D !
Yes, thats right!
The boxes sitting around your house can be used to make your very own adventures. All you need are some simple supplies, a willing adult helper, and an awesome imagination!
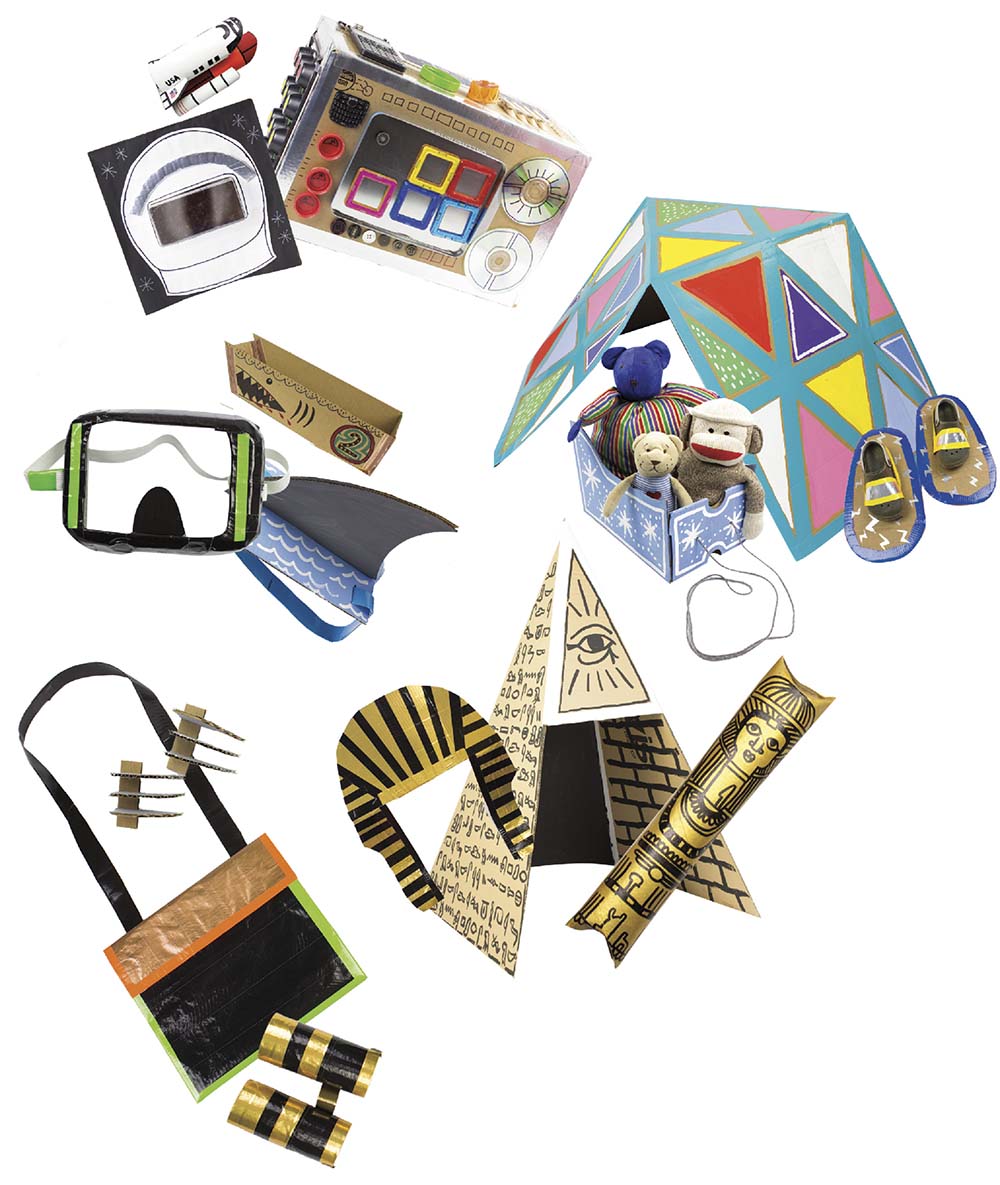
Havent built anything before? Dont worry! The STEP-BY-STEP instructions will walk you through all the projects, and before you know it, youll be sitting in your very own spaceship wearing snowshoes and accepting an Academy Award!
E X P L O R E THE W O R L D
OUTER SPACE
PROJECT #1
SPACE SHUTTLE
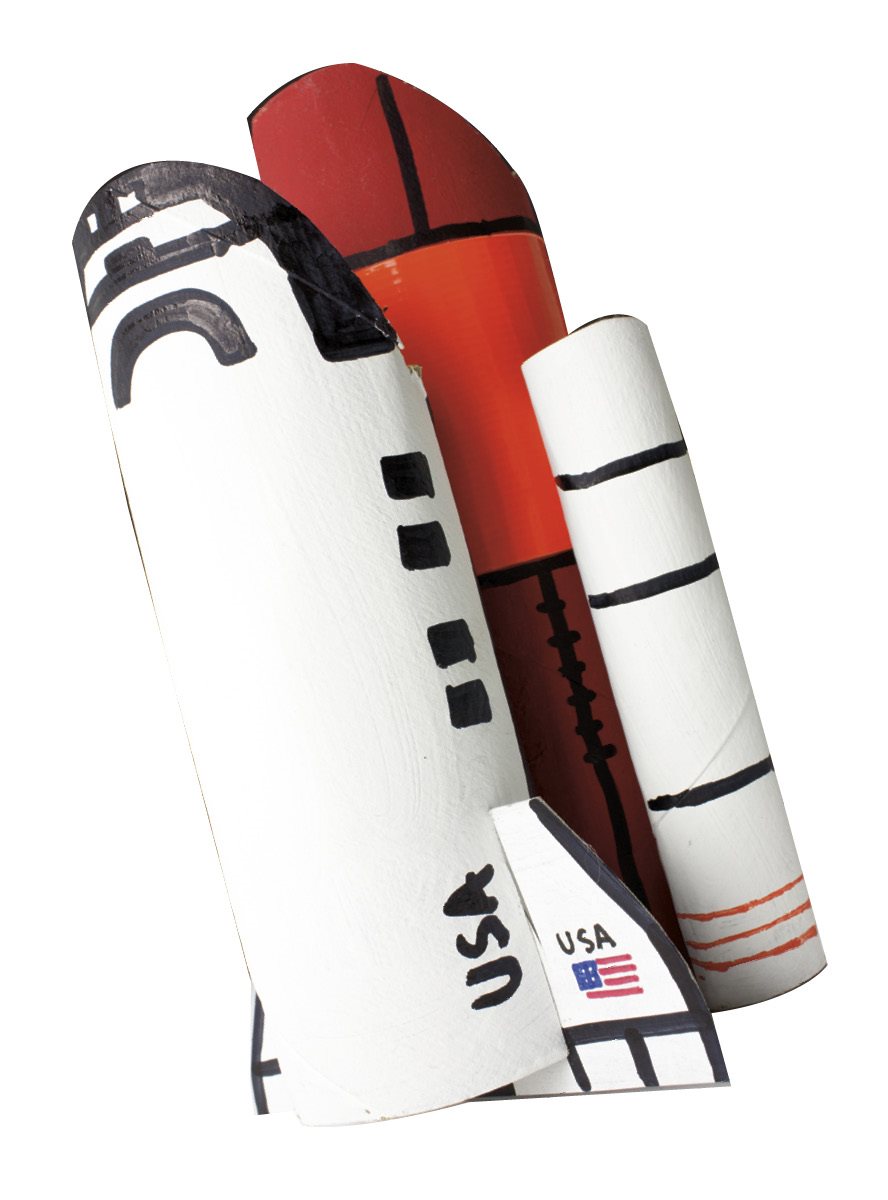
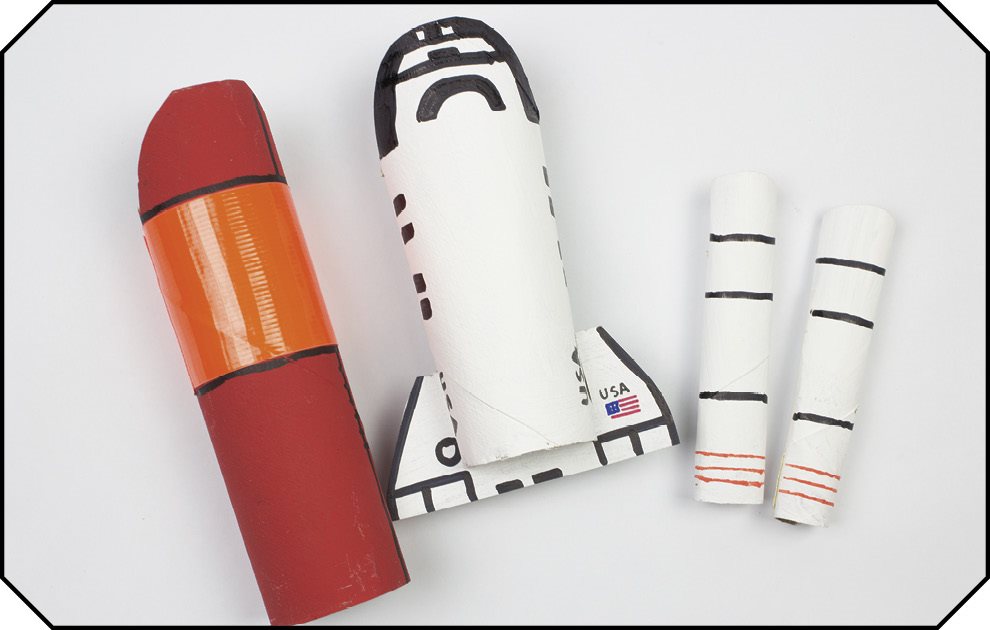
Ever wonder how a space shuttle blasts off into space? Powerful rocket boosters and an external fuel tank thrust the space shuttle into orbit. Once they are no longer needed. The rocket boosters and fuel tank detach from the shuttle. Recreate this amazing launch sequence with this easy-to-build cardboard toy!
SUPPLIES
- scissors
- 1 paper towel roll
- cardboard (use thin, non-corrugated cereal box cardboard)
- 1 toilet paper roll
- white and red paint
- paintbrush
- black and orange permanent markers
- orange and white duct tape
- hot glue gun
- hook and loop fastener (optional)
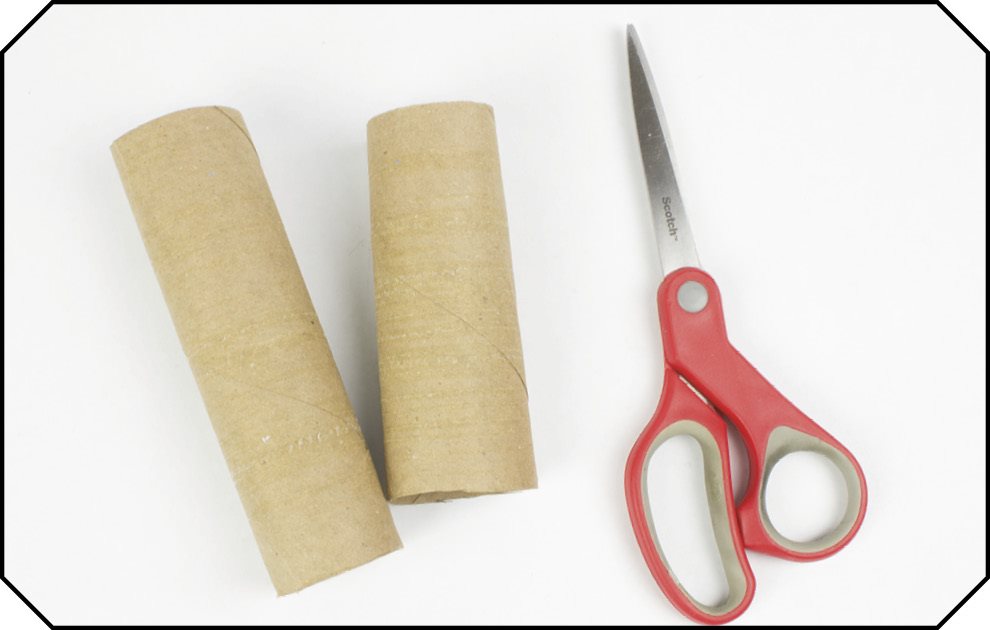
- Cut your paper towel roll into two unequal rolls. * The longer roll will be your fuel tank. The shorter roll will be your space shuttle.
- For Space Shuttle:
- Cut out a tail piece from the cereal box. Cut one slit on each side so it attaches to your cardboard roll. Cut out matching slits into your paper towel roll. Trim one end of your cardboard roll so its curved.
- For External Fuel Tank:
- Trim one end of your cardboard roll so its curved (similar to the space shuttle).
- For Rocket Boosters:
- Cut your toilet roll tube in half lengthwise. Trim one end of each so theyre curved.
- Paint your space shuttle (white), external fuel tank (red), and rocket boosters (white). Use permanent markers or duct tape to add extra detail. Roll up your rockets and use duct tape to secure them.
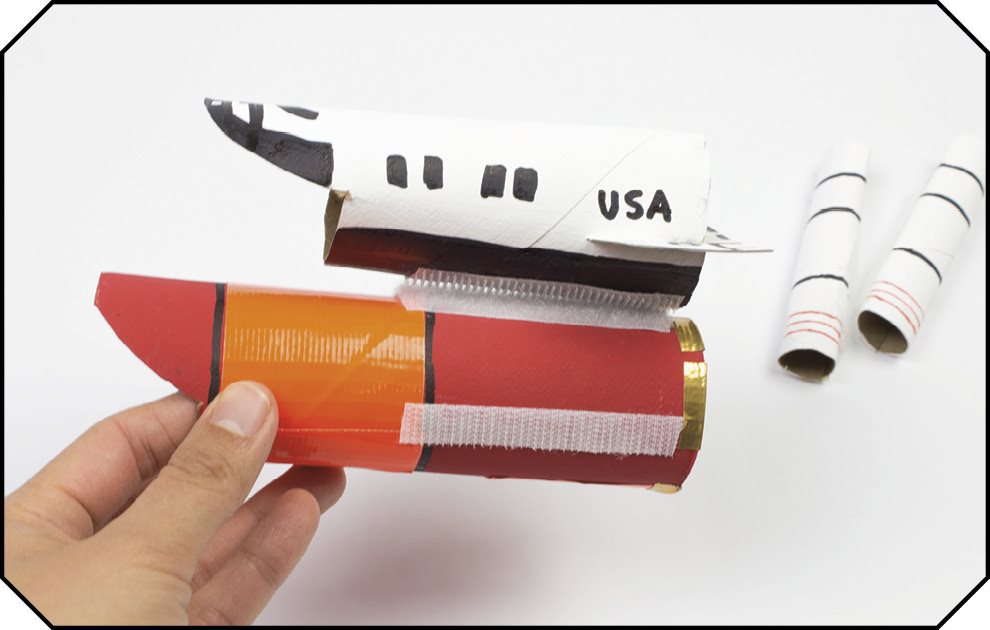
- Hot glue your rockets, space shuttle, and fuel tank together. * You can use white glue instead of a hot glue gun, though it will take longer to dry. Or for a more realistic touch, use the hook and loop fastener.
PROJECT #2
SPACESHIP CONTROLS
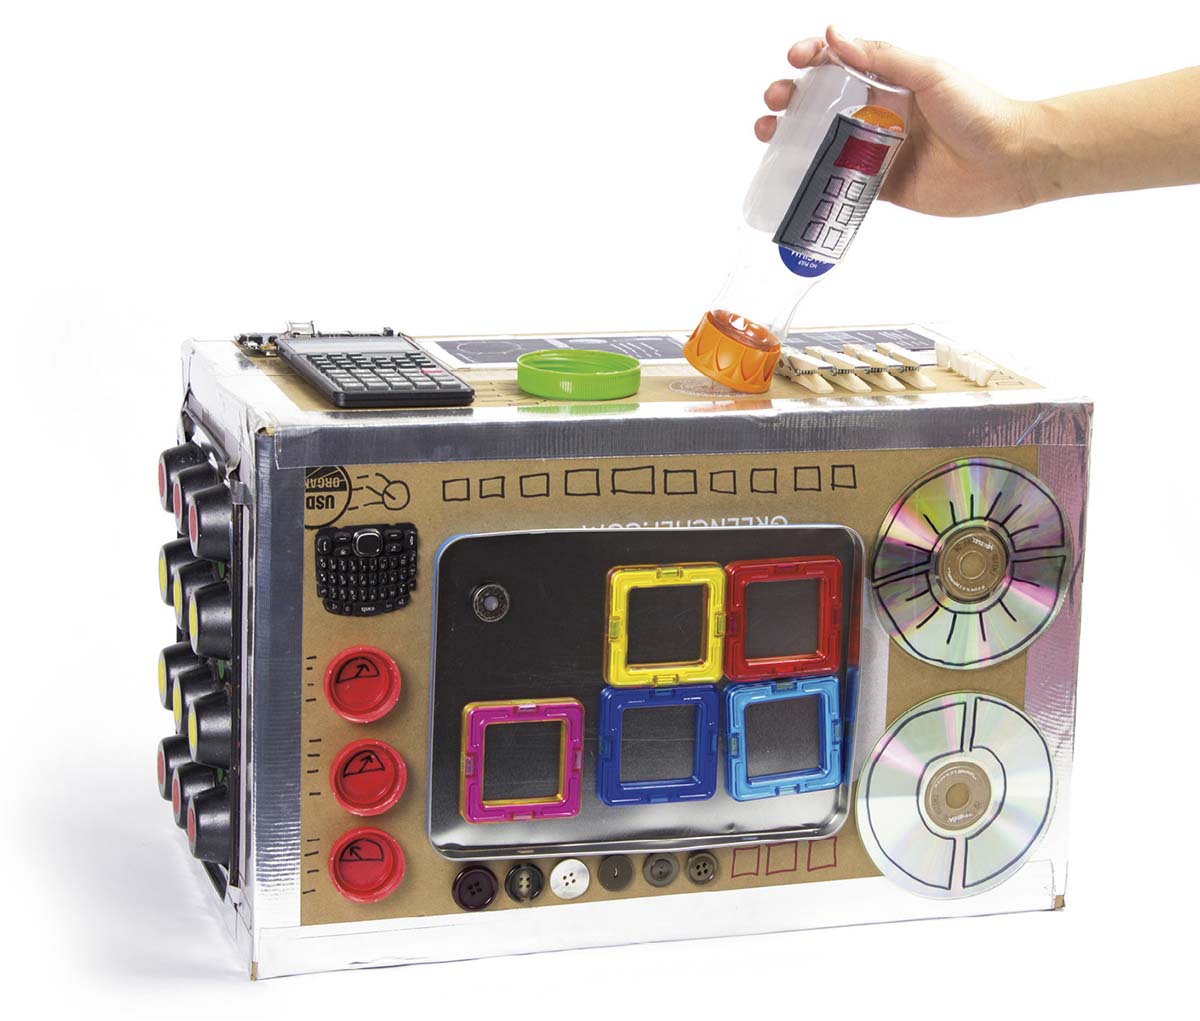
Its 20 years in the future. Youre an astronaut ready to take your first flight. Where would you fly? What would the inside of your spaceship look like? Its time to build your dream ride!
SUPPLIES
- cardboard box
- duct tape
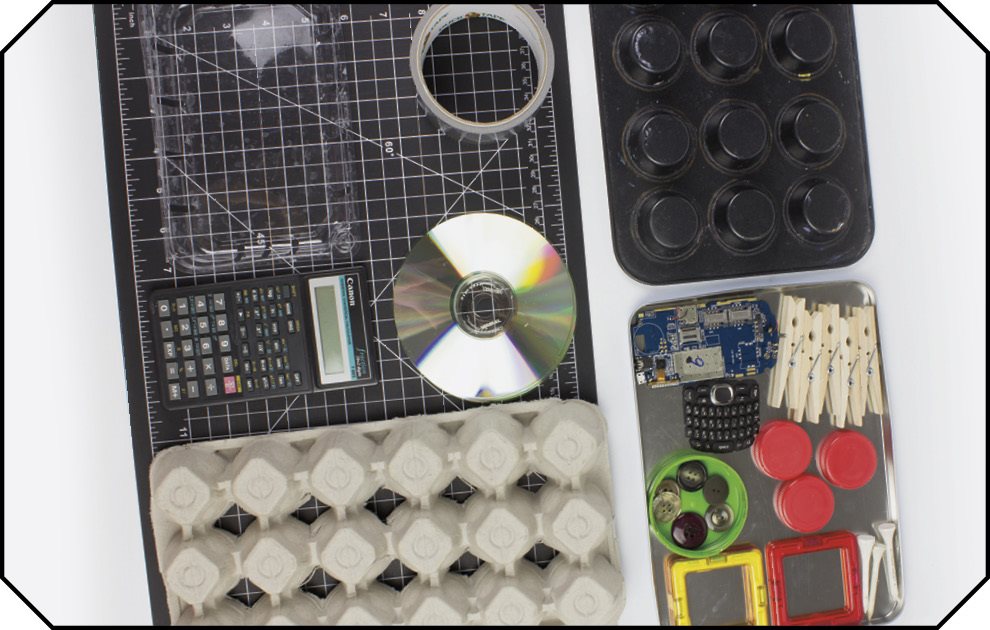
- various everyday items: bottle caps, egg cartons,calculators, stickers, black paper, clothespins, magnets, metal lids, golf tees, CDs, plastic lids, buttons, old electronic equipment, plastic bottles, rubber bands, skewers
- cutting mat
- scissors
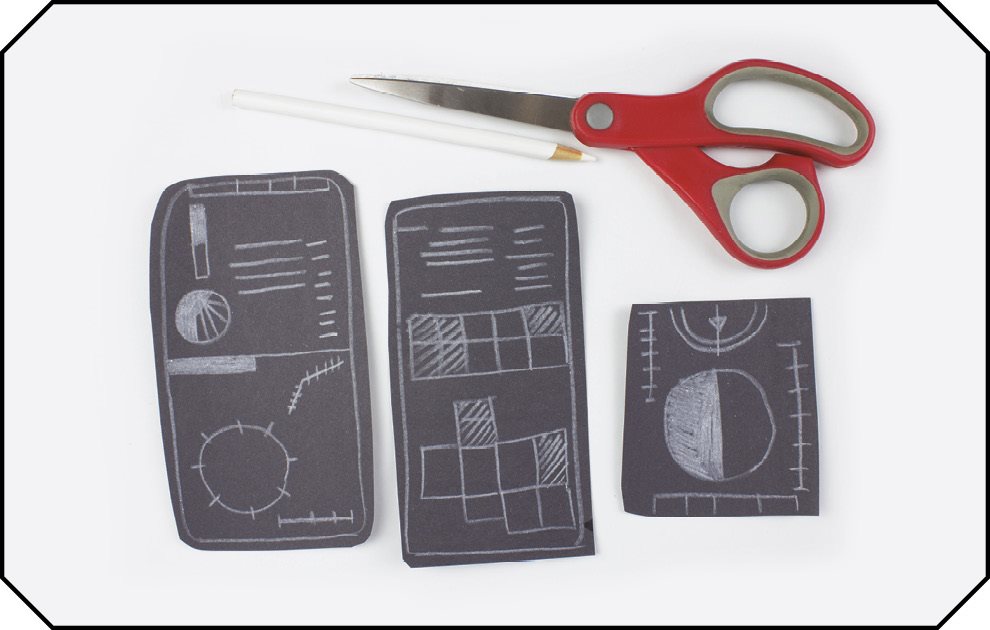
- black paper
- white pencil
- glue (hot glue or tacky glue)
- drill (or hammer and nail)
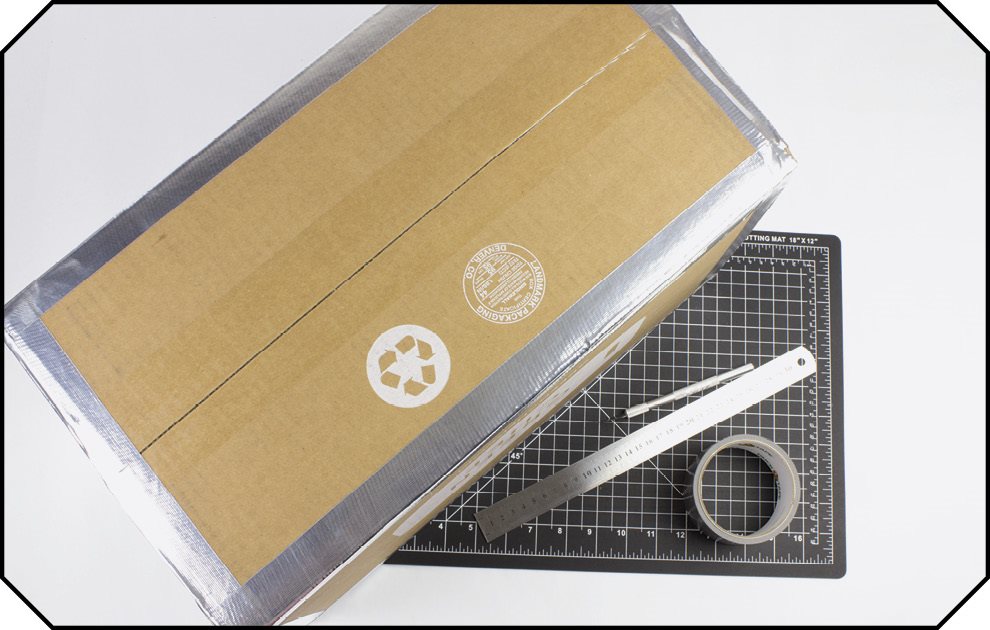
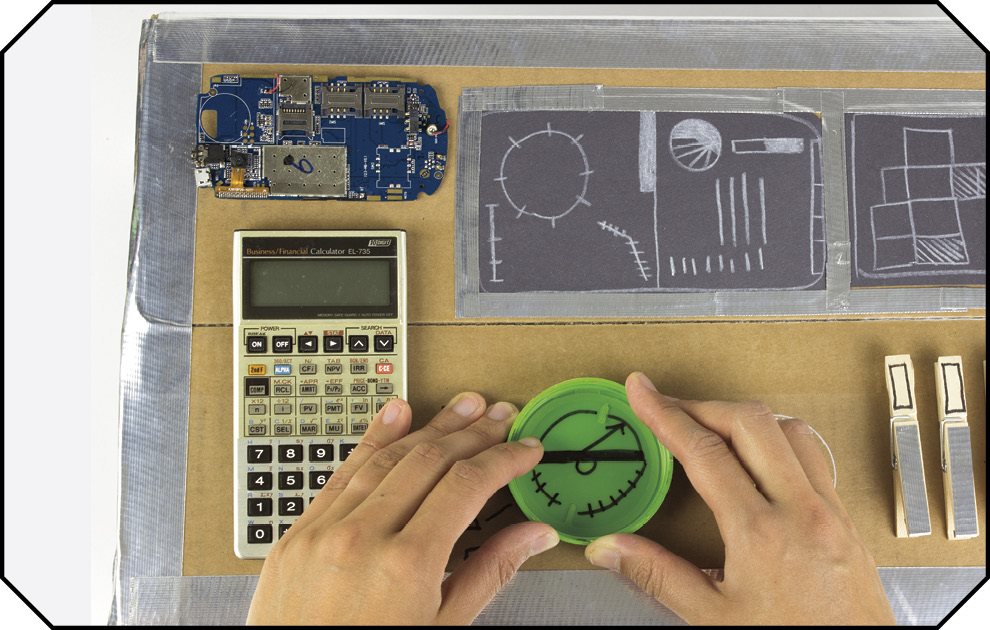
- Find a clean cardboard box and decorate with paint or duct tape.
- Look for an assortment of items to use as buttons, dials, screens, and switches. * Look in the recycling bin or use old electronic equipment!
- For Screens:
- Cut out rectangles and squares from black paper. Use a white pencil to draw on details.
- Use hot glue, tacky glue, or duct tape to adhere your console.
- For Joystick:
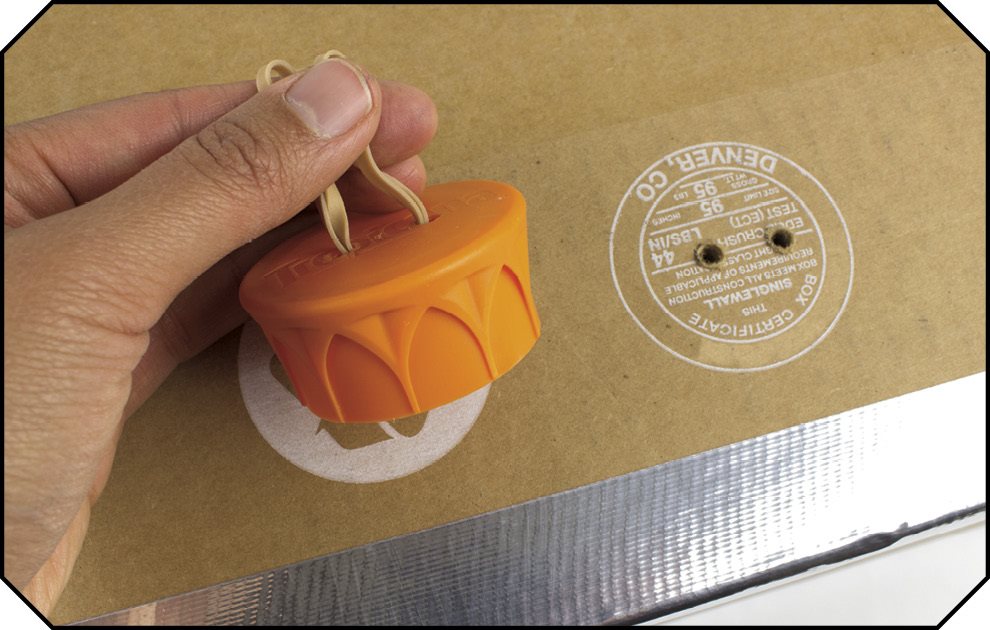
- Drill two holes in your box and two corresponding holes in the lid of your bottle. Pull the rubber band through the holes in the bottle lid. * Ask your adult helper to drill or hammer.
- Push the two ends of the rubber band through the two holes in your box. Tie the ends together * Use a skewer to push the rubber band through the holes in the bottle lid.


