Marne Ventura - Cool Cardboard Projects You Can Create
Here you can read online Marne Ventura - Cool Cardboard Projects You Can Create full text of the book (entire story) in english for free. Download pdf and epub, get meaning, cover and reviews about this ebook. year: 2015, publisher: Capstone, genre: Children. Description of the work, (preface) as well as reviews are available. Best literature library LitArk.com created for fans of good reading and offers a wide selection of genres:
Romance novel
Science fiction
Adventure
Detective
Science
History
Home and family
Prose
Art
Politics
Computer
Non-fiction
Religion
Business
Children
Humor
Choose a favorite category and find really read worthwhile books. Enjoy immersion in the world of imagination, feel the emotions of the characters or learn something new for yourself, make an fascinating discovery.

- Book:Cool Cardboard Projects You Can Create
- Author:
- Publisher:Capstone
- Genre:
- Year:2015
- Rating:4 / 5
- Favourites:Add to favourites
- Your mark:
Cool Cardboard Projects You Can Create: summary, description and annotation
We offer to read an annotation, description, summary or preface (depends on what the author of the book "Cool Cardboard Projects You Can Create" wrote himself). If you haven't found the necessary information about the book — write in the comments, we will try to find it.
Marne Ventura: author's other books
Who wrote Cool Cardboard Projects You Can Create? Find out the surname, the name of the author of the book and a list of all author's works by series.


Cool Cardboard Projects You Can Create — read online for free the complete book (whole text) full work
Below is the text of the book, divided by pages. System saving the place of the last page read, allows you to conveniently read the book "Cool Cardboard Projects You Can Create" online for free, without having to search again every time where you left off. Put a bookmark, and you can go to the page where you finished reading at any time.
Font size:
Interval:
Bookmark:
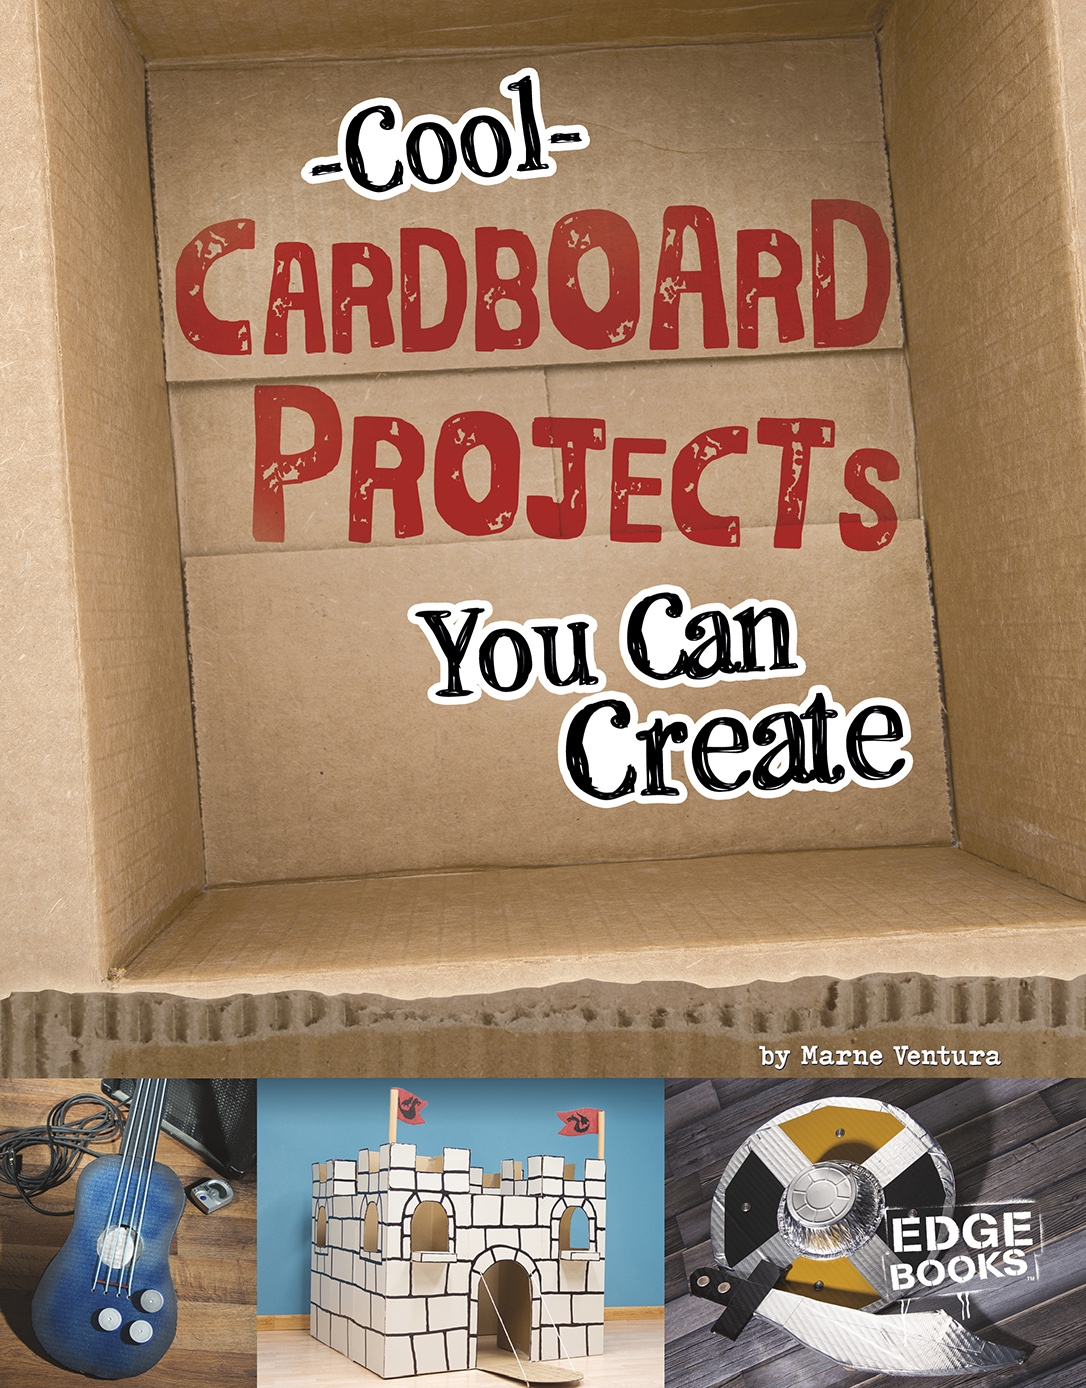


What do cereal boxes, shoe boxes, and paper towel tubes all have in common? Theyre all made from cardboard! Before cardboard was invented, people often used heavy wooden crates for storage and shipping. But when cardboard boxes were created in the 1870s, it was a major step forward for storing and shipping goods. The boxes were strong, lightweight, and cheap.
Today cardboard isnt just used to make boxes. If you look around your home youll probably find many things made of cardboard. And the great thing about it is you dont have to throw cardboard into the recycling bin. You can use it to make fun projects instead!
Look around for some boxes, tubes, and other cardboard objects. Youll soon be building robots, armor, weapons, and other awesome stuff to impress your friends!
Youll need some common tools to make many of your projects. Gather the following tools and store them in a box so theyre easy to find when you need them. Remember to always ask an adult for help when using sharp knives, scissors, or hot glue guns.
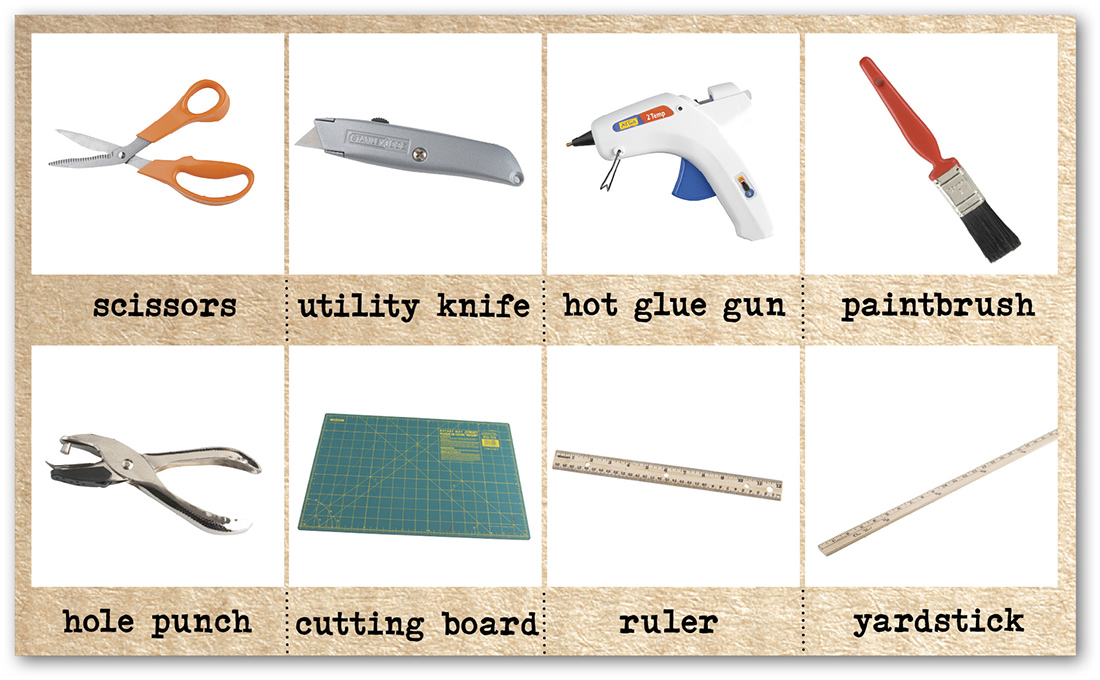
- Get a good cutting mat. Craft stores sell mats with grid lines that help make measuring easy. A wood or plastic cutting board and a ruler will also work well.
- Before starting a project, read through all of the steps and be sure to gather all the necessary materials.
- For large cardboard projects ask people at your local appliance store if they have any big boxes you can use.
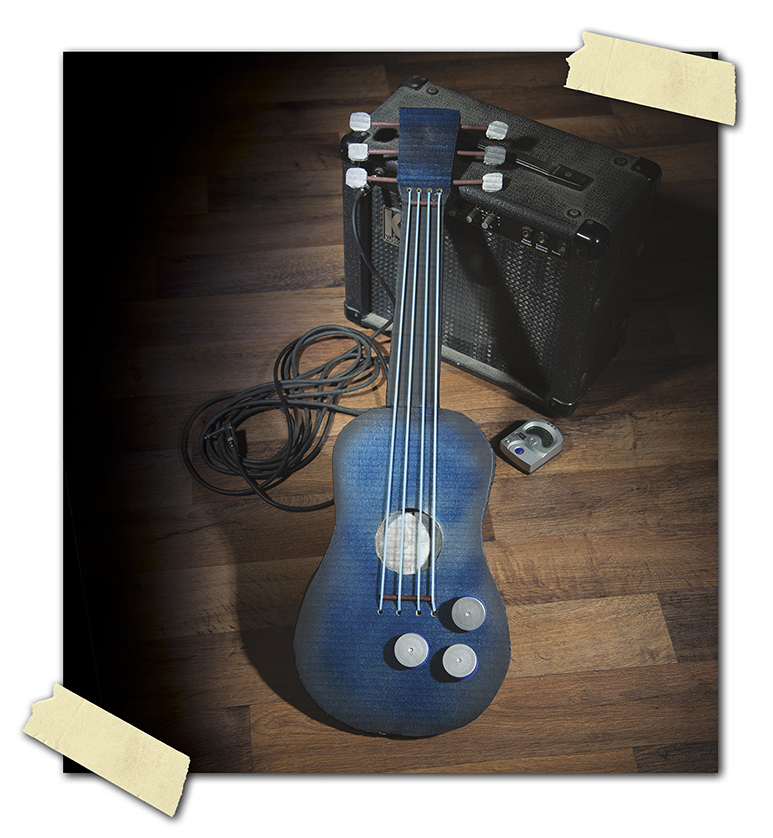
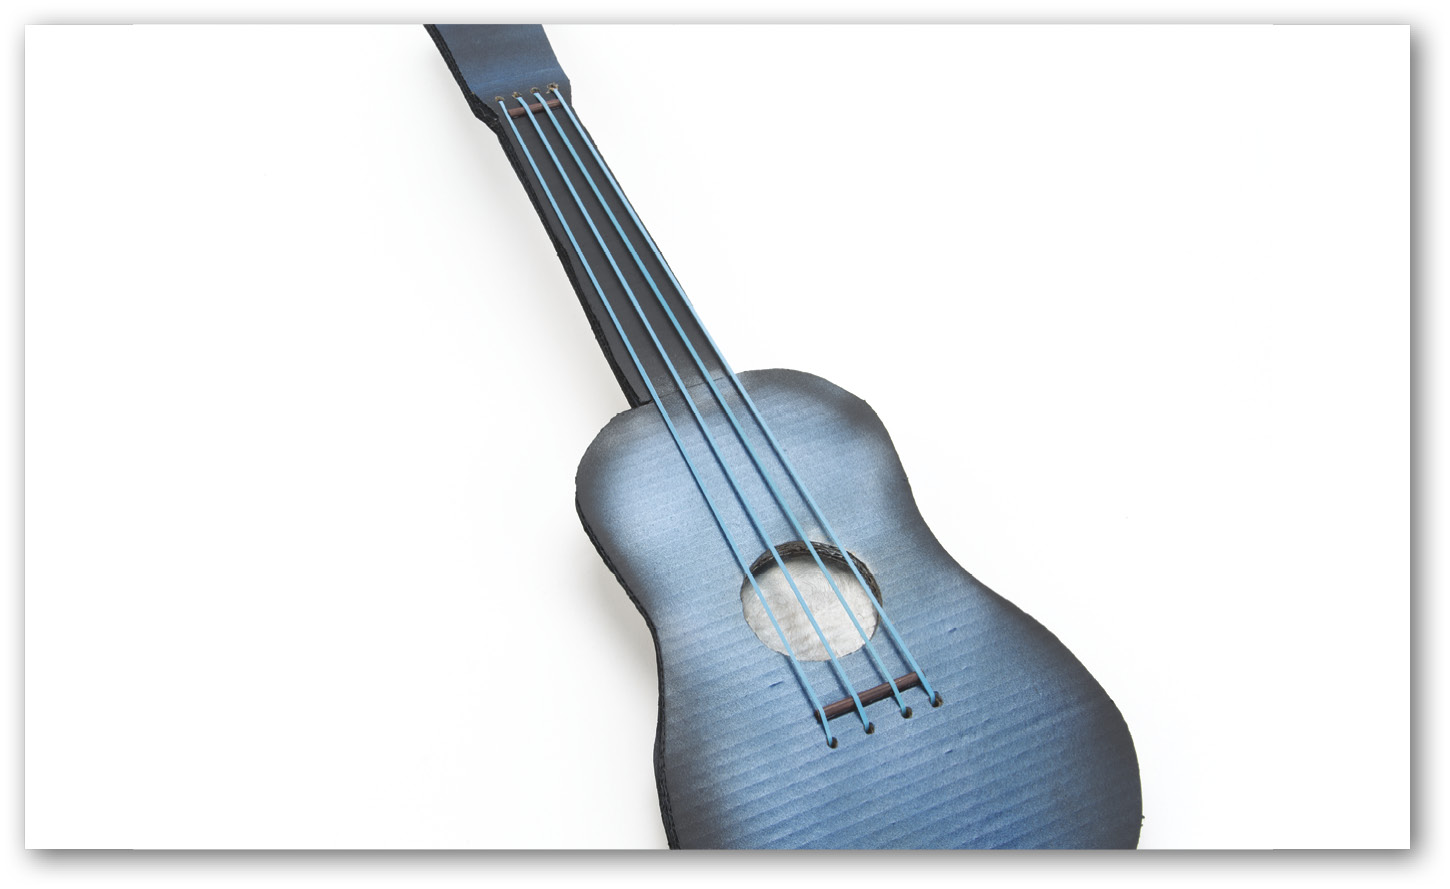
Are you ready for some rock n roll? Using cardboard, some rubber bands, and a plastic lid, you can make an awesome guitar with a fun, boingy sound. Call a few friends and get ready to rock out!
- 5 sheets of corrugated cardboard, 10 by 30 inches (25 by 76 centimeters)
- 3-inch (7.6-cm) wide plastic lid from potato chip container
- 1/8-inch (0.3-cm) wide dowel, 16 inches (41 cm) long
- 4 rubber bands, 7 inches (18 cm) long
- 2 large paper clips
- acrylic paint
- 3 water bottle caps
- drill and 1/8-inch (0.3-cm) drill bit
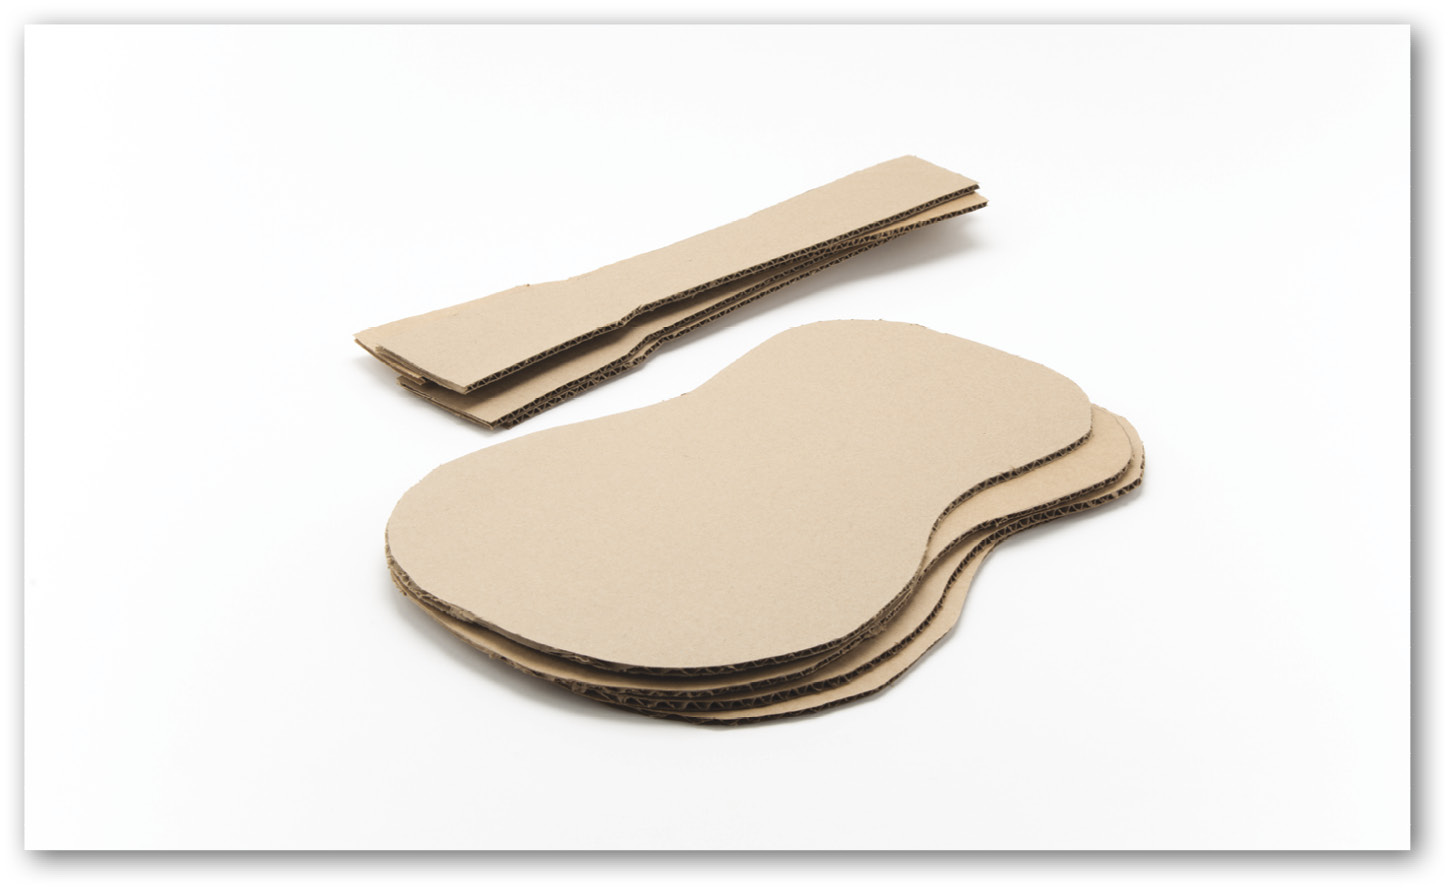
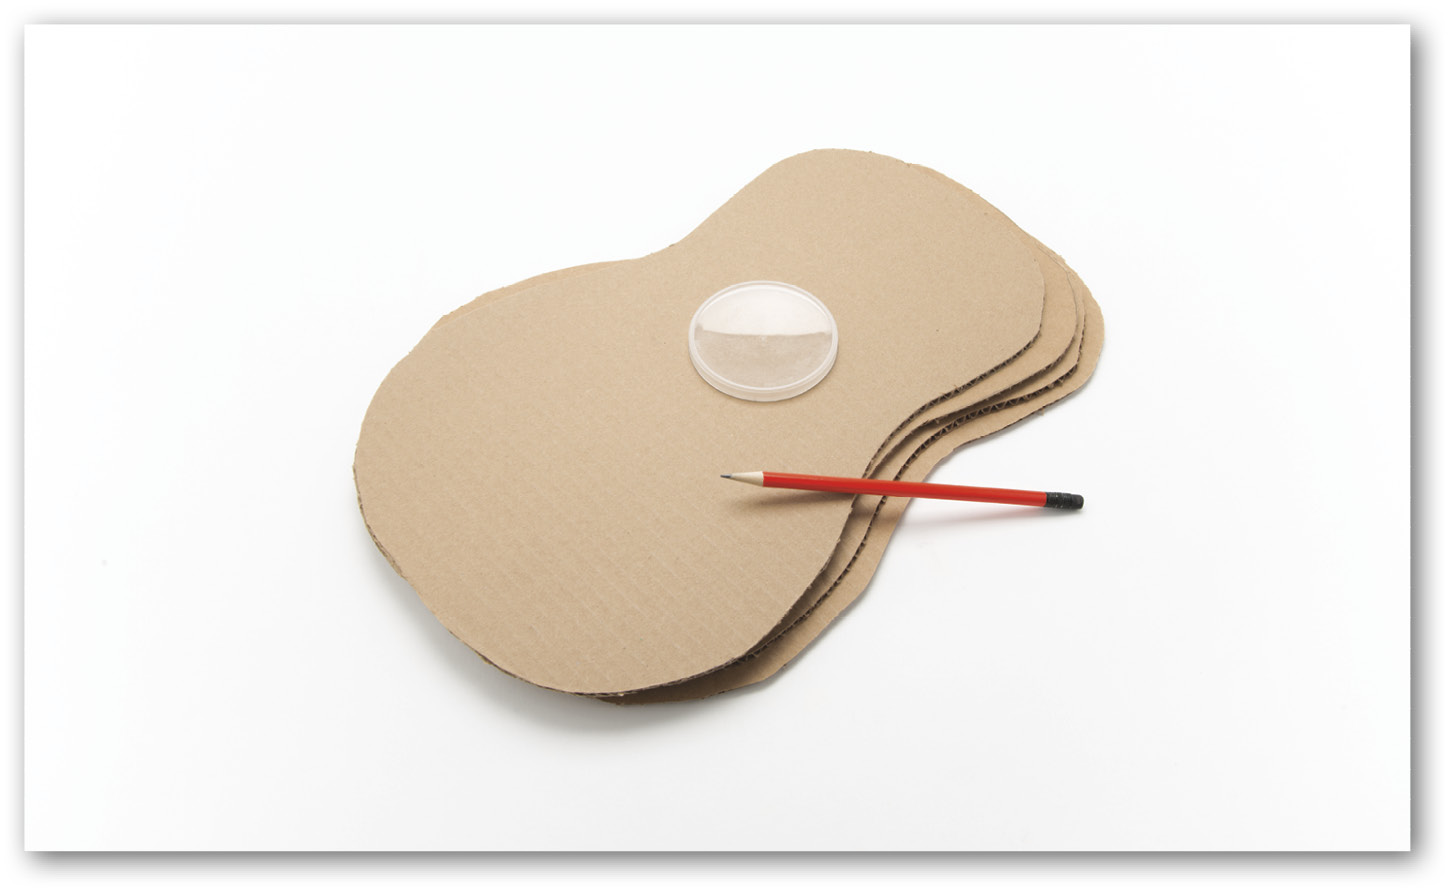
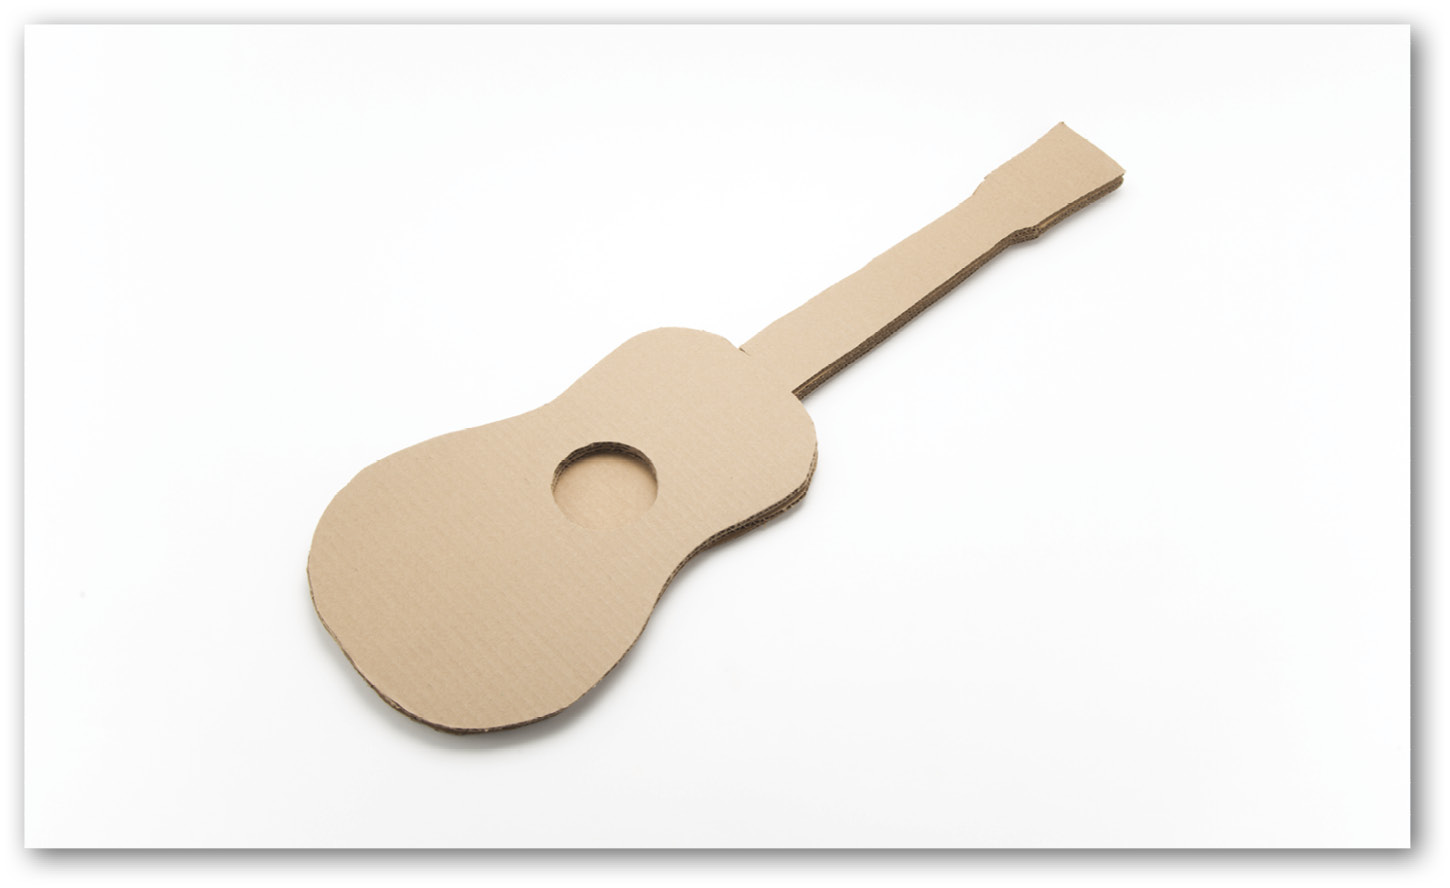
- Step 1: Measure and mark guitar shapes on a sheet of cardboard. The body should measure 10 by 15 inches (25 by 38 cm). The guitar neck should measure 2 by 11 inches (5 by 28 cm). Mark a 3- by 4-inch (7.6- by 10-cm) rectangle on the end of the neck for the guitar head. Cut out the guitar shapes. Use them as patterns to cut out four more body and neck shapes.
- Step 2: Use the lid as a pattern to draw a circle in the center of four guitar body shapes. Cut out the circles.
- Step 3: Hot glue the cardboard pieces with holes together. Be sure the sound holes line up with one another. Glue the last body piece that has no hole to the back of the guitar.
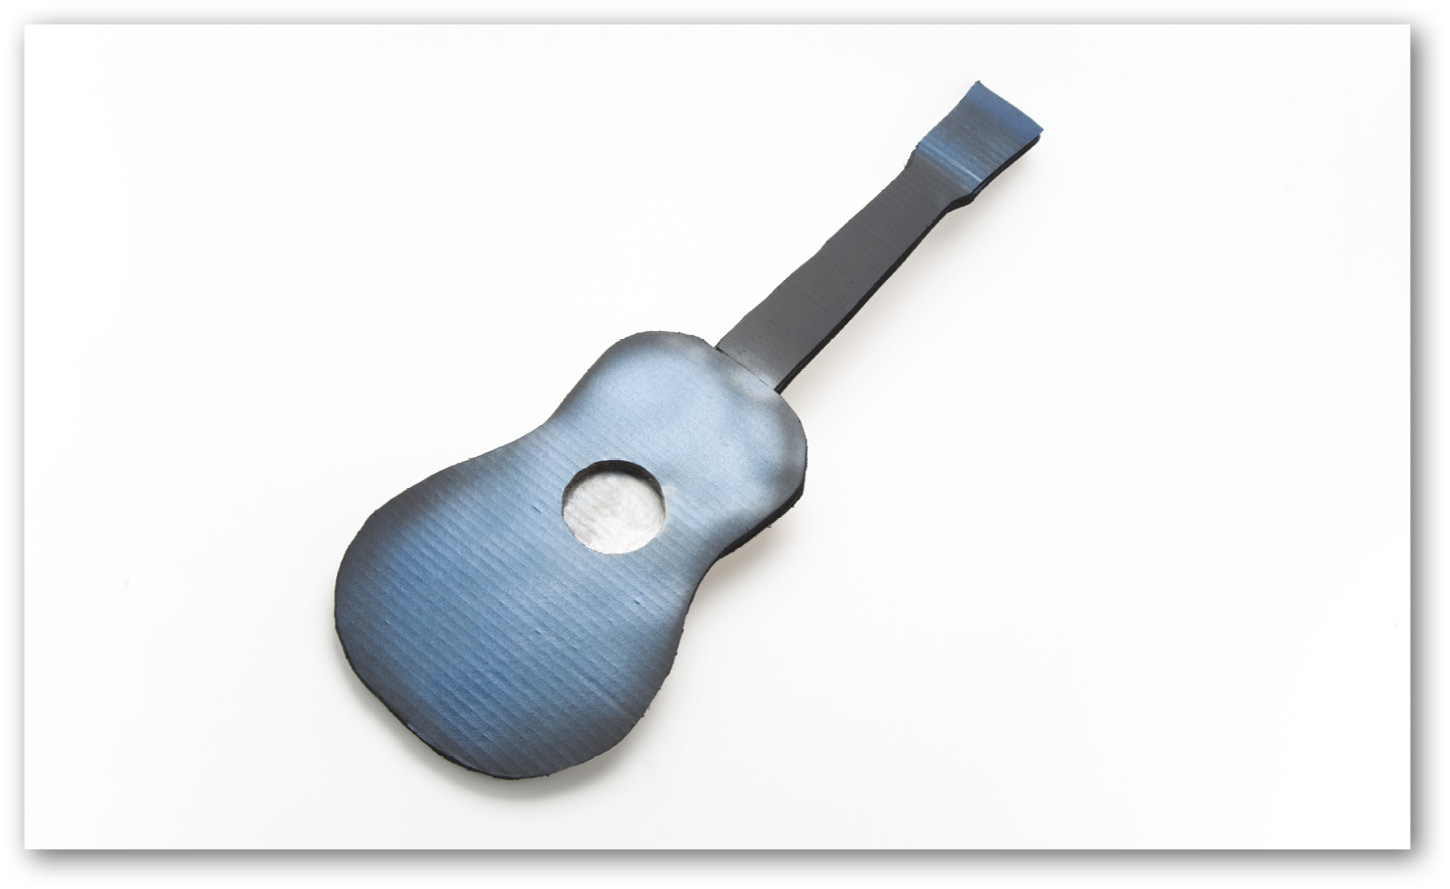
- Step 4: Paint the front and back of the guitar. Let it dry completely. Add frets to the neck piece with a marker.
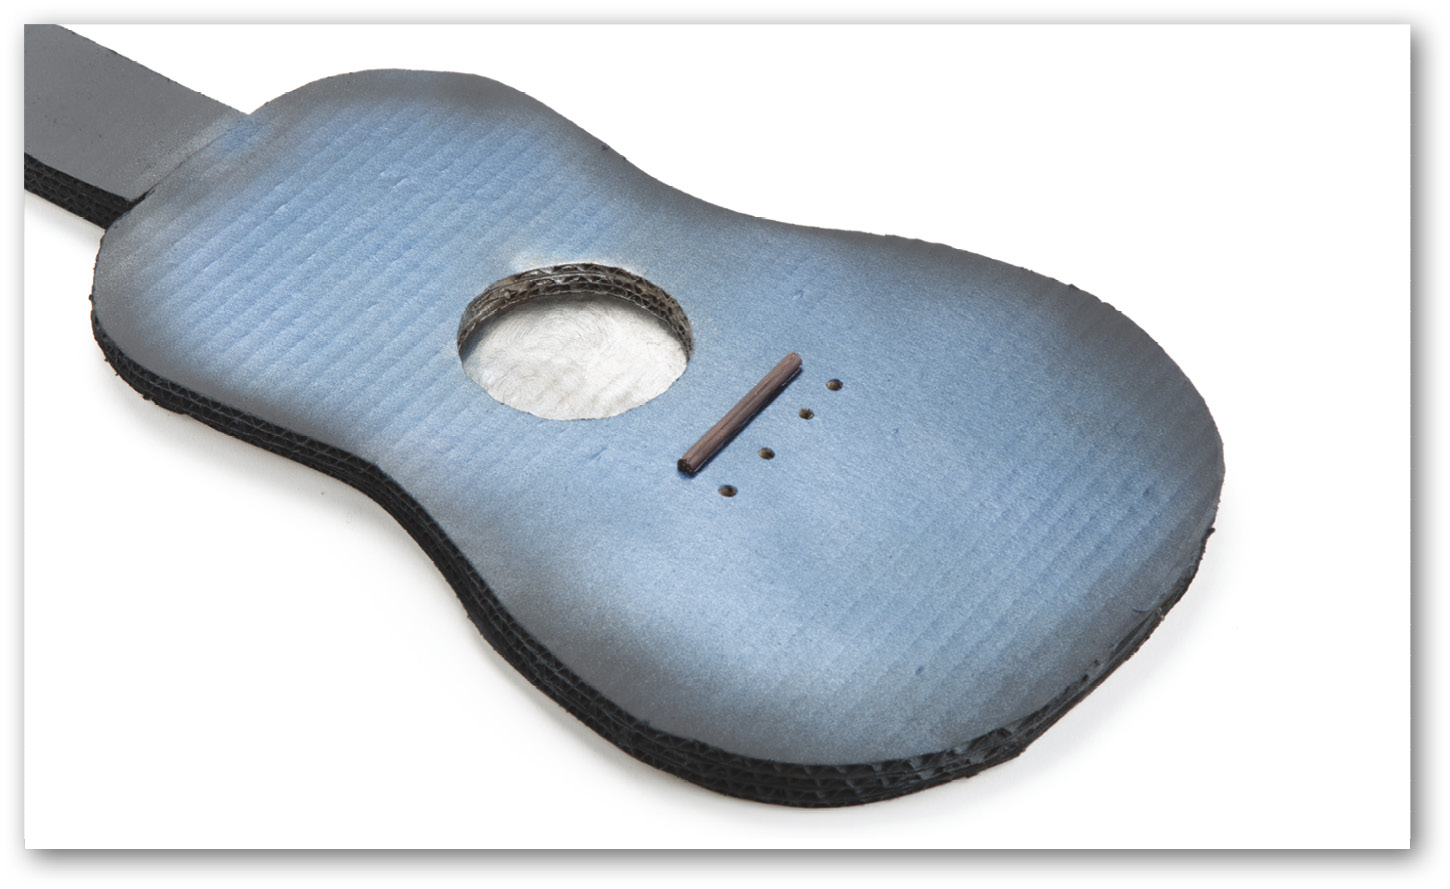
- Step 5: Measure 1 inch (2.5 cm) from the bottom of the sound hole. Mark a 2.5-inch (6.4-cm) long line at this spot. Measure and mark a 1.5-inch (3.8-cm) long line at the top of the guitar neck. Make a small slit along each line. Place a 2.5-inch (6.4-cm) and a 1.5-inch (3.8-cm) long piece of dowel in the slits and glue them in place.

- Step 6: Measure and mark four evenly spaced holes below the sound hole about 0.5 inch (1.3 cm) below the dowel. Measure and mark four more holes about 0.5 inch (1.3 cm) above the dowel in the neck piece. Ask an adult to help you drill 1/8-inch (0.3-cm) wide holes through the guitar at the marks.
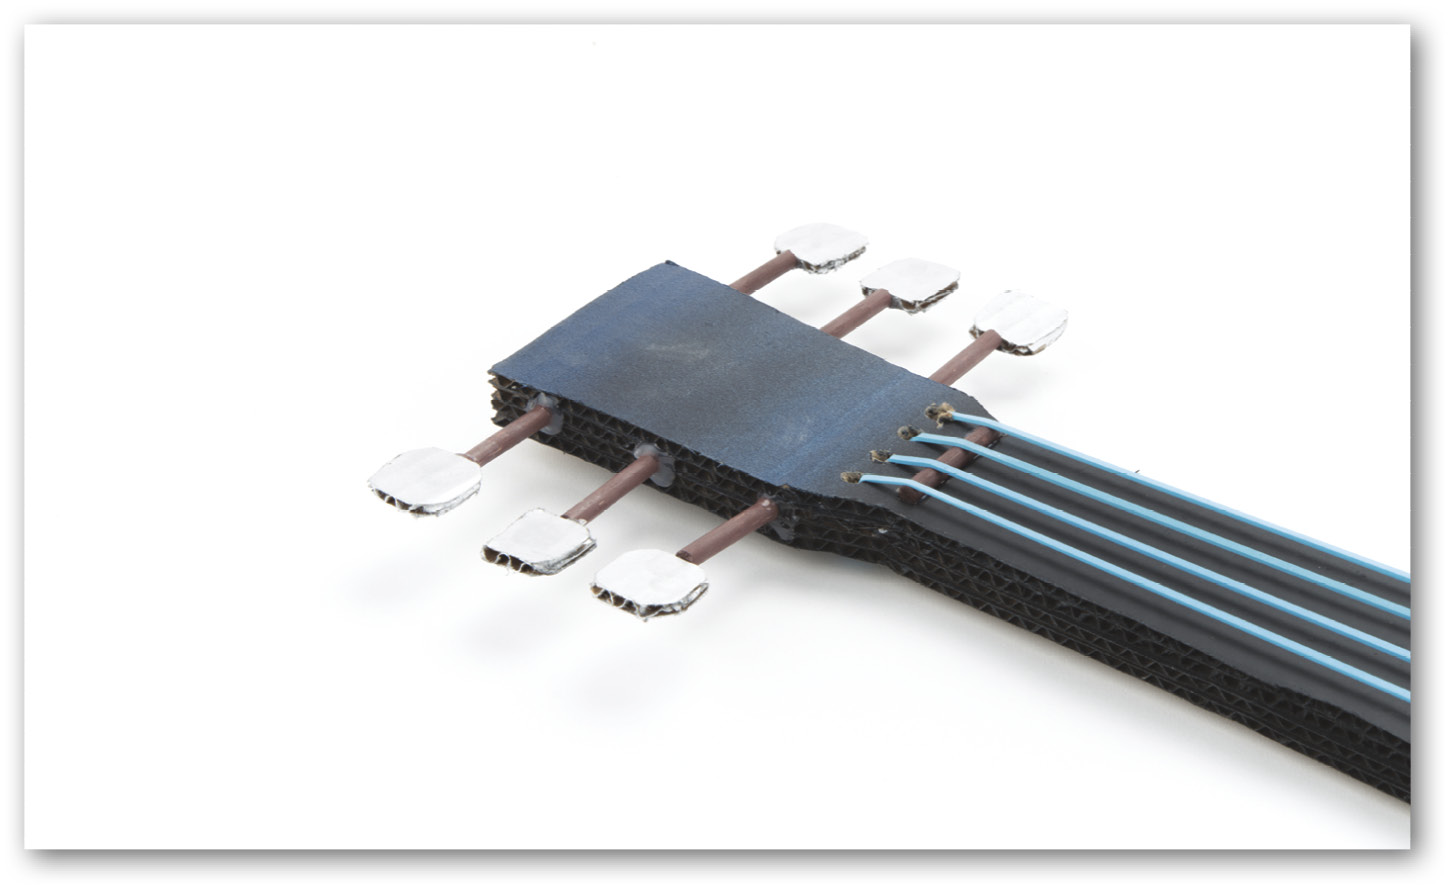
- Step 7: Snip the rubber bands so they are straight pieces instead of loops. Thread one rubber band through each bottom hole at the back of the guitar. Tie the end of each rubber band to one large paper clip. Turn over the guitar and pull the rubber bands snugly. Thread the other ends of the rubber bands through the top set of holes. Tie the ends to a second paper clip. The paper clips should be snug against the back of the guitar to help hold the rubber bands firmly in place.
- Step 8: Cut six 1.5-inch (3.8-cm) long pieces of dowel. Hot glue three of them on each side of the guitar head. Glue key-shaped cardboard cutouts to the ends of the dowels.
- Step 9: Glue the three water bottle caps to the lower side of the guitar body for volume and tone control buttons. Now youre ready to rock out!
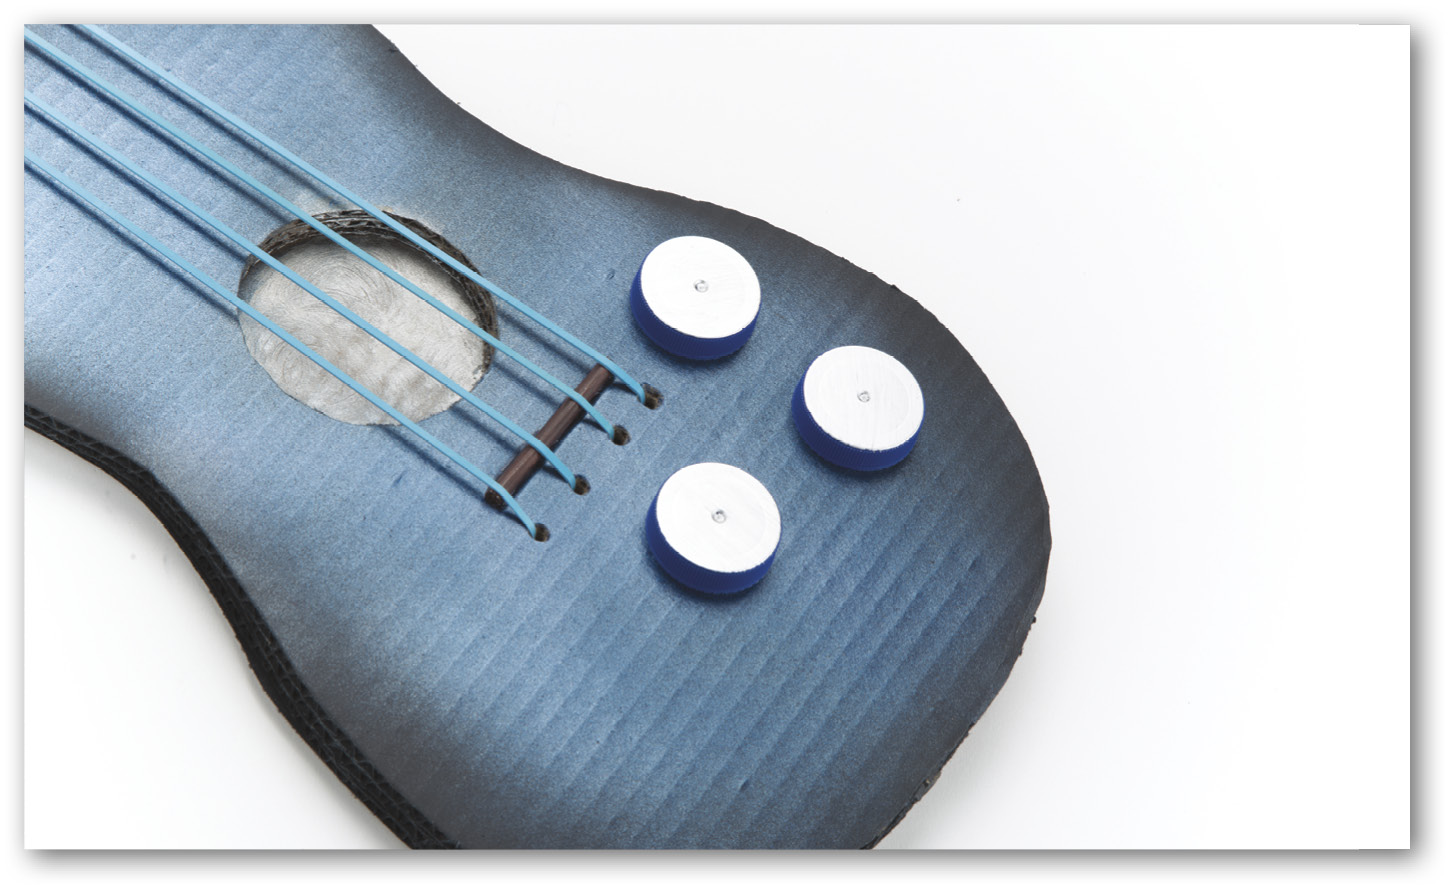
Tip: Make your guitar look even cooler by painting on lightning bolts or flames.
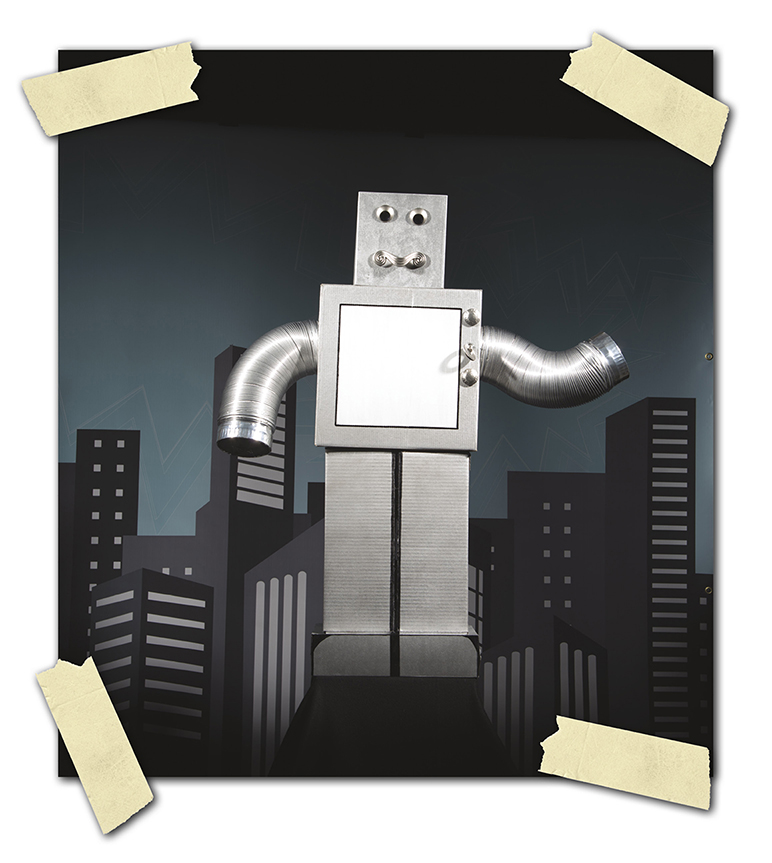
Need a place to post your baseball schedule or send a message to your little brother? Just use this awesome cardboard android assistant! Have fun using dry erase markers to write messages to your family on the whiteboard body.
- 1 large square cardboard box
- 1 medium square cardboard box
- 2 medium rectangular cardboard boxes
- masking tape
- silver duct tape
- 2 pieces of dryer vent hose, 20 inches (51 cm) long
- silver spray paint
- whiteboard paint
Font size:
Interval:
Bookmark:
Similar books «Cool Cardboard Projects You Can Create»
Look at similar books to Cool Cardboard Projects You Can Create. We have selected literature similar in name and meaning in the hope of providing readers with more options to find new, interesting, not yet read works.
Discussion, reviews of the book Cool Cardboard Projects You Can Create and just readers' own opinions. Leave your comments, write what you think about the work, its meaning or the main characters. Specify what exactly you liked and what you didn't like, and why you think so.