Build Fantastic Recycled Projects!
Think about everything youve thrown out recently. Maybe you threw away a milk jug, some newspapers, tin cans, or plastic water bottles. That may not seem like much, but people in the United States throw away nearly 251 million tons (228 million metric tons) of garbage every year!
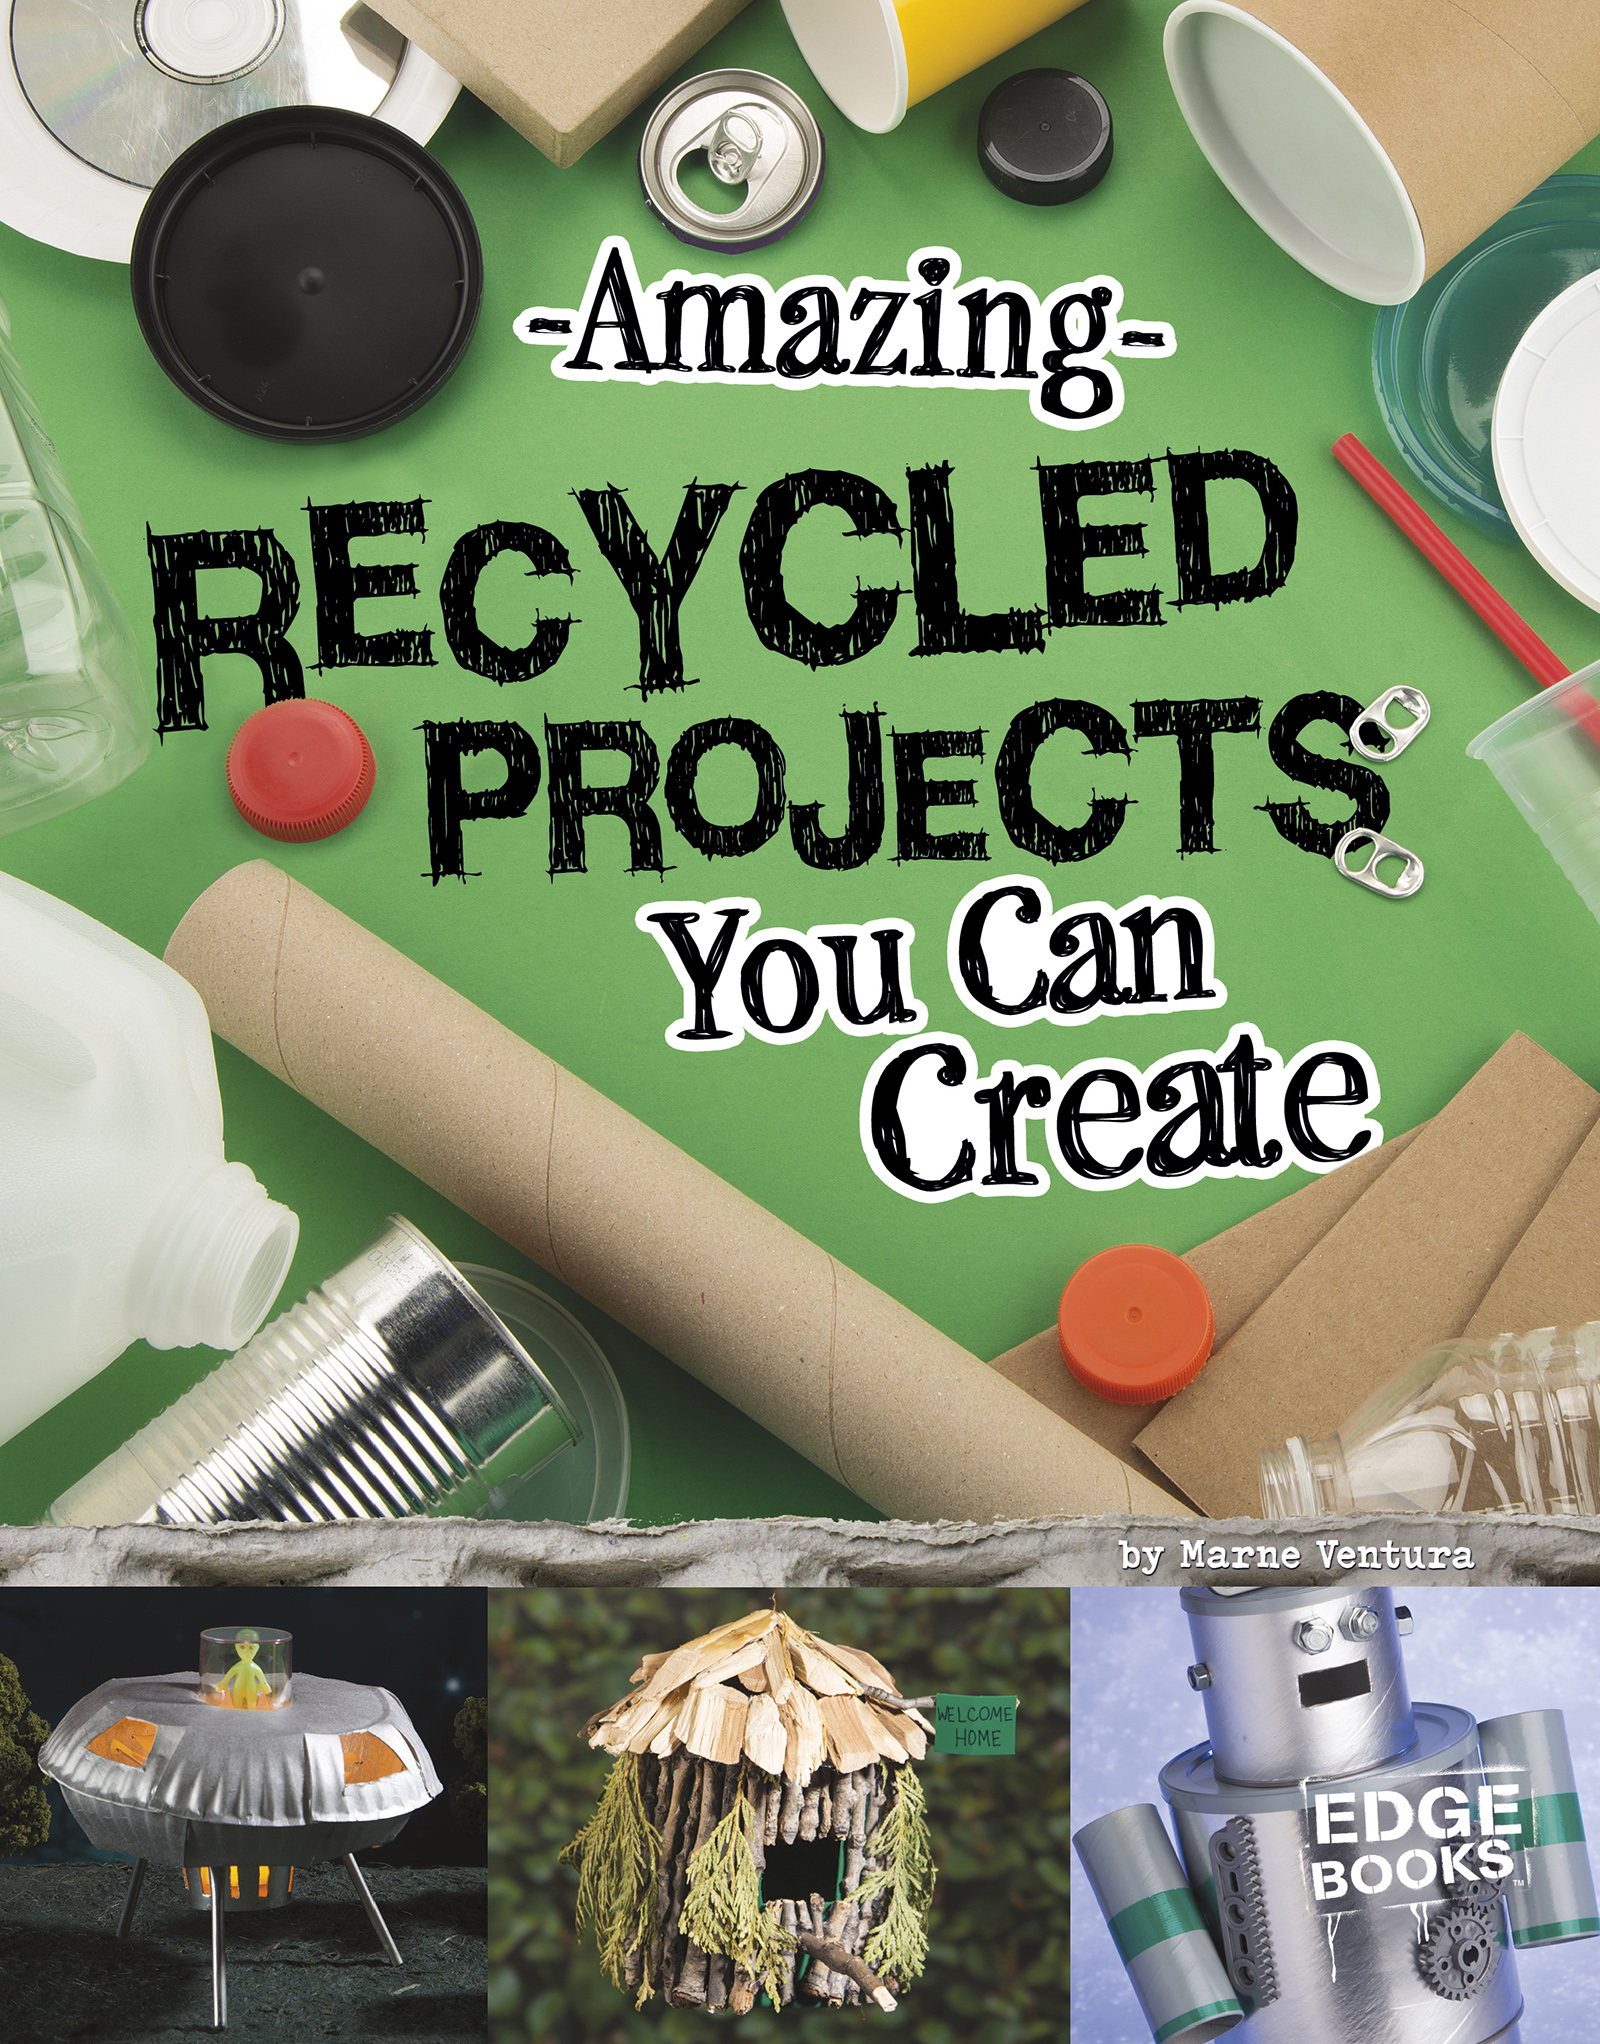
Thankfully, all this trash can be greatly reduced by recycling. Many materials, such as glass, paper, plastic, and metals can be reused in new objects. For example, magazines and greeting cards can be made from recycled paper. Recycled plastic is often used to make new bottles and even furniture!
There are fun ways to recycle trash as well. Instead of throwing bottles and cans in the recycling bin, use them to make some awesome stuff! Get ready to build robots, UFOs, catapults, and other amazing projects while helping to keep Earth clean at the same time!
Tools Needed
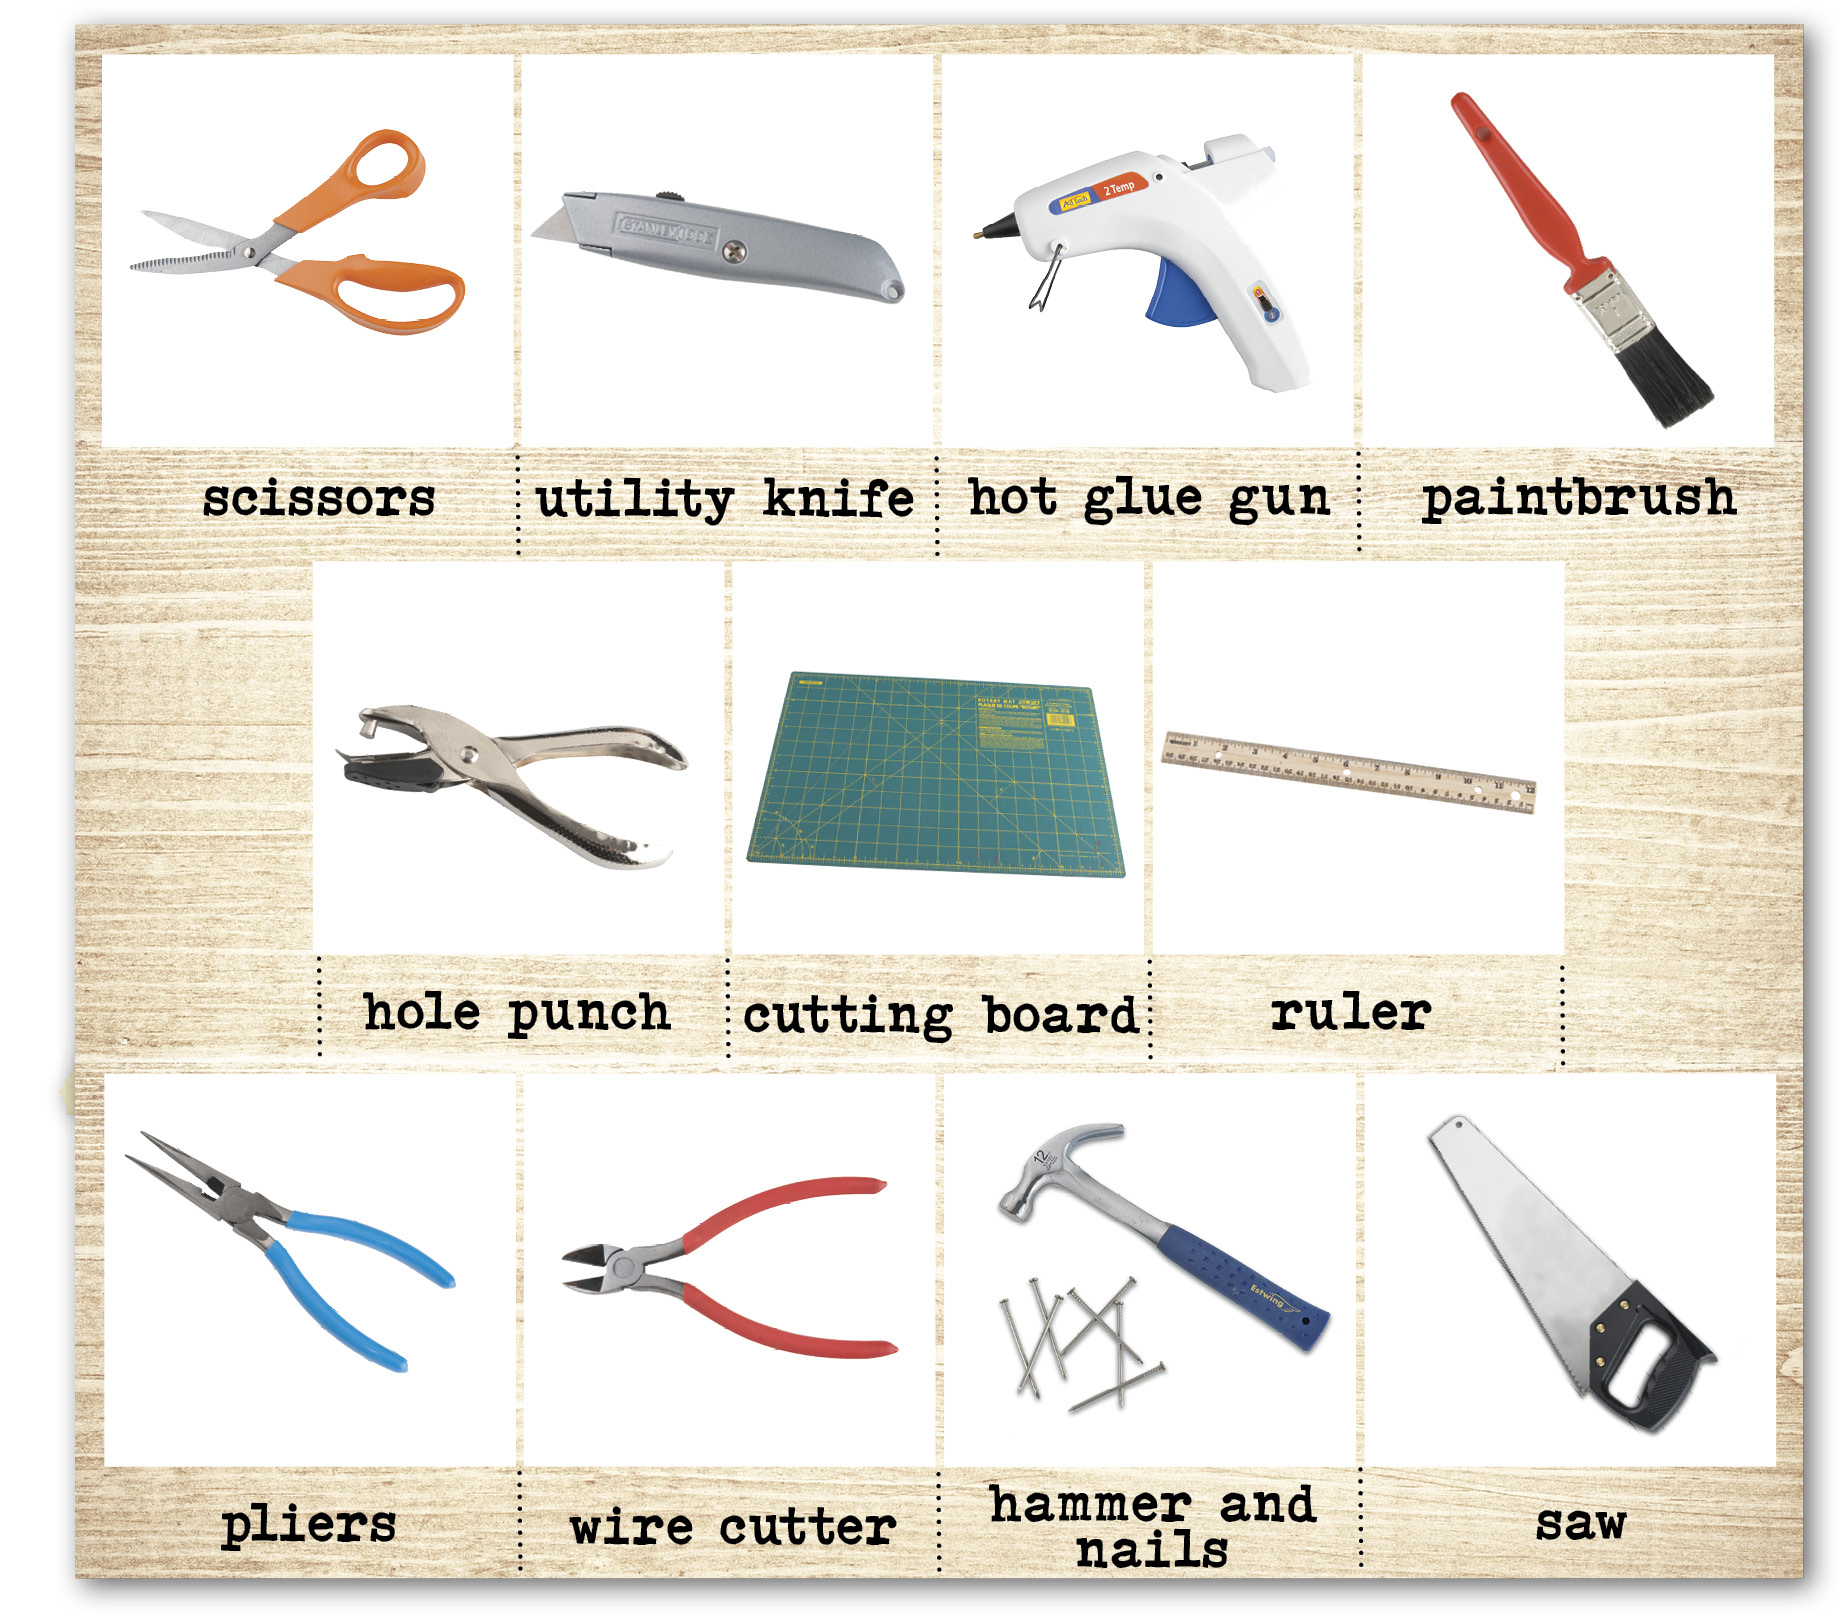
Youll need some common tools to make many of your projects. Gather the following tools and store them in a box so theyre easy to find when you need them. Remember to always ask an adult for help when using sharp knives, scissors, or hot glue guns.
Tips and Tricks
- Get a good cutting mat. Craft stores sell mats with grid lines that help make measuring easy. A wood or plastic cutting board and a ruler will also work well.
- Before starting a project, read through all of the steps and be sure to gather all the necessary materials.
Creative Tin Can Lanterns
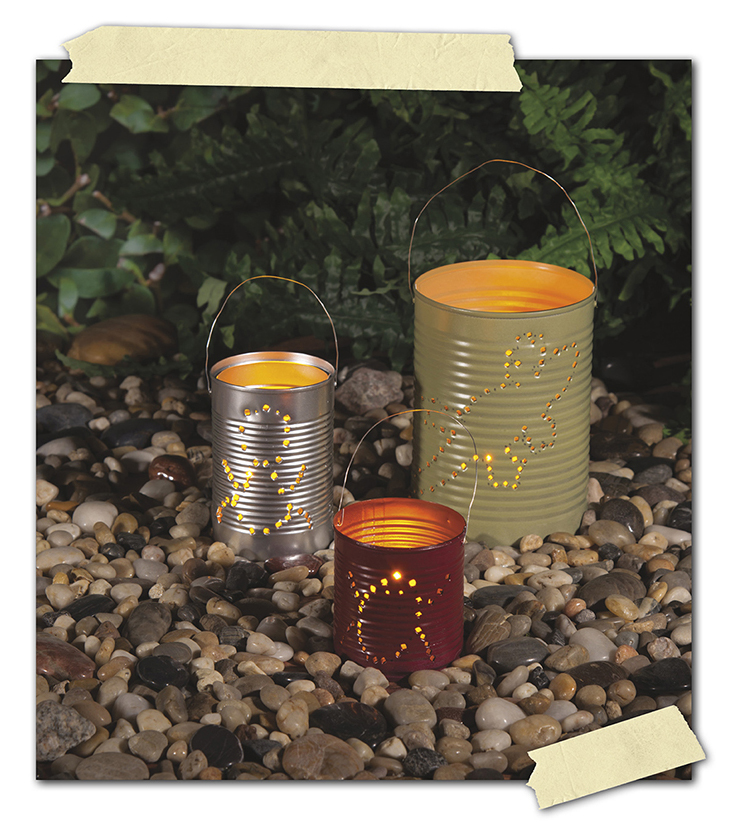
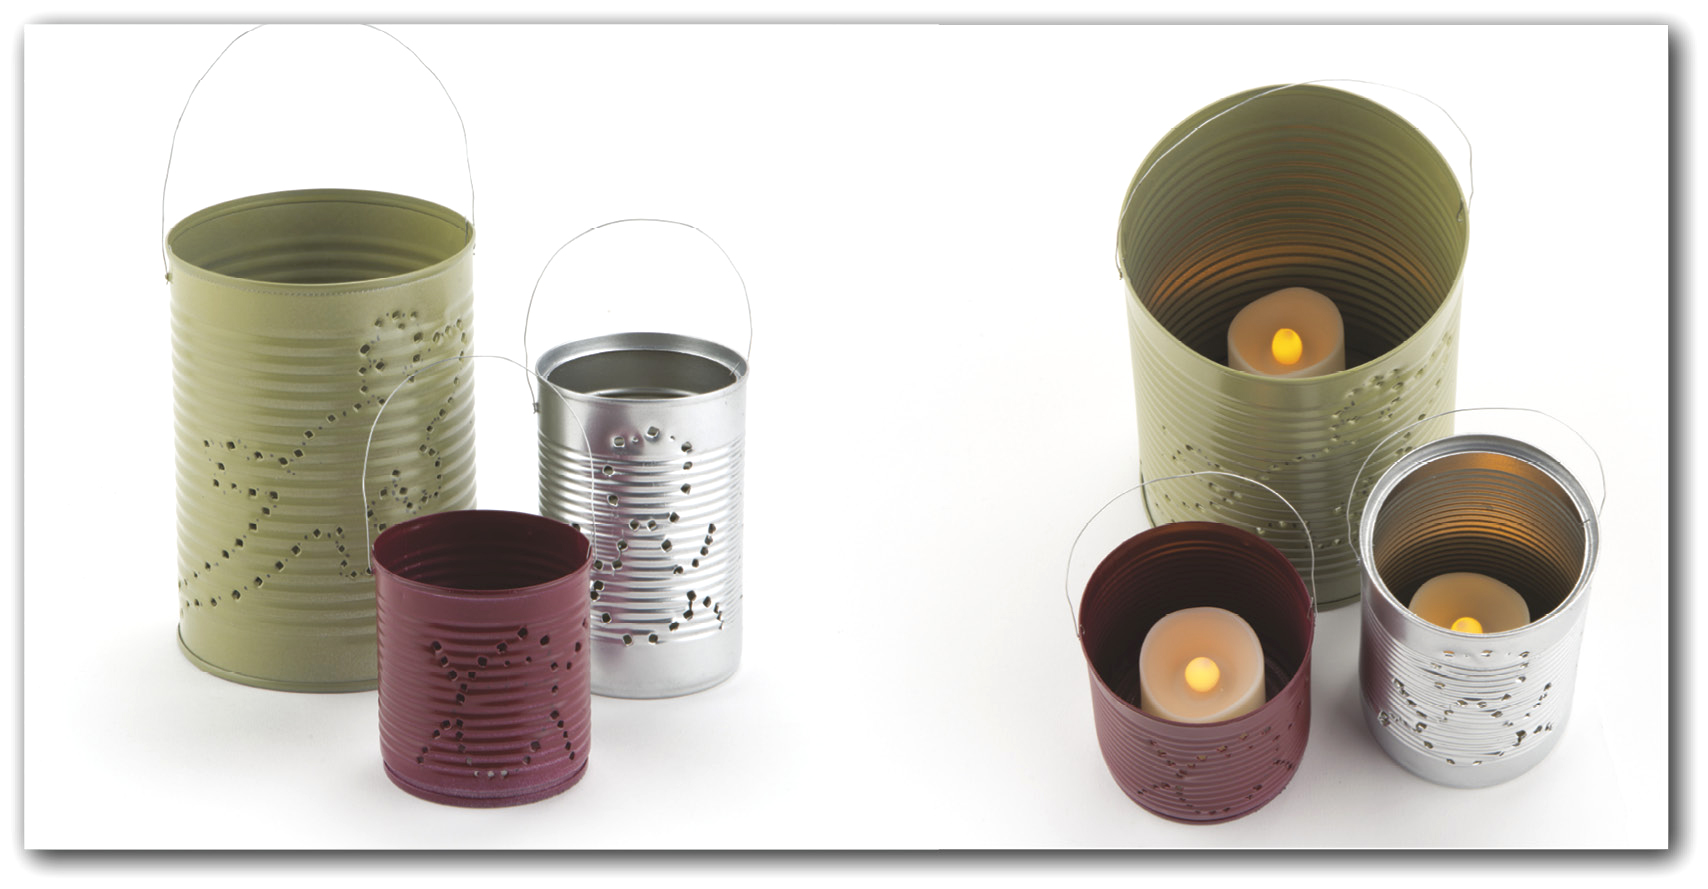
Dont throw out used tin cans. Wash them out and make some cool lanterns instead! These little lanterns can come in handy for a nighttime nature hike. Or you can use them as a decoration for your room.
MATERIALS:
- several tin cans, 7 to 14 ounces (200 to 400 grams)
- black marker
- battery-operated tea light candles
- several pieces of stiff wire, 8 inches (20 cm) long
- acrylic paint (optional)
- Step 1: Ask an adult to make sure the edges of your cans are smooth. Remove any labels from the cans and wash them well with soapy water. Dry the cans completely.
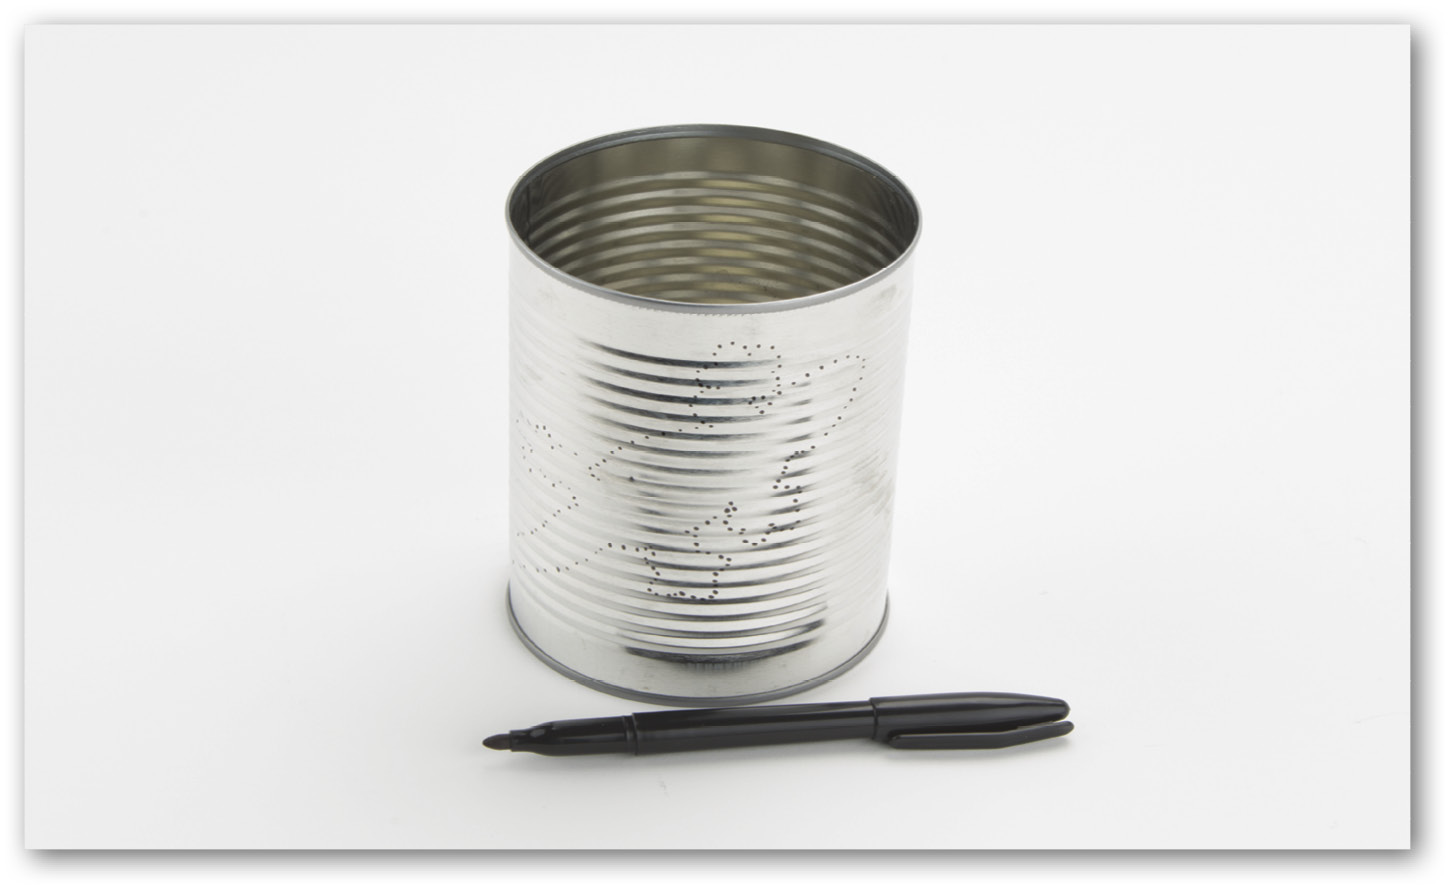
- Step 2: Use a marker to make dots on the cans in the shape of footballs, skulls, bugs, or other objects. Mark an extra dot near the top on each side of the cans for the handles.
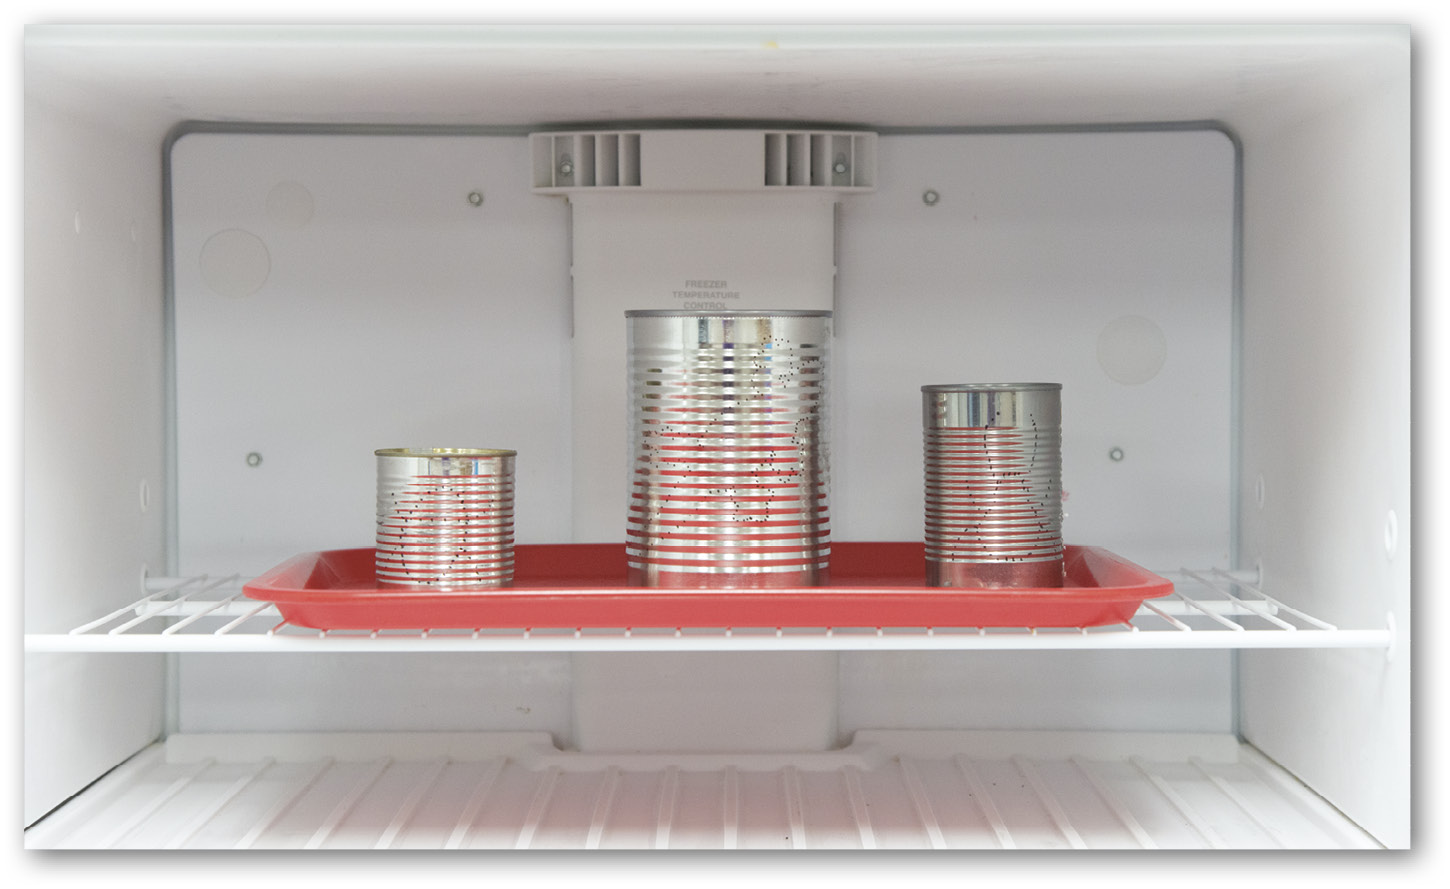
- Step 3: Fill the cans with water and place them in the freezer until completely frozen.
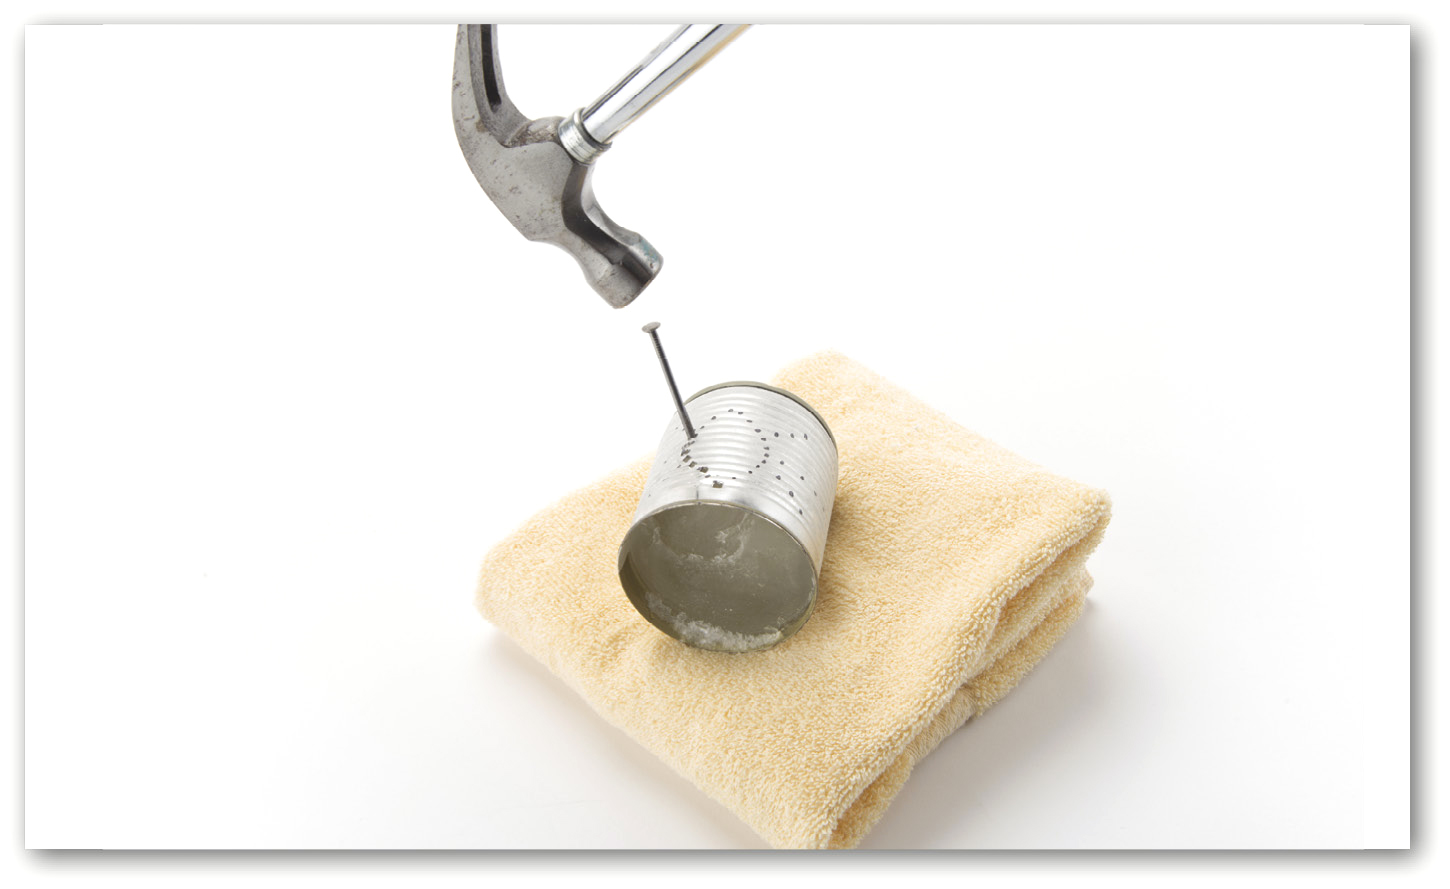
- Step 4: Ask an adult for help on this step. Fold a heavy towel on a sturdy work surface. Lay each can on its side. Use a hammer to tap the point of a nail through each dot to make holes.
- Step 5: Place the cans in a big bowl of warm water to melt the ice. Dry off the cans and paint them if you wish.
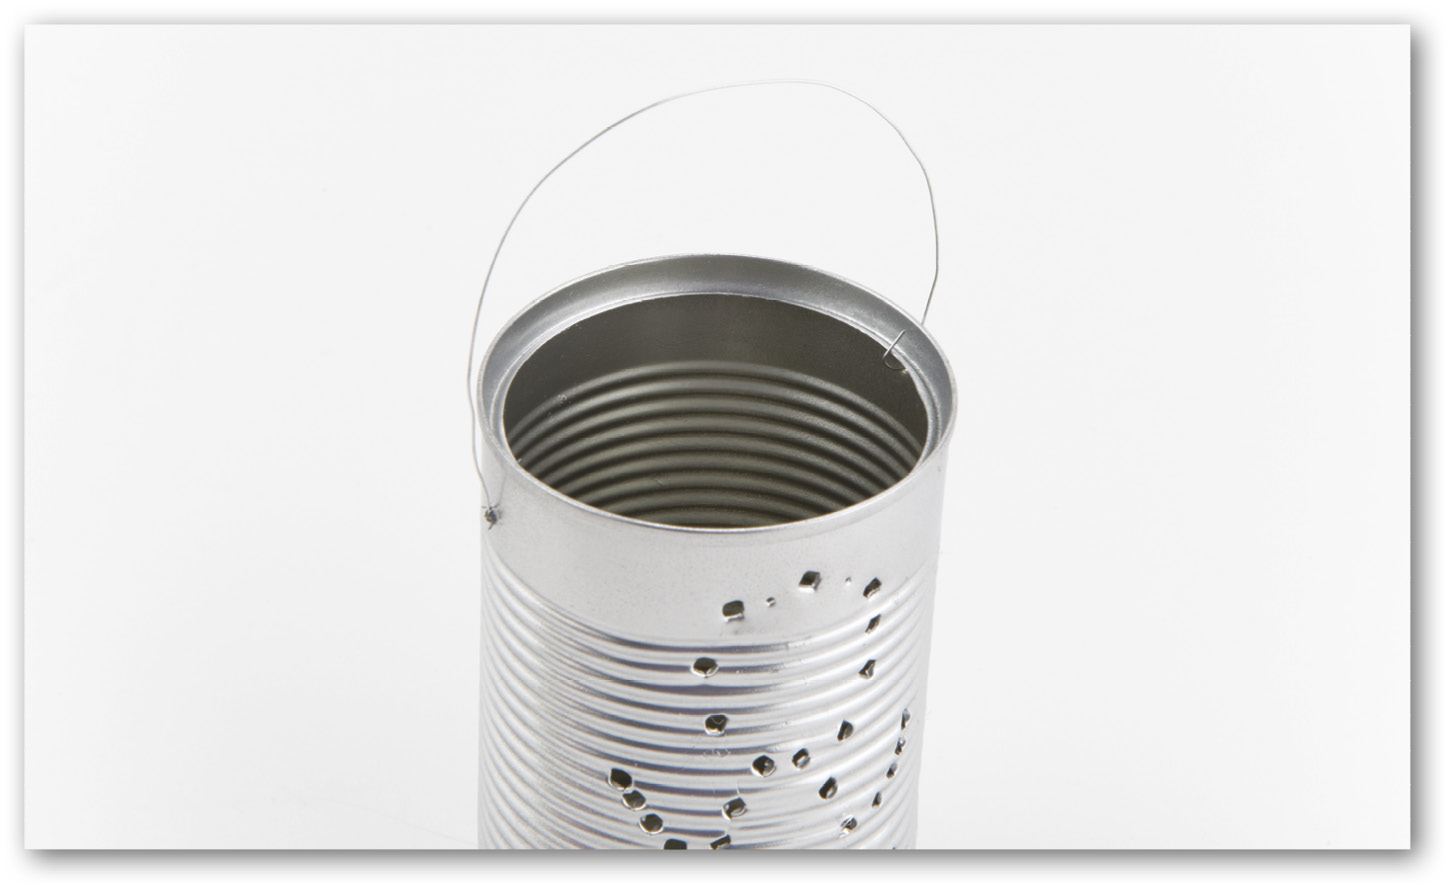
- Step 6: Use pliers to bend the ends of the wires into hook shapes. Bend the wires into large U shapes. Insert the hooked ends into the holes near the tops of the cans to form handles.
- Step 7: Add battery-powered tea lights to each can. Now youre ready for a nighttime stroll at the nearest park!
Tip: Punch holes in the form of different constellations. Then place the can upside down over a tea light to project a starry night sky in your room.
Cool Coffee Can Birdhouse
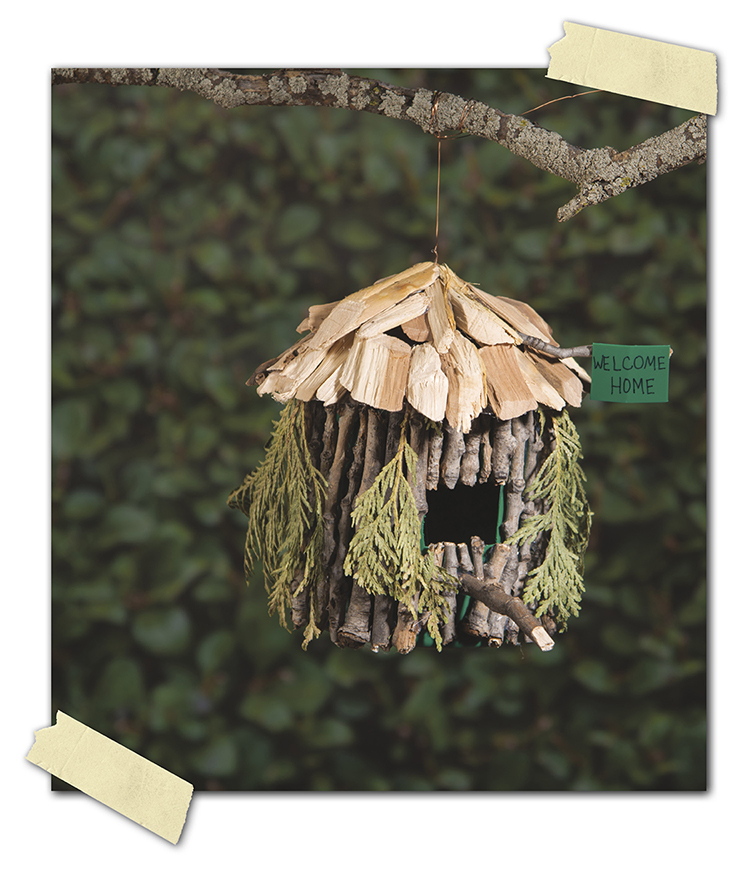
Everyone needs a place to live, even the birds. With a recycled coffee can and some sticks, you can give homeless birds a warm, dry place to call home.
MATERIALS:
- 1 large plastic coffee container
- 1 sheet of plastic or a plastic placemat
- 1 plate, 12 inches (30.5 cm) wide
- many thin, straight sticks and twigs, 4 to 7 inches (10 to 18 cm) long
- wood chips
- flexible wire, 3 feet (0.9 meter) long
- drill and drill bits
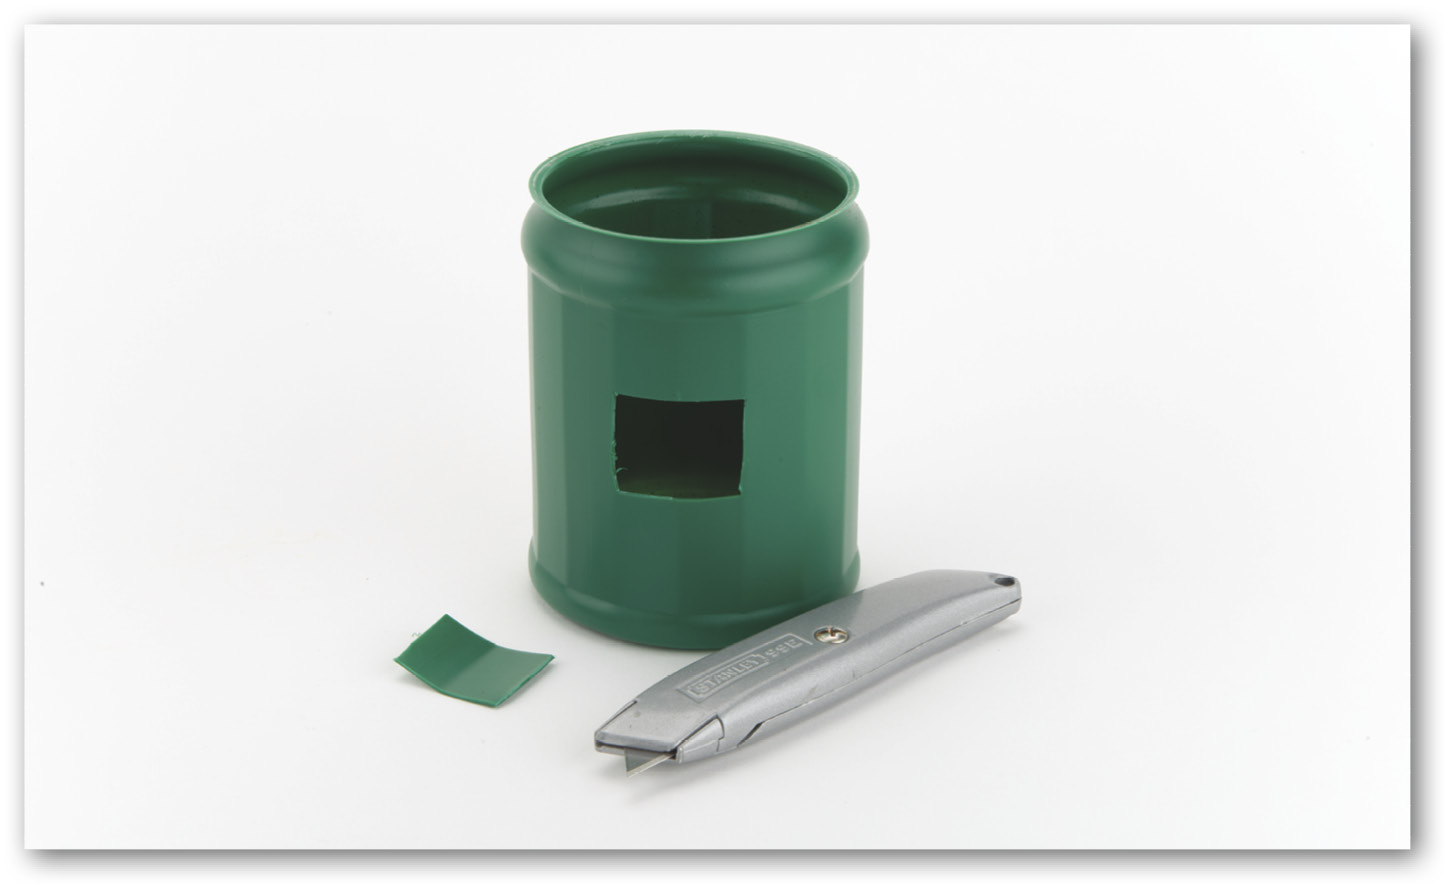
- Step 1: Find an adult to help you before beginning this project. First clean the coffee container with soap and hot water. When dry, cut a 2.5- by 3-inch (6.4- by 7.6-cm) window in the can.
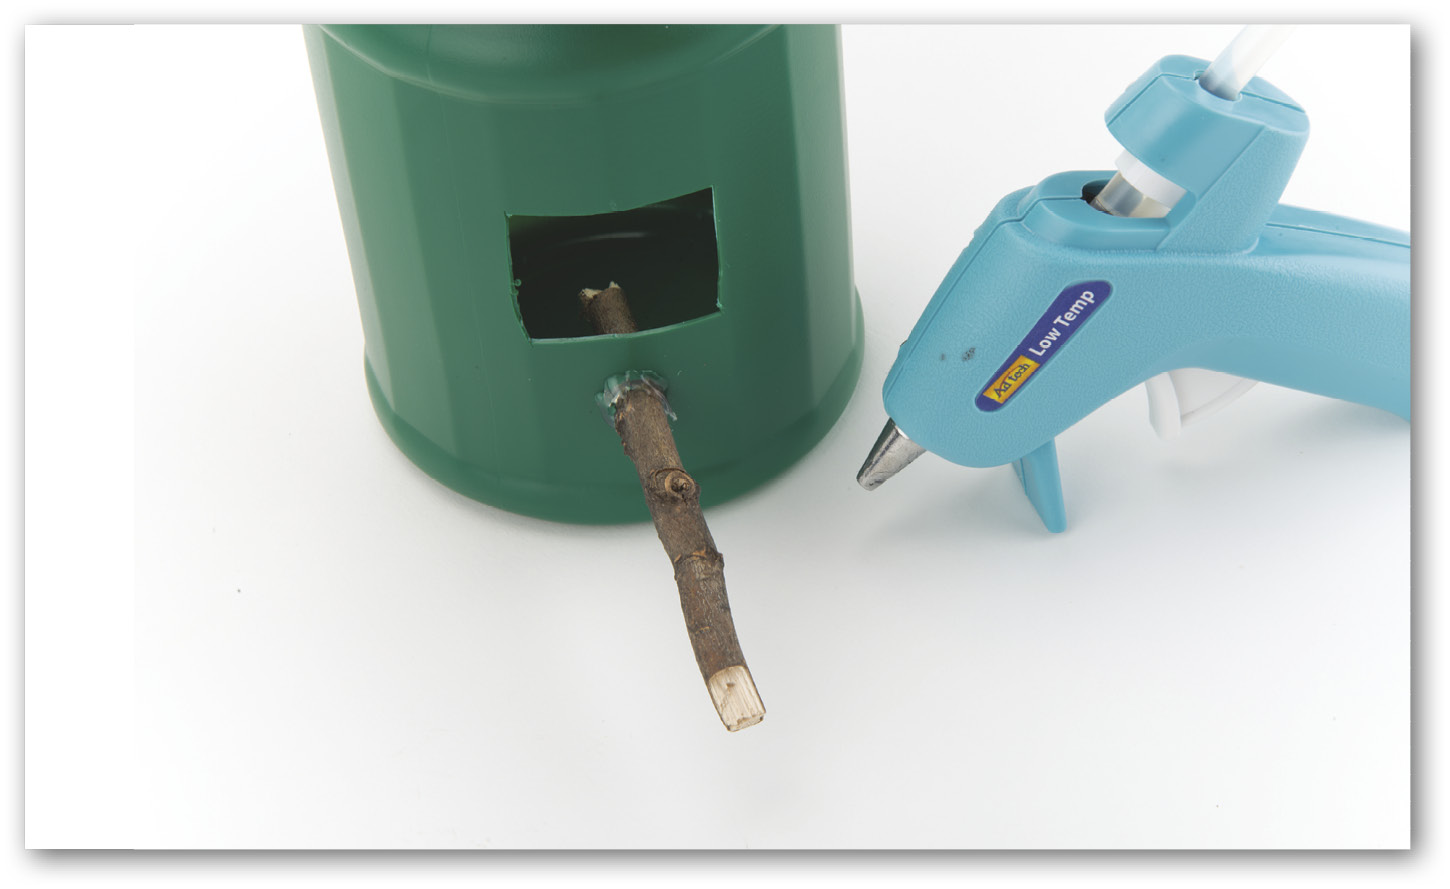
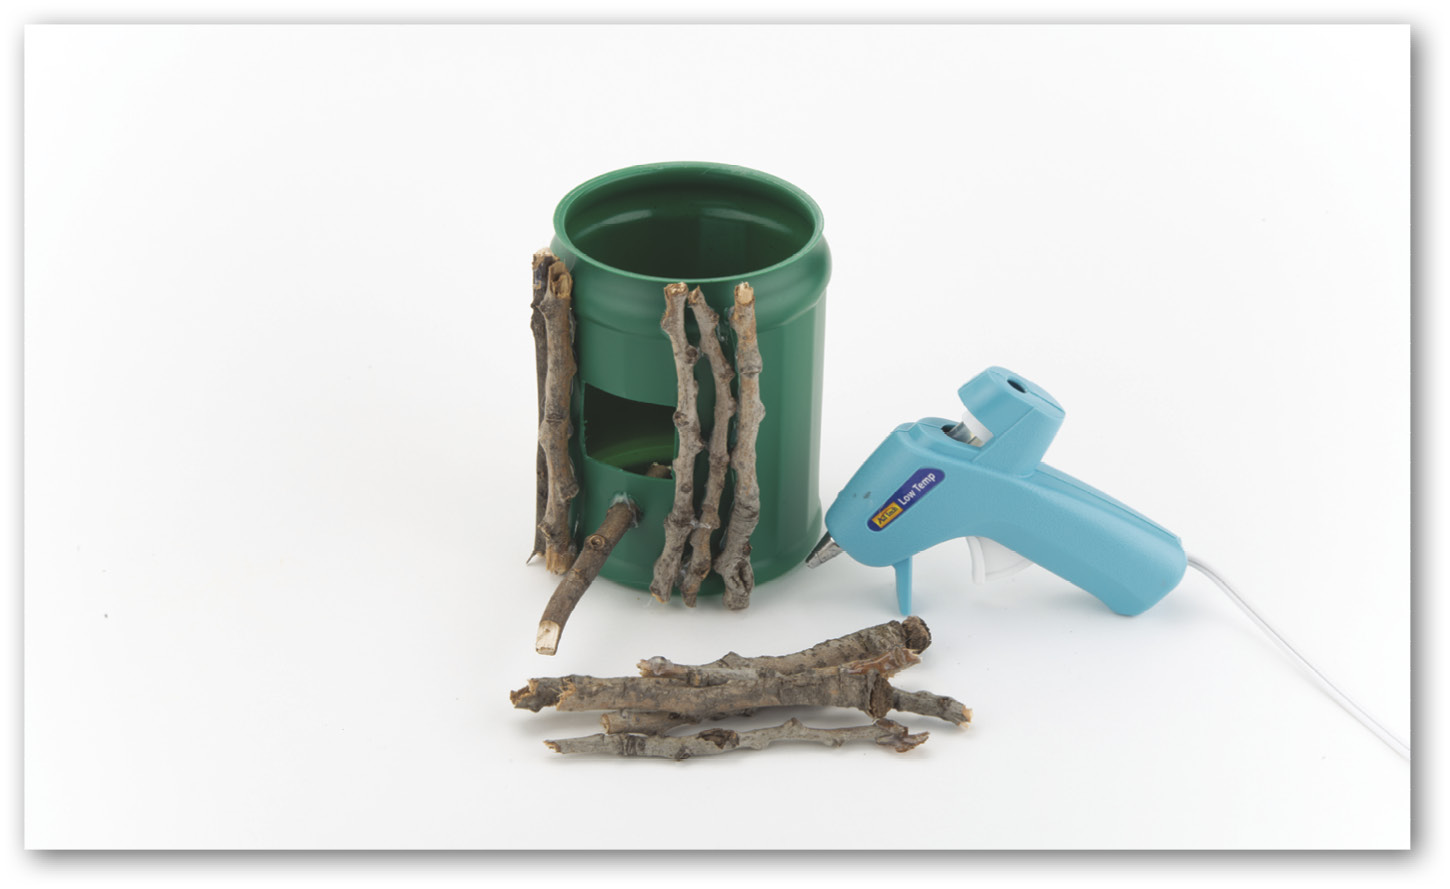
- Step 2: Have an adult drill several small holes in the sides and bottom of the can. This helps keep moisture from building up inside the birdhouse. Drill a large hole under the center of the window. Insert a 4-inch (10-cm) long twig and hot glue it in place to make a perch.
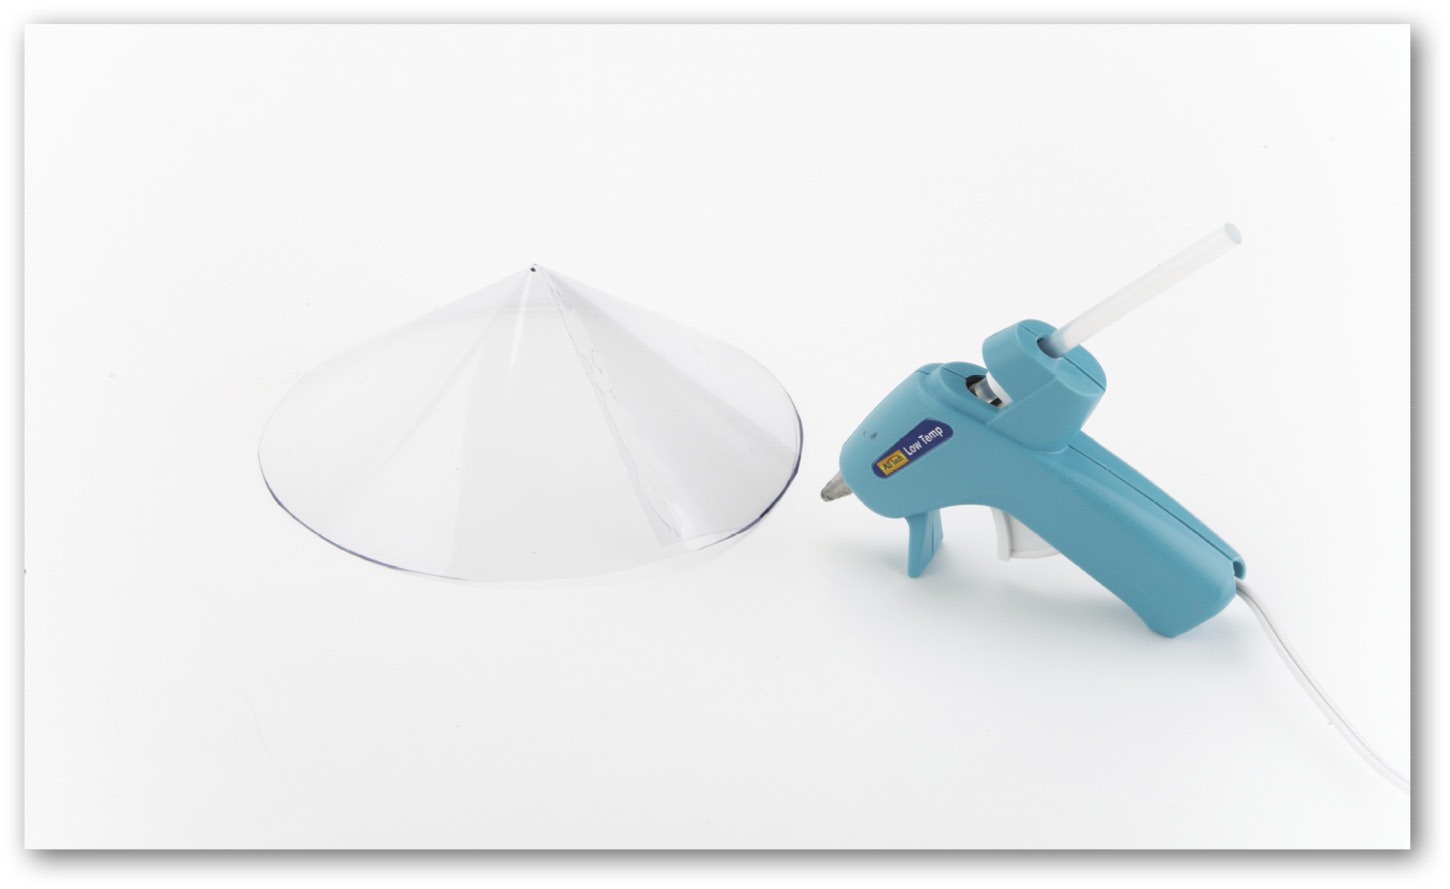
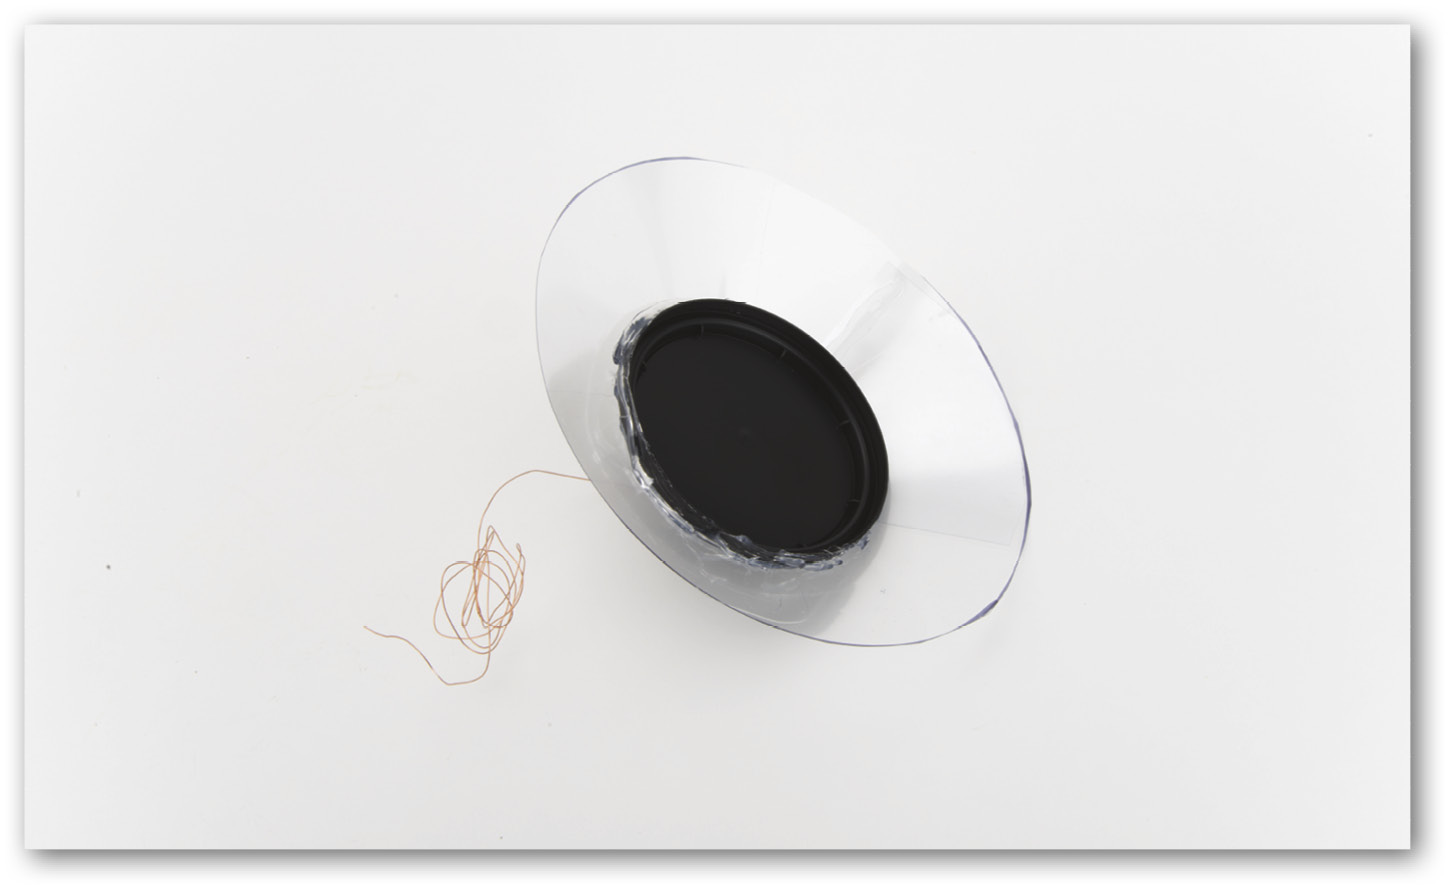
- Step 3: Use the plate as a pattern to draw a circle on the plastic placemat. Cut out the circle. Mark the center point of the circle and cut a single line to that point. Overlap the two sides by 0.5 inch (1.3 cm) to form a cone. Glue the sides together.
- Step 4: Twist a small loop onto one end of the wire. Thread the wire through the point of the cone. Hot glue the loop in place inside the cone. Glue the coffee can lid inside the cone. Cut off the excess plastic overlapping the lid.
- Step 5: Use hot glue to cover the birdhouse with sticks and twigs. Glue them vertically, side by side. Measure and cut the sticks to fit over and under the window.


