carefully quilts
a free style twist on classic designs

Joy-Lily

Welcome to Carefree Quilting!
T he credo of this book is Perfection is Optional! I believe that quilting should always be enjoyable and relaxing. If you are a novice quilter, the projects in this book are designed to help you feel comfortable while making something youll love. Consecutive projects will gradually help you improve your piecing and quilt finishing skills. Meanwhile you will become familiar with several traditional quilt block designs.
All twelve block designs in this book have been student-tested. They are somewhat loosey-goosey on purposethis casual look will provide you freedom from frustration when you sew the blocks. Be sure to follow the cutting instructions carefully; there is a tiny bit of extra fabric in each of the measurements to allow wiggle room in your seams. After sewing together each block, you will trim it to the exact size, so all the blocks will fit together just right. This is a new, more quilter-friendly type of patchwork instruction. So if you are an experienced quilter, you are in for a treatmore fun and less stress. If you are new to quilting, the forgiving techniques in this book make it a perfect primer for you.
Turn on your sewing machine and become a carefree quilter!
Joy-Lily
CHAPTER
Start Here: Tools, Rules, Tips and Tricks
Writing a book that is fresh and interesting to experienced quilters and at the same time offers the very basics of quilting to newbies is one of my challenges here. It's the same challenge I face several times a week teaching my mixed-level quilt classes. If you are completely new to quilting, be sure to read this chapter before beginning your first project. It will help you with burning issues like what kind of fabric to buy, what kind of thread to use and how to handle your sewing machine when it has a tantrum. This chapter is also full of little hints that will make your first project fun and successful.
If you are a quilter who has been around the cutting table a few times, you may find some useful new information hereor perhaps a good laugh. Take what you like, and do the rest your own way.
Before You Begin
Start Smart
The order of blocks in this book begins with the easiest one (Snow Flower block, page 28) and increases gradually in complexity with each new block in the same chapter. Along the way are two different techniques for sewing patchwork. The first project section of the book shows you the Sew, Flip and Trim method (page 26). The second section teaches you the Stack, Slice, Swap and Sew method (page 60). The third section, Combination Blocks (page 86), blends elements from earlier blocks for three totally new block designs and a full sampler quilt.
Take a break from any perfectionist tendencies you may have while sewing these blocks. If the points get lopped off or the corners don't exactly match, that's part of the playful charm of these projects. As Lisa Boyer says in her hilarious book That Dorky Homemade Look: Quilting Lessons from a Parallel Universe, "Oh well, no one will notice." But do check the measurements carefully before you cut fabric. They are calculated to give you a stress-free experience while making each block and project.
Hand piecing was the only patchwork option until the middle of the nineteenth century when the sewing machine was invented. Those quilters were early adopters of the new machinerythey took to machine sewing as soon as they could! The piecing in this book is intended entirely for machine sewing. The edges get trimmed in the final step of sewing each block, so hand-stitching would come loose. If you love the feel or meditation of hand sewing, you can always finish your quilts with hand quilting. Hand quilting gives your project a soft "maker's hand" look. See pages 112-121 for more information on completing your project.
Quilter's Math
Each of the quilt blocks in this book trims into a 12" square. Several of the projects like the Walk in the Park Table Runner (page 28) and the MOONGLOW BABY QUILT (page 34) also include 6" mini-blocks. In many other projects, instructions for optional mini-blocks are given in sidebars. Because all twelve block designs are the same two sizes, they are all interchangeable. For example, you can use the Wacky Web blocks instead of the Snow Flower blocks to make the table runner (page 28), or use twenty Roman Snake blocks (page 94) to make a bed quilt instead of a pillow. You can use four mini-blocks to replace any full-size block. The number of possible block and project choices is astronomical. Get creative!
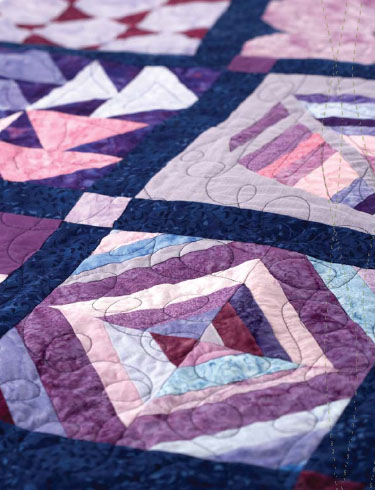
If you decide to sew each of the twelve blocks once, you will actually end up with nineteen blocks (this is quilters' math); the process of cutting and sewing blocks with the Stack, Slice, Swap and Sew method usually makes two blocks at once. The Four Play block (page 62) makes four! Sew up one additional block for a total of twentythat's enough blocks to put together a four by five block sampler quilt like the one on page 108.
Don't worry about figuring out how much fabric you need for each project; I've done that math for you and added a little surplus yardage in case of cutting exuberance
Quilt for Joy, Not to Order
You'll likely want to make quilts for other people, but be sure to enjoy yourself and have a stress-free experience. If you decide to make a quilt for someone else, I strongly recommend that you discourage specific requests. Be vague about what colors they will get. Please yourself first, because you will be interacting closely with these colors and designs for a while.
Avoid working to deadlines, too. If the baby arrives before the quilt, he or she won't really know the difference. (Call me a cynic, but I don't make wedding quilts until several years after the marriage ceremony.) If a gift quilt for a birthday, Hanukah, Christmas or Father's Day is not done on time, give the recipient a photo of the work in progress. Think how delighted he or she will be when the actual gift arrives at an unexpected moment.
Remember to have fun. Be creative, and quilt for your own pleasure. Get started now for a satisfying and possibly lifelong passion of making beautiful, lovingly-stitched quilts.
Necessary Tools and How to Use Them
You will need all of the tools explained in this section to complete the projects in this book.
Rotary Cutting Tools
- Rotary cutte
- Self-healing cutting mat
- Quilters' ruler
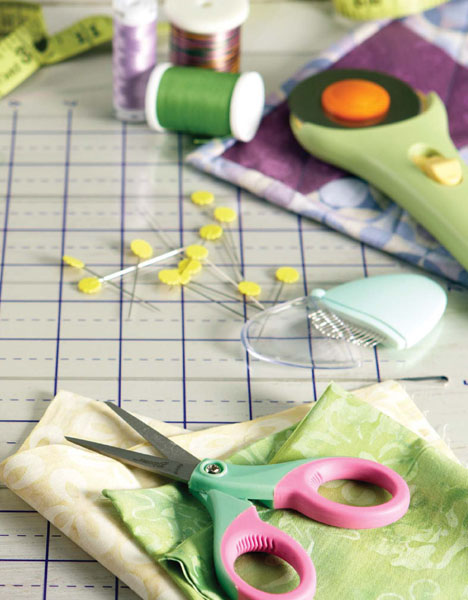
The rotary cutter is the best tool ever invented for quilters! This tool looks like a pizza cutter and has a razor-sharp blade that will slice with precision through several layers of fabric. It cuts quilt pieces better than any scissors. Use it with a clearly marked, heavy plastic quilters' ruler, and cut only on a self-healing cutting mat to produce the strips, squares, triangles and curves called for in this book. An 18" 24" mat is an appropriate size for most quilting projects. A 24" 6" ruler is the most versatile size.
Next page

