Introduction
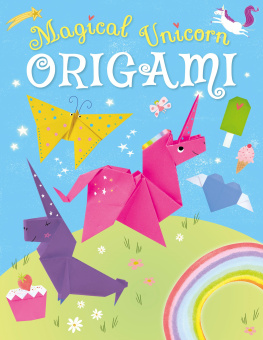
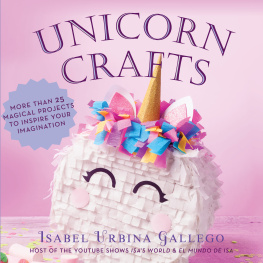
Lets explore the wonderful world of unicorn origami. In this book, youll learn how to make an awesome assortment of origami unicorns as well as models of their magical friends and some delightful treats for a unicorn picnic.

In traditional origami, the models are usually made from a single sheet of folded paper with no cutting or gluing involved. Weve broken the rules here and there to make our models as magical as possible.
Ask an adult to help with any projects that need scissors and glue. Otherwise, all you need to get started is a square of paper and your fingers. If you havent made origami models before, try some of the easy projects first. Now, lets get ready for some unicorn folding!
Getting Started
The paper used in origami is thin but strong, so that it can be folded many times. You can use ordinary scrap paper, as long as its not too thick.
A lot of these origami models are made with the same folds and basic starting designs, known as bases. This introduction explains some of the ones that will appear most, so its a good idea to master these before you start. When making the projects, follow the key to find out what the lines and arrows mean. And always crease well!

Basic Folds
Valley Fold
To make a valley fold, fold the edges of the paper toward you, so that the crease is pointing down, like a valley.
To make a mountain fold, fold the edges of the paper away from you, so that the crease is pointing up, like a mountain.
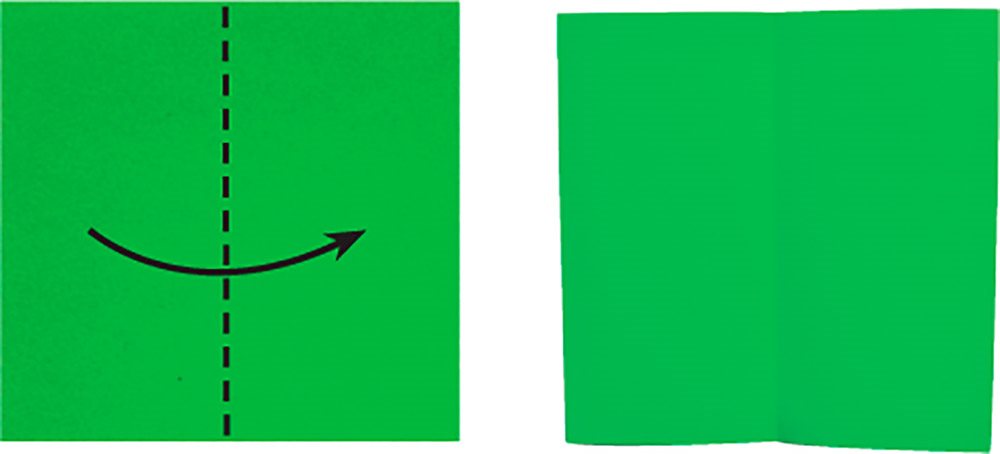
Mountain Fold
To make a mountain fold, fold the edges of the paper away from you, so that the crease is pointing up, like a mountain.
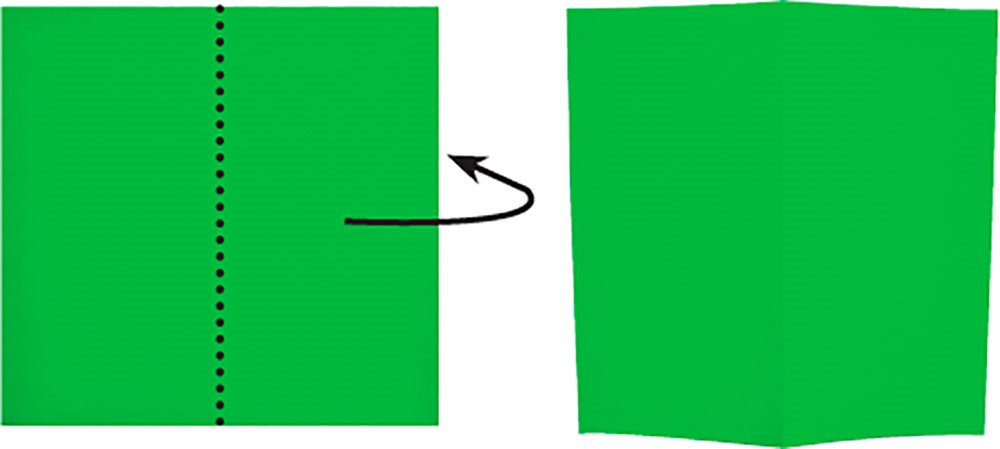
Step Fold
A step fold is used to make a step or zigzag in the paper.
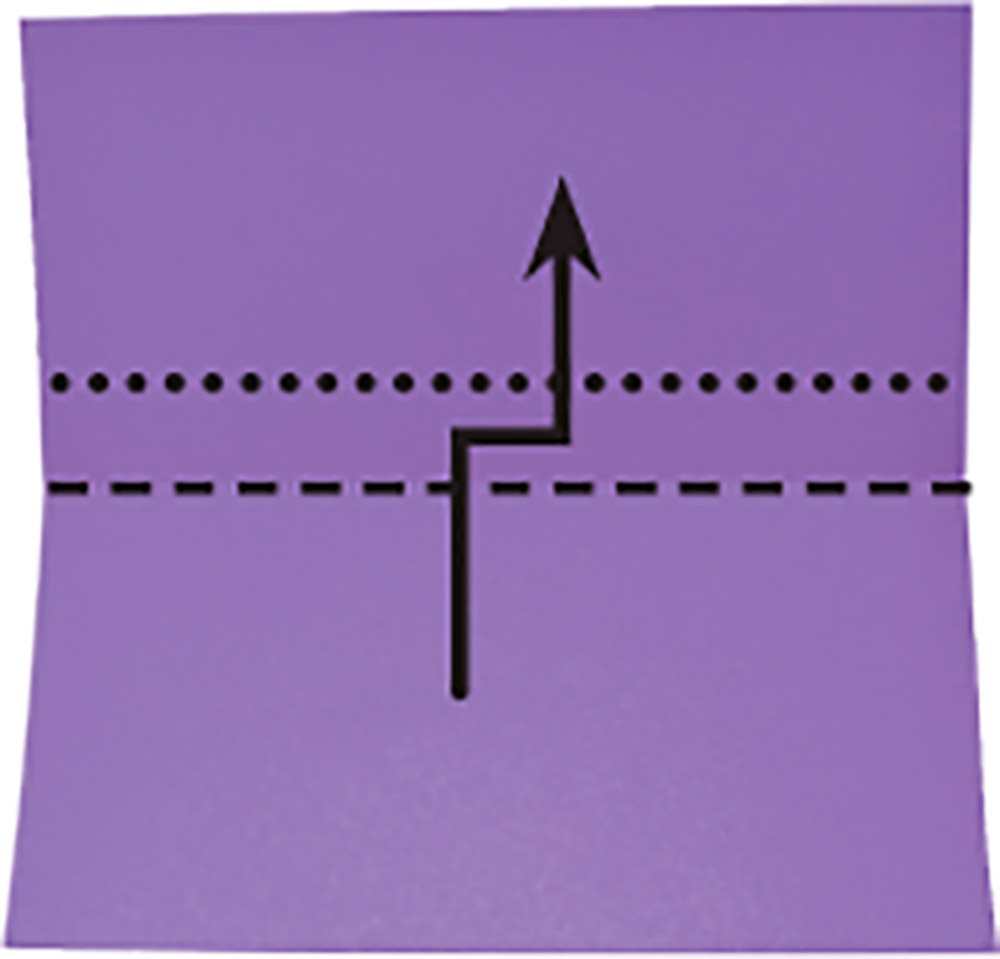
Valley fold the paper in half. Then make a mountain fold directly above the valley fold.
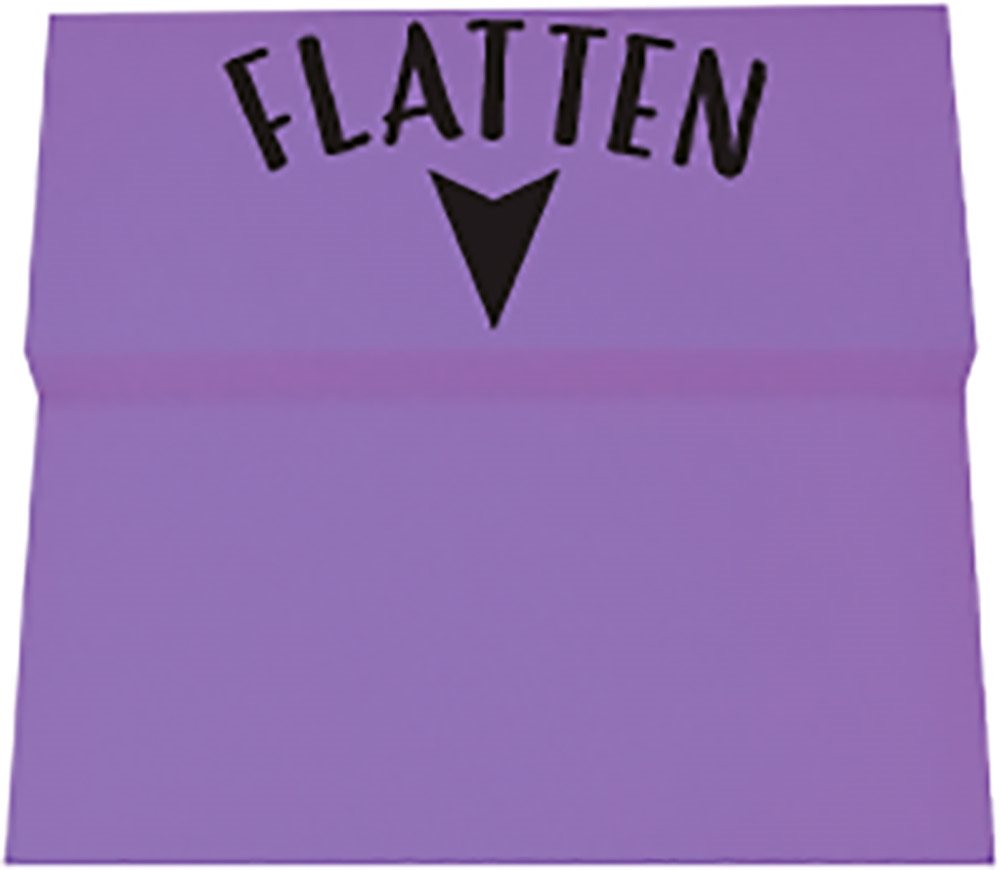
Push the mountain fold over the valley fold and press down flat.
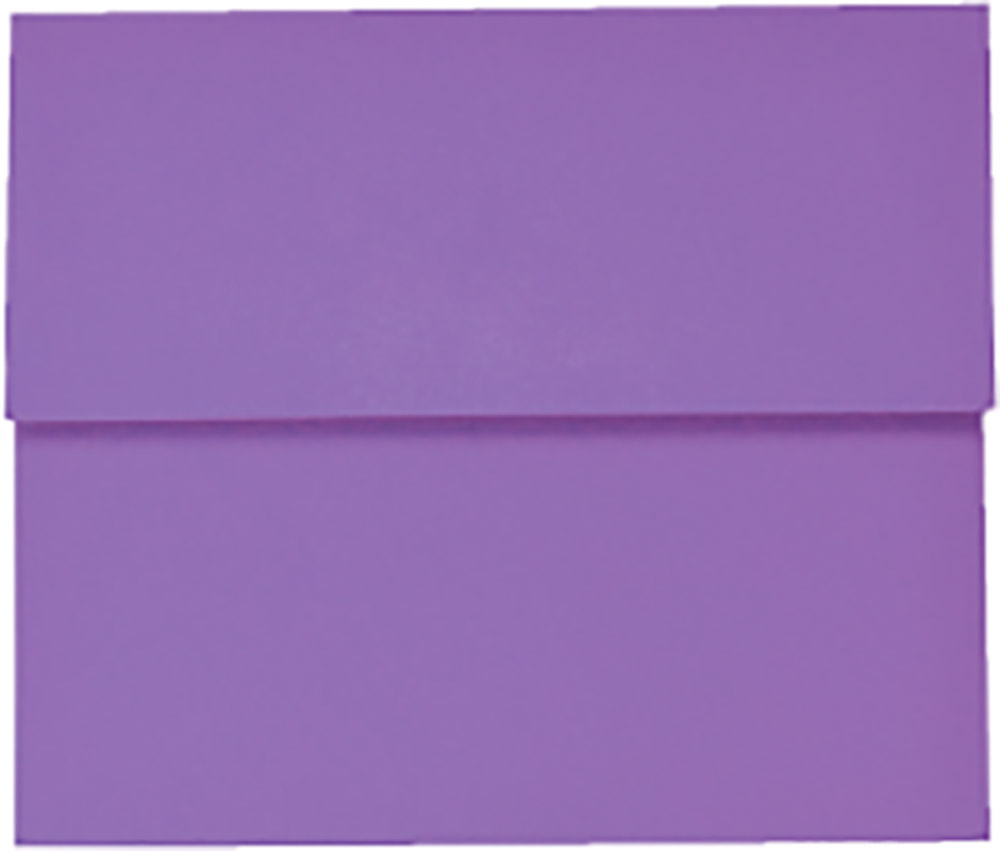
You now have a step fold. You can also make it in reverse, with the mountain fold first.
Reverse Folds
Inside Reverse Fold
This is useful if you want to flatten part of an origami model. Its a good way to create legs and horns for your unicorns.

Fold a piece of paper diagonally in half, as shown. Make a valley fold on one point and crease.
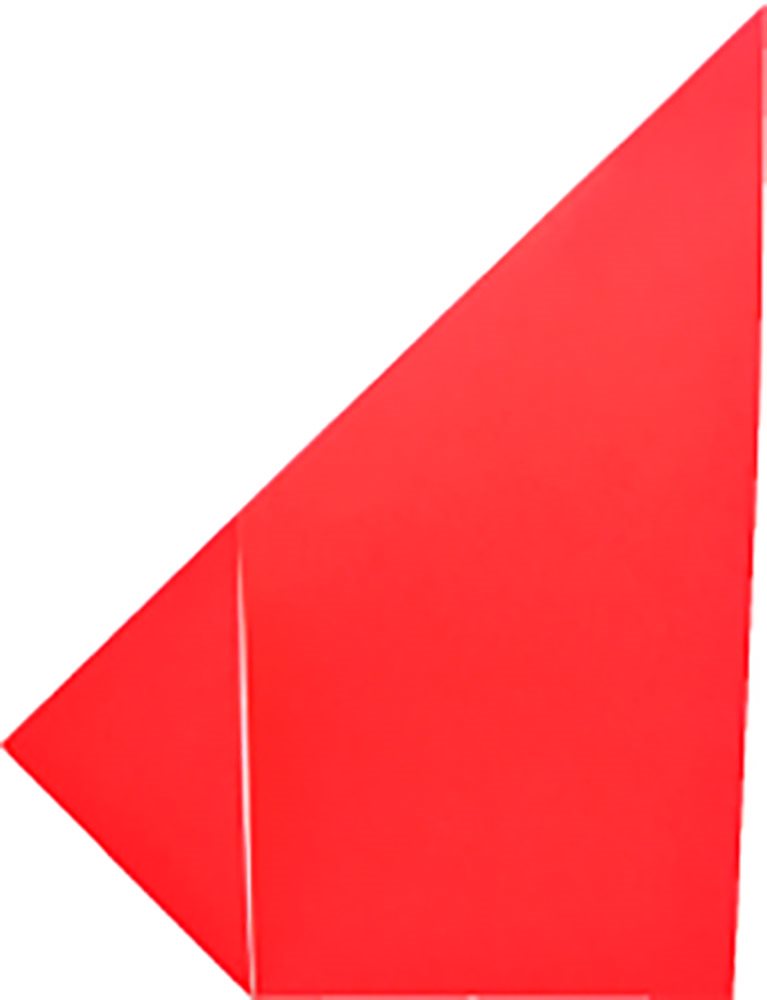
Its important to make sure that the paper is creased well. Run your finger over the crease two or three times.
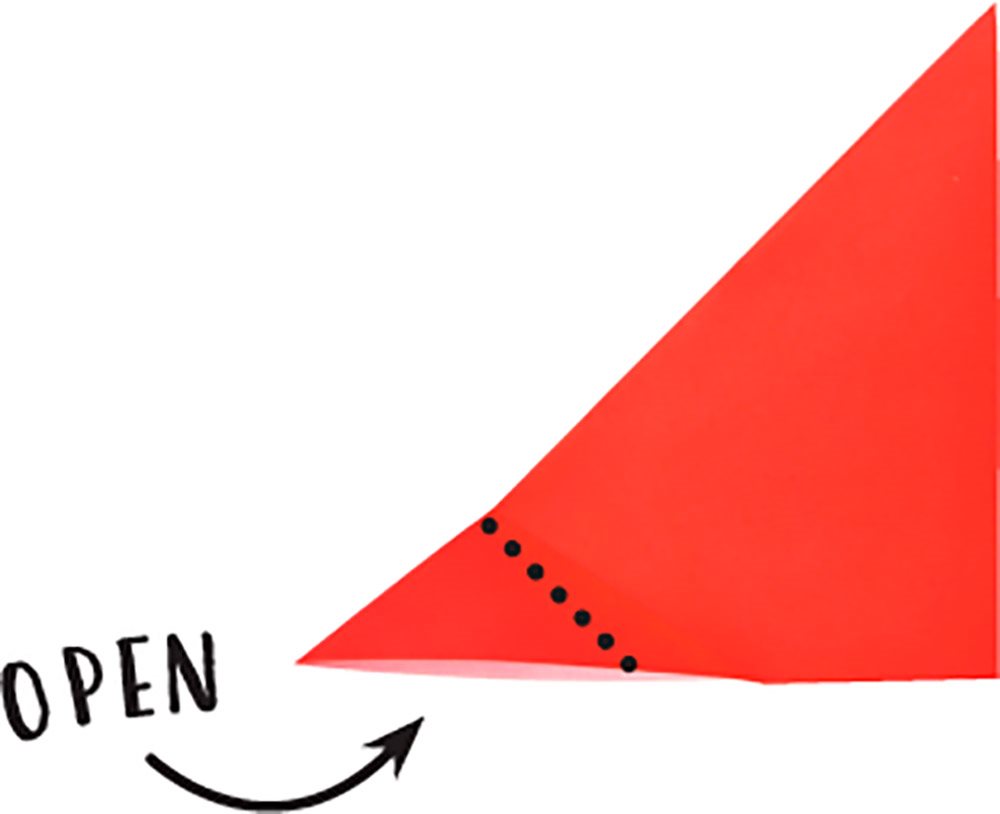
Unfold, and then turn the crease youve just made into a mountain fold. Unfold, and open up the corner slightly.
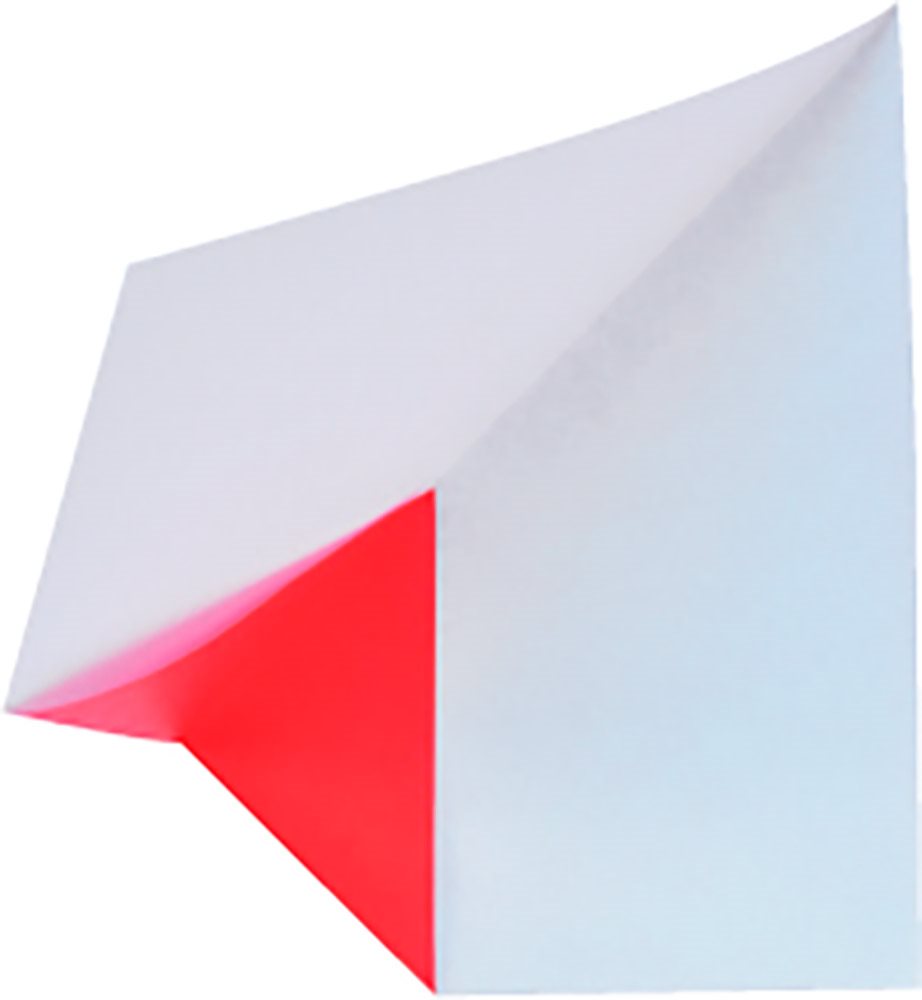
Open up the paper a little more and then tuck the tip of the point inside. Close the paper. This is the view from the underside of the paper.
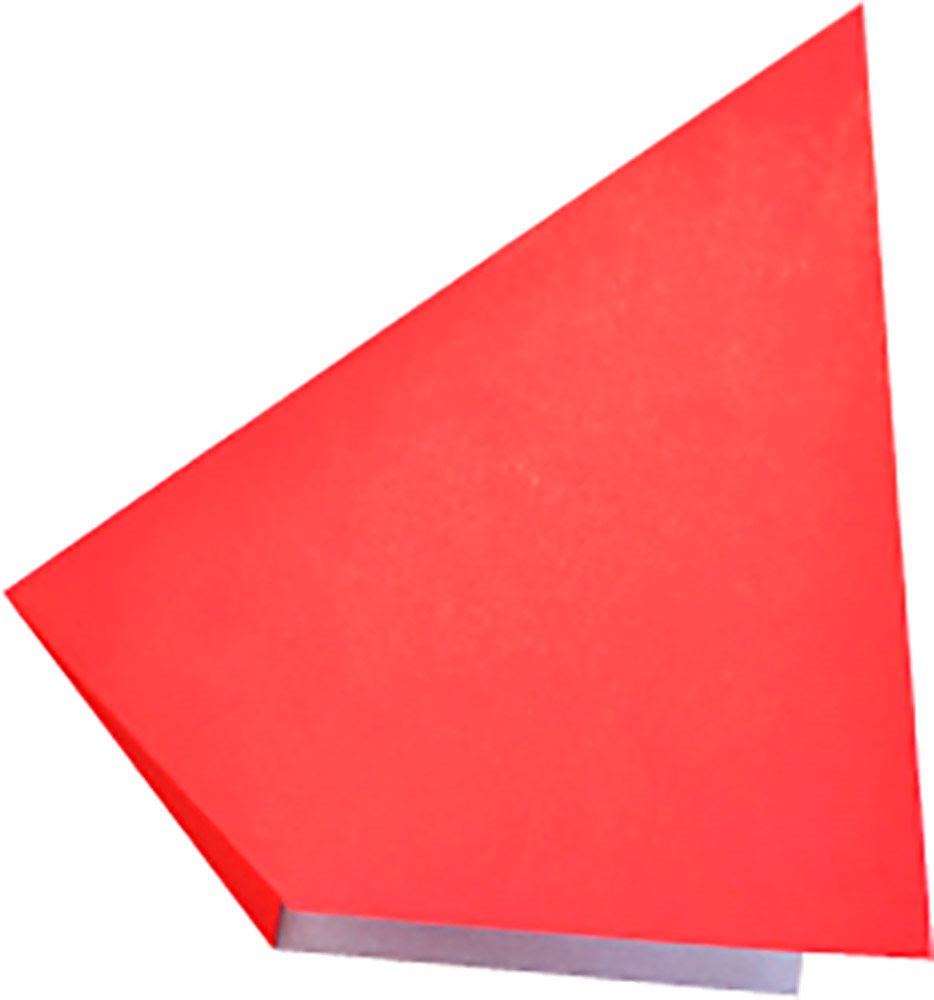
Flatten the paper. You now have an inside reverse fold.
Outside Reverse Fold
This is great if you want to make part of your model stick out. It will come in handy for making heads and tails.
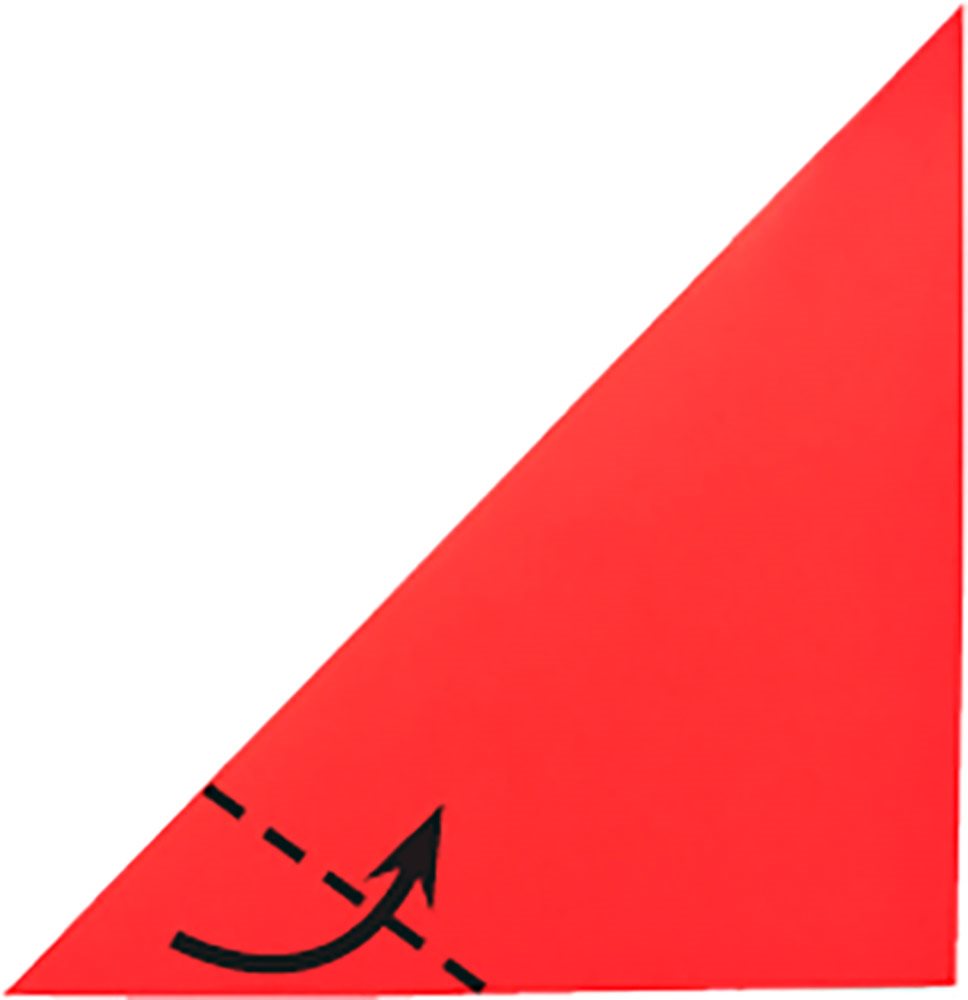
Fold a piece of paper diagonally in half, as shown. Make a valley fold on one point and crease.
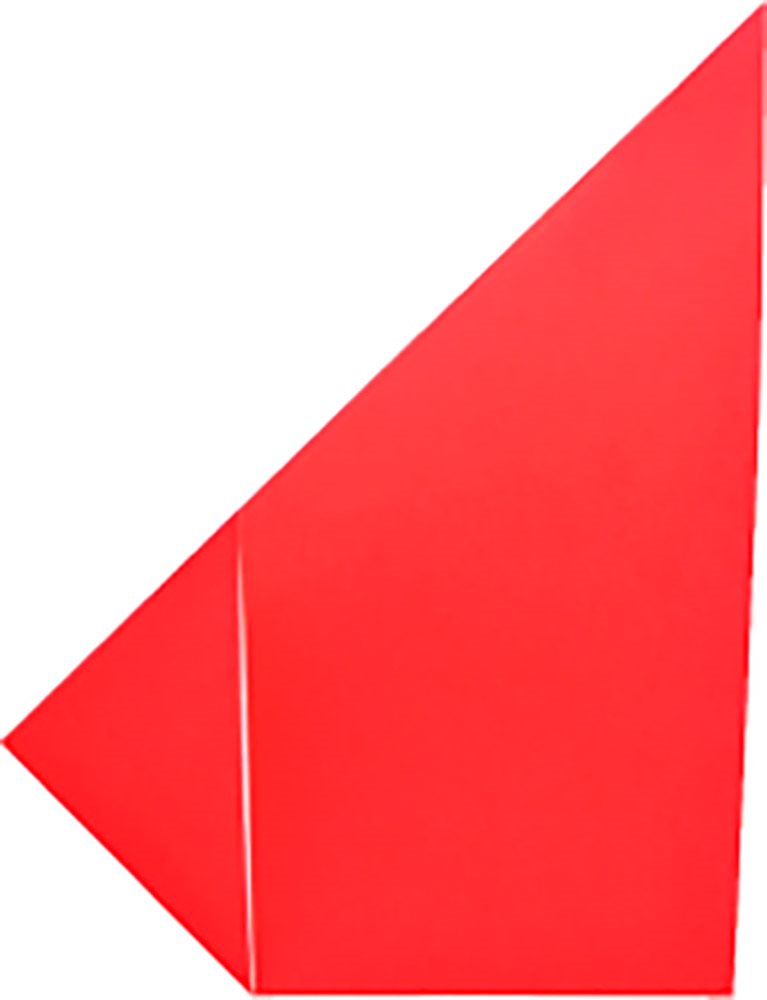
Its important to make sure that the paper is creased well. Run your finger over the crease two or three times.
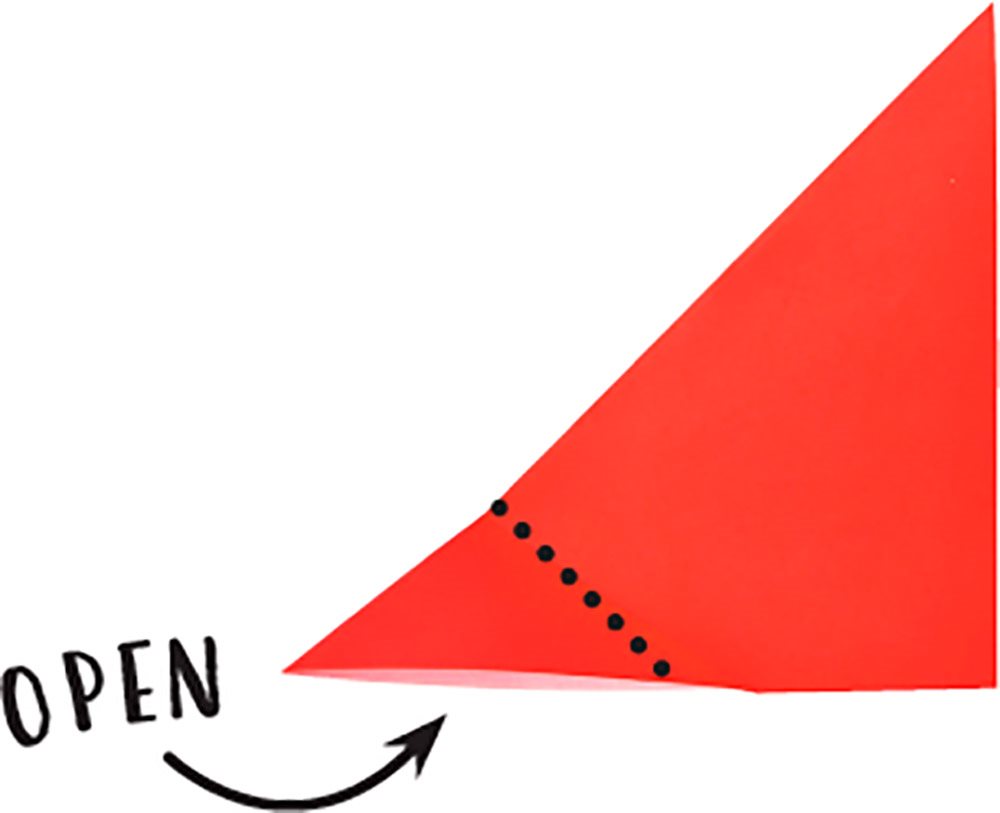
Unfold, and then turn the crease youve just made into a mountain fold. Unfold, and open up the corner slightly.
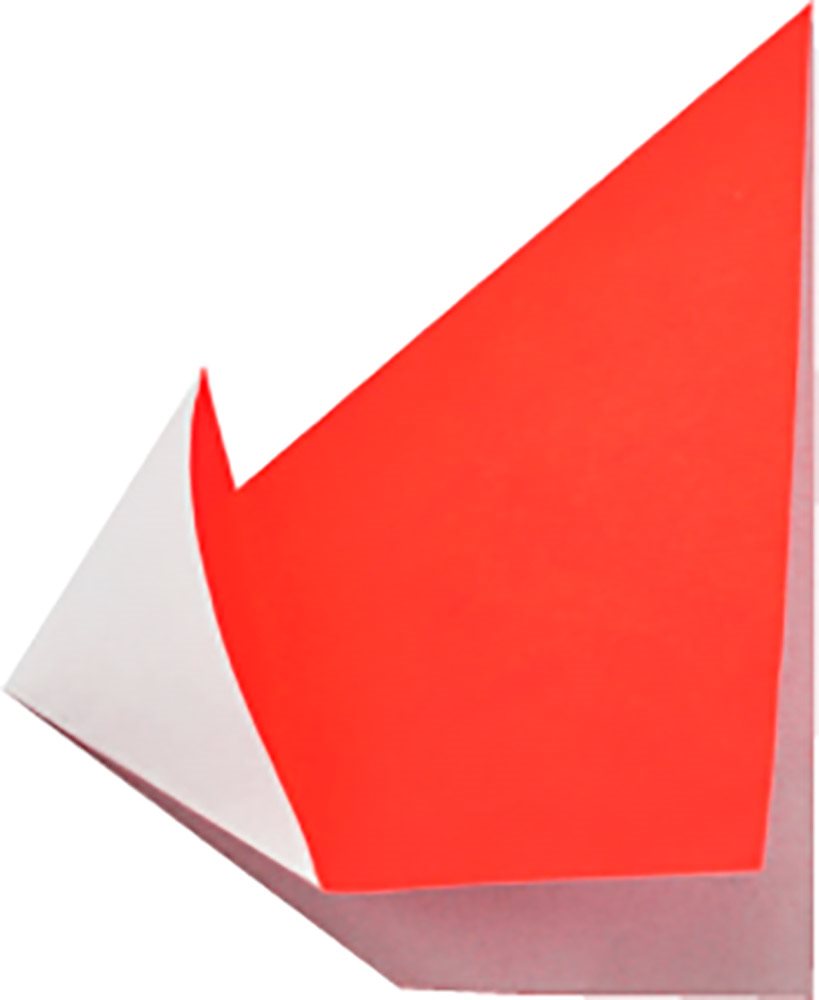
Open up the paper a little more and start to turn the corner inside out. Then close the paper when the fold begins to turn.
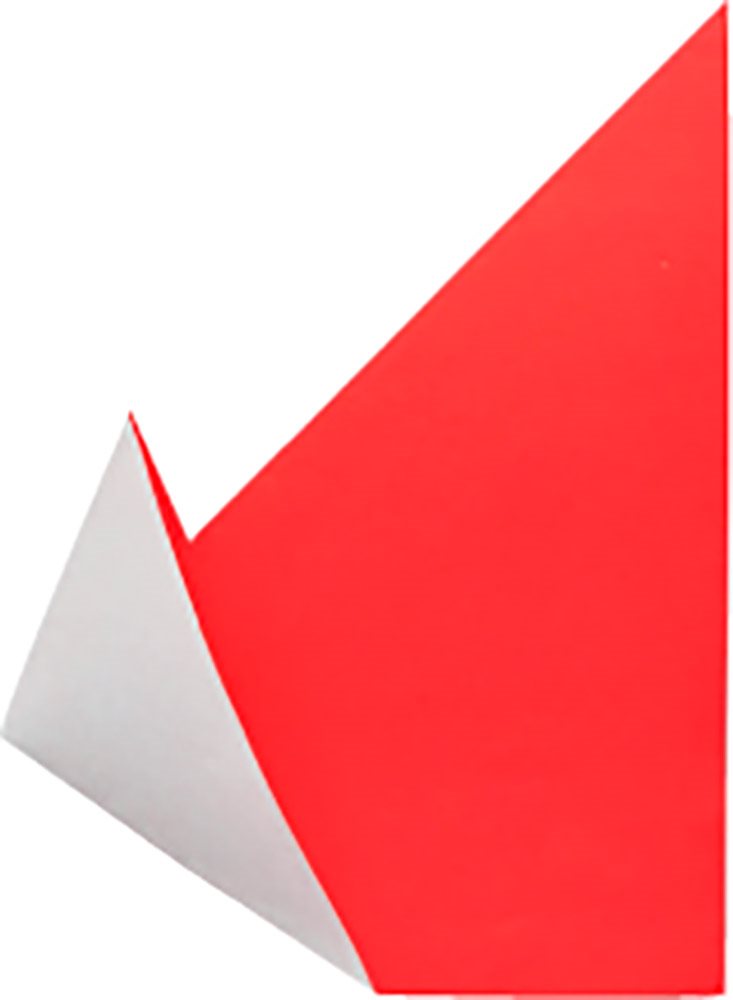
Flatten the paper. You now have an outside reverse fold.
Kite Base
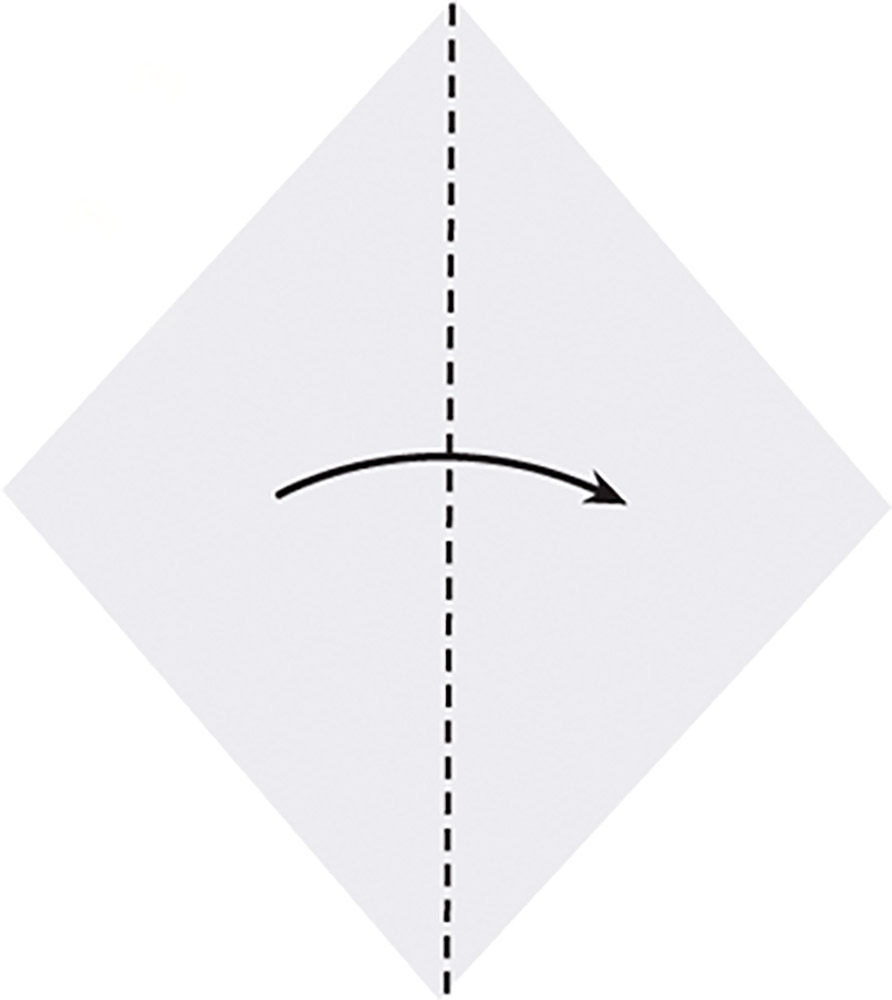
Place your paper like this. Valley fold it in half from left to right.
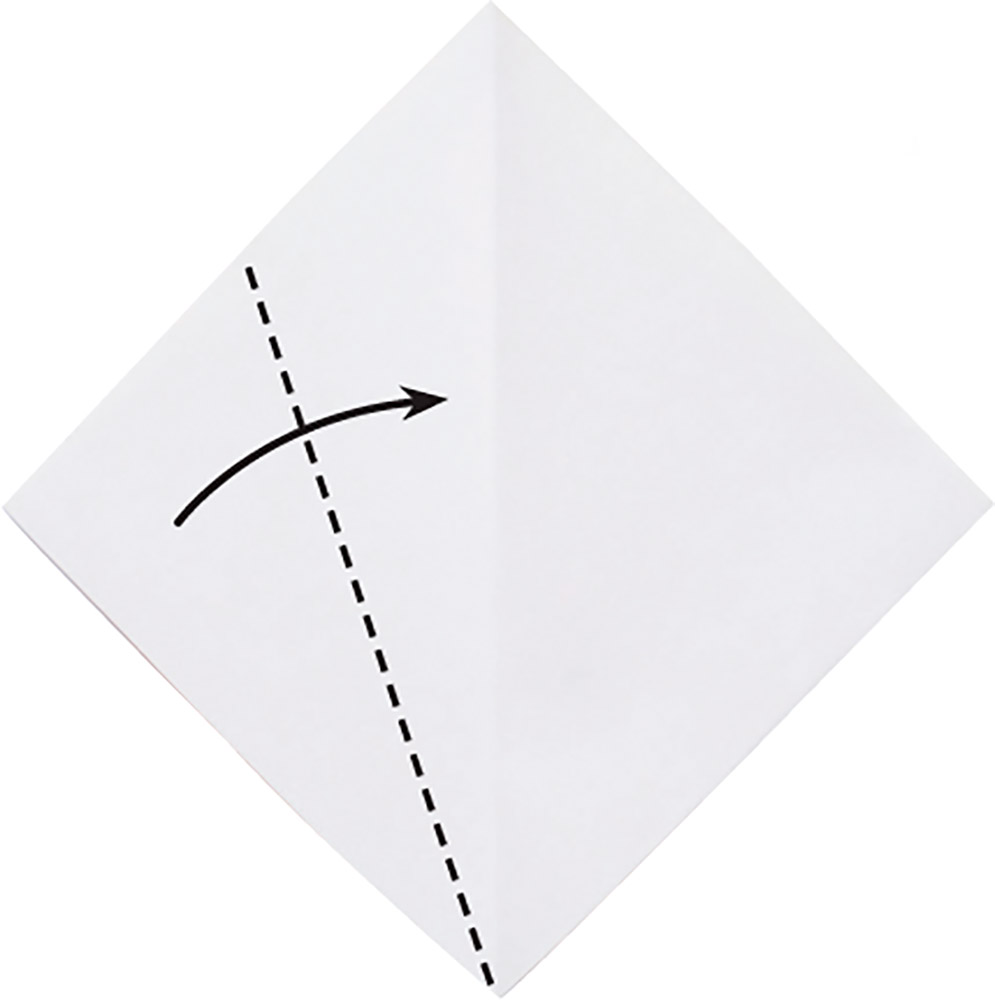
Valley fold the left-hand point over to the middle crease.
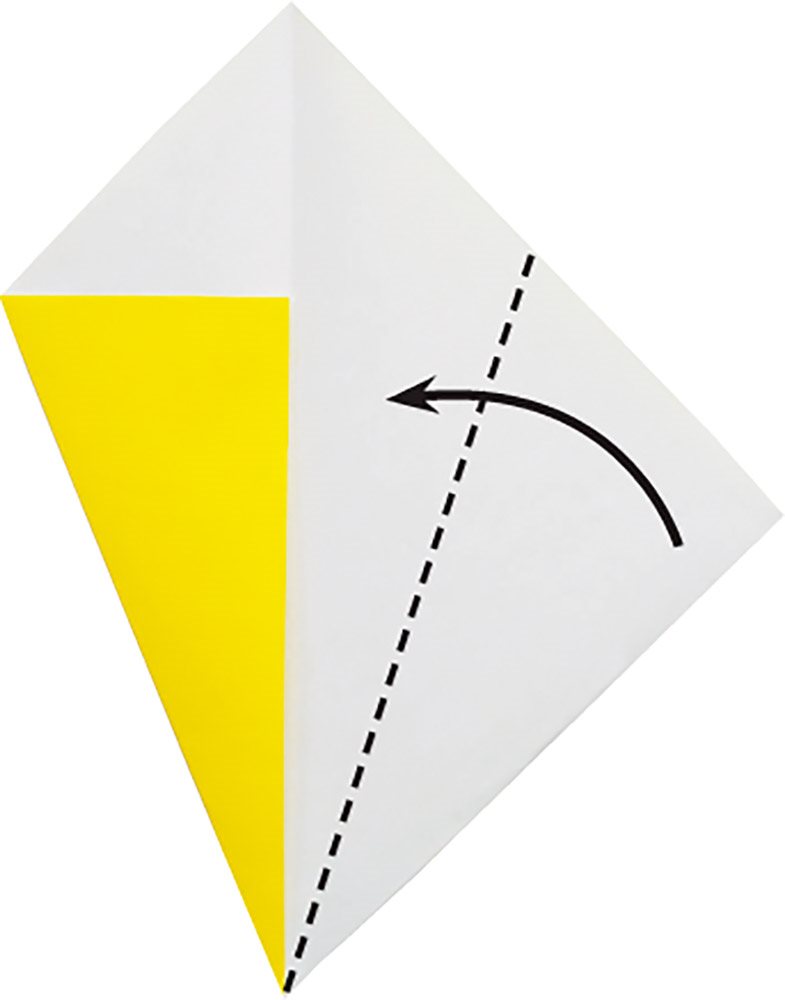
Repeat step 2 on the other side.
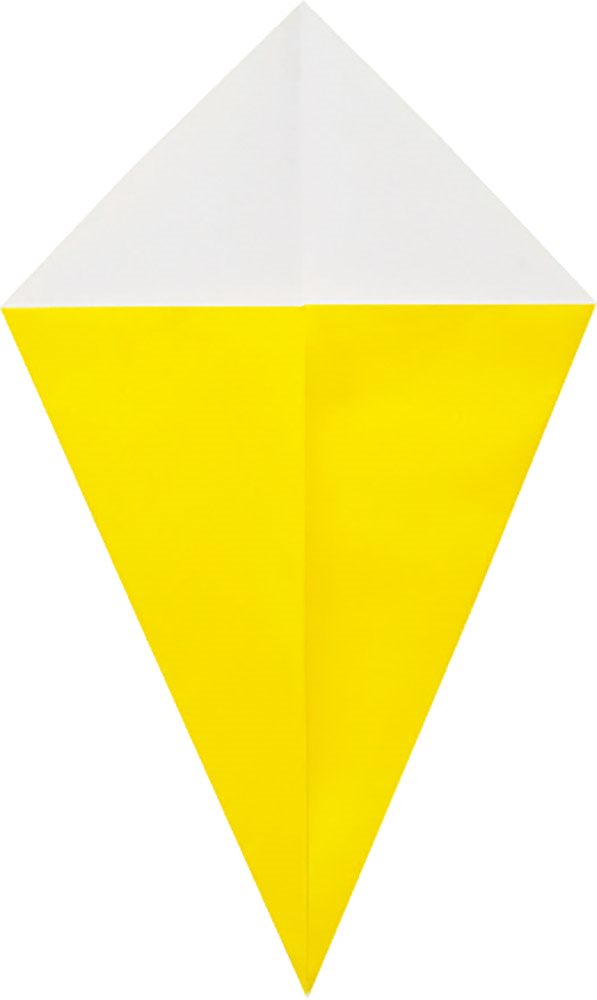
You now have a kite base.
Waterbomb Base

Start with a corner facing you. Valley fold from top to bottom and unfold. Then valley fold from left to right and unfold.

