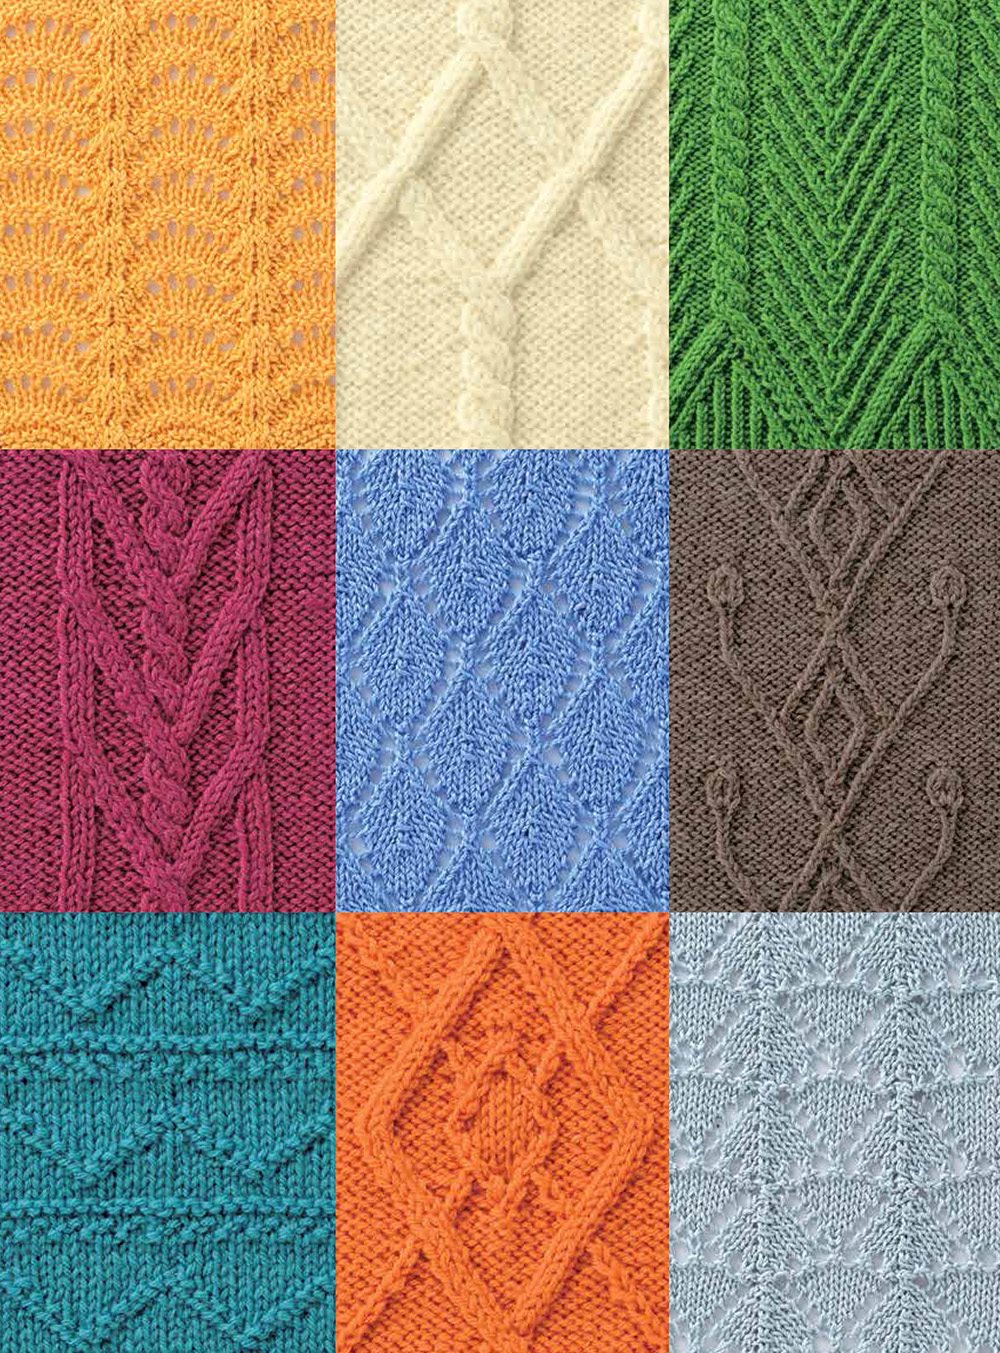
 A DICTIONARY OF 200 STITCH PATTERNS BY YOKO HATTA Japanese Knitting Stitches from Tokyos Kazekobo Studio Yoko HattaTranslated by Cassandra Harada
  Authors preface When I started knitting, I couldnt follow Japanese knitting patterns. Stockinette stitch, garter stitch, moss stitch and rib knitting were all I could manage. I made all of my designs using those. In the 1970s I saw a beautiful design in a French weekly magazine. How was it knitted? I picked up my dictionary and slowly worked it out. When I started to learn the knitting symbols used in Japanese patterns, a door suddenly opened.
I was thrilled when the same patterns in the book appeared in front of my eyes. Knitting is a kind of magic that is created from one thread, and that one thread can conjure up simple flat surfaces through to the most complex relief effects, or create delicate lace. Each time I make a new swatch I find something new, and often I get so engrossed I cant stop knitting. When I think of all the knitting patterns that have been created over the yearssome are timeless, some go out of fashion, but excellent patterns will always be cherished. If I can share my excitement and pleasure in knitting with you, I will be delighted. Read this section before you begin: These stitch patterns are probably presented a little differently from what youre used to. Japanese knitting uses charts rather than written instructions for individual stitch patterns. A chart is basically a collection of symbols and row markers forming a stitch pattern. Japanese knitting uses charts rather than written instructions for individual stitch patterns. A chart is basically a collection of symbols and row markers forming a stitch pattern.
The symbols indicate the stitches to be used. All of the stitches will be defined and illustrated on pages . If youre new to charts, its best to familiarize yourself with the look of charts in general, as well as with the specific chart for the pattern youre knitting, before you pick up your needles. In most charts youll see a lot of blank boxes. Check above, below or alongside of the chart for a key to what the blank indicates.  Top: Tells you that a blank box is worked as a knit stitch.
Bottom: Tells you that a blank box is worked as a purl. This convention keeps the chart cleaner and easier to read. Your eye can focus on what you have to do, without a lot of visual noise from the background stitches. Note that the meaning of the blank may vary from chart to chart. The most important thing to remember about working from a Japanese knitting stitch pattern is that the chart shows the right side of the work. Its a visual representation of what your work will look like when its done.
Each symbol describes what the stitch will look like on the right side, not what you execute. For example, to create a knit stitch on the right side, you must purl on the reverse side. Youll notice a gray area in each chart. This indicates a completed repeat. This book also contains a few patterns for small projects that can be made from the stitch motifs. Youll see that the pattern for each project includes: A small section of text at the top with some of the key information such as gauge, and finished size.
Schematicsa drawing for each part of the garment with measurements. Charts for the stitch patterns. Heres what is in the text: Yarn requirements: The original yarn is given first, and thats the yarn in the pattern photograph. All the yarns in the book are manufactured by Japanese makers, and not widely available outside Japan. To help with substitution, weve included a table of yarns on that provides basic information: approximate weight, fiber content, and put up (yards/meters per ball) Needle and hook sizes: Japanese sizes are given first, followed by metric and U.S. sizes.
Keep in mind that the U.S. sizes are an approximation; there isnt a one-to-one correlation to Japanese needle sizes. Be sure to use the size that gives you gauge. Gauge: Gauge is normally given over 10 cm / 4 inches for the main stitch pattern. Finished measurements: The measurements given are the actual finished measurements of the piece. Use your best judgment in choosing the size that will give you the best fit.
Measurements are given in imperial and metric units. The pieces in this book were conceived and executed using metric measurements. Instructions: This section contains simple instructions which summarize construction. Stitch counts, measurements and other details are incorporated into the charts and schematics. Schematics: The schematics are simple drawings of the pieces youll be making. Around the drawings youll see information about measurements, stitch counts, stitch placement, color placement and shaping.
In a way, the schematics show you what you need to do. Before you start a project, study the schematics with the written instructions to better understand the construction of the piece. Stitch pattern charts: There are several things to look for when working from a chart. Next to the first couple of row numbers in each chart, youll see tiny arrows indicating the direction of knitting. If row 1 points left, and row 2 points right, youre working back and forth. Most of the time, you can tell from the schematic, and from your own knitting experience If working back and forth: On the right side, read the chart from right to left, in the same sequence that you work the stitches.
On the reverse (or wrong) side, read the chart from left to right and reverse the stitches so that your stitches will read correctly on the right side. If working in the round, the tiny arrows both point left, and you read every row from right to left. Theres no need to reverse stitches. Row 1 is the cast-on row, included in the chart. Cast on method: Kazekobo uses a long tail cast on for all of the projects in the back of the book.
Knit & Purl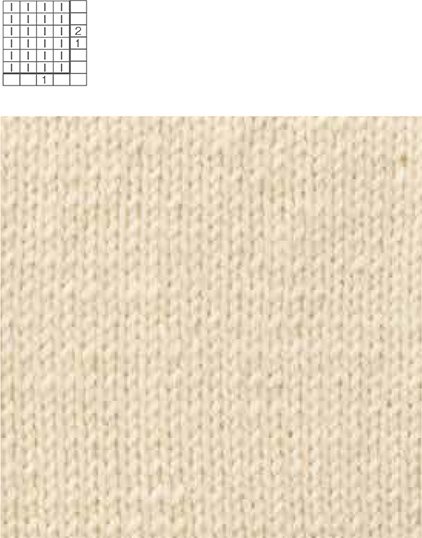
no.1
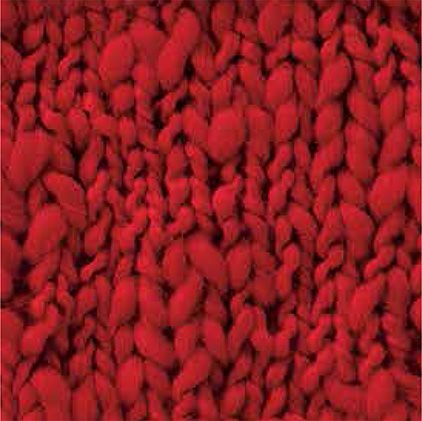
no.2
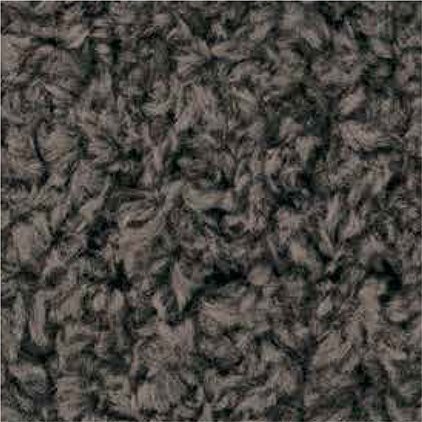
no.3
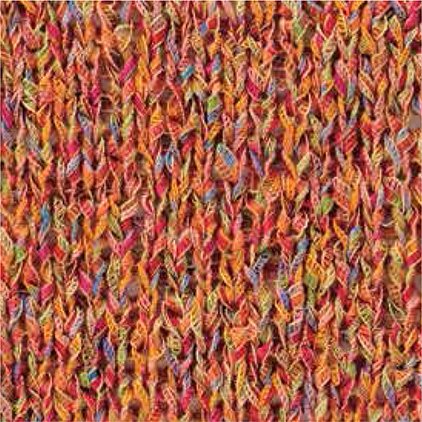
no.4
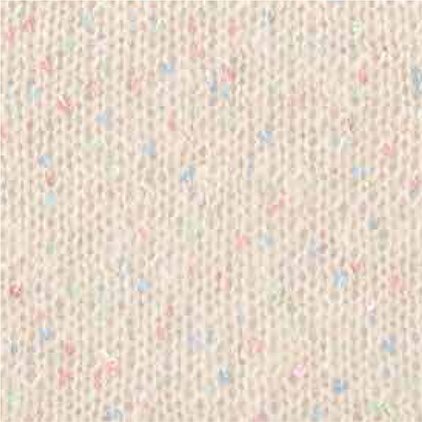
no.5
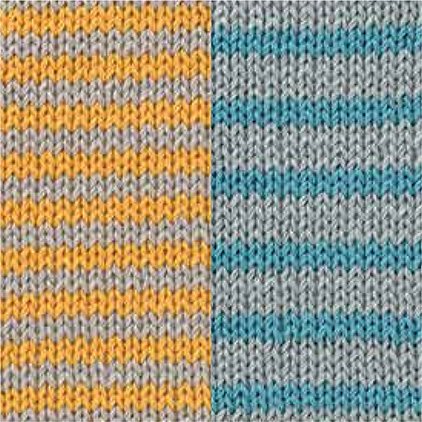
no.6 no.7 * Patterns no.6~no.7 are charted on .
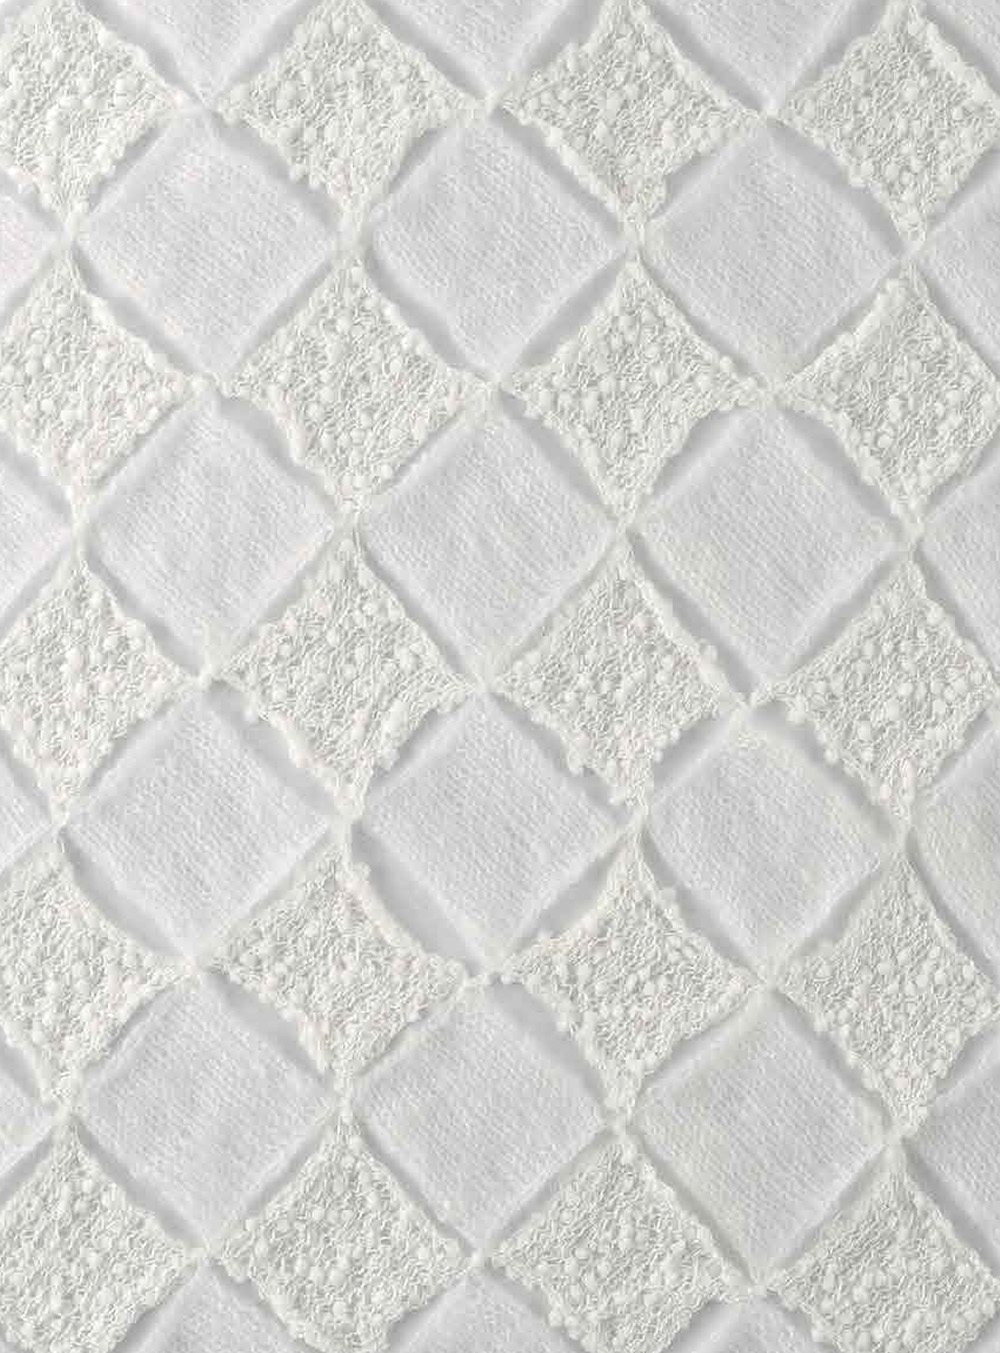 no.8
no.8 Stockinette stitch tends to curl towards the right side for the bottom and top of the work and both sides towards the wrong side.
 no.8
no.8 Stockinette stitch tends to curl towards the right side for the bottom and top of the work and both sides towards the wrong side.

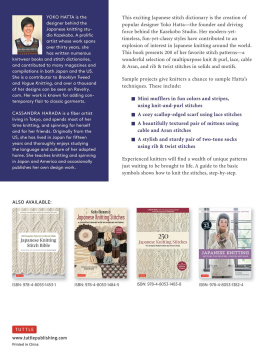
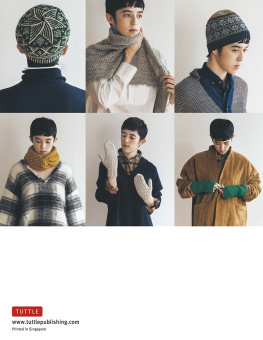
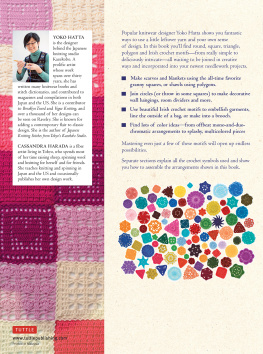


 A DICTIONARY OF 200 STITCH PATTERNS BY YOKO HATTA Japanese Knitting Stitches from Tokyos Kazekobo Studio Yoko HattaTranslated by Cassandra Harada
  Authors preface When I started knitting, I couldnt follow Japanese knitting patterns. Stockinette stitch, garter stitch, moss stitch and rib knitting were all I could manage. I made all of my designs using those. In the 1970s I saw a beautiful design in a French weekly magazine. How was it knitted? I picked up my dictionary and slowly worked it out. When I started to learn the knitting symbols used in Japanese patterns, a door suddenly opened.
 Top: Tells you that a blank box is worked as a knit stitch.
 no.1
no.1  no.2
no.2  no.3
no.3  no.4
no.4  no.5
no.5  no.6 no.7 * Patterns no.6~no.7 are charted on .
  no.8 Stockinette stitch tends to curl towards the right side for the bottom and top of the work and both sides towards the wrong side.