ACKNOWLEDGMENTS
A big thank you to Aude, Anne-Lise, and Maria from ditions Eyrolles, without whom this beautiful adventure would have never come to fruition.
Thanks to the illustrators of this book, who are as talented as they are generous and gave me confidence early on in this project. I am infinitely grateful to you all, Marie, Charlotte, Stphanie, Clarisse, and Camille.
Thanks to DMC and Perles & Co. for having provided me with the materials necessary to complete this book.
Thanks to my parents, always gracious and attentive. Thank you, Mom, for teaching me how to embroider when I was little and for giving me my first cross-stitch patterns.
Thanks to Nicolas for always being there, for our conversations and your listening ear. You still confuse knitting and embroidery, but you have been living this adventure with me for several years now, and your reassuring presence is important to me.
Thanks to Lucien and Samuel for your energy, your affection, your wordsmy boys, my first source of inspiration.
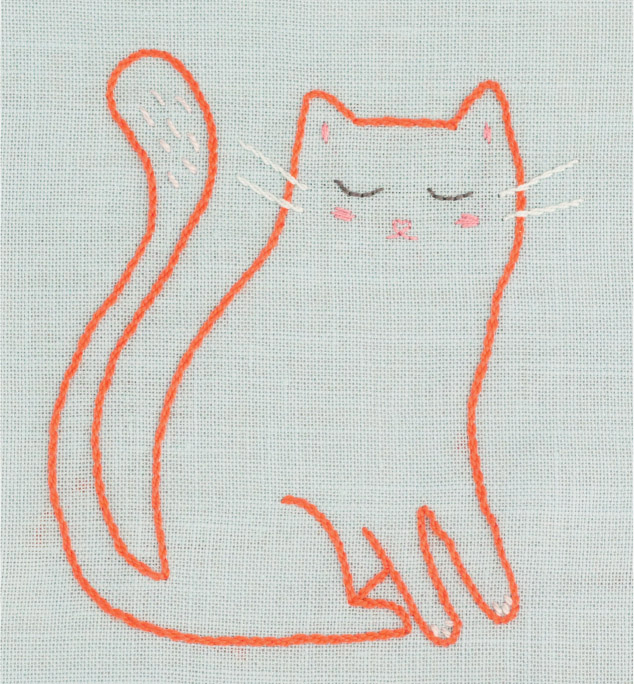
Learning to embroider is not that complicated, but it is important to have good tools to work with. The ideal is to put together a little kit so that everything you need is at hand, making it a real pleasure to relax and embroider. Listed below are the materials you will need to make all your projects.
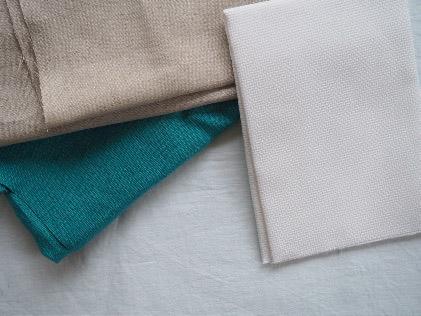
When starting an embroidery project, the first step is to select the fabric. The fabric is what determines the overall success and look of the work. Though almost all types of cloth can be used for embroidery, opt for fabrics with some weight and that are fairly sturdy. Linen or cotton is ideal for embroidery. But if you wish to use a more fluid fabric, you can attach it to a piece of stabilizer or interfacing to give it some support.
The choice of cloth also depends on the type of embroidery that will be done; some projects require a specific type of cloth. For example, Aida cloth is used for cross-stitch, while even-weave mesh canvas is used for needlepoint.
Once you have selected your piece of cloth, the second step is to transfer your pattern to the fabric. This can be accomplished by various techniques.
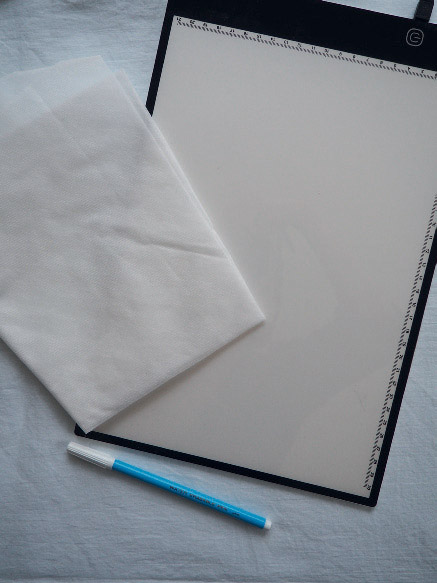
- First, get an embroidery transfer pen. The ink from these special pens disappears either upon contact with water or when ironed and allows you to easily trace your design onto the fabric. To do this, place your design, and then your fabric, on a light box or against a window to trace the design. Once you have completed the embroidery, remove all traces of the ink by dipping your embroidered fabric in water for a few seconds or by ironing.
- Water-soluble fabric is very useful when the design to be embroidered is dense and very detailed or is made up of very precise lines that would take too long or be too difficult to trace with a felt-tip pen. In this case, cut a piece of water-soluble stabilizer to the same size as your cloth. Position it on your illustration and trace the illustration onto the water-soluble stabilizer with a ballpoint pen (not a felt-tip). Next, use your embroidery hoop to hold the water-soluble stabilizer tight against your embroidery fabric; this will keep it from moving. Then embroider, inserting your needle through both layers of cloth. Once you have finished the embroidery, soak it in a bowl of warm water for ten minutes, agitating from time to time. The water-soluble stabilizer will completely disappear (as shown in the photo). Finish by holding your embroidery under a stream of water to remove any last traces.
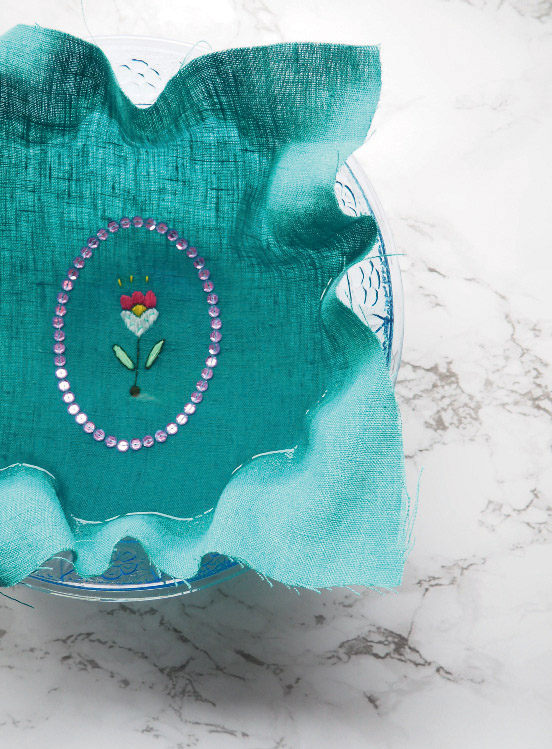
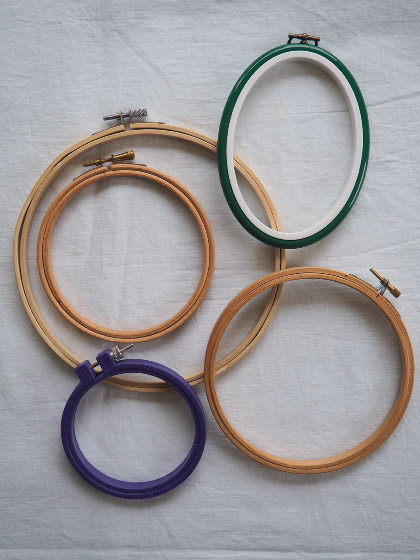
Today, embroidery hoops have become decorative, but lets not forget that they are indispensable tools for embroidery. They are used to stretch the cloth, to hold the water-soluble stabilizer firmly to the fabric to be embroidered, and to keep the thread taut.
Embroidery hoops come in all sizes. They also vary in shape and material, being either round or oval and made of wood or plastic. Always choose a hoop that is larger than your design.
Place your cloth over the inner ring of the hoop with the design in the center. Then put the outer ring over the fabric and press down to hold the fabric between the two rings. Tighten the screw, pulling on your fabric until it is taut. If need be, tighten even more with a screwdriver.
In this book, the size of the hoop to be used is indicated in each pattern. This is for the hoop used when embroidering. It is up to you if you wish to place it in a smaller hoop before hanging it on the wall.
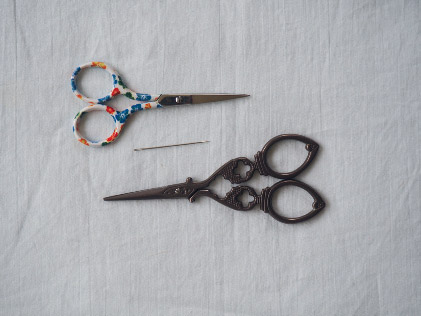
It is also very important to choose the right needle for each project. Be sure that the package you buy says embroidery needles. They are usually longer and thicker than sewing needles. Before starting, think about matching the size of the needles eye to the fabric that you will use for the project. If the eye is too big and makes holes in your fabric every time it goes through, switch to the next smaller size.
If you embroider with beads (particularly Miyuki beads), use a beading needle. They are thinner than embroidery needles in order to easily bring the thread through the holes in the beads.
A small pair of sharp, pointed embroidery scissors is also a very good investment. They are indispensable for cutting thread and fabric. Keep them close at hand and do not use them for cutting paper, or they will become dull.
There are several sizes and qualities of embroidery thread or floss. Choose a type that is suitable for the project.
Types of thread vary in packaging (small balls or skeins), in length, in gauge, and in material (cotton, satin/rayon, metallic, etc.).
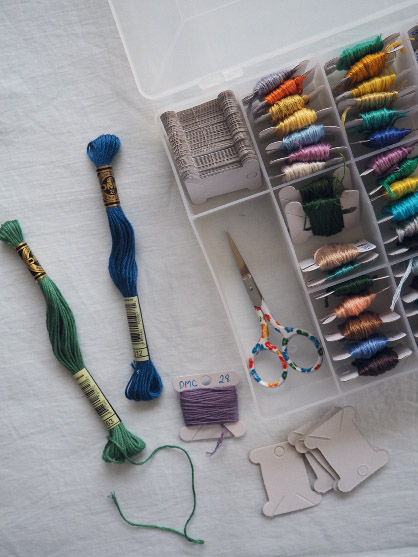
Floss comes in a huge range of colors. To keep all of your skeins ready to use, keep them in a special organizer box. Wind each color of floss around a small flat cardboard bobbin on which you will note the color reference.
When using embroidery floss, it is often necessary to first separate the strands. The thread that comes in skeins is usually made up of six strands, which do not have to be used together. In fact, most of the projects in this book are made using only two strands of the thread.
Use this technique to separate the strands:
Begin by cutting the floss to a length of no more than 16 in. (40 cm).
Then hold one of the ends of the thread between two fingers.
Turn the thread in the opposite direction of the twist; the six strands should separate naturally.


