Contents
Landmarks
Page List

Table of Contents

Introduction
My great-aunt taught me to crochet when I was seven years old. Though I stopped crocheting for a long time because people kept telling me crochet was only for old ladies, I finally picked the craft back up in 2010. For almost three years I focused exclusively on making hats and scarves. Then in 2013, I made my first crochet doll.
Before making my first amigurumi doll, I googled crochet dolls and found myself scrolling through several pages of results before seeing an African American doll. I made a mental note of this, but to be honest I didnt think much about it. I already knew that my first doll would be made with brown yarna real reflection of myself. After finishing that first doll, whom I affectionately called Patience, I posted some photos on Instagram and Facebook. The response was overwhelming. So many people expressed how excited they were to see a doll that looked like them. Not too long after sharing Patience with the world, the custom requests started rolling in. I soon found myself with no time to make hats and scarves, as all my time was dedicated to perfecting a doll design. And so, My Pretty Brown Doll was born.
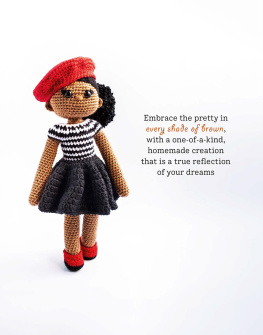
I specialize in crochet doll designs that embrace the pretty in every shade of brown. I aim to explore the art of crochet in a way that celebrates the magic of the African American experience. In addition to creating custom, one-of-a-kind doll designs, I am one of the first Black crochet designers to release a Black crochet doll pattern: my original Mia design.


And Im so excited to share that design with you! Now you can create your very own doll, designed to look exactly like you or a special young person in your life. There is something so amazing about being able to create with your own two hands, to take yarn and a hook and make magicBlack Girl Magic, to be exact.
If you are new to amigurumi crochet-doll-making, youre in good company here. This book is structured to introduce you to the basics youll need, and then to walk you step by step through all the instructions to ensure you can create the exact doll you want. And Ive included plenty of special tips and tricks that Ive learned over the years.
If you are a more experienced doll maker, you can skip ahead, and we will get this adventure started by first making a basic version of Mia. You can then decide what else you would like to make from there. Ballerina or soccer star? Scientist or fairy? Or maybe your doll can go seamlessly from school to soccer practice to the laboratoryits all up to you and the lucky recipient of this doll!
The greatest part of this book is that you get to make a beautiful Black or Brown doll and have fun doing it. Whether you are making one for yourself or a loved one, it is my hope that when your doll design is finished, it is a reflection of all the magic there is, from hairstyle to eye color to the different outfits. So lets get started making your own Pretty Brown Doll!
What You Need
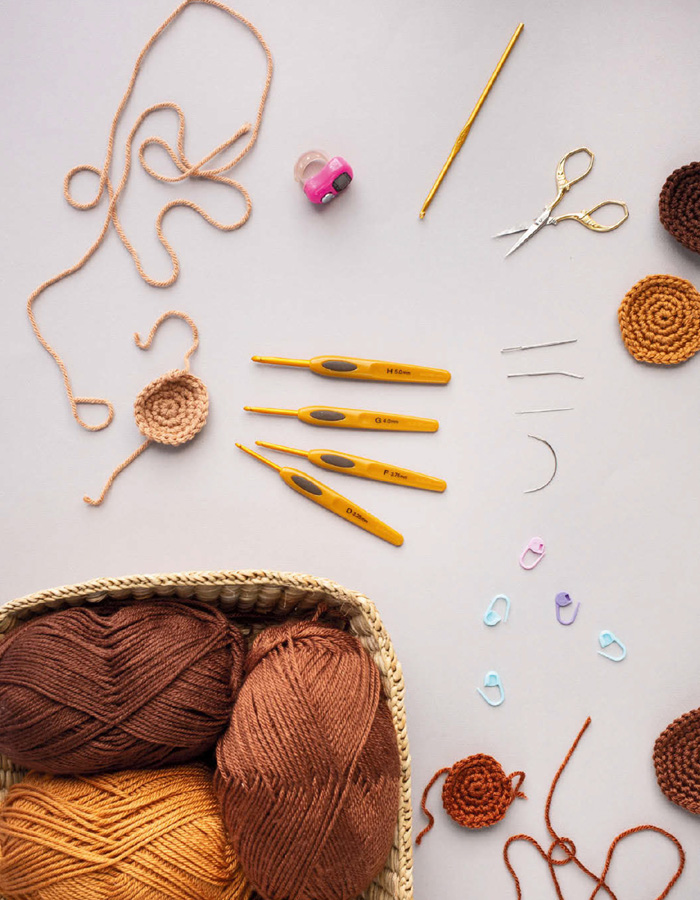
When you picked up this book, you probably knew that you would need yarn and a crochet hook, but there are a few more things that go into bringing your doll design to life. Some you may have thought of, and others may have you wondering how exactly they will be used. Below, I cover all the supplies you will need to complete the designs throughout this book.
Yarn
When choosing yarn, it is important to remember is that you are not just choosing the yarn that you will be using for the skin tone but also the yarns for the hair, outfit, and doll accessories. Synthetic worsted-weight yarn typically works best for the body of your design; however, I will not tell you to completely avoid natural fibers such as cotton because many yarn companies have produced natural-fiber yarns that will work really well. In creating the designs throughout this book, I did my best to stick with yarns that are easily accessible. You should be able to find most at the big-brand craft stores or online. See the Resources section () for a full breakdown of the yarns used for each design.
Crochet Hooks
If you are an experienced crocheter, you most likely already have a favorite crochet hook. If that is the case, make sure you have the right size crochet hook on hand. If you are still on the hunt for your favorite crochet hook, keep searching until you find the right one, because you will soon realize that your crochet hook is your new best friend. For the most part you will use the same size crochet hook for each design, but there are a few parts of the designs that may require you to use a smaller or larger hook. If this is the case, it will be noted in the pattern.
Safety Eyes
For the designs in this book, I only used one size of safety eyes: 15 mm. However, safety eyes come in many different sizes and colors. Changing the size and/or color of your eyes can change the look of your doll design. I recommend ordering your safety eyes online as they are not easy to find in stores. If you are not able to find safety eyes or prefer not to use them, you have the option to use buttons as eyes or even to embroider the eyes with yarn. Take note that if you do use safety eyes, they are permanent, so you want to be sure that they are positioned correctly and that they are the eyes you would like to use before securing them in place.
Stitch Markers
Right after your crochet hook, your stitch marker should be your other best friend. The cool thing about your stitch marker is that it can be super fancy, or it can be as simple as a strand of contrasting yarn. I personally use locking stitch markers because if I have to put my work to the side at any time, I am able to place the stitch marker in the loop of yarn and not worry about it unraveling. You can find stitch markers at most big-brand craft stores as well as online.
Stuffing
The stuffing is what is going to take your crochet from flat stitches to a beautiful doll design to put on display. I use 100 percent polyester fiberfill to stuff my designs. There are many different ways to stuff your designs, and you can use whatever method works best for you, but just be mindful that all stuffing is not created equal. I have found that polyester fiberfill, also known as polyfill, works best for my doll designs, as it is lightweight and plush but will still allow the design to hold its shape.
Wooden Dowel
Think of the wooden dowel as your dolls spine. The dowel will keep your doll from having a floppy neck. I use -inch (1 cm) diameter 12-inch- (30.5 cm) long dowels that are then cut down. The exact length that you need will be determined by the yarn used and your tension. You will need a handsaw or heavy-duty scissors to cut down the dowel.

