2014 by the author of this book. The book author retains sole copyright to his contributions to this book.
The Blurb-provided layout designs and graphic elements are copyright Blurb Inc. This book was created using the Blurb creative publishing service. The book author retains sole copyright to his or her contributions to this book.
Introduction 3
2007 4
Calendar of work, Spring 7
2008 8
Calendar of work, Summer 10
Summer Candle-Cutting 11
2009 33
2010 47
Calendar of work, Winter 58
Change of Plan 61
2011 67
Guy Wires 78
2012 80
2013 84
2014 97
Replacement & Sacrifice Branches 99
Before and After 103
About the Author 104
Table of Contents
Introduction
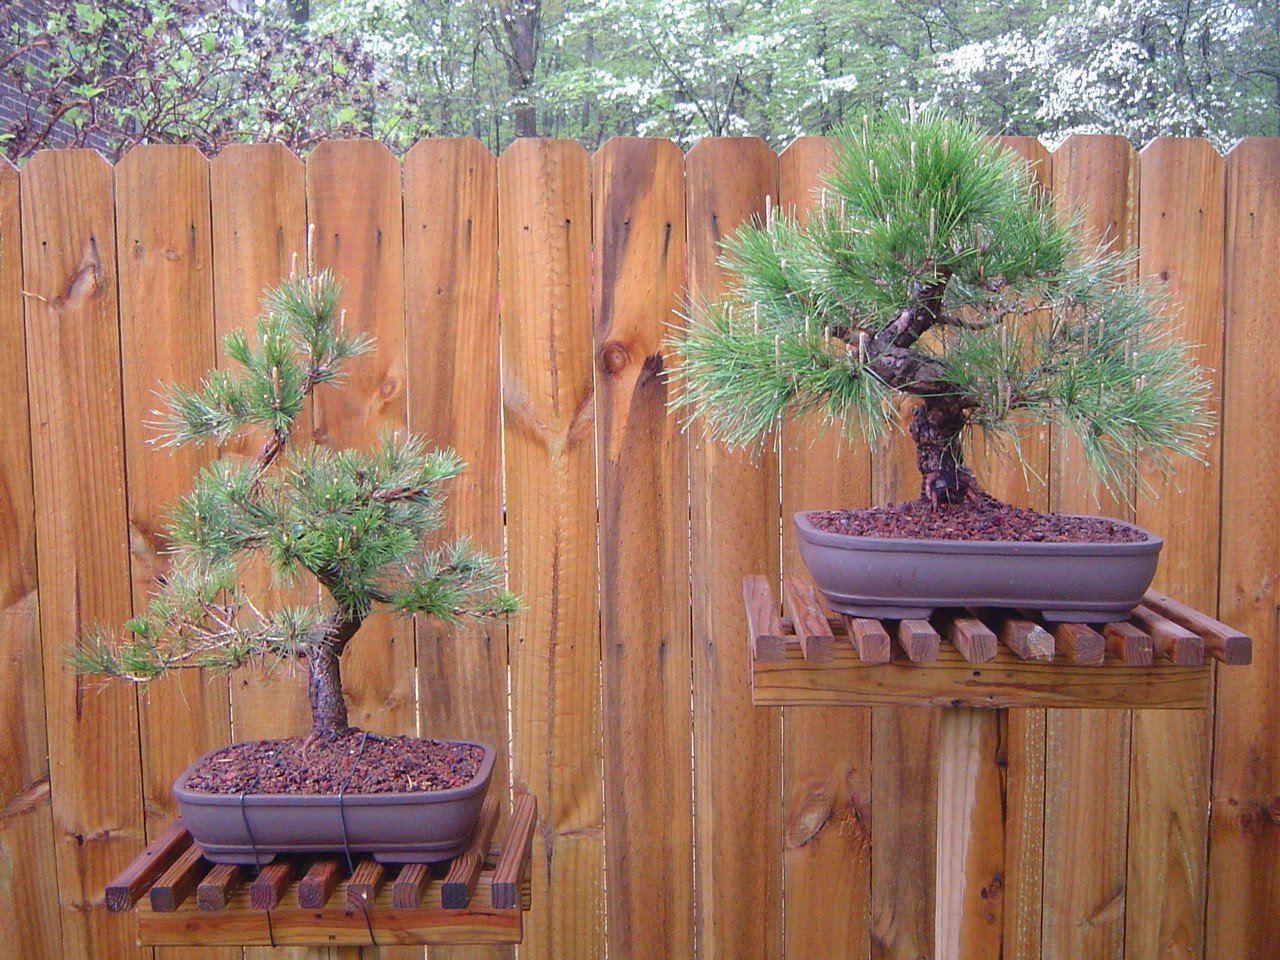
I began photographing my work on this black pine in 2007 to study and learn the relationship between the techniques, timing, and outcome. The experiment proved useful in my understanding of working with black pines, and useful to others along the way. Since the experiment was successful, here it is, all in one place.
Enjoy the development of this treeor at least the graceful aging of the fence over the course of seven years.
Brian
2007
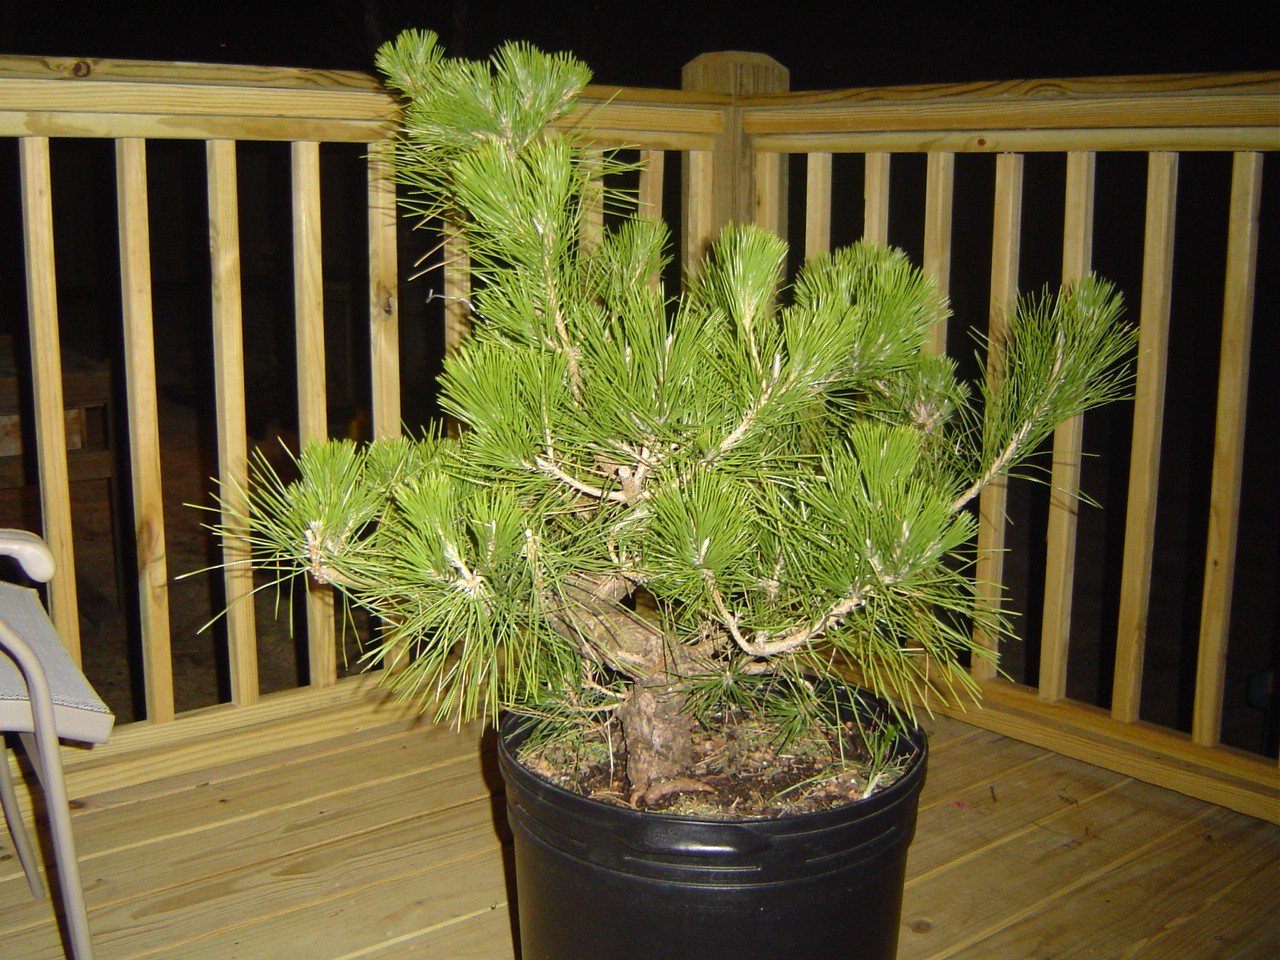
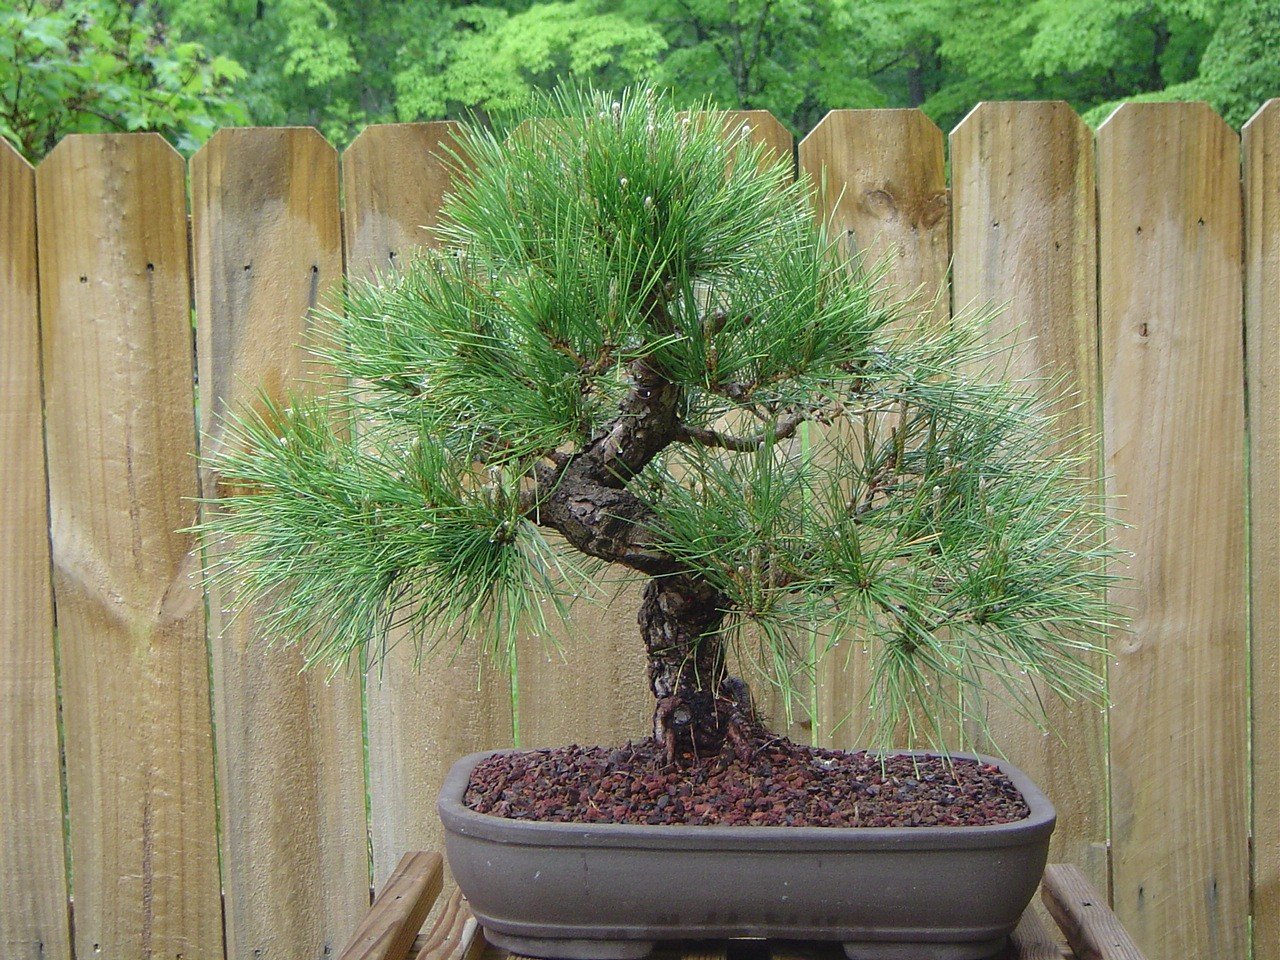
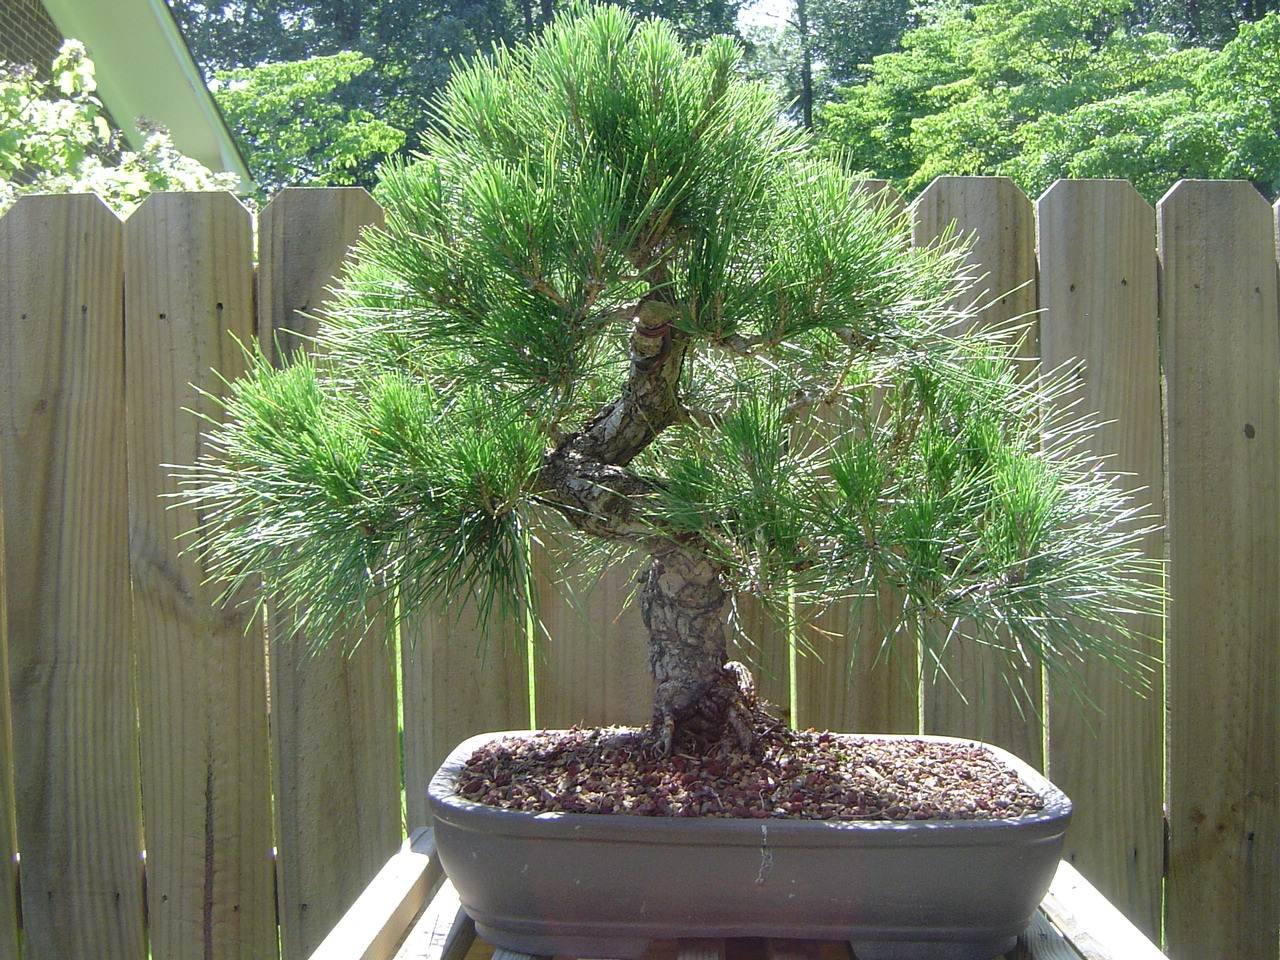
Japanese Black Pine, as purchased in March 07. Height 30.
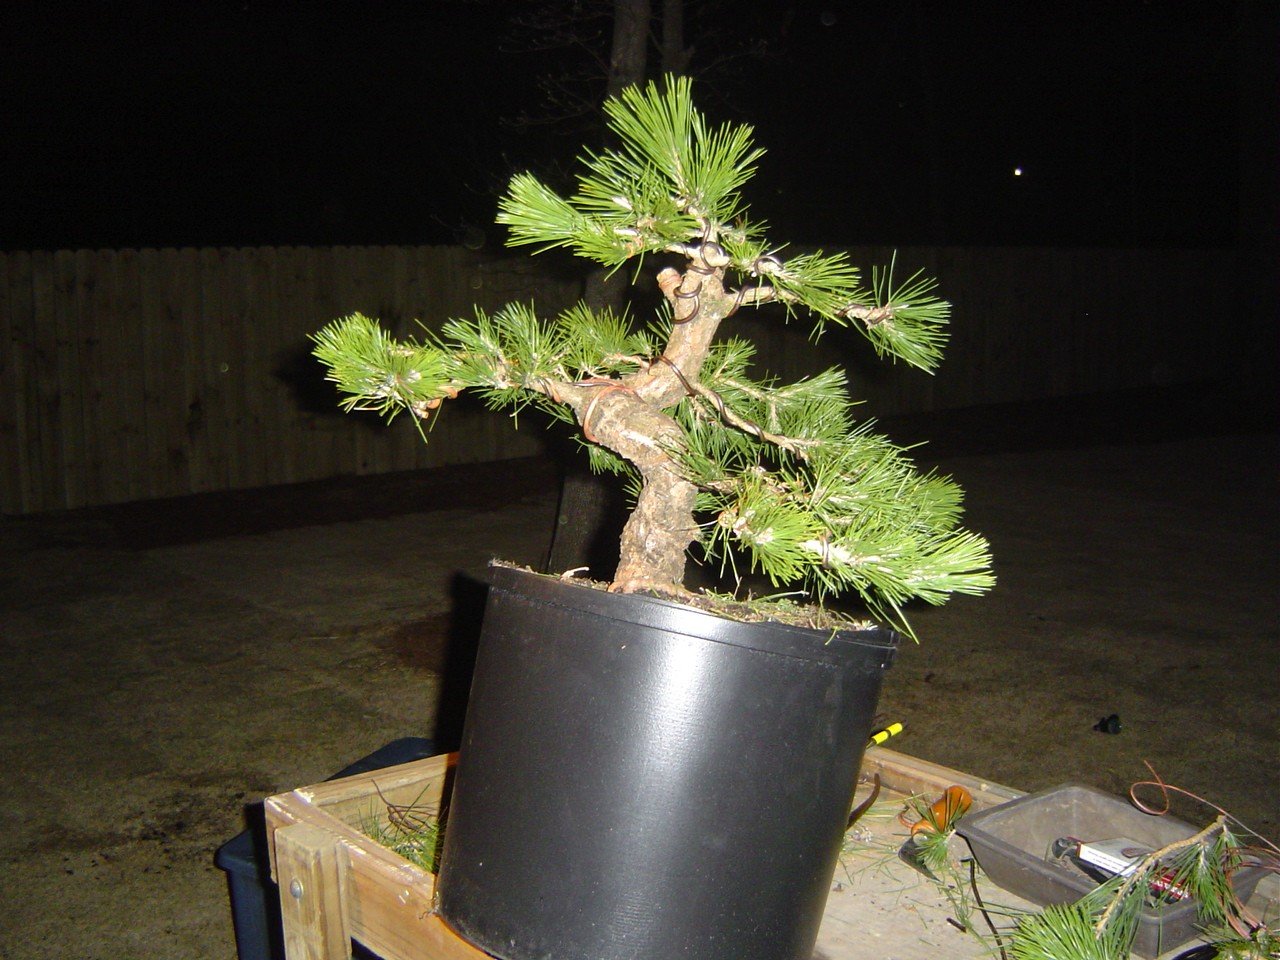
Main branches and sacrifice branches were selected, pruned and wired, 3/13/07.
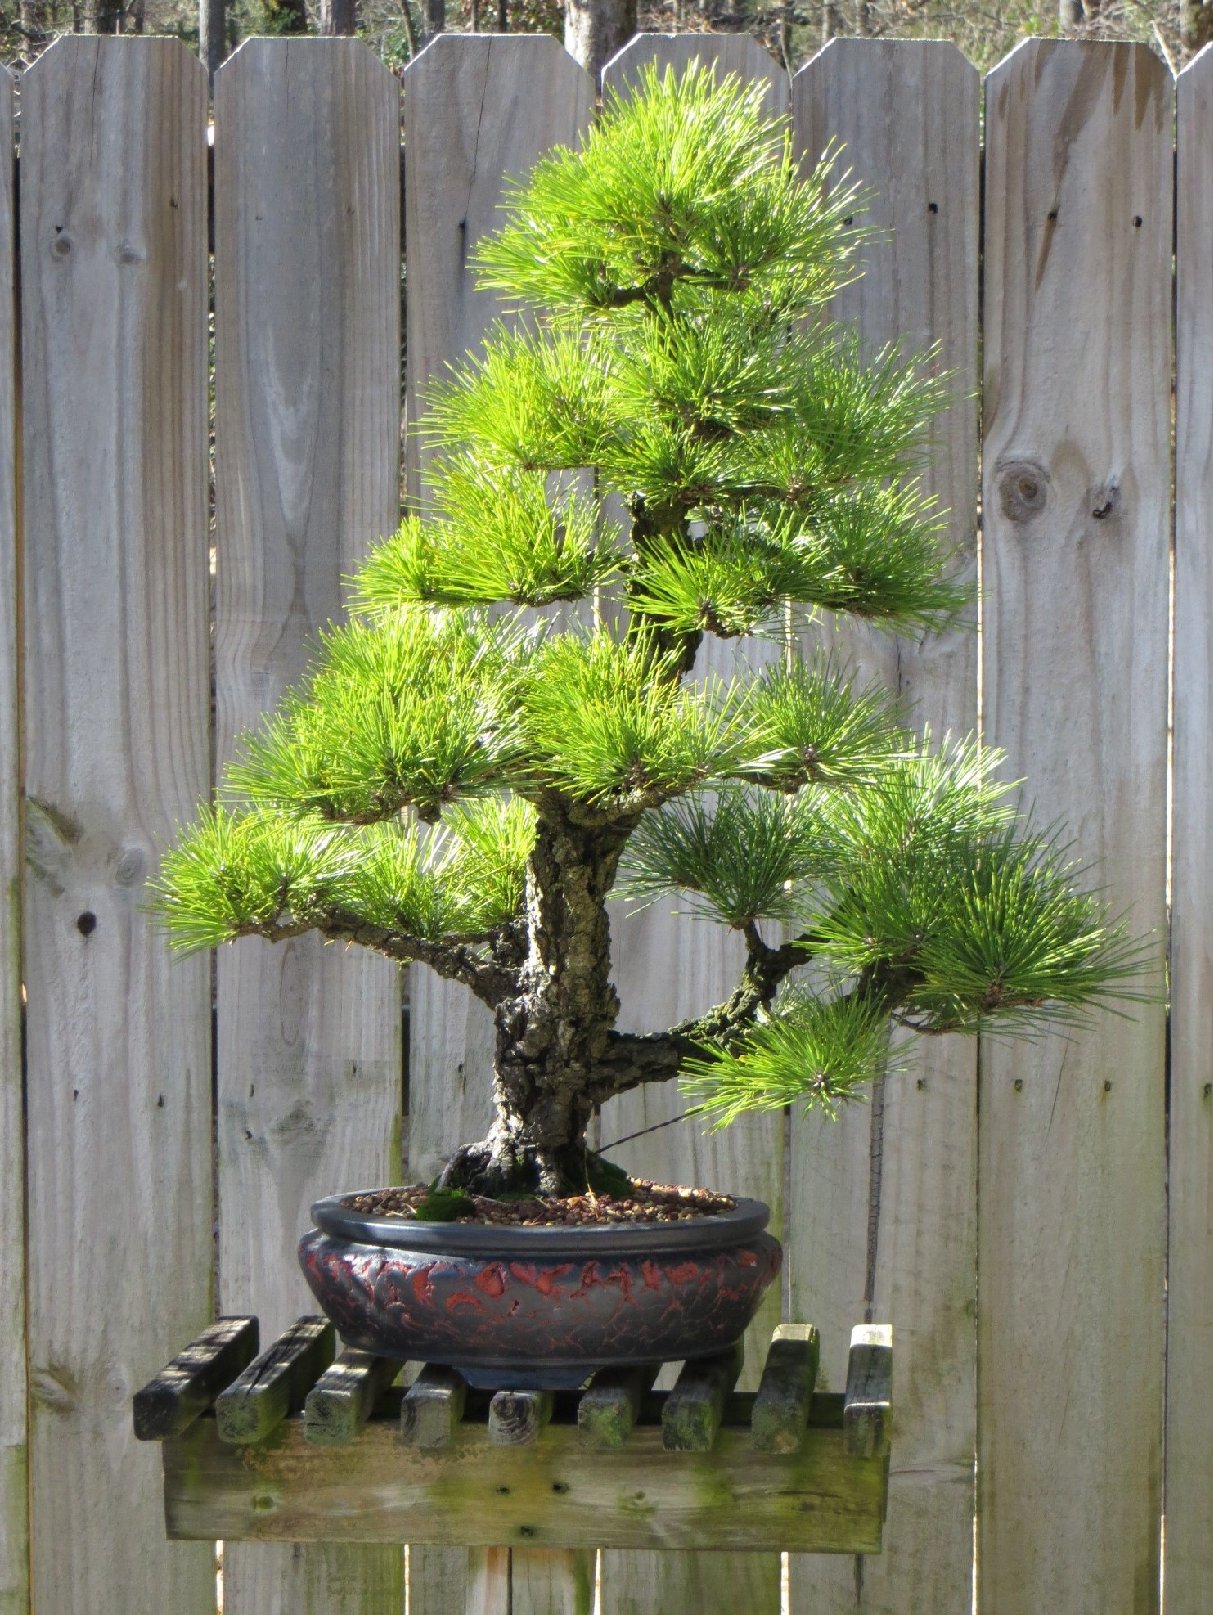
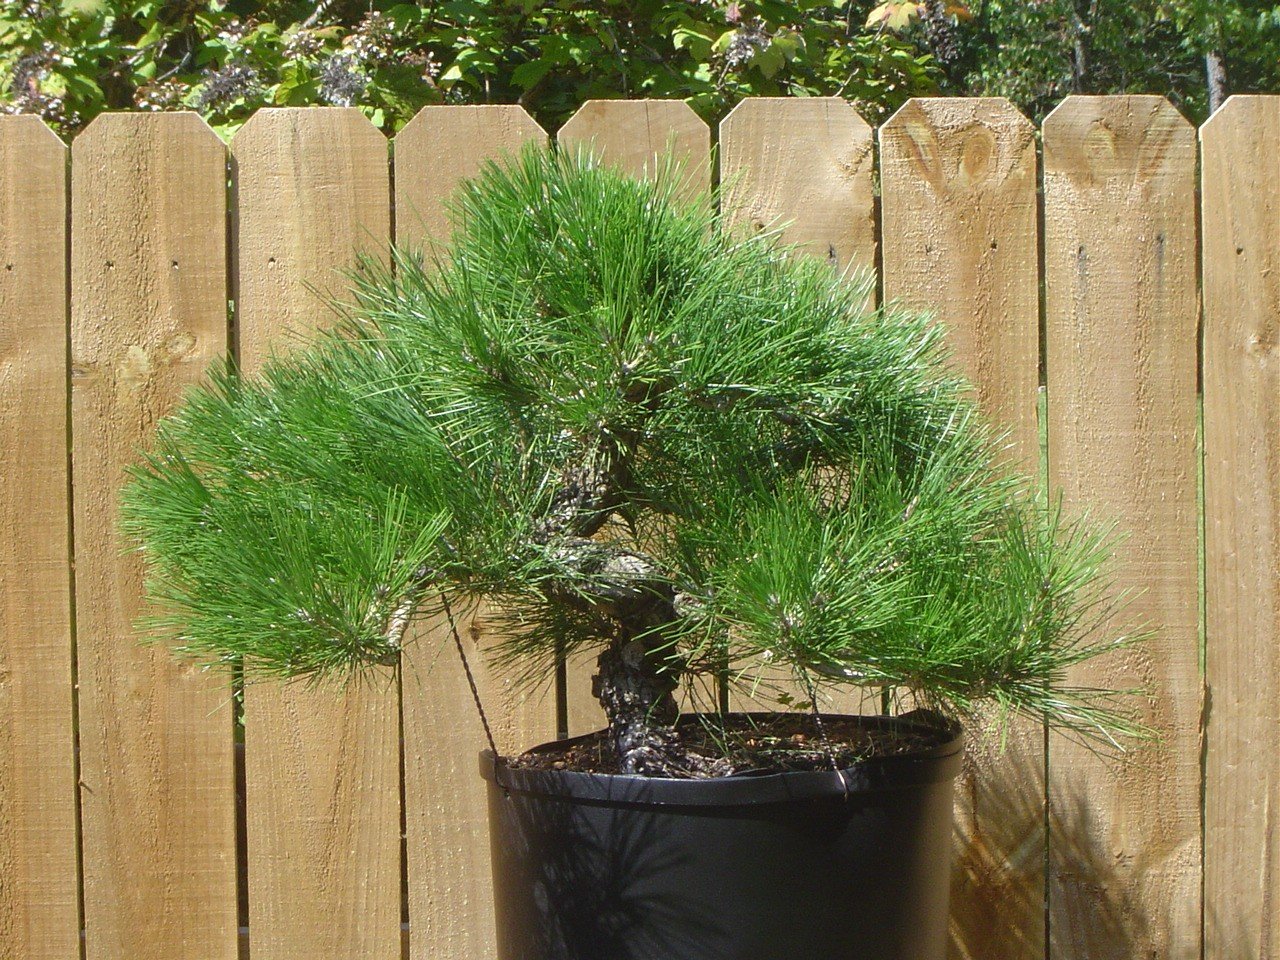
September, 2007, after candle-cutting in 3 stages. New needles emerged from 2nd flush of candles. Most of the wires applied in March have been removed; guy wires pull down main branches.
Calendar of work, Spring
W hen candles elongate, but before any needles are visible, identify the average length of candles on the tree.
Break off more of the stronger candles, less of the medium candles, and none of the weak candles.
When they're all about the same length, the overall balance of the tree's energy improves.
Reduce the number of candles on each branch tip so they emerge in pairs only.
2008
Candles elongating after first transplanting into a bonsai pot.
April 2008
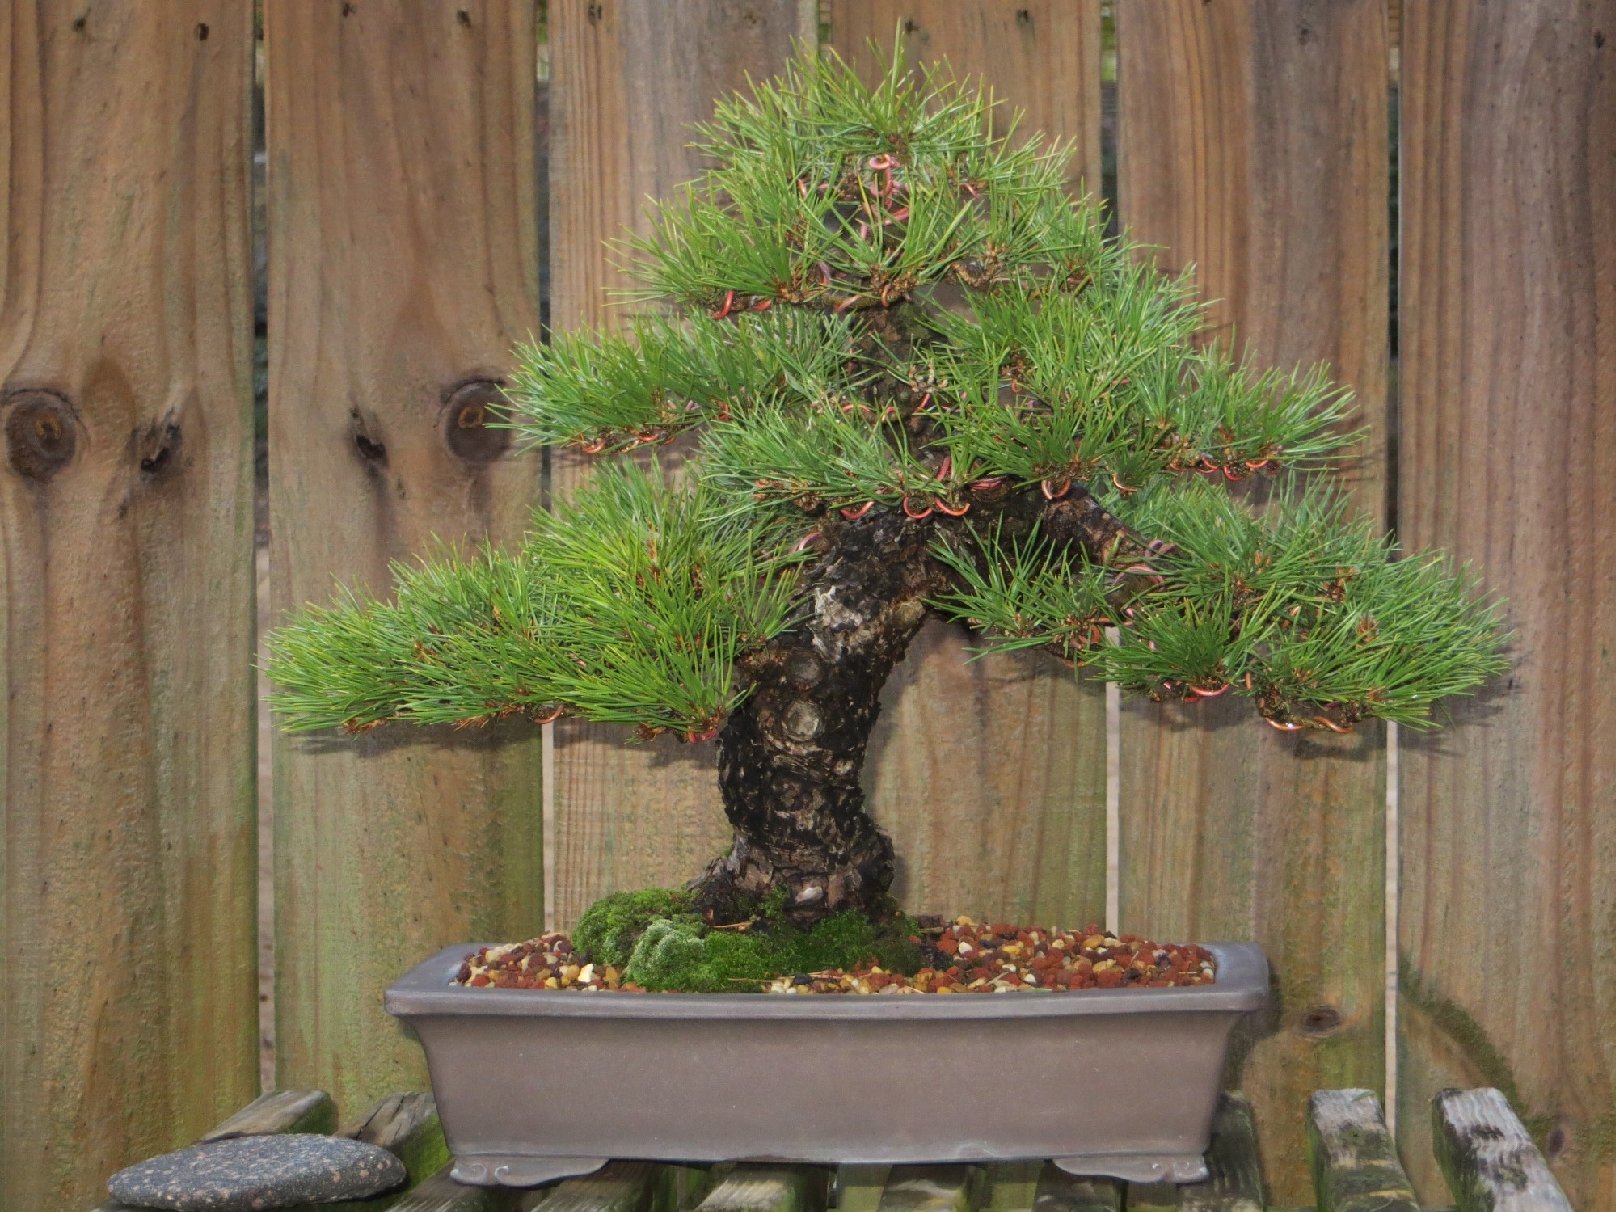
After breaking off strong and medium candles to equalize their length, and strength.
Calendar of work, Summer
Candle-Cutting:
In Mid-Summer, when candles are open, remove them completely.
Do this in 3 phases at 2-week intervals. Remove weak candles first, medium candles second, strong candles last. This gives the weak areas a "head start" on the second flush of growth.
Needle-Thinning:
Remove some of last years needles from strong areas to allow sunlight to penetrate into the interior of the tree.
Summer Candle-Cutting
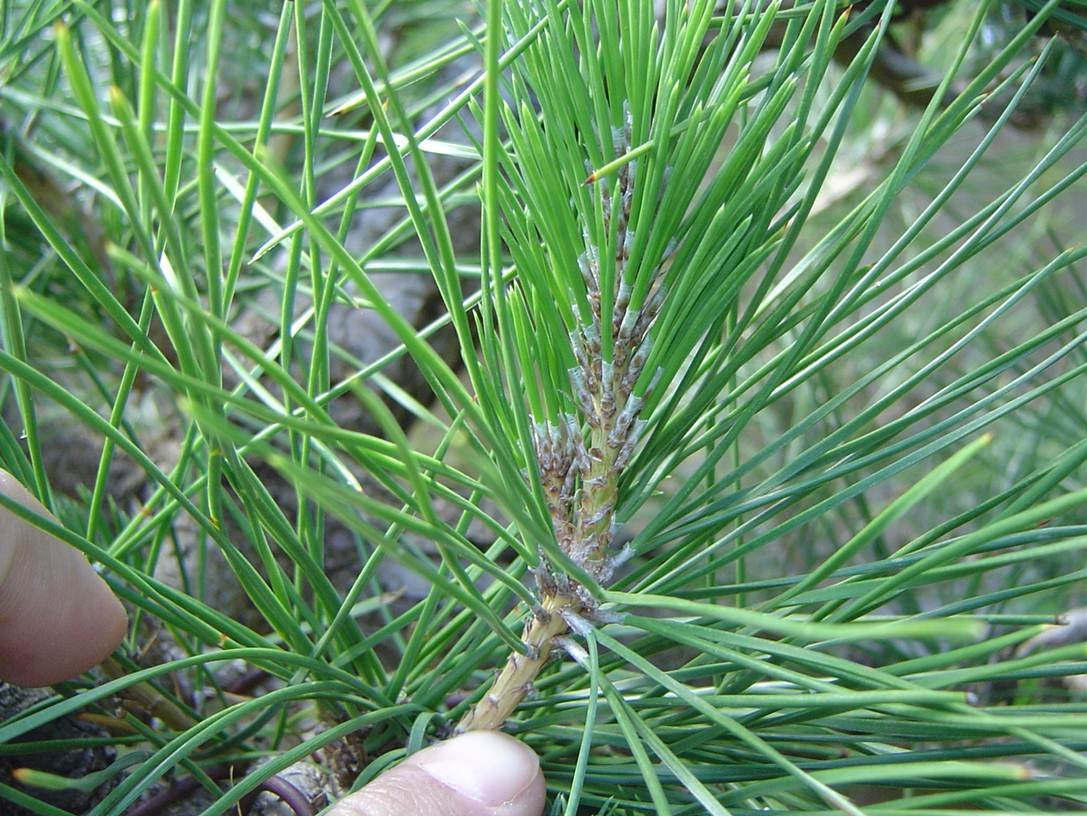
This years candle is green in color; last years candle is tan.
This year's candle
________________
Last year's candle
Summer Candle-Cutting
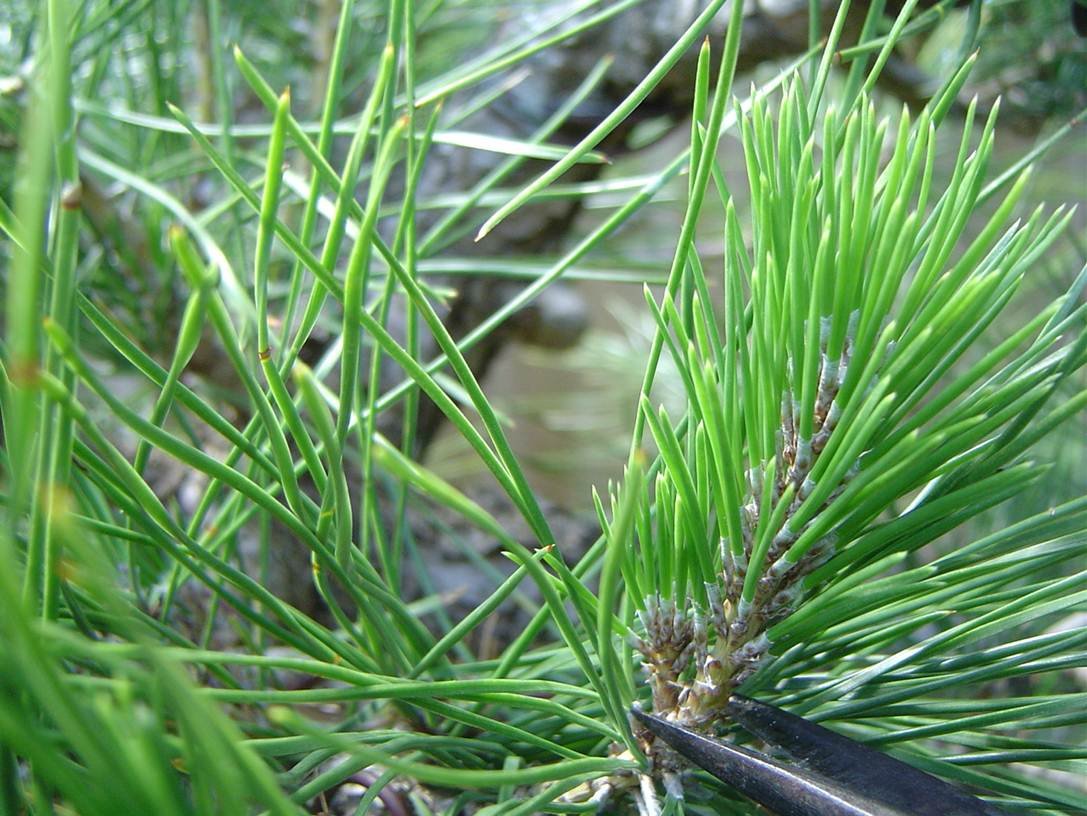
Cut this year's candle at the base. Cut perpendicular to the branch. An angular cut may result in uneven growth, with stronger buds developing on the low side of the angular cut.
Summer Candle-Cutting
One down, one to go.
Summer Candle-Cutting
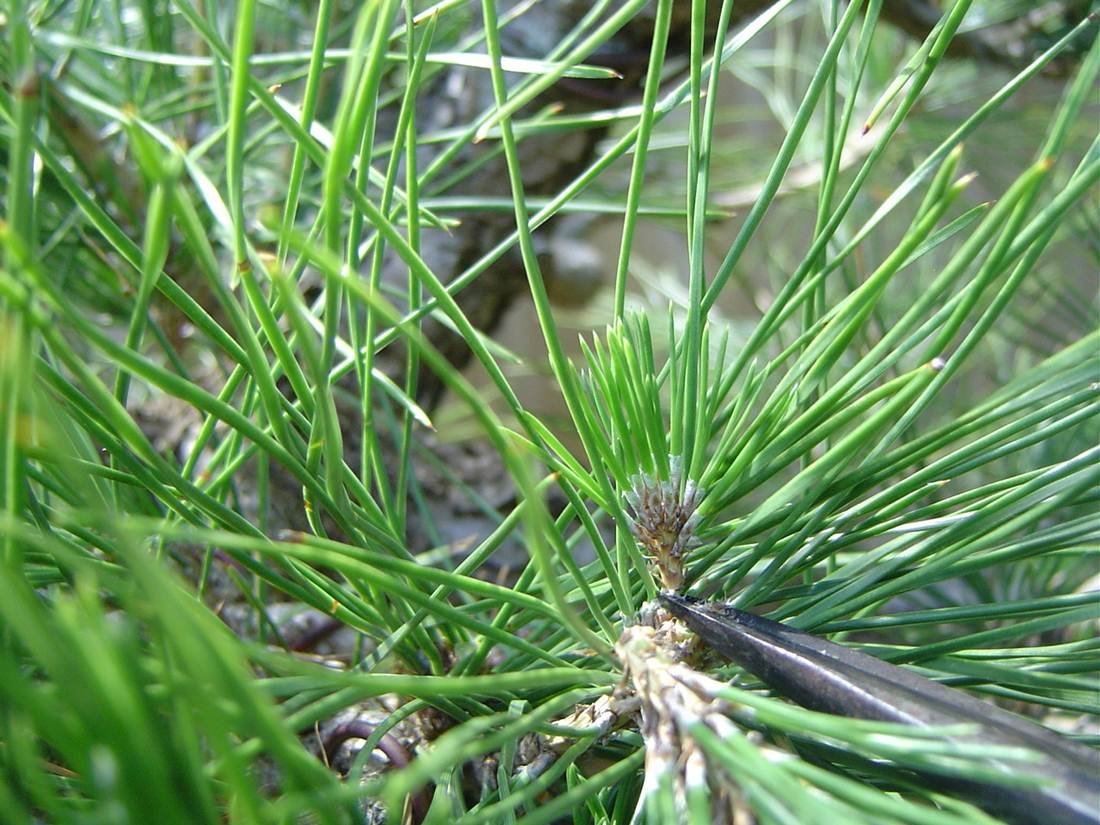
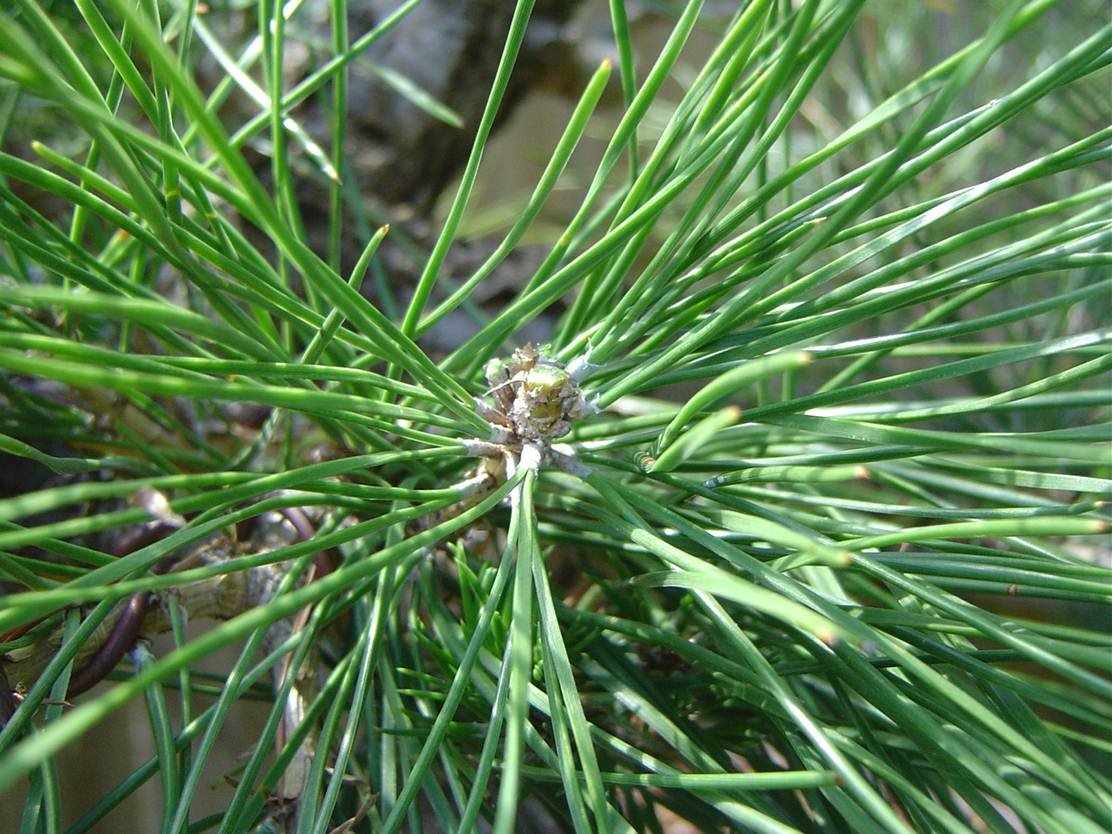
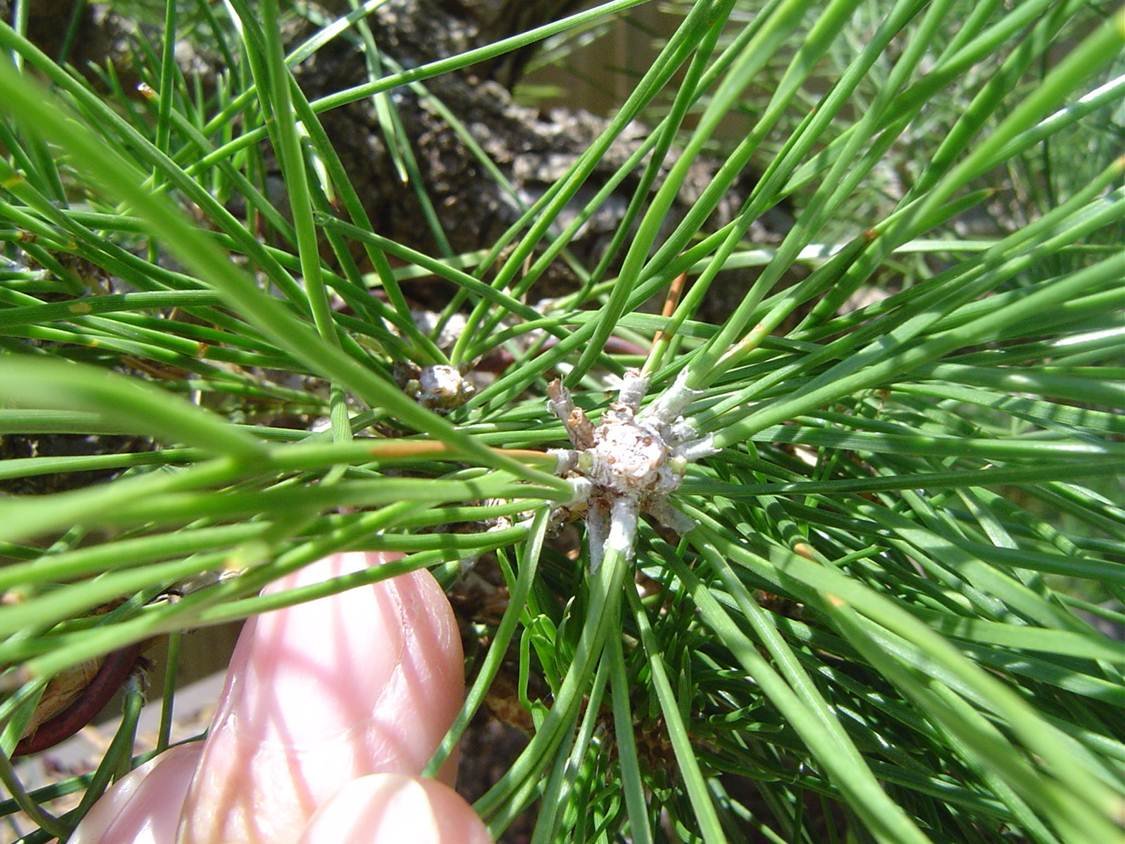
Candle-cutting complete. New buds will form at the base of the cut. These new buds will form candles and become the next set of forked ramification.
Summer Candle-Cutting
Candle-cutting complete. New buds will form at the base of the cut. These new buds will form candles and become the next set of forked ramification.
Summer Candle-Cutting
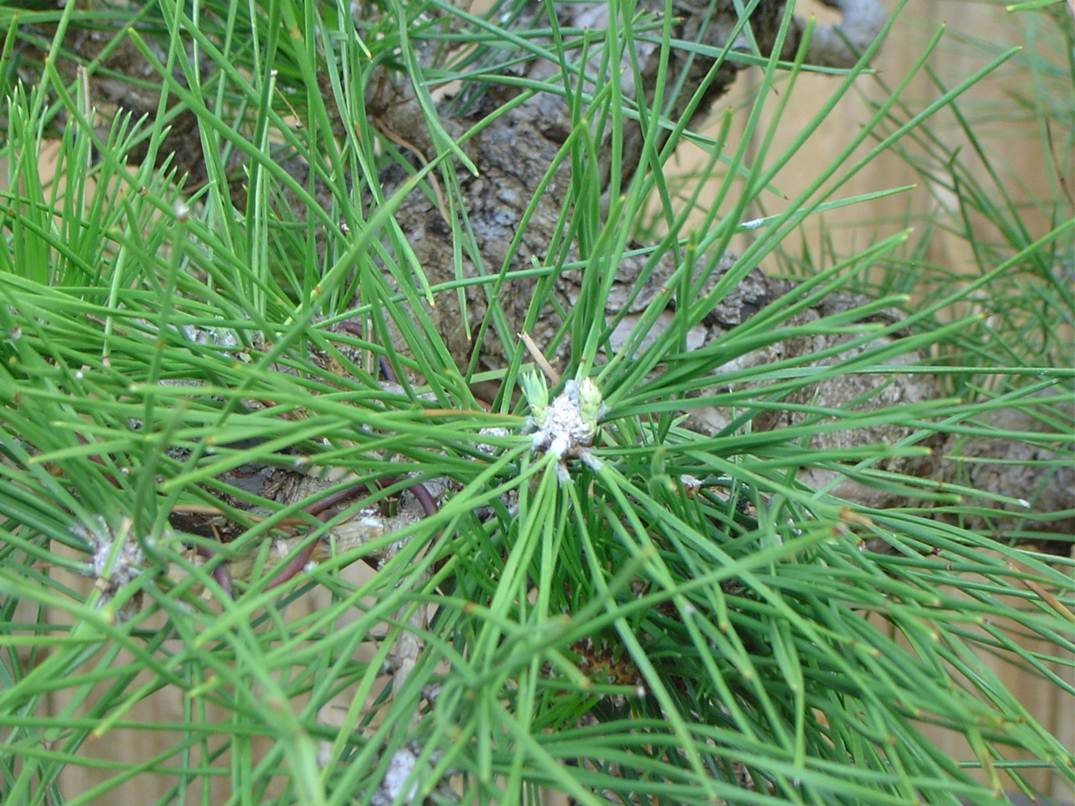
15 days later, 7/1. New buds are appearing from the base. Reduce to 2 opposed buds of equal size, at the 9:00 and 3:00 positions to create forked ramification.
Now that the weak branches have a head start on forming new budsTime to prune Medium-strength areas.
Summer Candle-Cutting
30 days later, 7/16. New buds are becoming candles. Feed well and let them grow.
6/15/08
Remove candles from weak area, starting with lower-right branch.


