Publisher: Amy Barrett-Daffin
Creative Director: Gailen Runge
Acquisitions Editor: Roxane Cerda
Managing Editor: Liz Aneloski
Editor: Kathryn Patterson
Technical Editor: Debbie Rodgers
Cover/Book Designer: April Mostek
Production Coordinator: Tim Manibusan
Production Editor: Alice Mace Nakanishi
Illustrator: Linda Johnson
Photo Assistant: Rachel Holmes
Subjects photography by Rachel Holmes and Diane Pedersen and instructional photography by Kelly Burgoyne and Estefany Gonzalez of C&T Publishing, Inc., unless otherwise noted
Published by C&T Publishing, Inc., P.O. Box 1456, Lafayette, CA 94549
DEDICATION
This book is dedicated with the deepest respect and love to my grandmother, Sadie Ruby. Sadie loved embroidery and passed her passion on to me. I am also dedicating this to my wonderful Scott, for his unlimited enthusiasm and support for my adventures in art and embroidery.
ACKNOWLEDGMENTS
Special thanks to the following for their contributions of materials: Dritz, Gerald and Two Hands Paperie, Golden Acrylic Paints, and Luz De Luna. Enormous thanks to Linda Leibovich, Purna Hegde, and Sasha Schlesinger for contributing their talents and feedback. Thanks to my family for the encouragementAlex and Marcia Eisner, Jason Reinin, and Sasha and Noah Schlesinger.
Thanks to all the staff at C&T Publishing, including Zinnia Heinzmann; my special editors Roxane Cerda, Liz Aneloski, and Kathryn Patterson; and photographers Rachel Holmes, Diane Pedersen, Kelly Burgoyne, and Estefany Gonzalez.
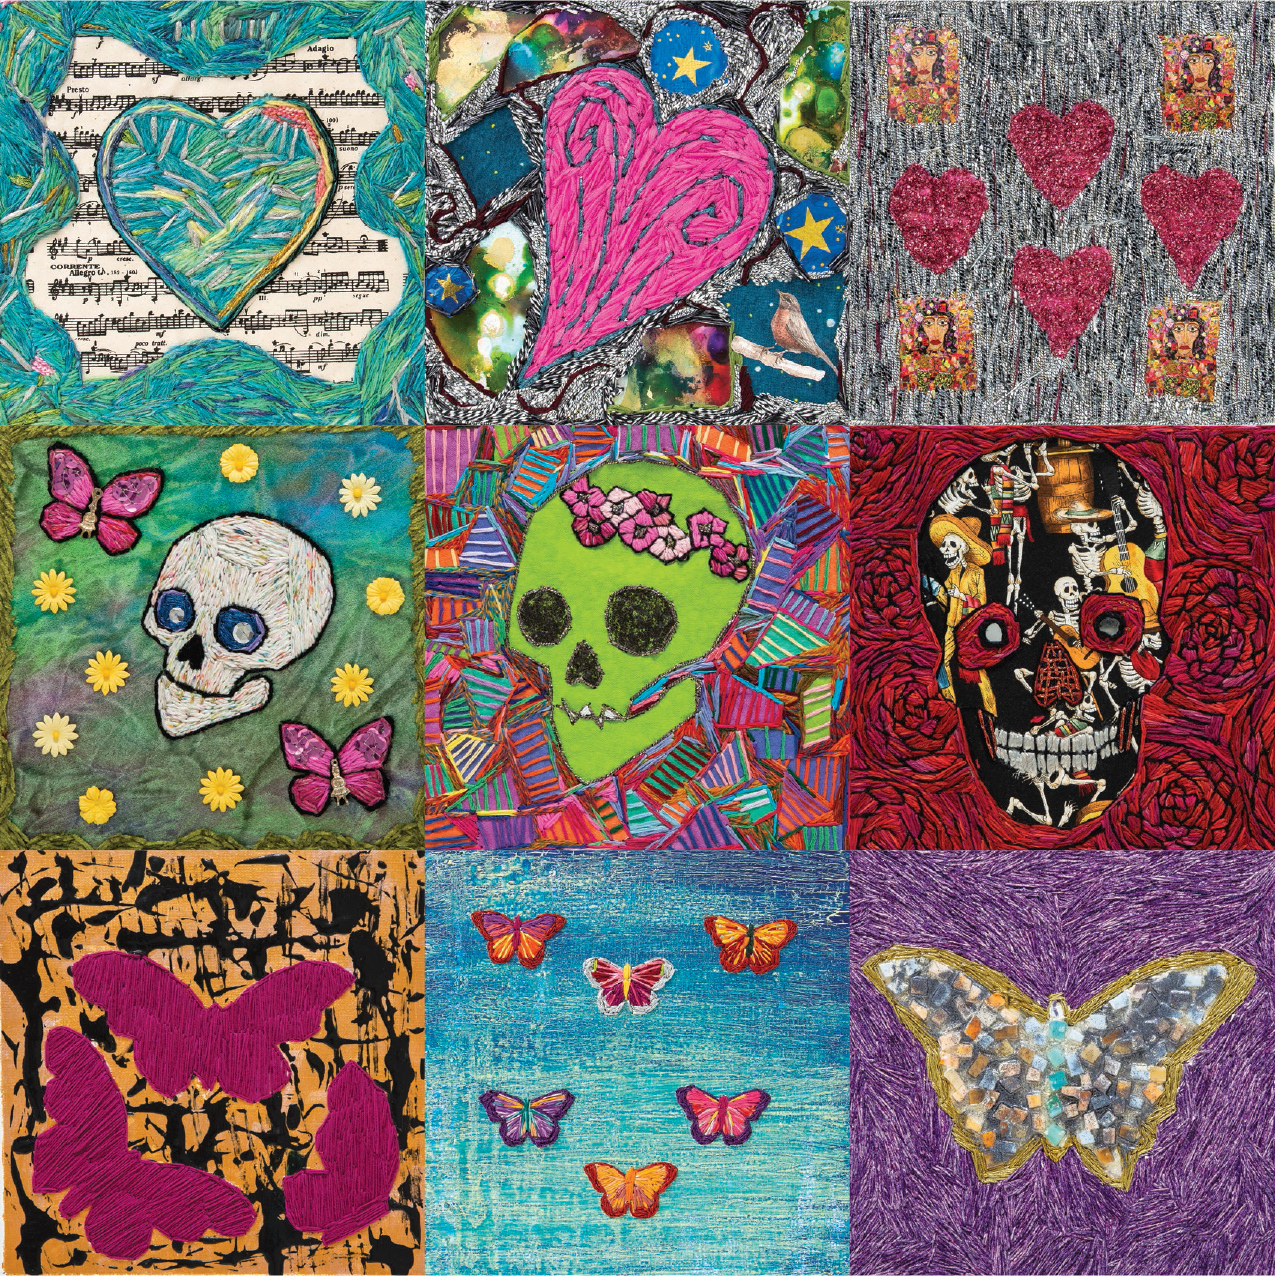
Stitching on Canvas
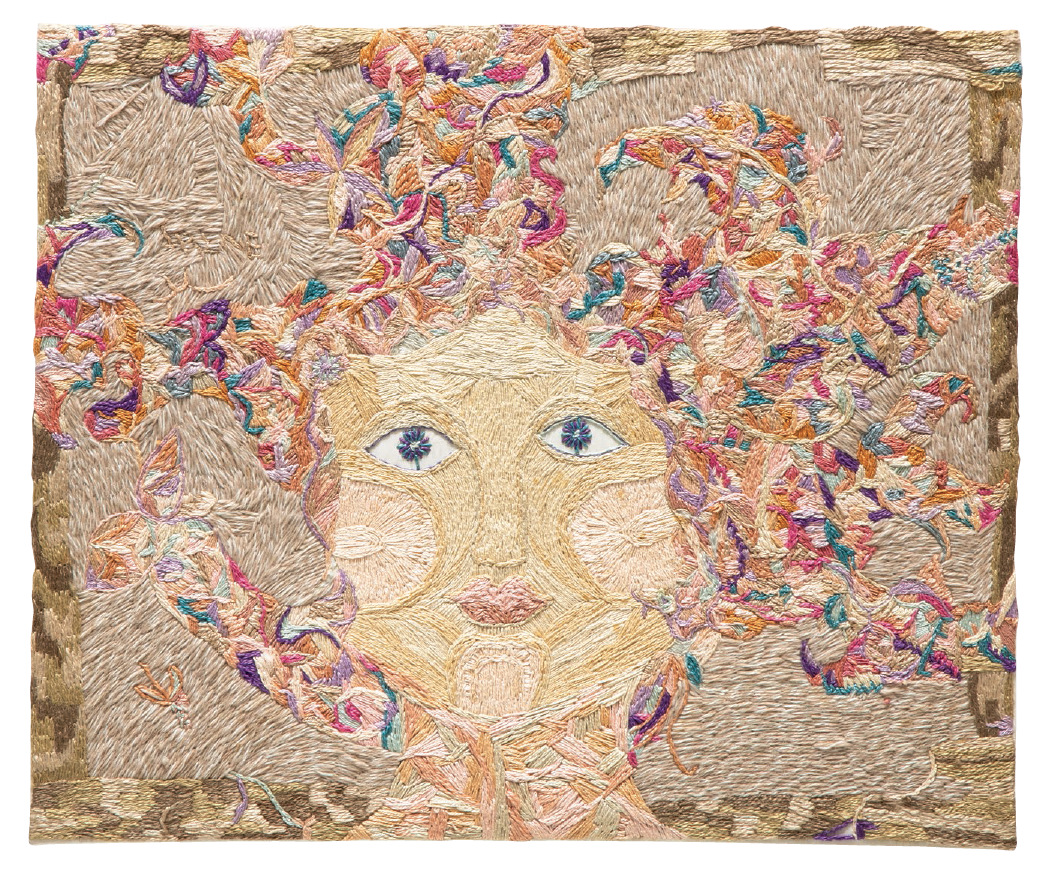
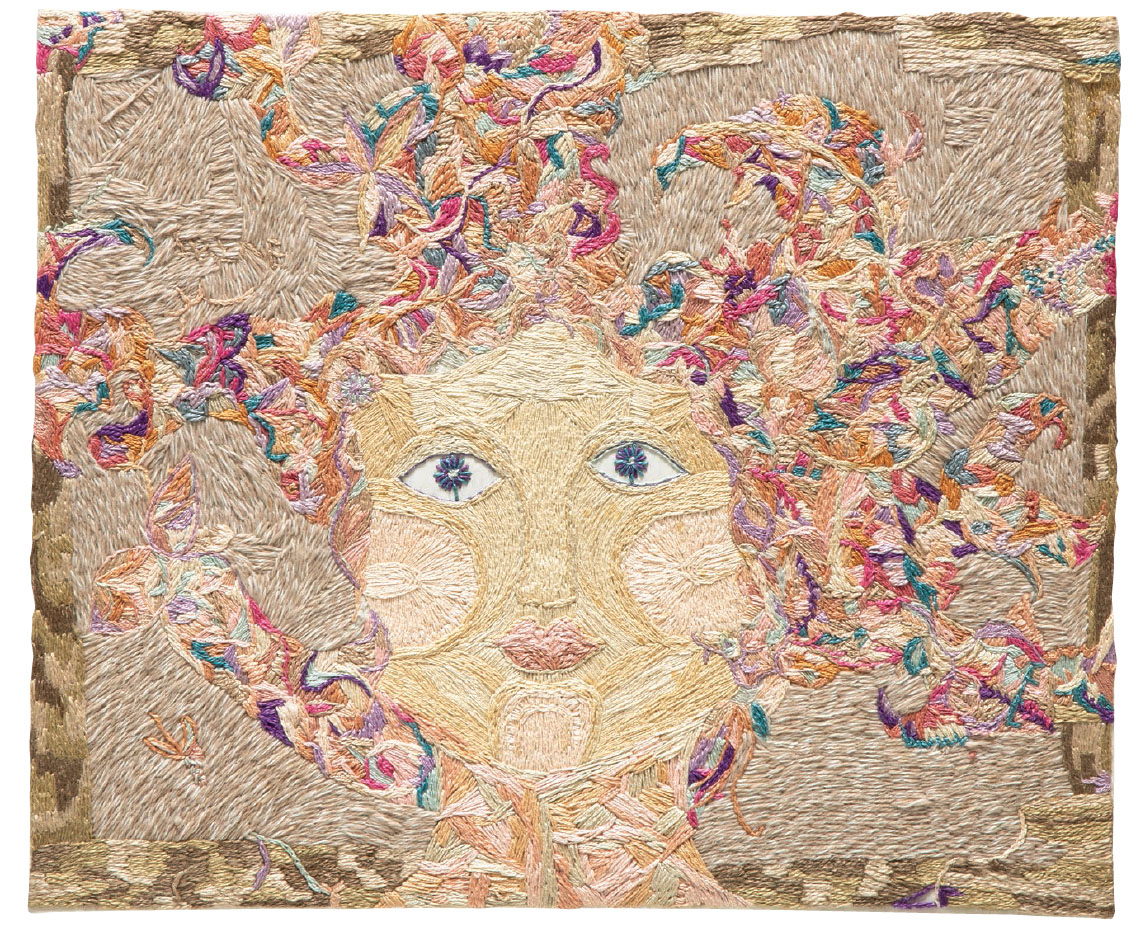
Embroidering on stretched canvas can be as pleasurable as stitching with a hoop. Stretched canvas has a smooth, taut surface waiting for you and your big needles. This opening chapter is provided to acquaint the needlework beginner with the few basic stitches for completing the projects included in the book.
The projects are open-ended. The more advanced embroiderer could and should switch them up by adding more elaborate stitching. The stitches that follow are not difficult; practice will lead to mastering them. Mastering them will lead to improvising, which is a path to developing your own unique style.
In your hands, a needle becomes a paintbrush. Your stitches are as unique as the strokes from an artists brush. As artists, we want to be unique, original, and memorable.
RUNNING AND DOUBLE RUNNING STITCH
Running stitches are (traditionally) uniform straight stitches with uniform spaces between. I outline areas with a running stitch and then go back and fill the spaces between the stitches. That is known as a double running stitch.
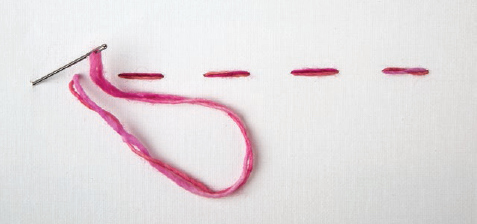
Traditional running stitch
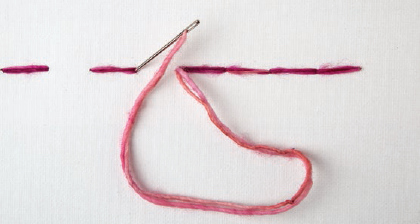
Double running stitch
STEM STITCH
The stem stitch is also used for lines and outlining. The first stitch is a straight stitch. The needle comes up through the canvas and then goes back down into the canvas. The next stitch starts alongside the middle of the first stitch and sew it goes.
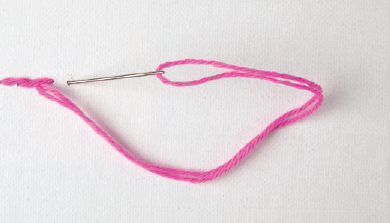
Stem stitch
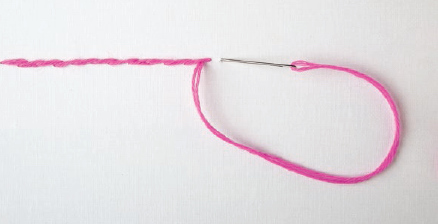
Row of stem stitches
TIP || To keep long satin stitches from catching on something, use a glue stick on the area of the canvas that the stitches will cover. This keeps the yarn in place. (Be sure to use a glue stickusing a wet glue will gunk it up.)
SATIN STITCH
The satin stitch is used for filling in spaces and shapes. Its a series of straight stitches that line up next to each other.
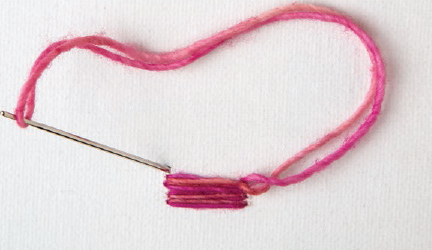
Satin stitches
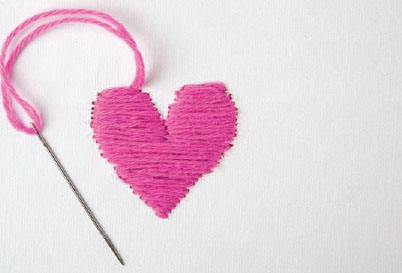
Satin-stitched heart
SIMPLIFIED SHISHA STITCH
The shisha stitch is one method of attaching small flat objects, such as mirrors or mosaic tiles, to your canvas. I am showing you a mini version of this stitch and also another option for adding these items to the canvas. Before I stitch the mirror, I glue it into place. This prevents the mirror from sliding around while Im stitching. Im using different colors of thread so you may see each step more clearly. The first part is creating a frame over the mirror using four straight stitches.
The first part is creating a frame over the mirror using four straight stitches.
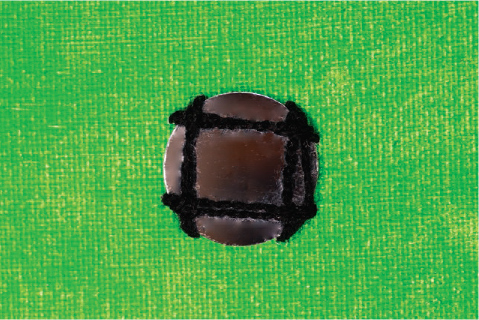
Box it in!
Next, using straight stitches, create a diamond to further lock the mirror in.
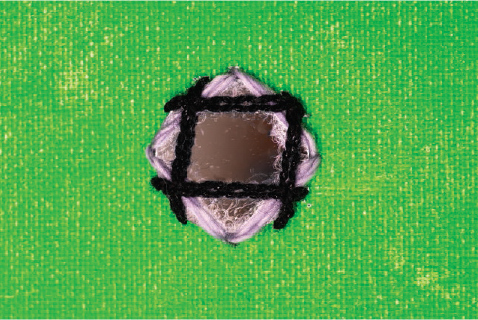
Add diagonal stitches.
Pull the needle up in a corner, then pull it under the two yarns that are part of the square and diamond outlines.
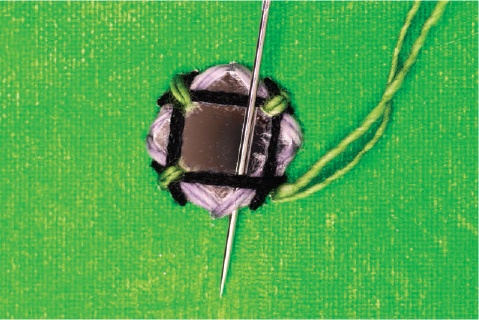
Secure corners.
Thats all it takes!
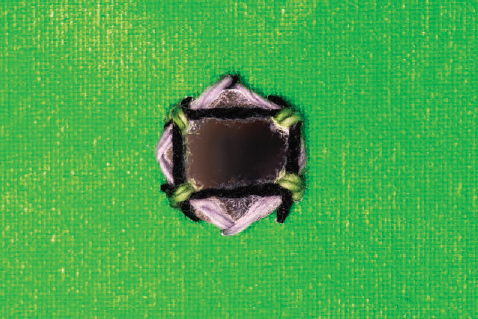
Completed shisha stitch
Would you prefer another way to add a mirror to the canvas?
Begin by gluing the mirror to a piece of scrap paper that is a little bigger than the mirror. When it is dry, attach it onto the canvas with craft glue. Be careful with glueit can mess up the mirror, and thats no fun!
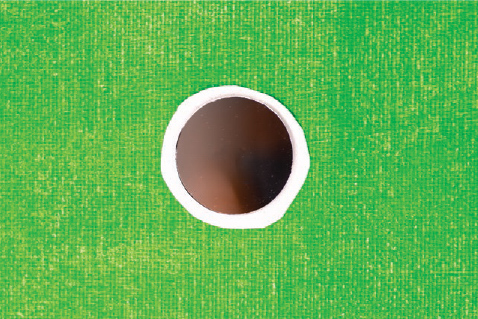
Attach with glue.
When the mirror on the paper is firmly attached to the canvas, stitch on the paper surrounding the mirror. Running stitches will become double running stitches to hide the paper and keep the mirror attached to the canvas.
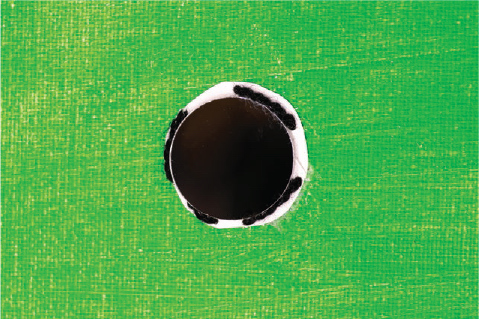
Stitch to the canvas.
Go around a few times. If you dont want the edges of the mirror to show, go back and bring the needle as close as you can to the edge of the mirror, and build up the yarn until its above the mirror. Stitching over stitches makes this happen. Be sure the mirror is firmly attached with glue before stitching.
Next page
