The Ultimate Cheeseburger and Fries
Copyright 2015 by Brian Draper
All rights reserved. No part of this publication may be reproduced, distributed, or transmitted in any form or by any means, including photocopying, recording, or other electronic or mechanical methods, without the prior written permission of the publisher, except in the case of brief quotations embodied in critical reviews and certain other noncommercial uses permitted by copyright law.
eBook ISBN: 9781783016778
Dedication
This book is dedicated to my wife, Kimberly, and to my parents, Ron and Jane. Thank you for always believing in me and for your love and support throughout my culinary journey.
Contents
Introduction
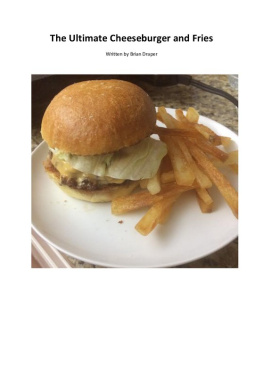
My name is Brian Draper. I have been a chef since 2009. Like millions of people around the world, I have always enjoyed a good cheeseburger and French fries. Unfortunately, duplicating a great burger that you had at a restaurant seems intimidating, until now. The Ultimate Cheeseburger and Fries gives you step by step instructions on how to create the best cheeseburger and French fries you have ever had. Starting with the bun, a homemade brioche hamburger bun, to deciding which cut of meat to grind for your burger, which cheese is best, and then on to the condiments and spread. Then there are the hand cut fries, first blanched and then frozen and fried until extra crispy. Cooking from scratch will always take more time, but the results are far and beyond what you would end up with if you bought everything pre-made. Not to mention the satisfaction of showing off to your friends and family that you can make a great burger. I have spent months perfecting each recipe that you will find in this book, so you will have peace of mind when preparing these items knowing they will turn out perfectly every time. I take great pride in the pursuit of perfection, and I believe after making these recipes, you will agree that this is the BEST cheeseburger and French fries you have ever had.
Chapter 1: The Bun
One of the most underrated elements of a cheeseburger is the bun. When you go to the grocery store, there are many different buns to choose from. You have potato buns, onion rolls, and sesame seed buns just to name a few. The problem with these buns however, is that when you place a delicious juicy burger on it, it falls apart. I am sure almost everyone has had a bun that has completely disintegrated after the first few bites. The store bought buns are flimsy and absorb too much of the burgers juices causing it to fall apart. Because of this, you end up eating your burger with a knife and a fork. Definitely not how a burger should be eaten. Below, I will show you how to make an amazingly delicious brioche hamburger bun that is sturdy enough to handle even a pound burger without falling apart. Brioche buns provide more flavor than any other bun in my opinion because it is made with eggs, butter, and milk, thus giving it a great richness and mouthfeel. The recipe I am using was made famous by Chef Nancy Silverton. I saw her teach this brioche recipe to Julia Child but it was for a dessert dish. I figured I would turn it into a hamburger bun and what do you know, it was perfect. Here is the recipe.
Sponge
1/3 cup hot milk, 110 degrees
2 tsp. dry active yeast
1 egg
2 cups AP flour, divided
Dough
1/3 cup sugar
1 tsp. kosher salt
4 large eggs
1 cups AP flour
6 oz. room temperature butter
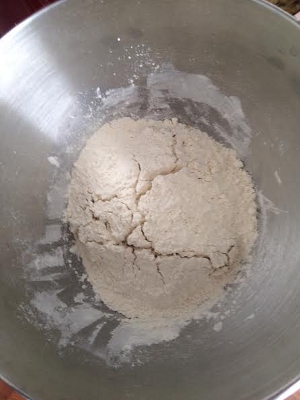
The first step in making this is to make the sponge. The sponge will allow us to see if our yeast is active before we start adding all of our expensive ingredients such as our butter. It will also provide a deeper flavor to the finished buns. First we heat up the milk until it is 110 degrees Fahrenheit. This is important because in order for the yeast to become active, the liquid it is mixed with cannot be too hot or too cold. This temperature works perfectly. After you heat up the milk, pour it into the bowl of a kitchen aid mixer. Add the yeast, one egg, and 1 cup of flour. Stir to combine. Dump the remaining cup of flour on top and let this sit for 40 minutes until the flour starts to crack. This means that your yeast is active and you may proceed with the recipe. If it does not crack, dump it out and start over. Below is a picture of what this should look like after 40 minutes.
At this point, add the rest of the ingredients except for the butter and mix on low speed to incorporate the flour and then increase to medium speed using the dough hook attachment. Allow the dough to knead for a full 15 minutes. The dough should be a little wet but should be clearing the sides of the bowl without sticking too much. After 15 minutes, add the softened butter. The dough will start to look messy at this point but that is okay. You may need to add a few more tablespoons of flour to bring it all back together. Knead for another 5 minutes at medium speed until the dough starts to make a slapping noise against the side of the mixing bowl. Once that is done, place the dough in a clean, lightly oiled bowl and cover with plastic wrap. Allow to rise at room temperature for 2 hours.
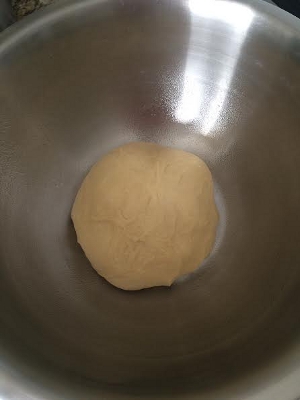
At the end of the 2 hours, the dough should have doubled in size.
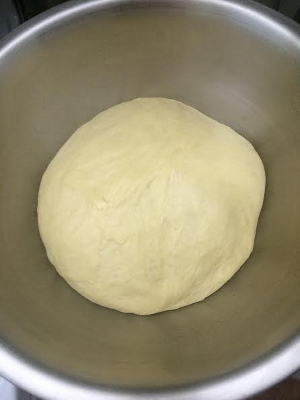
Gently rotate the dough in the bowl to deflate, cover with plastic wrap, and place in the refrigerator for 2 hours to allow it to firm up. We are now ready to portion the buns. I have found that 80 gram buns are the perfect size for a pound burger. Meat to bun ratio is very important. You do not want too much bun and not enough meat or too much meat and not enough bun. Using a digital stale, weigh out 80 gram buns, then gently, using your fingers, pull the sides of the dough and tuck them under. This will ensure a smooth looking top. Next, roll the dough into a ball and place on a parchment lined sheet pan. In the picture, I made burger bun molds out of aluminum foil so the buns will hold their shape as they bake. You do not need to do this but if you are interested in making them, below are some pictures on how to do it. Start by folding the foil in half, then in half again, and so on and so on until you end up with a nice thin piece of foil.
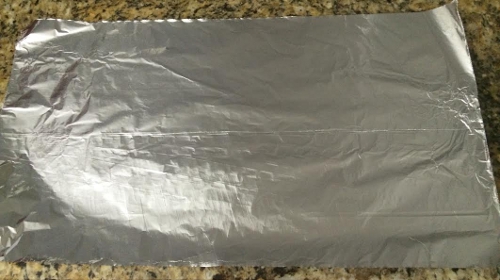

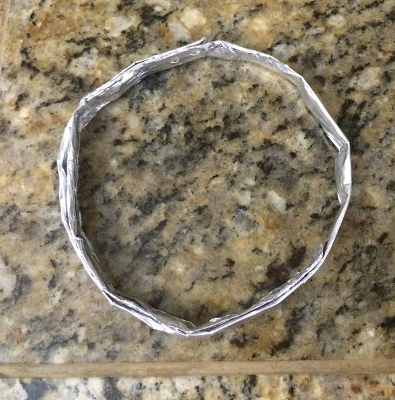
To get the size of the circle correct, measure 32cm from one end and make a line using a sharpie. Fold the end of the foil that you measured from to that line and staple it. Then staple the other end and you have a perfect template for your buns.
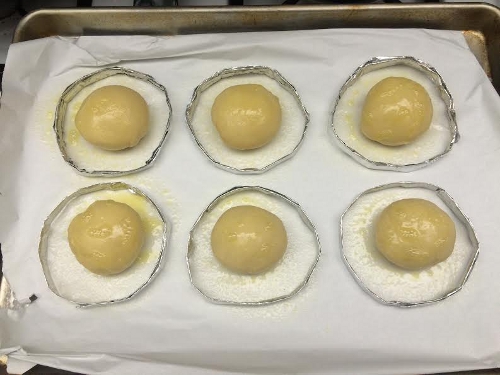
Coat the dough lightly with oil and flatten slightly. Cover once again with plastic wrap and allow to proof until they fill the ring molds, about 2 hours more.
Next page
