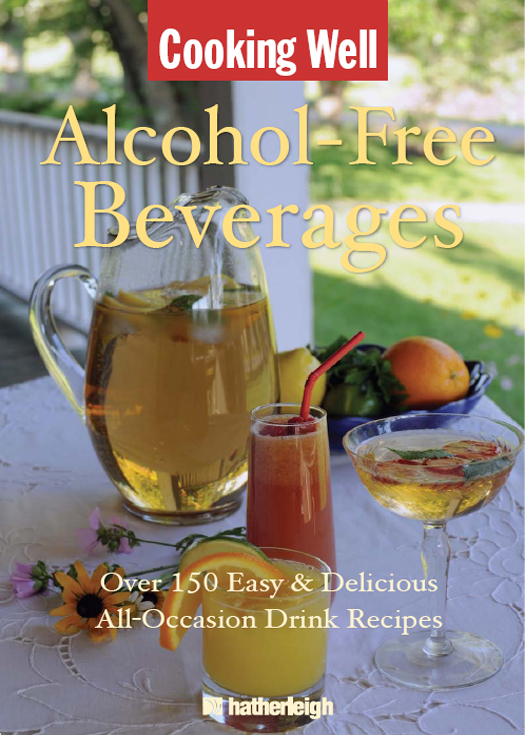
Cooking Well: Alcohol-Free Beverages
Text copyright 2010 Hatherleigh Press
All rights reserved. No part of this book may be reproduced, stored in a retrieval system, or transmitted, in any form or by any means, electronic or otherwise, without written permission from the Publisher.
Hatherleigh Press is committed to preserving and protecting the natural resources of the Earth. Environmentally responsible and sustainable practices are embraced within the companys mission statement. Hatherleigh Press is a member of the Publishers Earth Alliance, committed to preserving and protecting the natural resources of the planet while developing a sustainable business model for the book publishing industry.
This book was edited and designed in the village of Hobart, New York. Hobart is a community that has embraced books and publishing as a component of its livelihood. There are several unique bookstores in the village. For more information, please visit www.hobartbookvillage.com.
www.hatherleighpress.com
DISCLAIMER
This book offers general cooking and eating suggestions for educational purposes only. In no case should it be a substitute nor replace a healthcare professional. Consult your healthcare professional to determine which foods are safe for you and to establish the right diet for your personal nutritional needs.
Cooking well : alcohol-free beverages : over 150 easy & delicious recipes for holidays and special occasions.
p. cm. (.)
eISBN: 978-1-57826-360-8 1. Non-alcoholic beverages. 2. Cook-books. I. Title: Alcohol-free beverages: over 150 easy & delicious recipes for holidays and special occasions.
TX815.C55 2010
641.26dc22
2010033176
Cover Design by Nick Macagnone
Photography by Catarina Astrom
v3.1
Table of Contents
Introduction
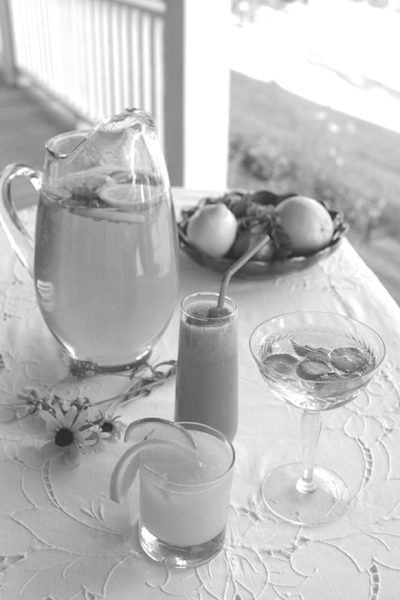
M aking your own alcohol-free beverages at home is not only the best means to avoid alcohol and reduce calories, but is also a great way to reap the nutritional benefits of a wide variety of fresh fruits and herbs, including grape, lemon, apple, mint, and ginger. The recipes in Cooking Well: Alcohol-Free Beverages provide you with delicious, healthful alternatives to alcoholic beverages. These cocktails are also a low-cost, fun way to celebrate with family and friends. Whether you have a special event in mind or just want to make your everyday meals more festive, a refreshing alcohol-free beverage enlivens any occasion. All you need are basic ingredients, simple bar accessories, and a little extra time.
The Basics
Below is a list of basic supplies you will need to make the beverages in this book, along with a description of terms used for each recipe. Using these tools and techniques is simple, and it wont be long before you are comfortable making any drink.
Before you begin, set aside a small area on a counter top or table where you can spread out your tools and ingredients. Lay down a towel and, in addition, have a couple towels at the ready to clean up any spills.
Cocktail Shaker and Strainer: A cocktail shaker is a tall container used to thoroughly blend the ingredients in a beverage. Ingredients are added to the shaker, the lid is placed on top and held firmly, and the beverage is shaken vigorously for a given length of time. When ice is added and shaken along with the other ingredients, the shaker rapidly produces a thoroughly cooled, refreshing cocktail.
Once the beverage has been shaken, a strainer is placed over the shaker and used to strain the cocktail into a serving glass.
Note: If a strainer is not included with your shaker, be sure to choose a strainer that fits all the way over the top of the shaker.
To shake: combine all ingredients in the shaker. Be sure the lid is firmly placed, and, while holding the lid down with one finger, shake vigorously. When shaking, rapidly extend and bend the arm from the elbow to thoroughly blend the ingredients. Do not flip the shaker upside down. Shake for about 510 seconds (or longer, depending on recipe directions) to make sure all ingredients are mixed well.
To strain: Place the strainer over the top of the shaker with the handle of the strainer between your first two fingers. Use the index finger to hold the strainer steady. Carefully pour the drink through the strainer into the serving glass.
Manual Ice Crusher: A manual ice crusher will easily crush cubes of ice into smaller chunks. Place ice into the top of the crusher and turn the handle to crush the ice. If you would like the ice to be crushed finer, simply run the crushed ice through the ice crusher a second time.
For recipes that call for cracked ice, wrap ice in a towel and use the back of a large spoon to smash the ice cubes until they break off into smaller chunks.
Note: Although you do not need a blender to make the drinks in this book, if you prefer to use one, be sure to blend ice using the crush setting. If you dont have a manual ice crusher, you can also purchase crushed ice at your grocery store.
Sieve or Sifter: A sieve or sifter uses mesh netting to separate solids from liquids.
For the recipes in this book that feature larger chunks of fruit, a sieve or sifter is used instead of a strainer because they are sturdier. A sieve or sifter is also easier to use when there is a greater quantity of liquid to be separated.
To sieve or strain: Either hold or place the mesh sieve or strainer over a large bowl or pitcher. Carefully pour the mixture through the mesh. Be sure to choose a sieve or sifter with a fine mesh so that chunks of fruit do not escape into the liquid.
Stirrer: A stirrer is a long handled stainless steel spoon used to thoroughly stir the ingredients of a beverage. Some beverages are served stirred rather than shaken.
To stir: Be sure to place the bottom of the spoon all the way into the glass and stir for about 10 seconds, until all the ingredients are thoroughly combined.
Juicer: A simple hand-held or bowl juicer will work well for any recipe in this book that calls for fresh juice. An electric juicer may also be used, but be sure to thoroughly clean it between uses.
To juice by hand: Slice a lime, lemon, orange or other citrus fruit in half, slicing between the ends down the middle of the fruit. Place one half, skin side up and pulp down, onto the dome of the juicer. Press down firmly while rotating the hand back and forth. Stop when the juice becomes pulpy. Be sure to remove any seeds before using the fruit juice.
Ingredients
Most of the recipes in this book use simple ingredients that you probably already have at home. Any items you dont have can be found at your local grocery store. For recipes that call for juice, incorporate the fresh fruits of the season and make your own juice whenever possible.


