
INTRODUCTION
Comic books have been around since the early 1900s, and have grown in popularity ever since. They have thrilled millions of comic book fans around the world with amazing stories about superheroes, bizarre science fiction, crime thrillers, wild west adventures and almost any subject you can possibly think of.
Both comic books and graphic novels use a sequence of illustrated panels to tell a story. While comic books are published over a series of issues, a graphic novel is usually one complete story. Drawing comic book art is one of the most sought-after jobs in the world of illustration, and its easy to understand why. What could be more exciting than creating amazing images and telling fantastic stories to inspire readers all over the world?
In this book, we will take you through the stages of creating your first comic book or graphic novel, from choosing your characters to plotting the story in panels and even producing an incredible cover. There are great tips on how to ink and colour your artwork and the best drawing tools to use.
By the end, we hope youll be inspired to write and illustrate your own comic book. So, what are you waiting for? Turn the page and start creating some exciting comic book art!
DRAWING TOOLS
Lets start with the essentials the tools of the trade. Without them, there will be no cool pictures in your comic book!

LAYOUT PAPER
Artists, both as professionals and as students, rarely produce their first practice sketches on their best quality art paper. Its a good idea to buy some inexpensive plain A4 or A3 paper (whichever you prefer) from a stationery shop for all of your practice sketches. Go for the least expensive kind.
Most professional illustrators use cheaper paper for basic layouts and practice sketches before they get round to the more serious task of producing a masterpiece on more costly material.
CARTRIDGE PAPER
This is heavy-duty, quality drawing paper, ideal for your final version. You dont have to buy the most expensive brand. Most decent art or craft shops stock their own brand or a student range and, unless youre thinking of turning professional, these will do fine.
WATERCOLOUR PAPER
This paper is made from 100 per cent cotton, and is much higher quality than wood-based papers. Most art shops stock a large range of weights and sizes. 250 g/m or 300 g/m are fine.
LINE ART PAPER
If you want to practise black and white ink drawing, line art paper enables you to produce a nice clear crisp line. Youll get better results than you would on cartridge paper as it has a much smoother surface.
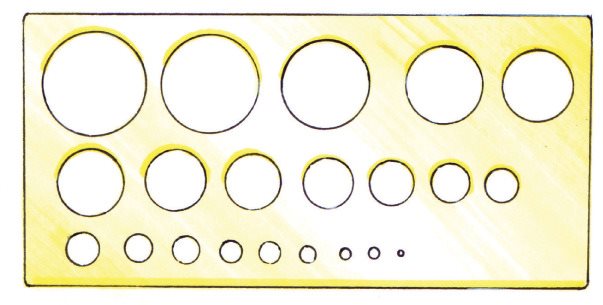
CIRCLE TEMPLATE
This is very useful for drawing small circles.
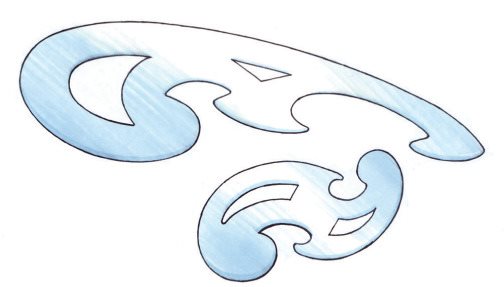
FRENCH CURVES
These are available in a few shapes and sizes and are useful for drawing curves.
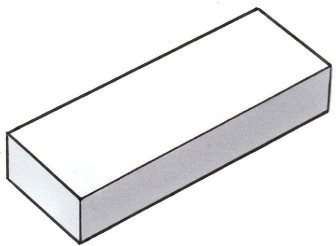
ERASER
There are three main types of eraser: rubber, plastic and putty. Try all three to see which kind you prefer.

PENCILS
Its best not to cut corners on quality here. Get a good range of graphite (lead) pencils ranging from soft (6B) to hard (6H).
Hard lead lasts longer and leaves less graphite on the paper. Soft lead leaves more lead on the paper and wears down more quickly. Every artist has their personal preference, but 2H pencils are a good medium range to start out with until you find your favourite.
Spend some time drawing with each weight of pencil and get used to their different qualities. Another good product to try is the clutch, or mechanical pencil. These are available in a range of lead thicknesses, 0.5mm being a good medium range. These pencils are very good for fine detail work.

PENS
There is a large range of good quality pens on the market these days and all will do a decent job of inking. Its important to experiment with different pens to determine which you find most comfortable.
You may find that you end up using a combination of pens to produce your finished piece of artwork. Remember to use a pen that has watertight ink if you want to colour your illustration with a watercolour or ink wash. Its quite a good idea to use one of these anyway. Theres nothing worse than having your nicely inked drawing ruined by an accidental drop of water!

BRUSHES
Some artists like to use a fine brush for inking linework. This takes a bit more practice and patience to master, but the results can be very satisfying. If you want to try your hand at brushwork, you will definitely need to get hold of some good quality sable brushes.

MARKERS
These are very versatile pens and, with practice, can give pleasing results.
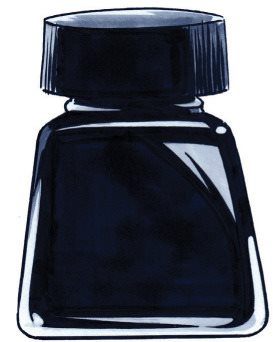
INKS
With the dawn of computers and digital illustration, materials such as inks have become a bit obscure, so you may have to look harder for these but most good art and craft shops should stock them.
DRAWING FIGURES: BASIC SHAPES
A simple, but very effective way of drawing human (or super-human!) figures is to draw a stick figure and then build on it using a selection of basic shapes such as cylinders, balls, cubes and spheres. Learning how to give 3-D form to simple shapes (like the ones below) is the secret to drawing life-like figures.

CONSTRUCTION SHAPES
Here is how to build the human figure by starting with a stick figure, then building on it using basic shapes. Whatever pose you want to draw your character in, once you have learnt this step-by-step technique, youll have the skills you need to draw realistic-looking figures with ease.

Next page

