Hand-Built
OUTDOOR FURNITURE
20 STEP-BY-STEP PROJECTS
Anyone Can Build
KATIE JACKSON
with photos by
ELLEN BLACKMAR
TIMBER PRESS
PORTLAND, OREGON
To everyone whos ever said, I could never do that!
Contents
PREFACE
Be Confident!
PREFACE

Be confident!
With a few basic tools and a weekend, you can build a beautiful piece of furniture out of wood for your outdoor space. In my experience, woodworking is mostly about problem solving. How can I make this more structurally stable? How should I correct this mistake? Everyone solves problems differently, and over the course of my woodworking career building furniture alongside other builders and teaching young woodworkers, Ive enjoyed seeing a multitude of ways to cut a board or calculate a measurement.
In my woodworking classes, I provide an example of a project Ive built, such as the a student favoriteand ask the students to figure out their own process to build it. The projects I provide have no specific measurements and no written instructions, but once they study the pieces, the students can easily see how they are constructed and re-create the projects with their own desired measurements and personal flourishes. My students often use interesting and innovative ways to get to the same end point. I learn a lot from them, and I often notice a trend: once given a basic understanding of how to use woodworking tools and machines, many of the younger students are thrilled to be given the chance to solve problems through their own creativity, while many of the older students, especially adults, request help every step of the way and keep asking what to do next.
Nonetheless, the intrepid younger students and the cautious older students, when given the same instruction on tool use and the same amount of time, all seem to produce the same caliber of high-quality woodworking. Perhaps this is because as we get older, we become more critical of ourselves. We may expect ourselves to be skilled in subjects weve never studied. We may be worried someone will see our work and criticize it, or that our work is not as good as someone elses. That kind of worry can prevent us from ever starting or continuing to learn a new skill.
I encourage you to just begin. Getting away from glowing screens and doing something with your hands is a satisfying use of spare time. Even if your project ends up looking different from what you expected, youll have exercised your brain and body to create something all your own. We are all our own worst critic, but remember, your friends and family wont see the dent in the board from dropping it on the floor; theyll see a beautiful new piece of furniture that you made with your own hands. Take pride in your work, continue to be willing to learn new skills, and share your newfound skills with others. Youre continuing an ancient human tradition.
Part One
BUILDING YOUR OWN GARDEN FURNITURE
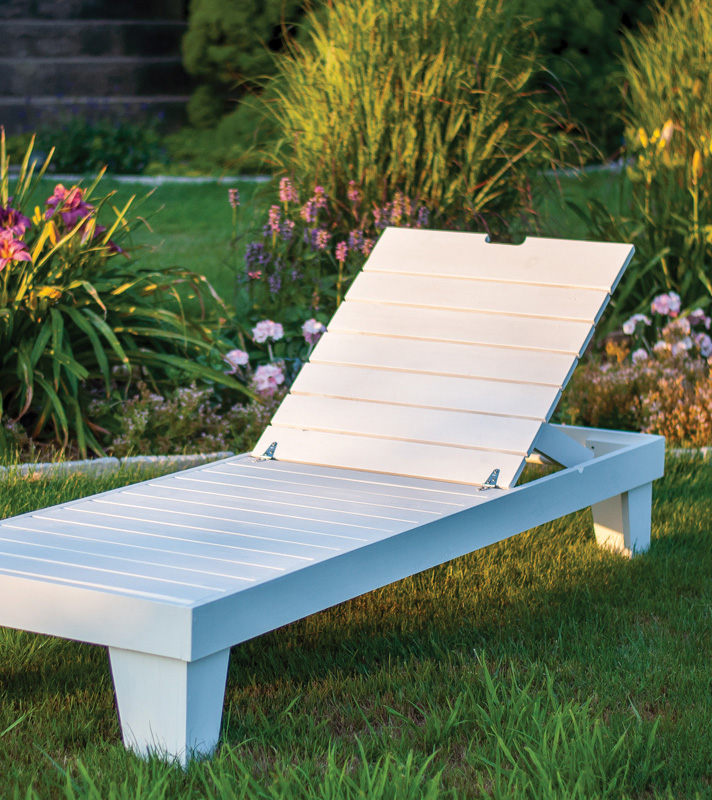
Making furniture for the outdoors is a great way to learn woodworking and problem-solving skills. Its a low-pressure hobby, because you dont have to match a specific interior decor style, and anything you build yourself is going to be more special than its store-bought equivalent. Adding hand-built pieces to your garden, yard, porch, or balcony will make the space uniquely yours and will lend a place for your eye or your body to rest.
With just a few tools, you can turn your garage, basement, or shed into a workshop. If you do not have enough space or cannot purchase tools, look into local woodworking clubs, makerspaces, shared workshop spaces, or community centers with wood shops. I built all the projects in this book at a local hackerspace that has a wood shop. Shared workshops not only have the tools and machines that youll need, they also have the benefit of a built-in community of people who like to learn from one another and collaborate.
presents step-by-step instructions and photographs for twenty outdoor furniture projects. All the materials used to make the projects can be found at local hardware and lumber stores as well as big-box home-improvement chains. Youll only need basic toolsno table saws or routers. A miter saw and a cordless drill/driver will become your best friends.
The projects in this book increase in complexity. If you are a beginner, I suggest starting with the universally usefuland quickShaker pegboard shelf. Then make one or two other easy pieces and work your way up to whichever projects strike your fancy. The projects draw visual inspiration from a range of sources, from Shaker designs to cottage-style furniture to midcentury-modern icons, and all are designed for maximum visual appeal and sturdy construction with minimum effort. I attempted to include a range of designs to suit a variety of tastes, but any of these projects can be customized to your liking by changing details such as paint color, shapes, or measurements.
Almost every project uses a specific method of counterboring and plugging screw holes to join two pieces of wood. Please review and use this method, even if this is not what you have used before. Youll save yourself from hours of headaches from split wood and incorrectly driven screws, and your projects, with flush plugs covering up the screws, will look polished and sophisticated.
Shop Confidently for Lumber
When I was a teenager, I missed out on building many projects because I was too intimidated to go to a lumberyard alone. I was afraid someone would think I didnt know what I was doing and laugh at me. While it is true that I didnt know what I was doing, I didnt realize that the people who work at lumberyards are eager to help you find what you needtheyre not there to laugh at teenage girls. When I overcame my fear and finally started shopping for lumber and materials, the vast majority of my experiences at lumberyards and hardware stores were with extremely friendly and helpful staff. If you need help, dont hesitate to ask. It is because of my own years of timidity that I give you guidelines for shopping in such detail; while this all may seem obvious to someone whos been doing it their whole life, it isnt second nature to others.
Before going to the store, make a list of all the lumber and materials youll need. Measure the length of the inside of your car or truck. If you have a sedan, youll have to put the lumber in through the trunk all the way up to the space between the two front seats. In my sedan, I can transport a 12-foot board if I fit it all the way from the top of the dashboard to the back of the trunk, but I generally like to stick with 10-foot and shorter lengths so I dont have to worry about the wood cracking my windshield. Most stores will be happy to cut lumber down to smaller sizes so you can fit it in your car. If the store is cutting the wood down to size, be sure there is at least an inch of extra space on either side of the cut so you can cut the wood to its proper length later.
Next page

