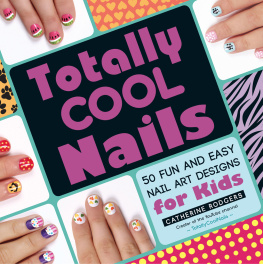
Totally Cool Nails
50 FUN AND EASY
NAIL ART DESIGNS
for Kids
CATHERINE RODGERS
Creator of the YouTube channel
~ TotallyCoolNails ~

Avon, Masssacusetts
CONTENTS
INTRODUCTION
You would give anything to copy your favorite celebritys nails or be able to recreate the nail art from that awesome tutorial you saw on YouTube, but youre not really sure its possible to get that same look. Creating totally cool nail art designs is not only fun, but incredibly easy with just a few simple tools and tricks. Inside this book, youll not only learn all about the basics of creating nail art, but youll also discover how to paint everything from simple polka dots to an adorable pandain just a few steps!
The most important thing to remember, though, is that practice makes perfect. When youre first starting out, getting your design to look exactly like the picture can be super tricky, but dont give up! If you take your time through each of the steps listed in this book, youll become a pro in no time. You can also ask a parent or friend for help if youre having a hard time with a particular design. Who knows, maybe theyll even give you some great ideas for creating your very own nail art.
So say goodbye to boring nails and hello to fabulous nail art designs! With this book, youll have everything you need to make your nails sparkle and create fun, one-of-a-kind designs.
CHAPTER 1
How to Use This Book
You might think that manicurists are the only ones who can create amazing nail designs. After all, theyve taken classes and have given millions of people whove visited their salons perfect manicures. But designing your nails isnt nearly as scary or difficult as you might think. In fact, once you get started, youll wonder why you were so afraid to paint your own nails in the first place. Best of all, youll proudly show off your designs to friends and family, knowing that you created this celebrity-approved look all on your own! There are just a couple of things you need to know before you get started.
PREPPING YOUR NAILS AND TAKING CARE OF YOUR DESIGN
Creating the perfect nail art design isnt just about bright colors or funky patterns. You have to give each nail a chance to dry before you go on to the next step in order to make the design last. You also have to make sure that your nails are in good shape. It might seem like a lot of work and time to get just the right look, but itll be worth it, I promise. Your nails will not only stay healthy and clean, but youll also keep your design looking super pretty for much, much longer. Now, who wouldnt want that?
Cutting and Shaping Your Nails
Now, this next part might be a little tricky, so you may want to ask your parents or a friend for help. Before you start any design, wipe your nails with a cotton ball soaked in nail polish remover. Even if your nails arent painted, you should always make this your first step because it helps the nail polish stick to your nails. Then take a nail file or emery board and file your nails into one of the five common nail shapes: oval, square, pointed, squoval, or round. Your parents may already know what shape works best for your hands, but if they dont, you can do a simple Internet search together to figure out which shape works best for you. Finally, have your parents trim any hangnails around your nails with a pair of nail clippers. You should also apply a moisturizer after youve completed your filing and clipping to help keep your nails looking this way.
These simple steps will make your nails look sparkly clean and give you the start you need to create beautiful nail art.
Base Coat and Top Coat
A base and top coat can also make your nail art look like it was done by a pro. These two clear nail polishes will give you a smooth canvas to work on and seal in your design. They are sold under many different brands and range from strengthening to nonstaining types. While your design will look just as good without these two special nail polishes, using them will give both your natural nail and your nail art the best possible protection against stains and chips.
After youve prepared your nails, the first nail polish you should use is the base coat. A base coat fills in lines and cracks on your nails, so your nail color can easily slide onto your nails. This will not only make your nail art design last longer, but will also keep the nail polish color from staining your natural nail. Like the base coat, a top coat polish is clear and protects your nail. Applied after you finish your nail art design, the top coat seals it in and prevents the color from fading. It also adds shine to the look, and when it is reapplied during the week, it will help prevent chipping. When applying a top coat, make sure to paint underneath your tips as well, since this makes the nail art design last much longer.
TOOLS AND TECHNIQUES
While every piece of nail art is different, there are a few things you should keep on hand when youre creating a design. Your go-to nail art kit should include a dotting tool, a nail art brush, the nail colors youre using, and a cosmetic wedge. These tools are very inexpensive and can be found in beauty supply stores and online at websites like www.amazon.com. For nail color, any brand will do as long as it coats your nail well. However, if you dont have one of these tools, its easy to be creative with items you have around your house. No matter what tool you use, be sure to clean it with nail polish remover after you finish the design in order to get a clean look every time.
Dotting Tool
A dotting tool makes the perfect beginners tool and is definitely something you need to put on your wish list! It has a long handle with a small round ball at each tip (some dotting tools will only have one tip). As you can probably guess by the name, dotting tools are used to create dots, but that doesnt mean that your nail art has to be simple or boring. You can use the dotting tool to create flowers or even a starry sky. To use a dotting tool, simply drip some nail polish onto a piece of paper, dip the tool in it, and dot your nail. The key here is to coat the ball at the top of the tool with just enough nail color to create the right size of dotthe more you add, the bigger your dot will be. If you need to create small dots but cant find a dotting tool, you can use a toothpick or even the rounded end of a bobby pin. For larger dots, the end of a paintbrush or makeup brush handle both work well.
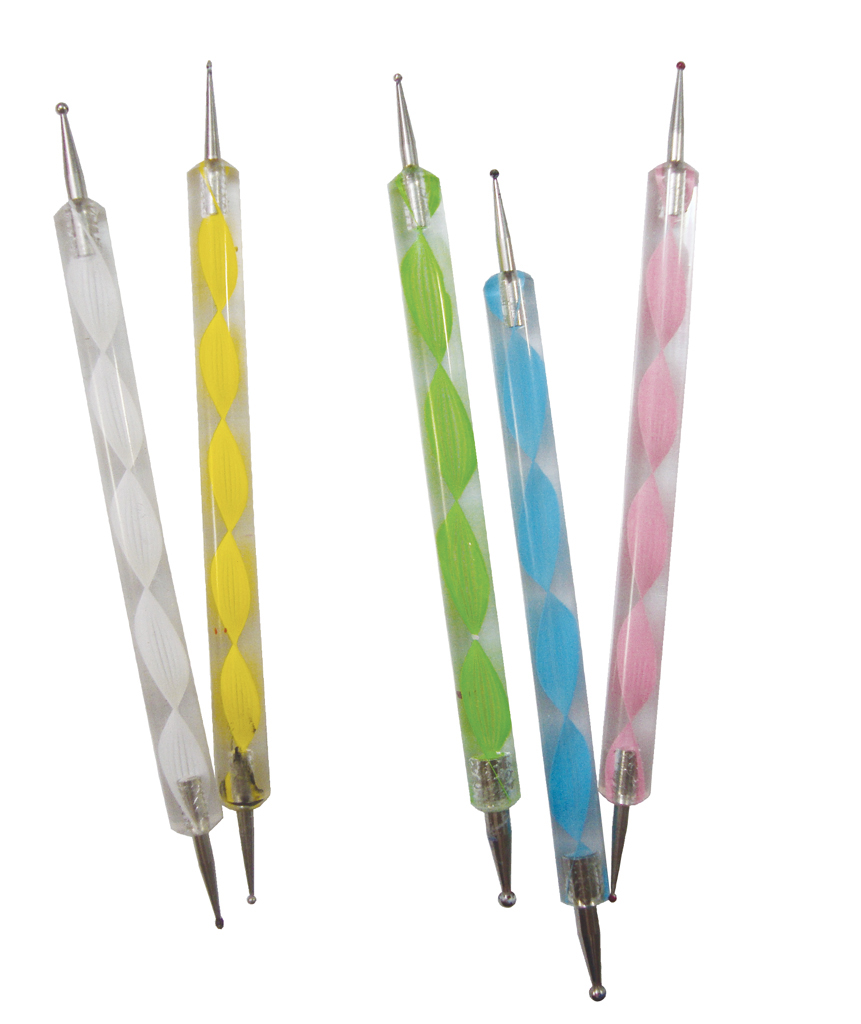
DOTTING TOOLS
Nail Art Brush
The nail art brush is another tool that youll want to get, since it gives you more control over your design. There are a variety of styles and sizes, so make sure you consider what type of art you want to create before buying one. If youre still not sure what kind of brush youll need, many stores offer a nail art brush kit that comes with a selection of brushes in various shapes and sizes. For the nail art in this book, however, Id recommend sticking to a thin brush with fine bristles. This brush, sometimes called a detailing brush, is great for small hands and fingernails. It also makes it easier to draw straight lines, but it will take some time to get used to if you dont have a steady hand. If you have a hard time holding the brush, moving the hand you are working on instead of the hand you are painting with will help you create straight lines. To use a detailing brush, place drops of nail polish on a piece of paper, dip the tip of the brush into the nail polish, and paint a design on your nails just like you would with a paintbrush. Be careful to never dip the nail art brush into the nail polish bottle, though, as this can create unwanted drips and messy designs. If you dont have a nail art brush, you can use a small makeup brush or a small paintbrush instead. If youre using a paintbrush, however, ask your parents to trim the bristles down to the right shape and size for your design. You should always make sure to clean your brushes in between steps in order to make them last longer and create a clean design. To do this, you can dip the brushes in pure acetone nail polish remover and wipe the tips off with a dry paper towel. If youre using acrylic paint for your nail art designs, you can clean the brushes by simply rinsing the tips in lukewarm water.

