NAILS, NAILS, NAILS!
CREATIVE DIY NAIL ART PROJECTS
Madeline Poole
PHOTOGRAPHS BY LARA ROSSIGNOL

Text copyright 2013 by Madeline Poole.
Photographs copyright 2013 by Lara Rossignol.
Process photographs copyright 2013 by Katie Miller.
All rights reserved. No part of this book may be reproduced in any form without written permission from the publisher.
Library of Congress Cataloging-in-Publication Data available.
ISBN: 978-1-4521-2730-9
Design by Alicia Pompei
Wardrobe styling by Shiffy Kagan
Wardrobe and props from Nasty Gal, Travelers Bookcase, Polkadots & Moonbeams, and Marie Turnor Accessories
Makeup and hair styling by Wendy Osmundson
Models from M Model Management
This book has been set in Avant Garde Gothic, Miller, and Prestige.
Chronicle Books LLC
680 Second Street
San Francisco, California 94107
www.chroniclebooks.com
To my family
Nancy, Tom, Hannah,
Jaime, Lucy, Sally, Joey,
Aya, and Lola
Contents
Introduction
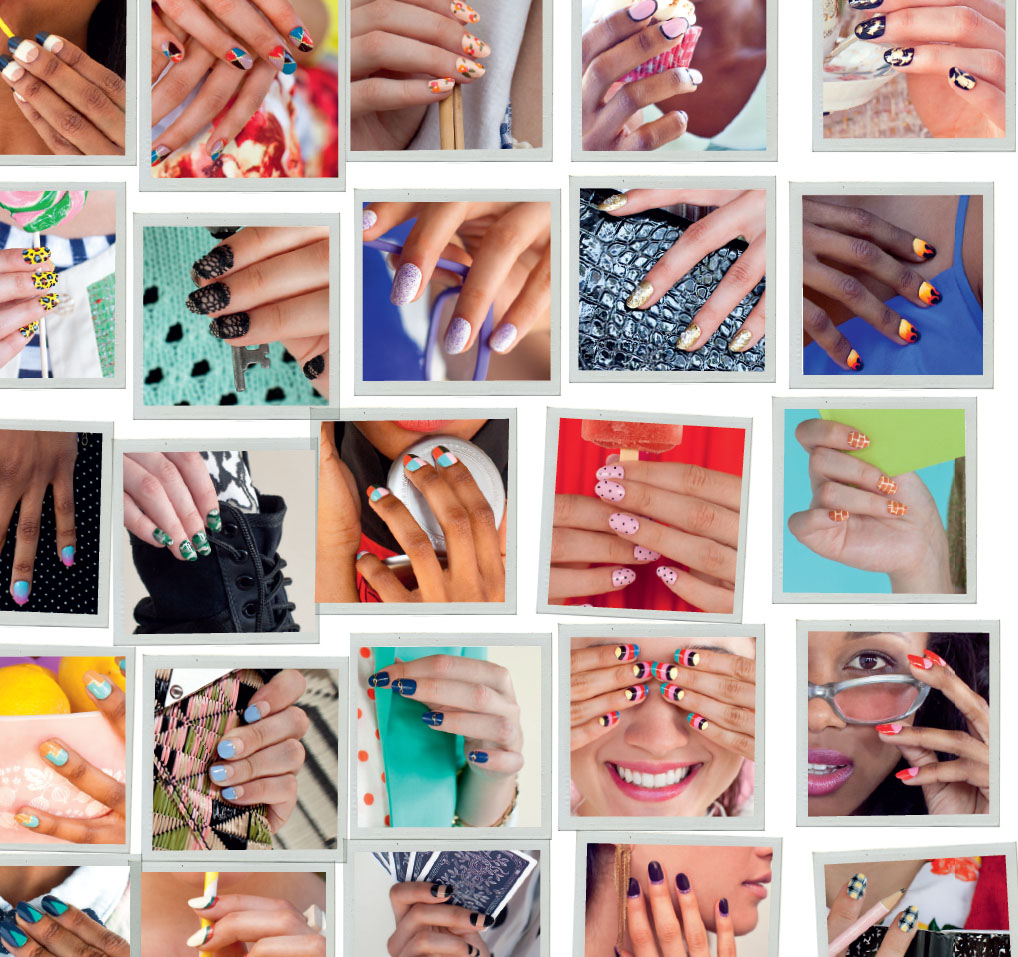
Im often asked why nail art is so popular these dayswhy people of all ages, backgrounds, and fashion sensibilities are experimenting with unexpected colors and bold, eye-catching designs. There are as many different answers to this question as there are ways of painting your nails. Too many to count! But one thing is clearnail art is fun. Really fun. Its as simple as that.
Nail art is where art, beauty, and fashion unite. Many people come to nail art with an interest in cosmetics, applying polish and colors with the same passion and precision as they do eyeliner and lipstick. Others view it as a fashion accessory, completing an outfit and balancing color and texture in the same way a hat or purse can be a stylish finishing touch. Still others enjoy it as an exciting craft, spontaneously arranging shapes and colors on the nail like paints on a canvas, patches on a quilt, or beads on a necklace.
For me, nail art is a form of self-expression that channels all my hobbies and interests: miniature painting, color theory, pattern, and of course fashion and beauty. My nail art toolbox includes a wide range of inspirations: ancient symbols, optical illusions, textiles, pop art, nature, iconography, murals, sculpture, and music, among many others. When it comes to self-expression, anything goes! Inspiration can be found in the most unexpected places.
), for exampleas extra hands are needed to apply intricate details. All projects offer opportunity for your own customization and interpretation.
Let each project be an experiment. If you make a mistake, simply wipe it off and start overor keep going, and see where it takes you. Let each nail you decorate represent a different side of your personality. Your finished nails will be stylish, crafty, beautiful, and uniquely yours, all at once.
Madeline Poole
BEFORE YOU BEGIN...
Nail Art Tools
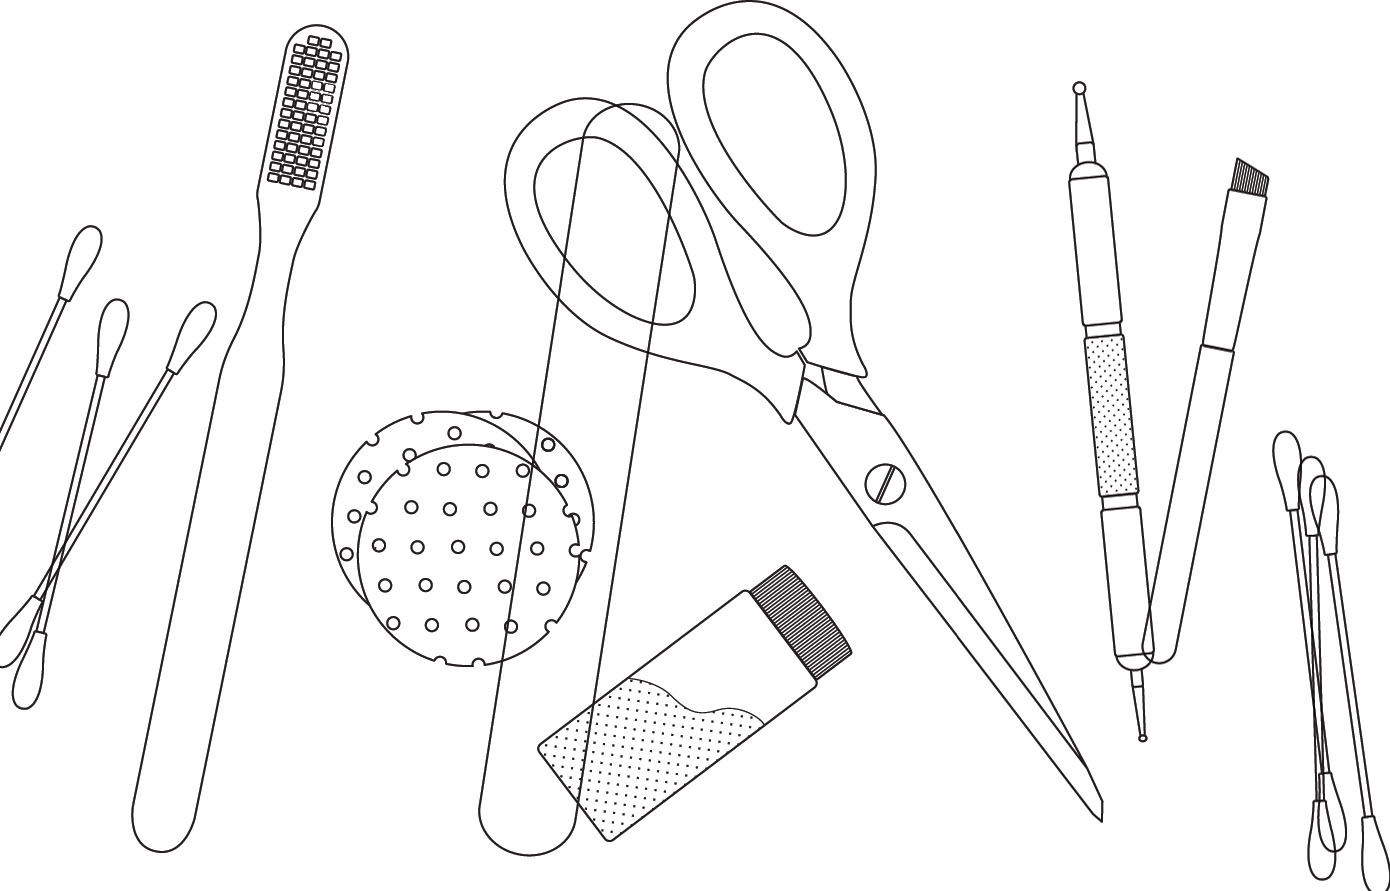
There are dozens of nail art tools on the market, many of which are common household items or craft supplies that you might already own. The following lists include the key tools that every aspiring nail artist should obtain, plus miscellaneous items that are used in the projects in this book.
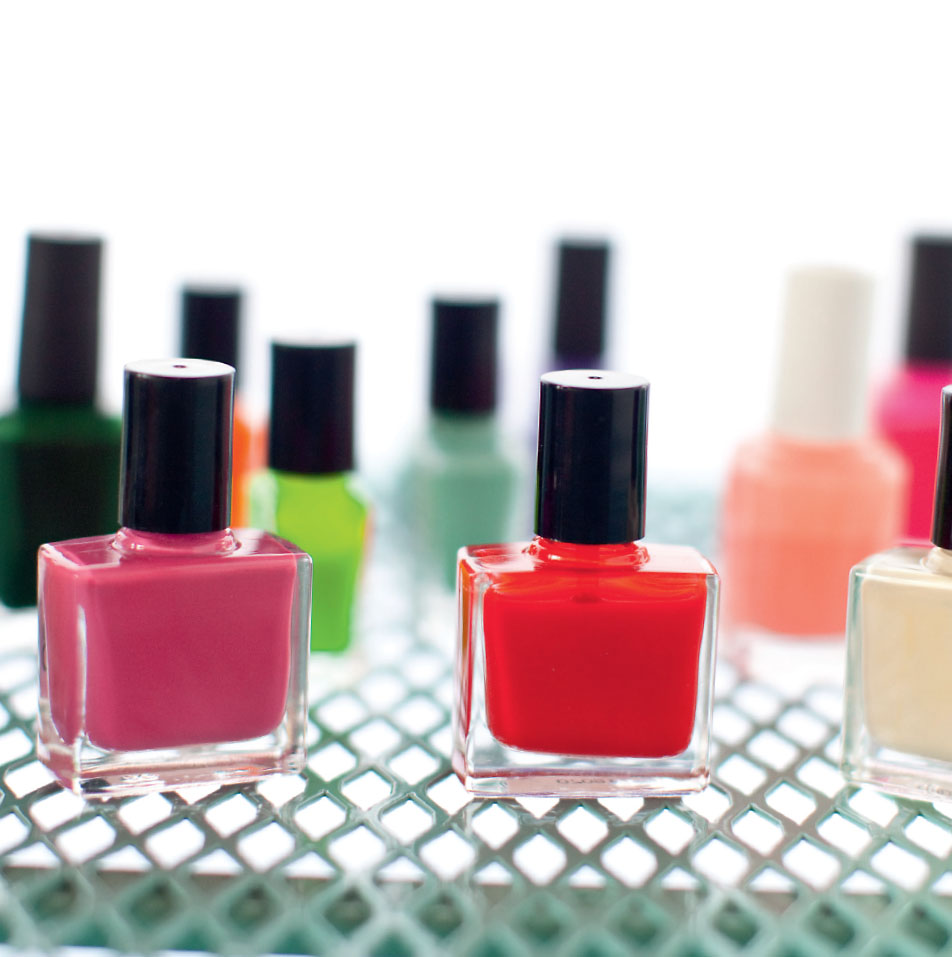
POLISHES
Clear base coat creates a smooth first layer before color is applied and aids in polish bonding to the nail.
Clear top coat is a glossy sealant that provides a protective layer for the completed look and adds gorgeous shine. A fast-drying top coat is a must.
Nail polish or nail varnish is a lacquer that applies color to the nail.
A striper polish is a nail polish featuring a brush that is long and thin, perfect for painting stripes (as its name implies), intricate curves, and covering larger areas of miniature decoration. Stripers are available in a wide variety of colors, just like nail polishes.
BASIC TOOLS
An angled-edge eyeliner brush , typically used on the eyes, is recommended as a nail art tool for applying nail polish remover with precision. (It is important to designate one brush for the exclusive purpose of nail art. For safety and sanitary reasons, do not use one brush on both nails and eyes.)
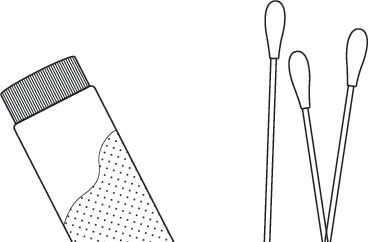
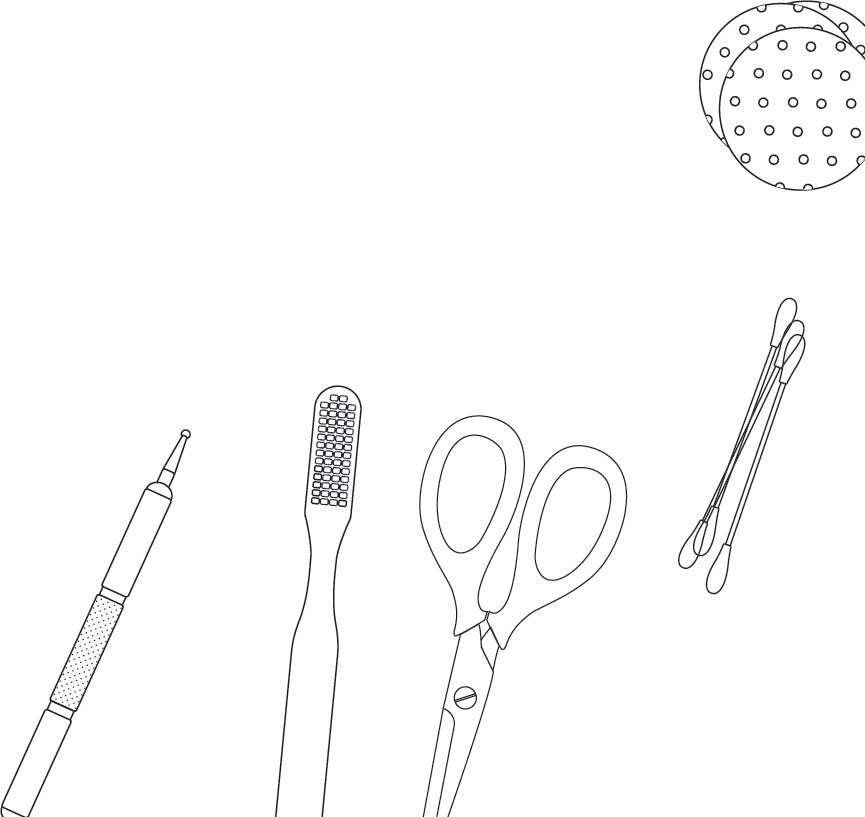
A cotton swab , with the tip thickly coated with nail polish, can be used like a stamp to create organic round shapes on the nail.
A disposable white plastic plate makes an excellent painters palette, providing a clean, flat surface for polish puddles.
A double-sided dotting tool features round metal knobs at each end. Dip them in polish and apply to the nail to create small dots and perfect circles. The knobs can also be used to apply individual pieces of glitter and crystals to the nail.
A nail file is used to shape natural nails before polish is applied.
Nail glue adheres crystals and other embellishments to the nail.
Nail polish remover is key! Do not attempt a nail art project without it. Apply polish remover before, during, and after projects as needed.
Paper reinforcements are an office supply item used in nail art to create a smooth outline of the moon area. The standard size (with a center hole that is in/6 mm in diameter) is most suitable for these projects.
A plastic soda cap is handy for holding small amounts of nail polish remover, providing convenient, instant access to this crucial cleanup tool.
Keep scissors on hand for when cutting is neededwhile preparing clear sticky tape for stenciling, for example, or cutting lace and other nail decorations.
Sticky tape such as clear packaging tape and masking tapecan be used like a stencil. Cut it into strips and shapes and apply it to the natural, unpolished nail. When painted over, they help create smooth lines and clean shapes. (Do not apply tape to a wet nail, as the tape can damage underlying polish.)
A toothbrush can be used as a coarse paintbrush, to splatter polish on the nail, creating marbled or sprayed effects on the nail. (For obvious health and safety reasons, it is important to designate one brush for the exclusive purpose of nail art.)
Toothpicks can be used for painting tiny dots, and for applying individual pieces of glitter to the nail if a dotting tool is not available.
Tweezers have multiple uses in nail art, primarily acting as an extension of your fingers as you allow wet nails to dry. Use them to pick up tiny decorative crystals and transfer them to the nail, or to remove adhesive strips from the nail with precision.
Nail Art Techniques
POLISHES
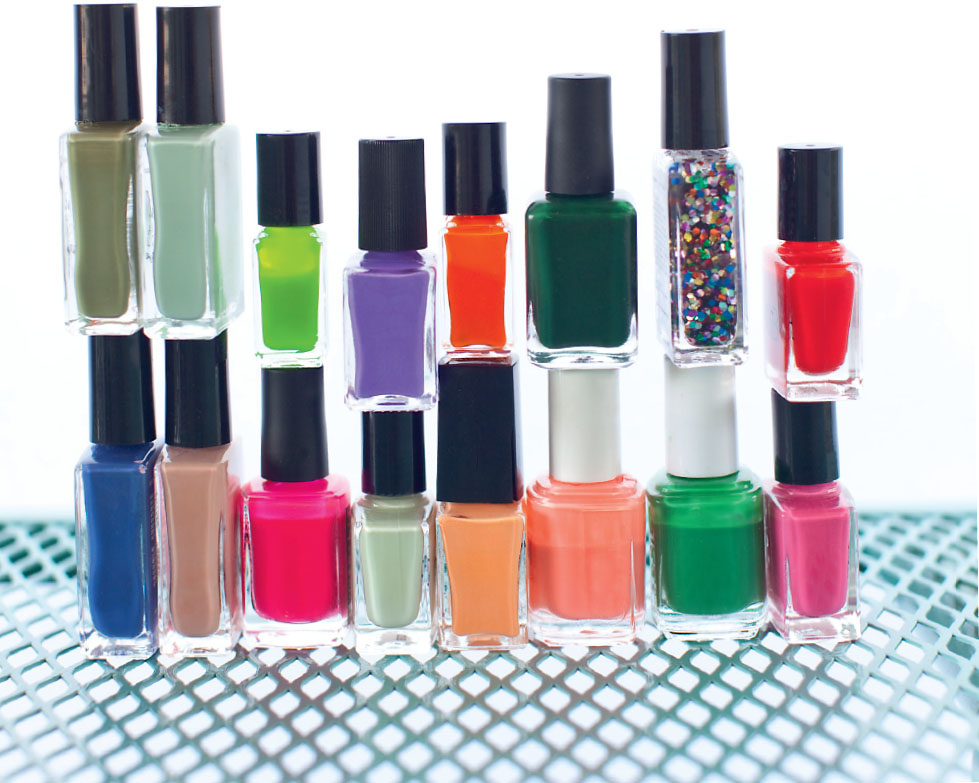
Nail polish is the true hero of any nail art look. Nothing has quite the pop, sheen, or luxurious finish of colorful, polished nails. The vast selection of polish colors on the market lets you customize your look to suit any mood or outfit. Build and maintain your collection using the following tips, and as you browse the projects in this book, note that you can substitute your own color selections. Remember, anything goes!
Next page

