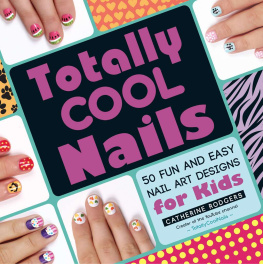
Catherine Rodgers - Totally Cool Nails: 50 Fun and Easy Nail Art Designs for Kids
Here you can read online Catherine Rodgers - Totally Cool Nails: 50 Fun and Easy Nail Art Designs for Kids full text of the book (entire story) in english for free. Download pdf and epub, get meaning, cover and reviews about this ebook. year: 2014, publisher: Adams Media, genre: Children. Description of the work, (preface) as well as reviews are available. Best literature library LitArk.com created for fans of good reading and offers a wide selection of genres:
Romance novel
Science fiction
Adventure
Detective
Science
History
Home and family
Prose
Art
Politics
Computer
Non-fiction
Religion
Business
Children
Humor
Choose a favorite category and find really read worthwhile books. Enjoy immersion in the world of imagination, feel the emotions of the characters or learn something new for yourself, make an fascinating discovery.

- Book:Totally Cool Nails: 50 Fun and Easy Nail Art Designs for Kids
- Author:
- Publisher:Adams Media
- Genre:
- Year:2014
- Rating:5 / 5
- Favourites:Add to favourites
- Your mark:
Totally Cool Nails: 50 Fun and Easy Nail Art Designs for Kids: summary, description and annotation
We offer to read an annotation, description, summary or preface (depends on what the author of the book "Totally Cool Nails: 50 Fun and Easy Nail Art Designs for Kids" wrote himself). If you haven't found the necessary information about the book — write in the comments, we will try to find it.
Catherine Rodgers: author's other books
Who wrote Totally Cool Nails: 50 Fun and Easy Nail Art Designs for Kids? Find out the surname, the name of the author of the book and a list of all author's works by series.


Totally Cool Nails: 50 Fun and Easy Nail Art Designs for Kids — read online for free the complete book (whole text) full work
Below is the text of the book, divided by pages. System saving the place of the last page read, allows you to conveniently read the book "Totally Cool Nails: 50 Fun and Easy Nail Art Designs for Kids" online for free, without having to search again every time where you left off. Put a bookmark, and you can go to the page where you finished reading at any time.
Font size:
Interval:
Bookmark:
Thank you to all my friends and family who have always been there to support me. I would also like to give a big thanks to everyone at Adams Media for giving me another opportunity to show off my nail art designs and to our awesome hand models Annie, Audrey, Caroline, Danica, Emma, Josie, Kathryn, Norah, Maria, and Sadie for being a part of our photo shoot. And last but certainly not least, I want to say thank you to all of the people who have watched my YouTube videos throughout the years; I would never have had this amazing opportunity without your continued support.
How to Use This Book
You might think that manicurists are the only ones who can create amazing nail designs. After all, theyve taken classes and have given millions of people whove visited their salons perfect manicures. But designing your nails isnt nearly as scary or difficult as you might think. In fact, once you get started, youll wonder why you were so afraid to paint your own nails in the first place. Best of all, youll proudly show off your designs to friends and family, knowing that you created this celebrity-approved look all on your own! There are just a couple of things you need to know before you get started.
Creating the perfect nail art design isnt just about bright colors or funky patterns. You have to give each nail a chance to dry before you go on to the next step in order to make the design last. You also have to make sure that your nails are in good shape. It might seem like a lot of work and time to get just the right look, but itll be worth it, I promise. Your nails will not only stay healthy and clean, but youll also keep your design looking super pretty for much, much longer. Now, who wouldnt want that?
Now, this next part might be a little tricky, so you may want to ask your parents or a friend for help. Before you start any design, wipe your nails with a cotton ball soaked in nail polish remover. Even if your nails arent painted, you should always make this your first step because it helps the nail polish stick to your nails. Then take a nail file or emery board and file your nails into one of the five common nail shapes: oval, square, pointed, squoval, or round. Your parents may already know what shape works best for your hands, but if they dont, you can do a simple Internet search together to figure out which shape works best for you. Finally, have your parents trim any hangnails around your nails with a pair of nail clippers. You should also apply a moisturizer after youve completed your filing and clipping to help keep your nails looking this way.
These simple steps will make your nails look sparkly clean and give you the start you need to create beautiful nail art.
A base and top coat can also make your nail art look like it was done by a pro. These two clear nail polishes will give you a smooth canvas to work on and seal in your design. They are sold under many different brands and range from strengthening to nonstaining types. While your design will look just as good without these two special nail polishes, using them will give both your natural nail and your nail art the best possible protection against stains and chips.
After youve prepared your nails, the first nail polish you should use is the base coat. A base coat fills in lines and cracks on your nails, so your nail color can easily slide onto your nails. This will not only make your nail art design last longer, but will also keep the nail polish color from staining your natural nail. Like the base coat, a top coat polish is clear and protects your nail. Applied after you finish your nail art design, the top coat seals it in and prevents the color from fading. It also adds shine to the look, and when it is reapplied during the week, it will help prevent chipping. When applying a top coat, make sure to paint underneath your tips as well, since this makes the nail art design last much longer.
While every piece of nail art is different, there are a few things you should keep on hand when youre creating a design. Your go-to nail art kit should include a dotting tool, a nail art brush, the nail colors youre using, and a cosmetic wedge. These tools are very inexpensive and can be found in beauty supply stores and online at websites like www.amazon.com. For nail color, any brand will do as long as it coats your nail well. However, if you dont have one of these tools, its easy to be creative with items you have around your house. No matter what tool you use, be sure to clean it with nail polish remover after you finish the design in order to get a clean look every time.
A dotting tool makes the perfect beginners tool and is definitely something you need to put on your wish list! It has a long handle with a small round ball at each tip (some dotting tools will only have one tip). As you can probably guess by the name, dotting tools are used to create dots, but that doesnt mean that your nail art has to be simple or boring. You can use the dotting tool to create flowers or even a starry sky. To use a dotting tool, simply drip some nail polish onto a piece of paper, dip the tool in it, and dot your nail. The key here is to coat the ball at the top of the tool with just enough nail color to create the right size of dotthe more you add, the bigger your dot will be. If you need to create small dots but cant find a dotting tool, you can use a toothpick or even the rounded end of a bobby pin. For larger dots, the end of a paintbrush or makeup brush handle both work well.
DOTTING TOOLS
The nail art brush is another tool that youll want to get, since it gives you more control over your design. There are a variety of styles and sizes, so make sure you consider what type of art you want to create before buying one. If youre still not sure what kind of brush youll need, many stores offer a nail art brush kit that comes with a selection of brushes in various shapes and sizes. For the nail art in this book, however, Id recommend sticking to a thin brush with fine bristles. This brush, sometimes called a detailing brush, is great for small hands and fingernails. It also makes it easier to draw straight lines, but it will take some time to get used to if you dont have a steady hand. If you have a hard time holding the brush, moving the hand you are working on instead of the hand you are painting with will help you create straight lines. To use a detailing brush, place drops of nail polish on a piece of paper, dip the tip of the brush into the nail polish, and paint a design on your nails just like you would with a paintbrush. Be careful to never dip the nail art brush into the nail polish bottle, though, as this can create unwanted drips and messy designs. If you dont have a nail art brush, you can use a small makeup brush or a small paintbrush instead. If youre using a paintbrush, however, ask your parents to trim the bristles down to the right shape and size for your design. You should always make sure to clean your brushes in between steps in order to make them last longer and create a clean design. To do this, you can dip the brushes in pure acetone nail polish remover and wipe the tips off with a dry paper towel. If youre using acrylic paint for your nail art designs, you can clean the brushes by simply rinsing the tips in lukewarm water.
NAIL ART BRUSH
Youve probably used acrylic paint beforeits the kind of paint a lot of people use for their arts-and-crafts projects. While it may seem like a weird idea, manicurists have been using acrylic paint for nail art designs for years. Since acrylic paint can be mixed to create a variety of different colors, it is cheaper than using regular nail polish and can help you add details without having to own a huge nail-polish collection. It is also a great beginners tool because it can easily be wiped away if a mistake is made before it dries. When using acrylic paint, you should always apply a base coat and a nail color first. The paint will only be used to add details and will not give you the same shimmery color that nail polish does.
Font size:
Interval:
Bookmark:
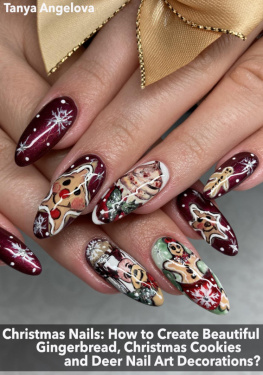
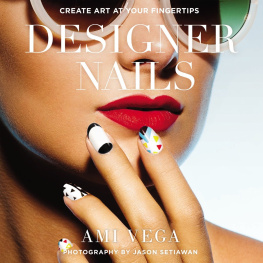
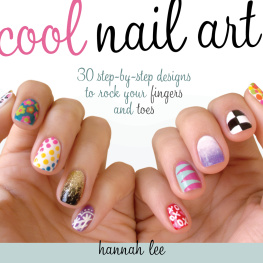
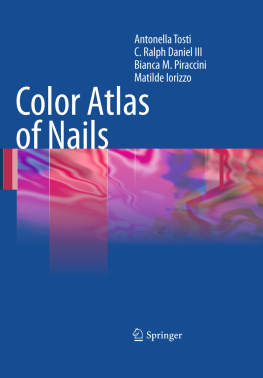
Similar books «Totally Cool Nails: 50 Fun and Easy Nail Art Designs for Kids»
Look at similar books to Totally Cool Nails: 50 Fun and Easy Nail Art Designs for Kids. We have selected literature similar in name and meaning in the hope of providing readers with more options to find new, interesting, not yet read works.
Discussion, reviews of the book Totally Cool Nails: 50 Fun and Easy Nail Art Designs for Kids and just readers' own opinions. Leave your comments, write what you think about the work, its meaning or the main characters. Specify what exactly you liked and what you didn't like, and why you think so.