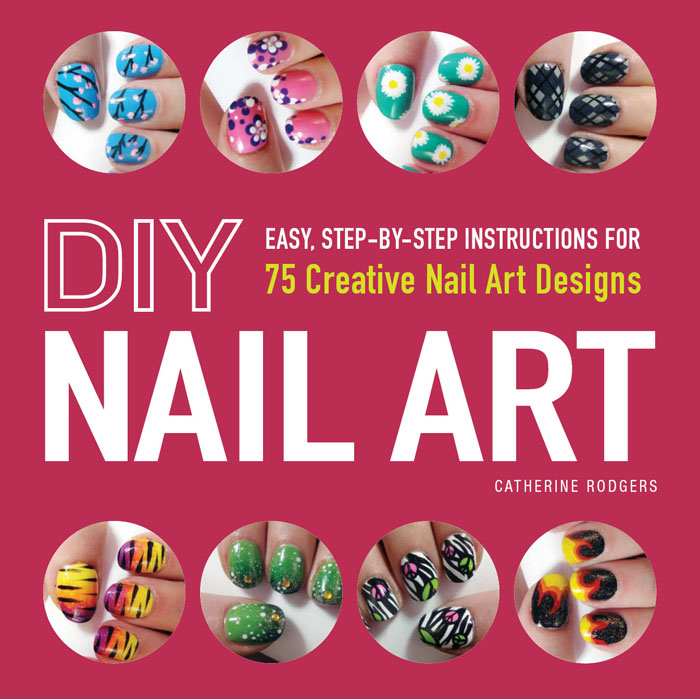
DIY
NAIL ART
Easy, Step-by-Step Instructions for
75 Creative Nail Art Designs
CATHERINE RODGERS

Copyright 2013 by F+W Media, Inc.
All rights reserved.
This book, or parts thereof, may not be reproduced in any form without permission from the publisher; exceptions are made for brief excerpts used in published reviews. Published by
Adams Media, a division of F+W Media, Inc.
57 Littlefield Street, Avon, MA 02322. U.S.A.
www.adamsmedia.com ISBN 10: 1-4405-4517-0
ISBN 13: 978-1-4405-4517-7
eISBN 10: 1-4405-4518-9
eISBN 13: 978-1-4405-4518-4 Printed in the United States of America. 10 9 8 7 6 5 4 3 2 1 Readers are urged to take all appropriate precautions before undertaking any how-to task. Always read and follow instructions and safety warnings for all tools and materials, and call in a professional if the task stretches your abilities too far. Although every effort has been made to provide the best possible information in this book, neither the publisher nor the author are responsible for accidents, injuries, or damage incurred as a result of tasks undertaken by readers.
This book is not a substitute for professional services. Many of the designations used by manufacturers and sellers to distinguish their product are claimed as trademarks. Where those designations appear in this book and Adams Media was aware of a trademark claim, the designations have been printed with initial capital letters. Photography by Catherine Rodgers. This book is available at quantity discounts for bulk purchases.
For information, please call 1-800-289-0963.
Dedication
In memory of my mom.
Acknowledgments
I would first like to thank my friends and family for always being there and for supporting me.
I would like to say a special thank you to Andrea Hakanson, who helped me along in this process. And finally, I want to say thank you to all of the people who watched my videos and supported my work; I would never have had this opportunity if it werent for them.
Contents
Introduction
Creating amazing designs is not only fun, but incredibly easy with just a few simple tools. It really requires no experience, and instantly adds a personal shimmer to your nails you cant get anywhere else. You just need to learn a few basic tools and techniques, like which tool is best for making dots, how to create different shapes, and what youll need to do to your nails to get the best results and achieve the nail art in this book. The most important thing to remember is this: Practice makes perfect.
You shouldnt get discouraged if your first design doesnt come out exactly like the picture. While many of the nail art designs in this book are super easy to recreate, some (like Palm Tree Nails) require a lot of drawing and are hard to get down at first. But dont worry, after a few tries and with the right tools, youll master these intricate designs and even be able to create your own original ones. So say goodbye to the nail salon and hello to attention-grabbing nails! With this book, youll have everything you need to punch up your nails and create fun, one-of-a-kind designs.
HOW TO USE THIS BOOK
You might think that a manicurist or nail technician is the only one who can create beautiful nail designs. After all, theyve taken classes and have made a career out of giving thousands of clients the perfect manicure.
But designing your nails isnt nearly as scary or difficult as you might think. In fact, once you get started, youll wonder why you went to the nail salon in the first place. Best of all, youll have the satisfaction of knowing that you not only accomplished this salon-quality look on your own, but that you didnt have to spend a lot of money doing so. There are just a couple of things you need to know before you get started.
Prepping Your Nails and Taking Care of Your Design
Creating the perfect manicure and nail art design isnt just about color or pattern. You must allow each nail polish layer to dry as you complete each step in order to make the design last.
You also have to make sure that your nails are in good shape. You might be tempted to skip these first few steps, but the prep work is just as essential as the nail art itself. It not only keeps your nails healthy and clean, but extends the polished look of your design. Now, who wouldnt want that?
Cutting and Shaping Your Nails
Before you start any design, you should wipe your nails with a cotton ball soaked in nail polish remover. Even if your nails arent painted, you should always make this your first step because it helps eliminate any excess oil and allows the nail polish to better adhere to your nail. Then take a nail file or emery board and file your nails into one of the five common nail shapes: oval, square, pointed, squoval, or round.
If youve been to a nail salon before, you may already know what shape suits your fingers best, but if not, a simple Google search will give you images and descriptions of these nail shapes. Something you can do to make your nails look longer is push the cuticle back. Youll need to soak your hands in warm water to help soften the cuticle, then push it back with an orange stick. Finally, trim any hangnails around your nails with a pair of nail clippers. You should also apply a moisturizer after youve completed your design to help keep your nails looking this way.
Base Coat and Top Coat
A base and top coat can also add a professional touch to your nail art.
Base Coat and Top Coat
A base and top coat can also add a professional touch to your nail art.
A base coat will preserve your natural nail and create a smooth canvas to work on, while the top coat seals in your design. They are sold under many different brands and range from strengthening to nonstaining types. Its good to use both a base coat and a top coat since they give both your natural nail and your nail art the best possible protection against stains and chips. After youve prepared your nails, the first nail polish you should paint onto them is the base coat. Base coats fill in lines and cracks on your nails, so your nail color has an even surface to adhere to. This will not only make your manicure last longer, but will also provide a barrier that prevents dark colors from staining your natural nail.
While any clear base coat will do the trick, you might want to consider investing in a formula fortified with protein, Vitamin E, and/or calcium, as these elements replenish the nutrients and moisture in your nails and prevent damage like splitting or peeling. Like the base coat, a top coat polish is a clear protective polish. Applied after your nail art is complete, the top coat seals in your design and prevents the color from fading. It also adds shine to the look, and when it is reapplied during the week, it will help prevent chipping. When applying a top coat, make sure to paint underneath your tips as well, since this makes the manicure last much longer.
Tools and Techniques
While every piece of nail art is different, there are a few things you should keep on hand when youre creating a design.
Your go-to nail art kit should include a dotting tool, a nail art brush, nail decals, a palette, a top coat, and the nail colors youre using. These tools are very inexpensive and can be found in beauty supply stores and online at websites like




 Copyright 2013 by F+W Media, Inc.