Thank you for purchasing this Popular Woodworking eBook.
Sign up for our newsletter and receive special offers, access to free content, and information on the latest new releases and must-have woodworking resources! Plus, receive a coupon code to use on your first purchase from ShopWoodworking.com for signing up.
or visit us online to sign up at
http://popularwoodworking.com/ebook-promo
CONTENTS
INTRODUCTION
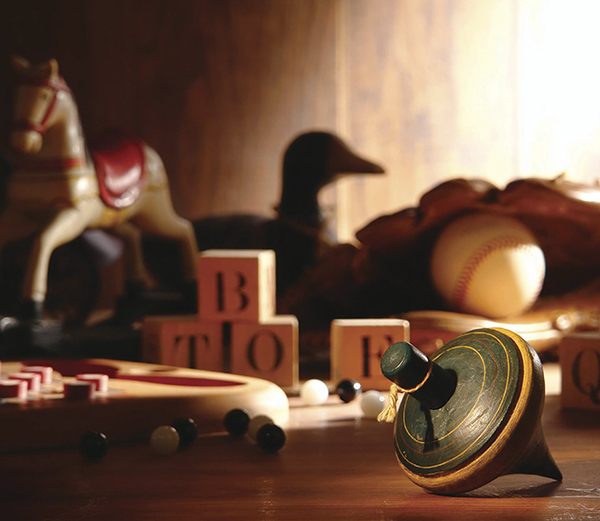
Perhaps its because Ive become a father myself or maybe its just a sign of getting older but Ive found myself thinking fondly of old toys. Im not talking about the Transformers, Stretch Armstrongs and Star Wars figures of my youth (though, I love those toys with all my heart). Those kinds of toys are special in their own way with their wonderfully cheap plastic and bright colors, but Im talking about handcrafted toys the toys you play with when you visit your grandfather.
My own grandpa had a workshop. He had a lathe and used it to make all kinds of stuff. In fact, when we went to visit we hardly ever saw my grandpa because he spent all of his time in the shop, only coming in the house for a quick dinner before returning to his work (he was an engineer). He didnt spend much time with us kids, but we knew him by the toys he made. I remember playing with a huge bin of homemade Lincoln-style logs that hed crafted. They were the first thing my little sister and I dug out whenever we went to visit. But there were other things: wooden games with marbles, peg games, carved snakes that wriggled on hinges, wooden race cars powered by rubber bands, spinning tops and strange whiligigs. These toys were all over my grandmothers house and I say grandmothers house because Im very serious when I say my grandfather pretty much lived in his workshop. His wooden toys held a fascination for me because they were so different than the plastic sheen of my everyday toys. Even as a kid I sensed that these toys were something special. We were careful when we played with them. Those old toys were, in a word, charming.
My grandfather never invited me into his shop to show me how he made the toys. I guess he thought me too young at the time, and I suppose I had other things on my mind like Star Wars. If I had it to do over, I would have asked him to teach me, but sadly he passed away before I ever had that notion. But whenever I see handmade toys I think of him in his shop making whatever popped into his head.
This collection of wooden toys represents the kind of charm Im talking about. Chosen from pieces that have appeared in past issues of Popular Woodworking Magazine and American Woodworker, these puzzles, toys and games are full of nostalgia and similar designs have been played with by children for generations.
Put simply, wooden toys stand the test of time. Perhaps this book will remind you of a beloved toy from your own childhood and inspire you to make a handmade toy for a kid you love.
Scott Francis, Editor
PUZZLES
CHAPTER ONE
WOODEN BURR PUZZLES
by Jock Holmen
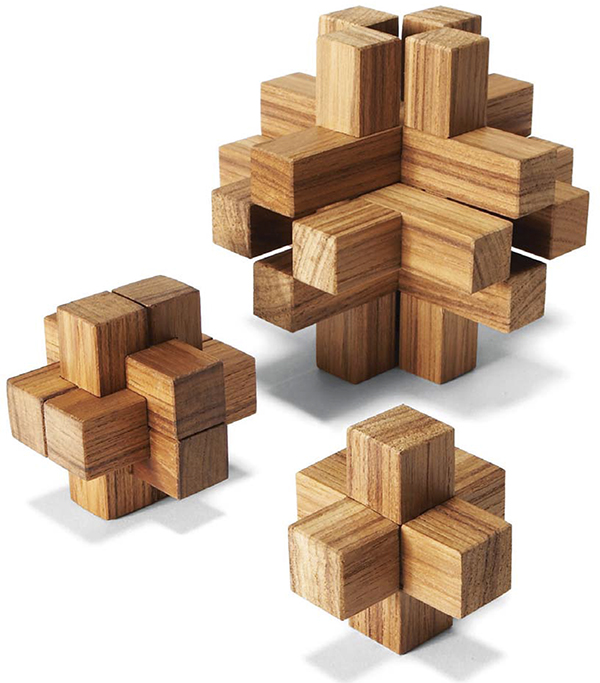
Somethings got to give when pieces of wood intersect at 90 angles. Thats the reality behind the curious assemblies shown here. Known as burr puzzles, because they resemble seed burrs, these brainteasers consist of three or more notched pieces that go together at right angles. Give one of these tricksters to an unsuspecting friend and watch the fun. Disassembling each puzzle is the easy part. Putting the pieces back together is the real challenge!
Precision is the key to making the puzzles work effectively. Each part must be accurately marked, milled and cut.
The first step for all three puzzles is to mill long 34" x 34" blanks. Use a caliper to measure the thicknesses precisely and make sure the blanks are square. Then cut the individual puzzle pieces to exact length from the blanks.
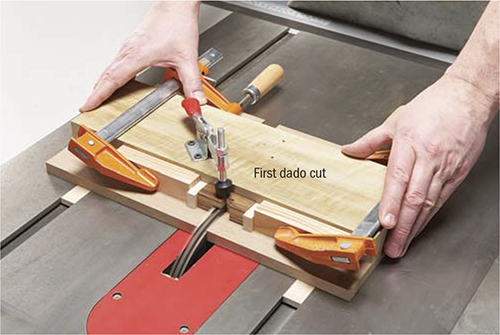
A shop-made jig makes it easy to notch the pieces for all three puzzles on the table saw, using a dado set (, page 16).
Fig. A. Dadoing jig
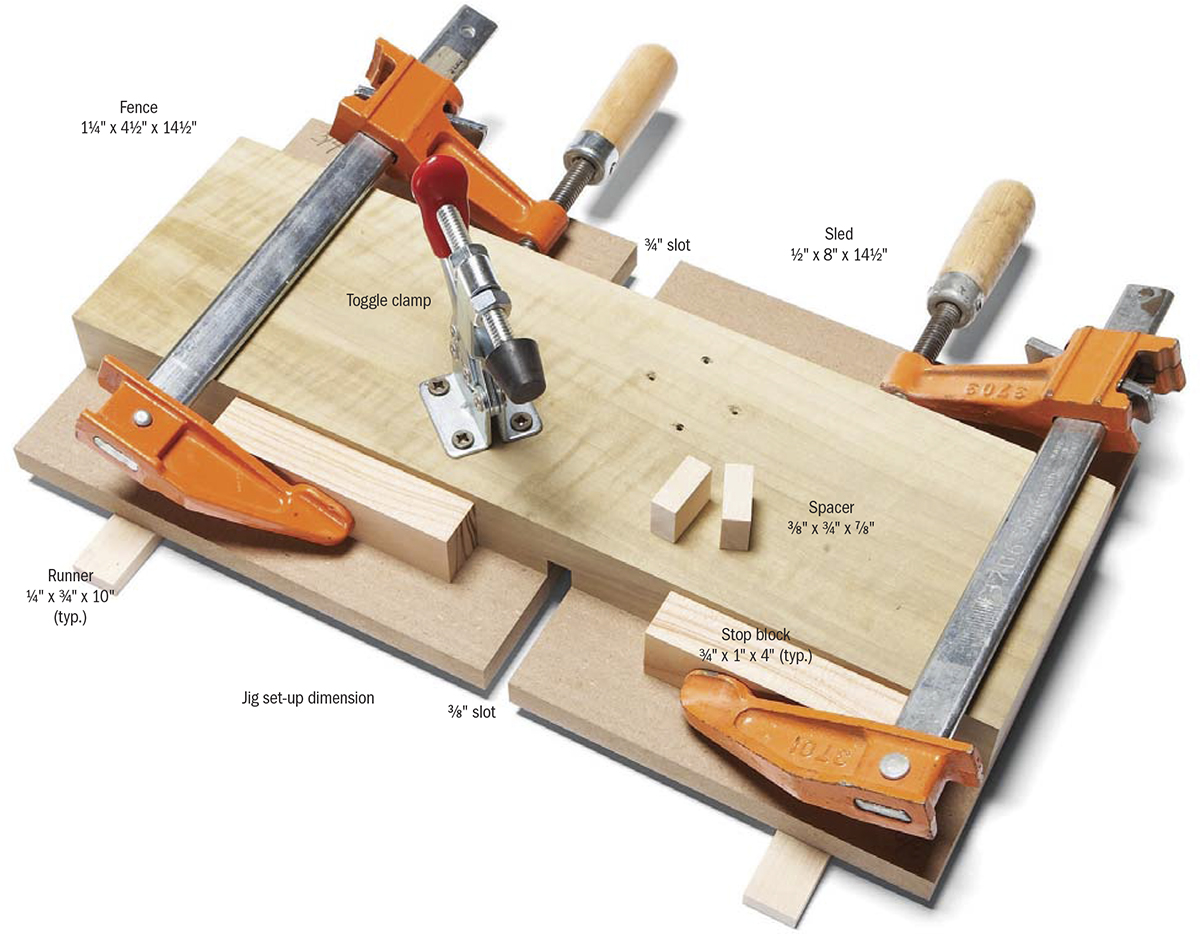
The dados have to fit perfectly, so always make extra puzzle pieces, and start by making test cuts. Testing the dado widths and depths is pretty easy, because most of the pieces go together with lap joints. When the dados fit snugly, their widths are correct; when the joint surfaces are flush, the dado depths are correct. The pieces will go together more easily if you lightly sand their edges. Thats it; youre ready to go.
THE THREE PIECE BURR
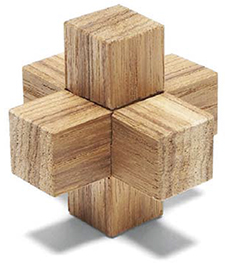
In appearance, this puzzle is my favorite, because of its perfect, simple symmetry. Its the only puzzle of the, three that requires cutting dados in two sizes (see , on page 12).
Fig. B Dimensions
All pieces:
34" x 34" x 214"
Jig set-up
Dimension: 118"
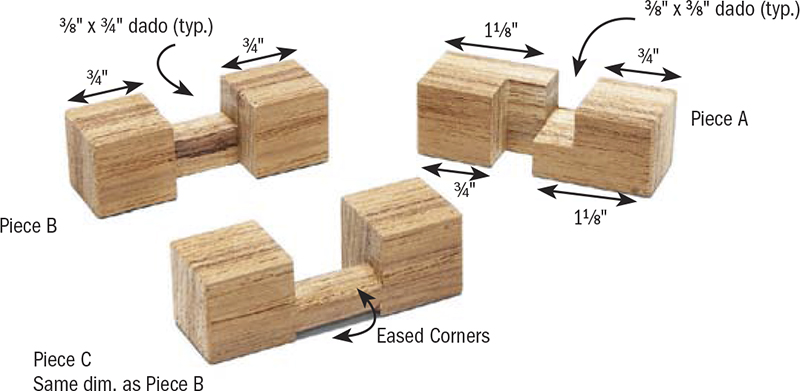
Make the pieces
- Cut 214" blocks from square 34" stock, including extras for test cuts.
- Set up the saw and the jig to cut 38" x 38" dados.
- Clamp the jigs right stop-block 118" from the edge of the 38" slot.
- Snug a test piece and both 38" spacers against the right stop. Butt the left stop-block against the spacers and clamp it.
- Cut dados in a couple test pieces. Fit them together to check the dados width and depth; make necessary adjustments.
- Install Piece A and cut the first dado ().
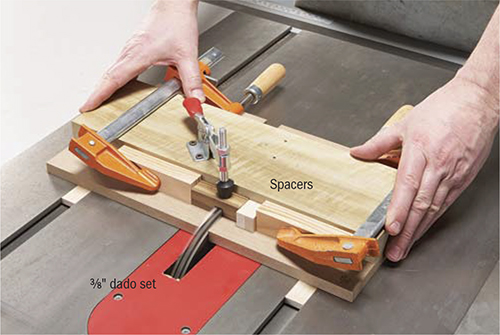
Cut a 38" x 38" dado after clamping the stop-blocks in position and installing Piece A with both spacers to the left.
- Rotate Piece A, reposition the spacers and cut the second dado ().
