Armelle Rau - DIY Projects for Cats and Dogs
Here you can read online Armelle Rau - DIY Projects for Cats and Dogs full text of the book (entire story) in english for free. Download pdf and epub, get meaning, cover and reviews about this ebook. year: 2018, publisher: Perseus Books, LLC, genre: Children. Description of the work, (preface) as well as reviews are available. Best literature library LitArk.com created for fans of good reading and offers a wide selection of genres:
Romance novel
Science fiction
Adventure
Detective
Science
History
Home and family
Prose
Art
Politics
Computer
Non-fiction
Religion
Business
Children
Humor
Choose a favorite category and find really read worthwhile books. Enjoy immersion in the world of imagination, feel the emotions of the characters or learn something new for yourself, make an fascinating discovery.

- Book:DIY Projects for Cats and Dogs
- Author:
- Publisher:Perseus Books, LLC
- Genre:
- Year:2018
- Rating:3 / 5
- Favourites:Add to favourites
- Your mark:
DIY Projects for Cats and Dogs: summary, description and annotation
We offer to read an annotation, description, summary or preface (depends on what the author of the book "DIY Projects for Cats and Dogs" wrote himself). If you haven't found the necessary information about the book — write in the comments, we will try to find it.
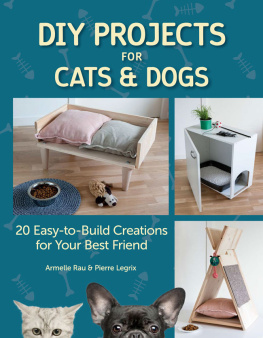
20 Easy-to-Build Creations for Your Best Friend
Armelle Rau: author's other books
Who wrote DIY Projects for Cats and Dogs? Find out the surname, the name of the author of the book and a list of all author's works by series.


DIY Projects for Cats and Dogs — read online for free the complete book (whole text) full work
Below is the text of the book, divided by pages. System saving the place of the last page read, allows you to conveniently read the book "DIY Projects for Cats and Dogs" online for free, without having to search again every time where you left off. Put a bookmark, and you can go to the page where you finished reading at any time.
Font size:
Interval:
Bookmark:
 Cat Tree Difficulty
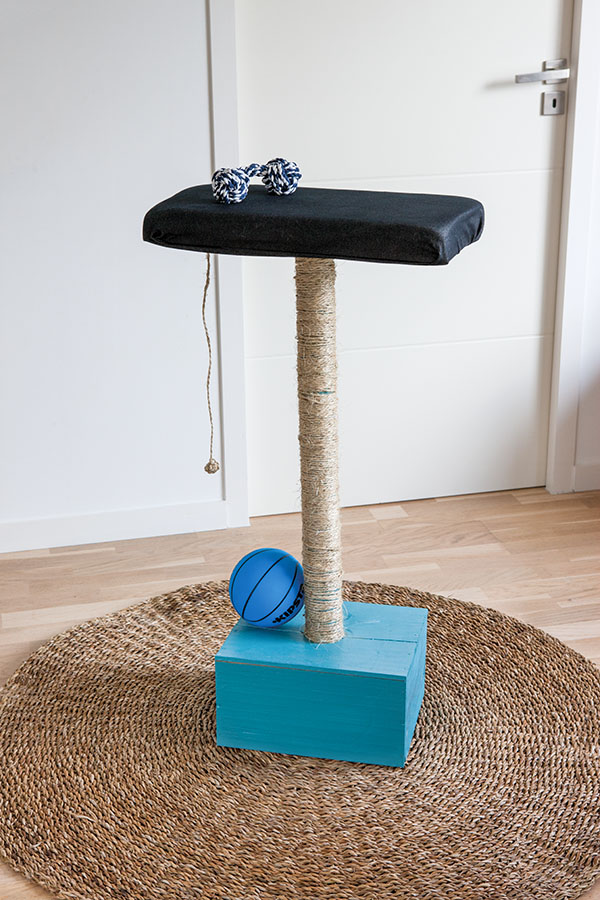 Lets face it: most cat trees are ugly, with their outdated blue plush upholstery and cardboard construction that absorbs humidity and odors. As for the price, a basic model can easily set you back $100. Heres an example of a simple cat tree that is perfect for a small apartment and wont clash with your dcor. Materials 1 wine crate 1 wooden tree stake, dowel, or PVC piping 1 board 1 screw About 100 ft (31 m) of cord Foam and fabric 3 long nails, about 6 in (15 cm) Concrete or mortar Paint (optional) Tools Hole saw (same diameter as the stake), or jigsaw Power drill/screwdriver Staple gun and staples Glue gun and glue Scissors Trowel or large wooden stick (to mix concrete) Pencil Making the base
 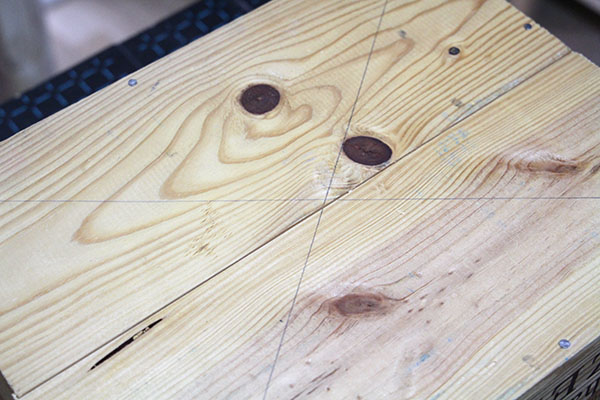 Turn the wine crate upside down and trace two diagonal lines across the base from corner to corner to locate the exact center.
 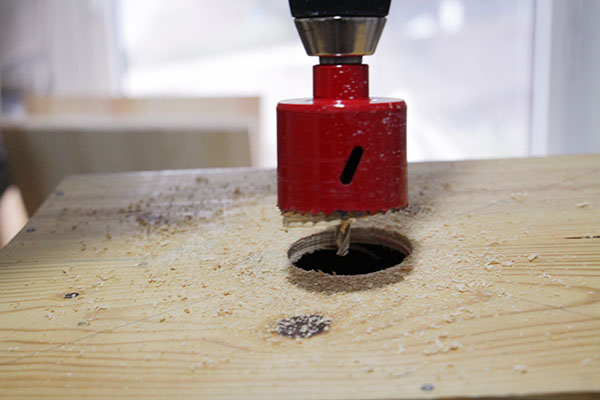 Using the hole saw, cut a hole in the center of the crate where the diagonal lines meet.
 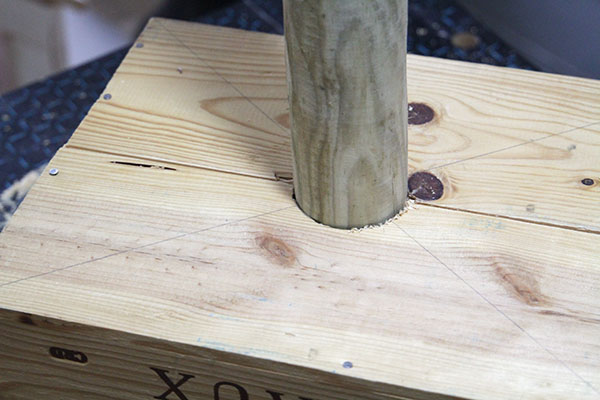 Mark where the stake will sit in the hole in order to start wrapping it with cord in the next stepyou dont want to wrap too much of the stake with cord and then have too little stake left to poke down into the crate. Mark where the stake will sit in the hole in order to start wrapping it with cord in the next stepyou dont want to wrap too much of the stake with cord and then have too little stake left to poke down into the crate.
Insert the stake in the hole you have cut. If you want to paint the base of your cat tree, choose a color that blends in with your dcor, and paint the base now. Making the trunk 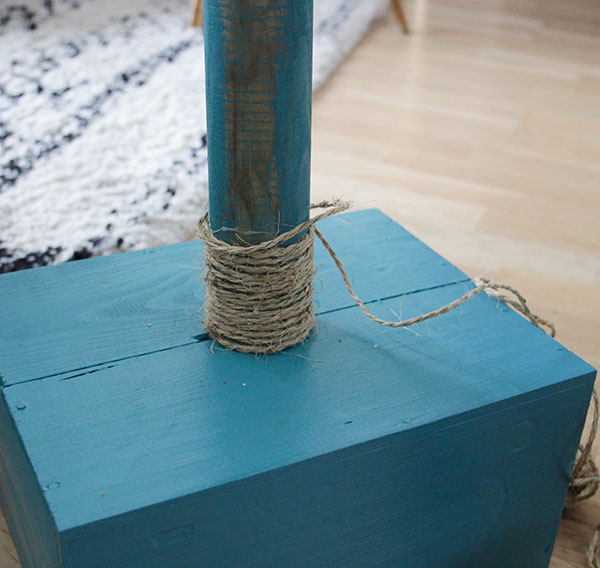 Wind the cord tightly and neatly around the stake and glue as you go, making sure to add glue at frequent, regular intervals.
 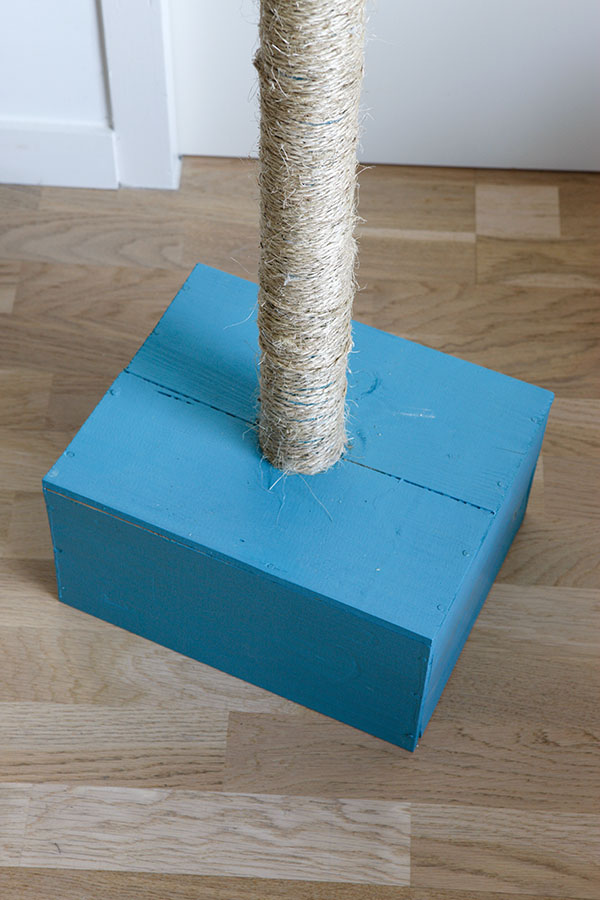 Do not put cord all the way at the top of the post. Also, for best results, we recommend winding a second layer of cord over the first layer. Making the top
 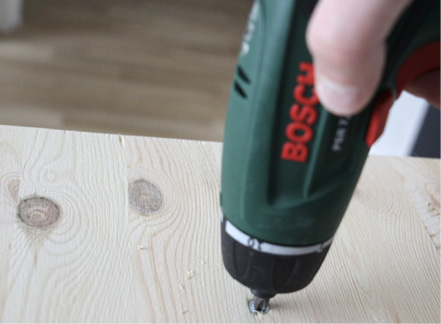 Find the center of the board by tracing two diagonal lines across it.
Screw the board to the top of the post, using the lines as a guide. 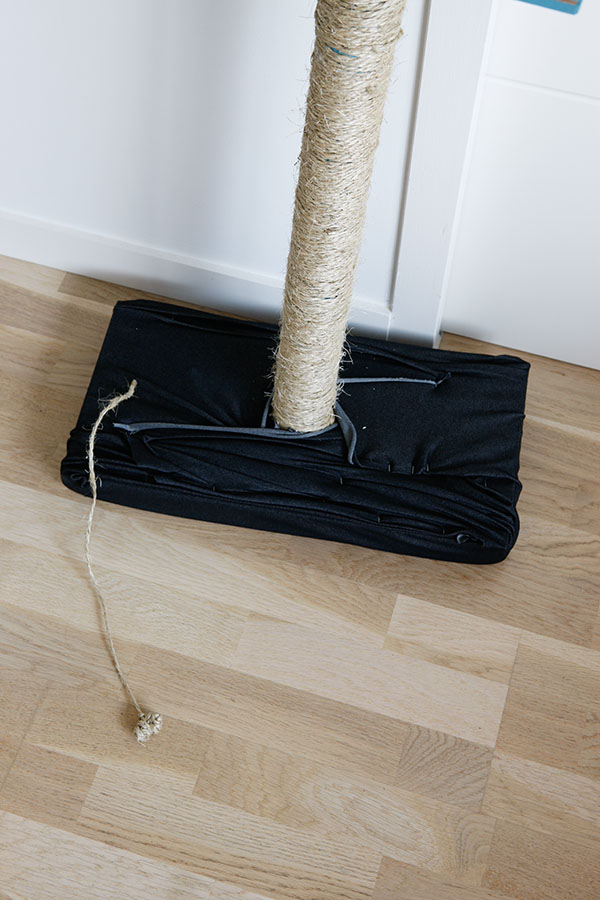 Glue the foam to the top of the board, cutting it to size as needed. Lay the fabric over the foam and staple it to the underside of the board. You can also staple a few long pieces of hanging cord to the underside to draw your cats attention to this new plaything. Finishing To stabilize the base, you need to fill the wine crate with concrete. For this project, we mixed up mortar, which is stickier.
Whatever product you decide to use, follow the manufactures instructions for mixing. 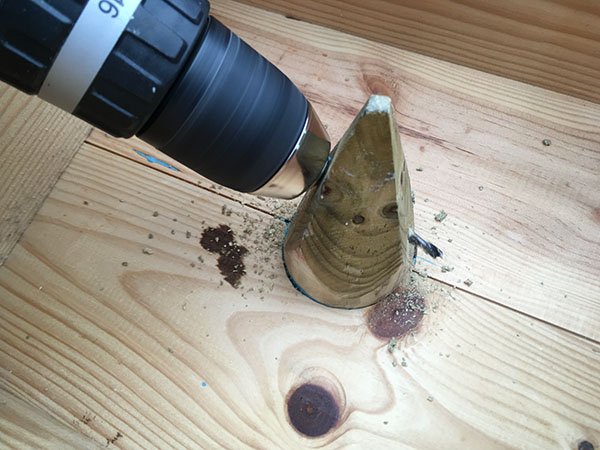 Start by drilling a hole all the way through the stake, near the base where the stake emerges under the wine crate. Drill a hole on each side of the crate.
 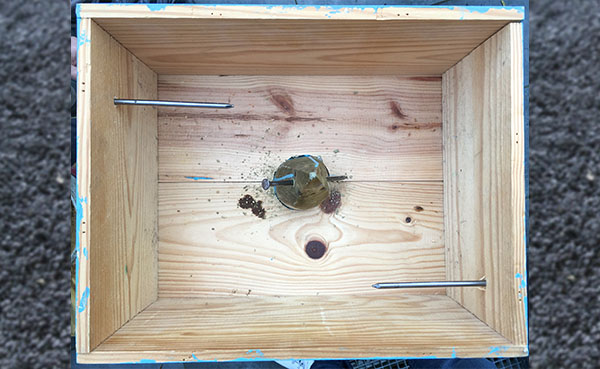 Slide long nails (the longest you can find) into the holes. These nails will help the mortar (or concrete) stay in place inside the crate.
 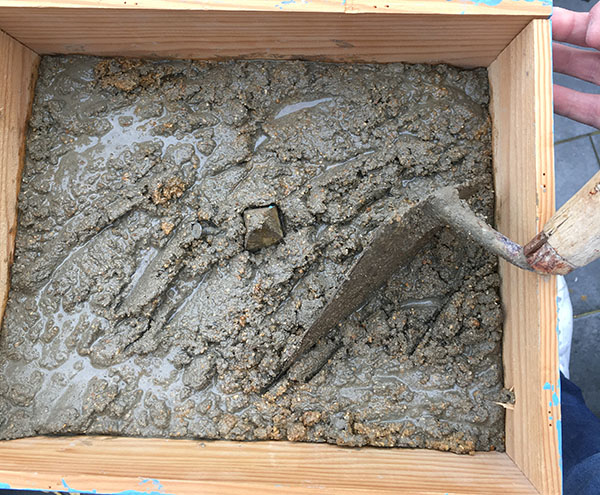 Half fill the crate with mortar with the stake in place. Half fill the crate with mortar with the stake in place.
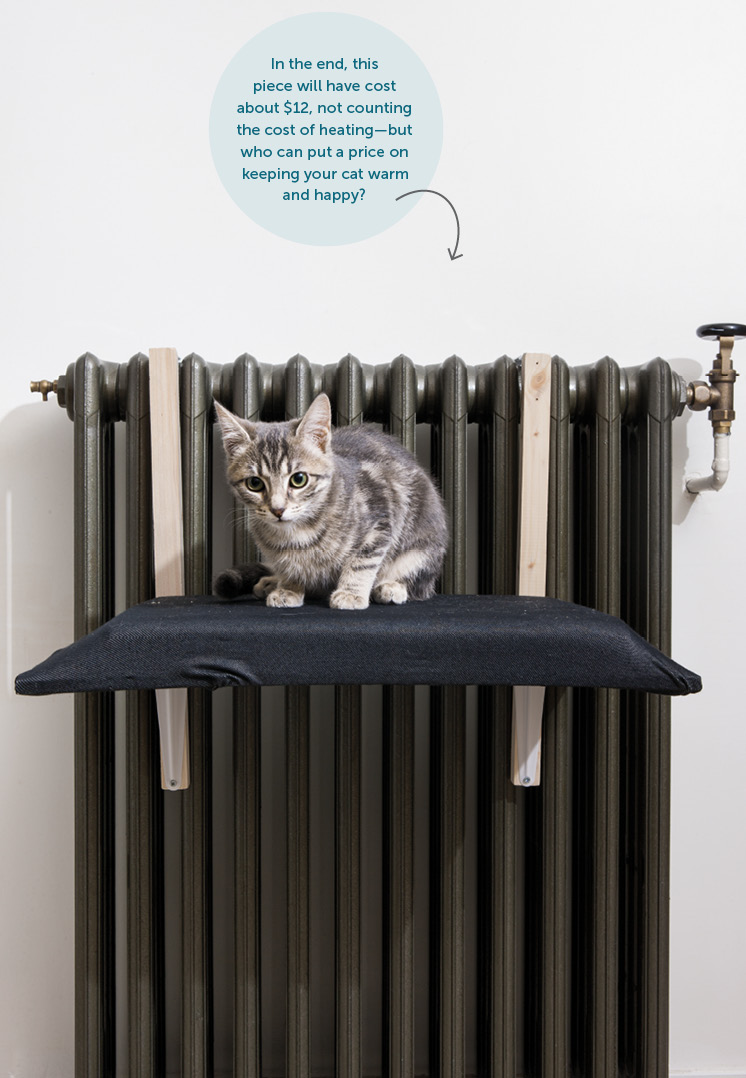
Lightly tap the sides of the crate to help air bubbles escape. Let the piece dry vertically, in a dry area, for 48 hours. 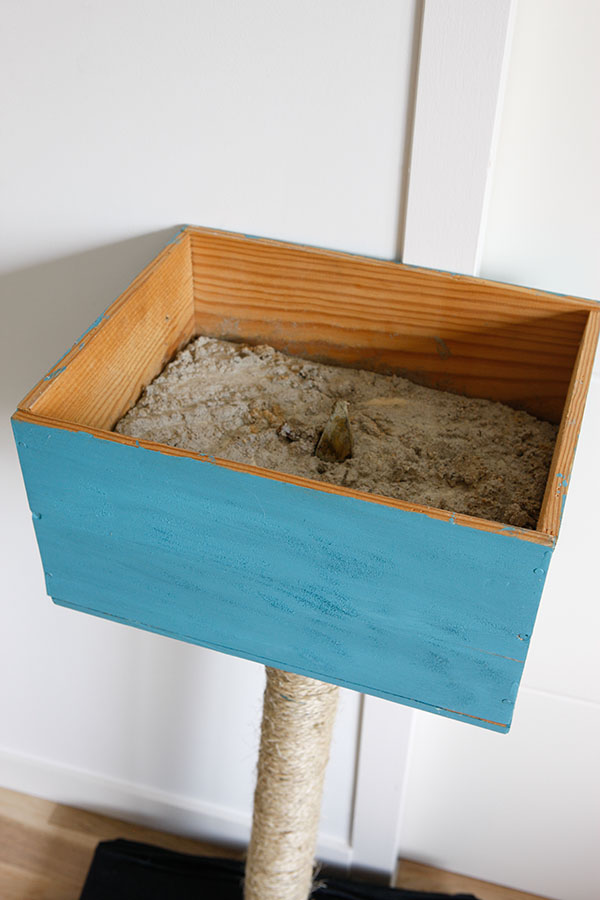 Do not fill the crate completely, or it wont support the weight of the mortar. Half full is sufficient.
 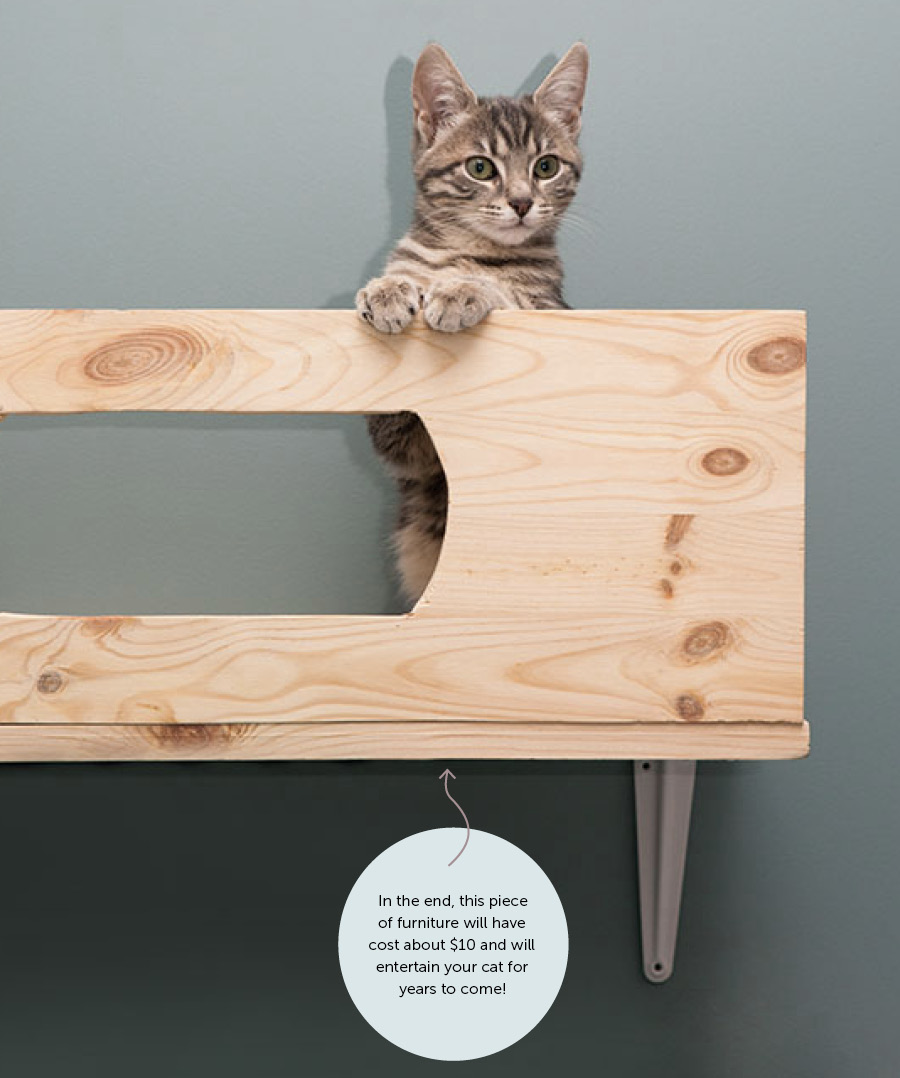 Multi-Dish Stand Difficulty
 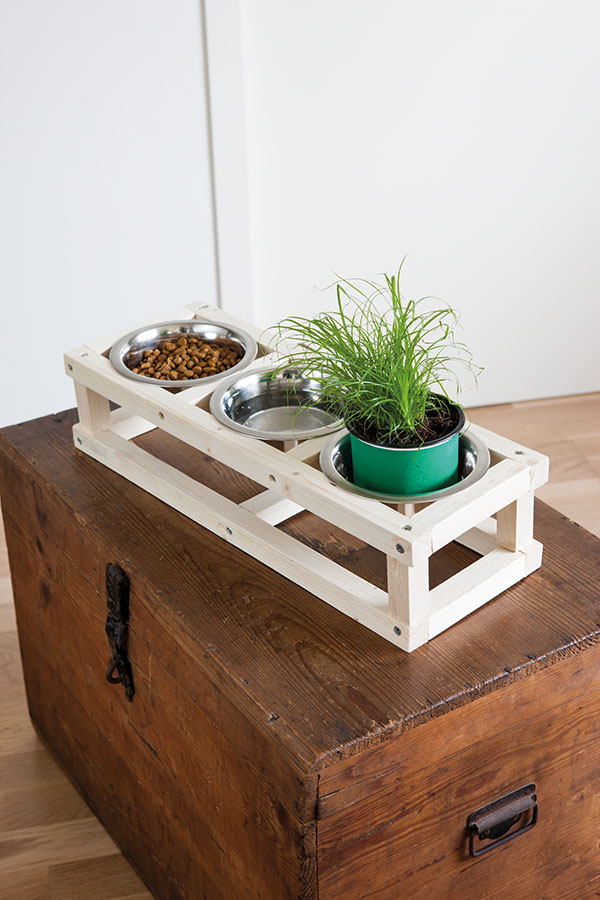 This practical stand makes it easy to keep all your cats dishes together and move them to another area all the same time. Its simple design will blend in easily with your dcor.
There is even a space for a cat-friendly potted plant! Materials 2 furring strips, 100 in (250 cm) long, 1 x 1 in (2.7 x 2.7 cm) wide About 30 screws Tools Wood saw Power drill/screwdriver Fine-grit sandpaper (or choose furring strips that have already been sanded) Tape measure Pencil Preparing the frame 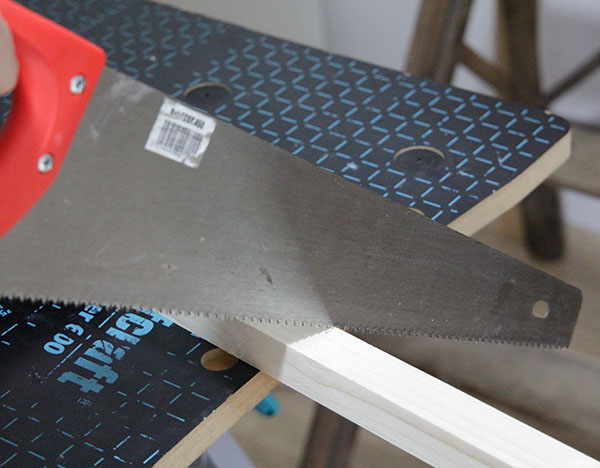 Cut the furring strips to the dimensions you need in order to create a piece that follows the structure shown in the photos and that fits your cats dishes.
 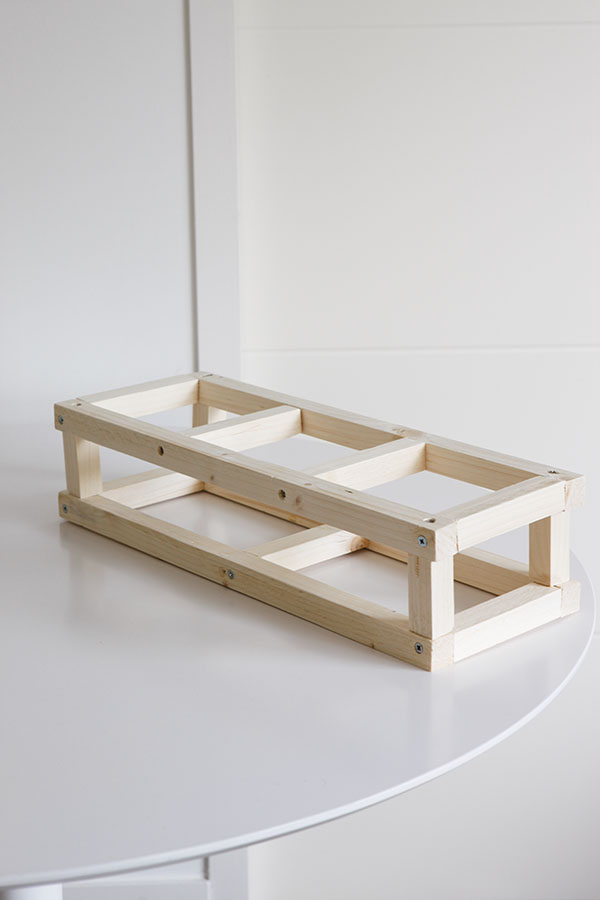 Make a plan, detailing and calculating all the measurements and taking into account the widths of the furring strips and the rims of the dishes, as well as their depth. Taking careful measurements now will help save you time during construction. It will also help you avoid mistakes and waste materials, which will save you money! Use the photo of the assembled frame here to guide you in drawing up the plan.
 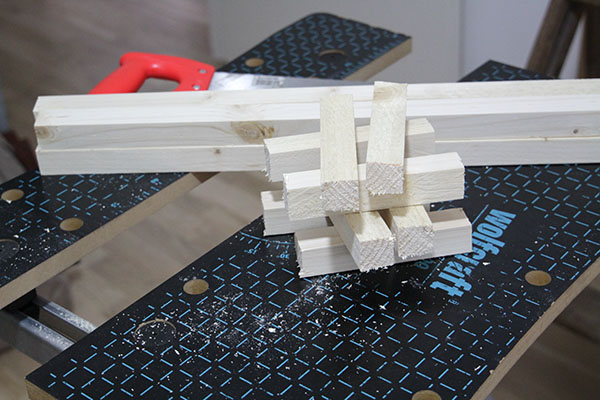 Cut out all the pieces at the start. You can use the first piece as a template, to save time cutting and to avoid having to take out the tape measure every few seconds.
Font size:
Interval:
Bookmark:
Similar books «DIY Projects for Cats and Dogs»
Look at similar books to DIY Projects for Cats and Dogs. We have selected literature similar in name and meaning in the hope of providing readers with more options to find new, interesting, not yet read works.
Discussion, reviews of the book DIY Projects for Cats and Dogs and just readers' own opinions. Leave your comments, write what you think about the work, its meaning or the main characters. Specify what exactly you liked and what you didn't like, and why you think so.