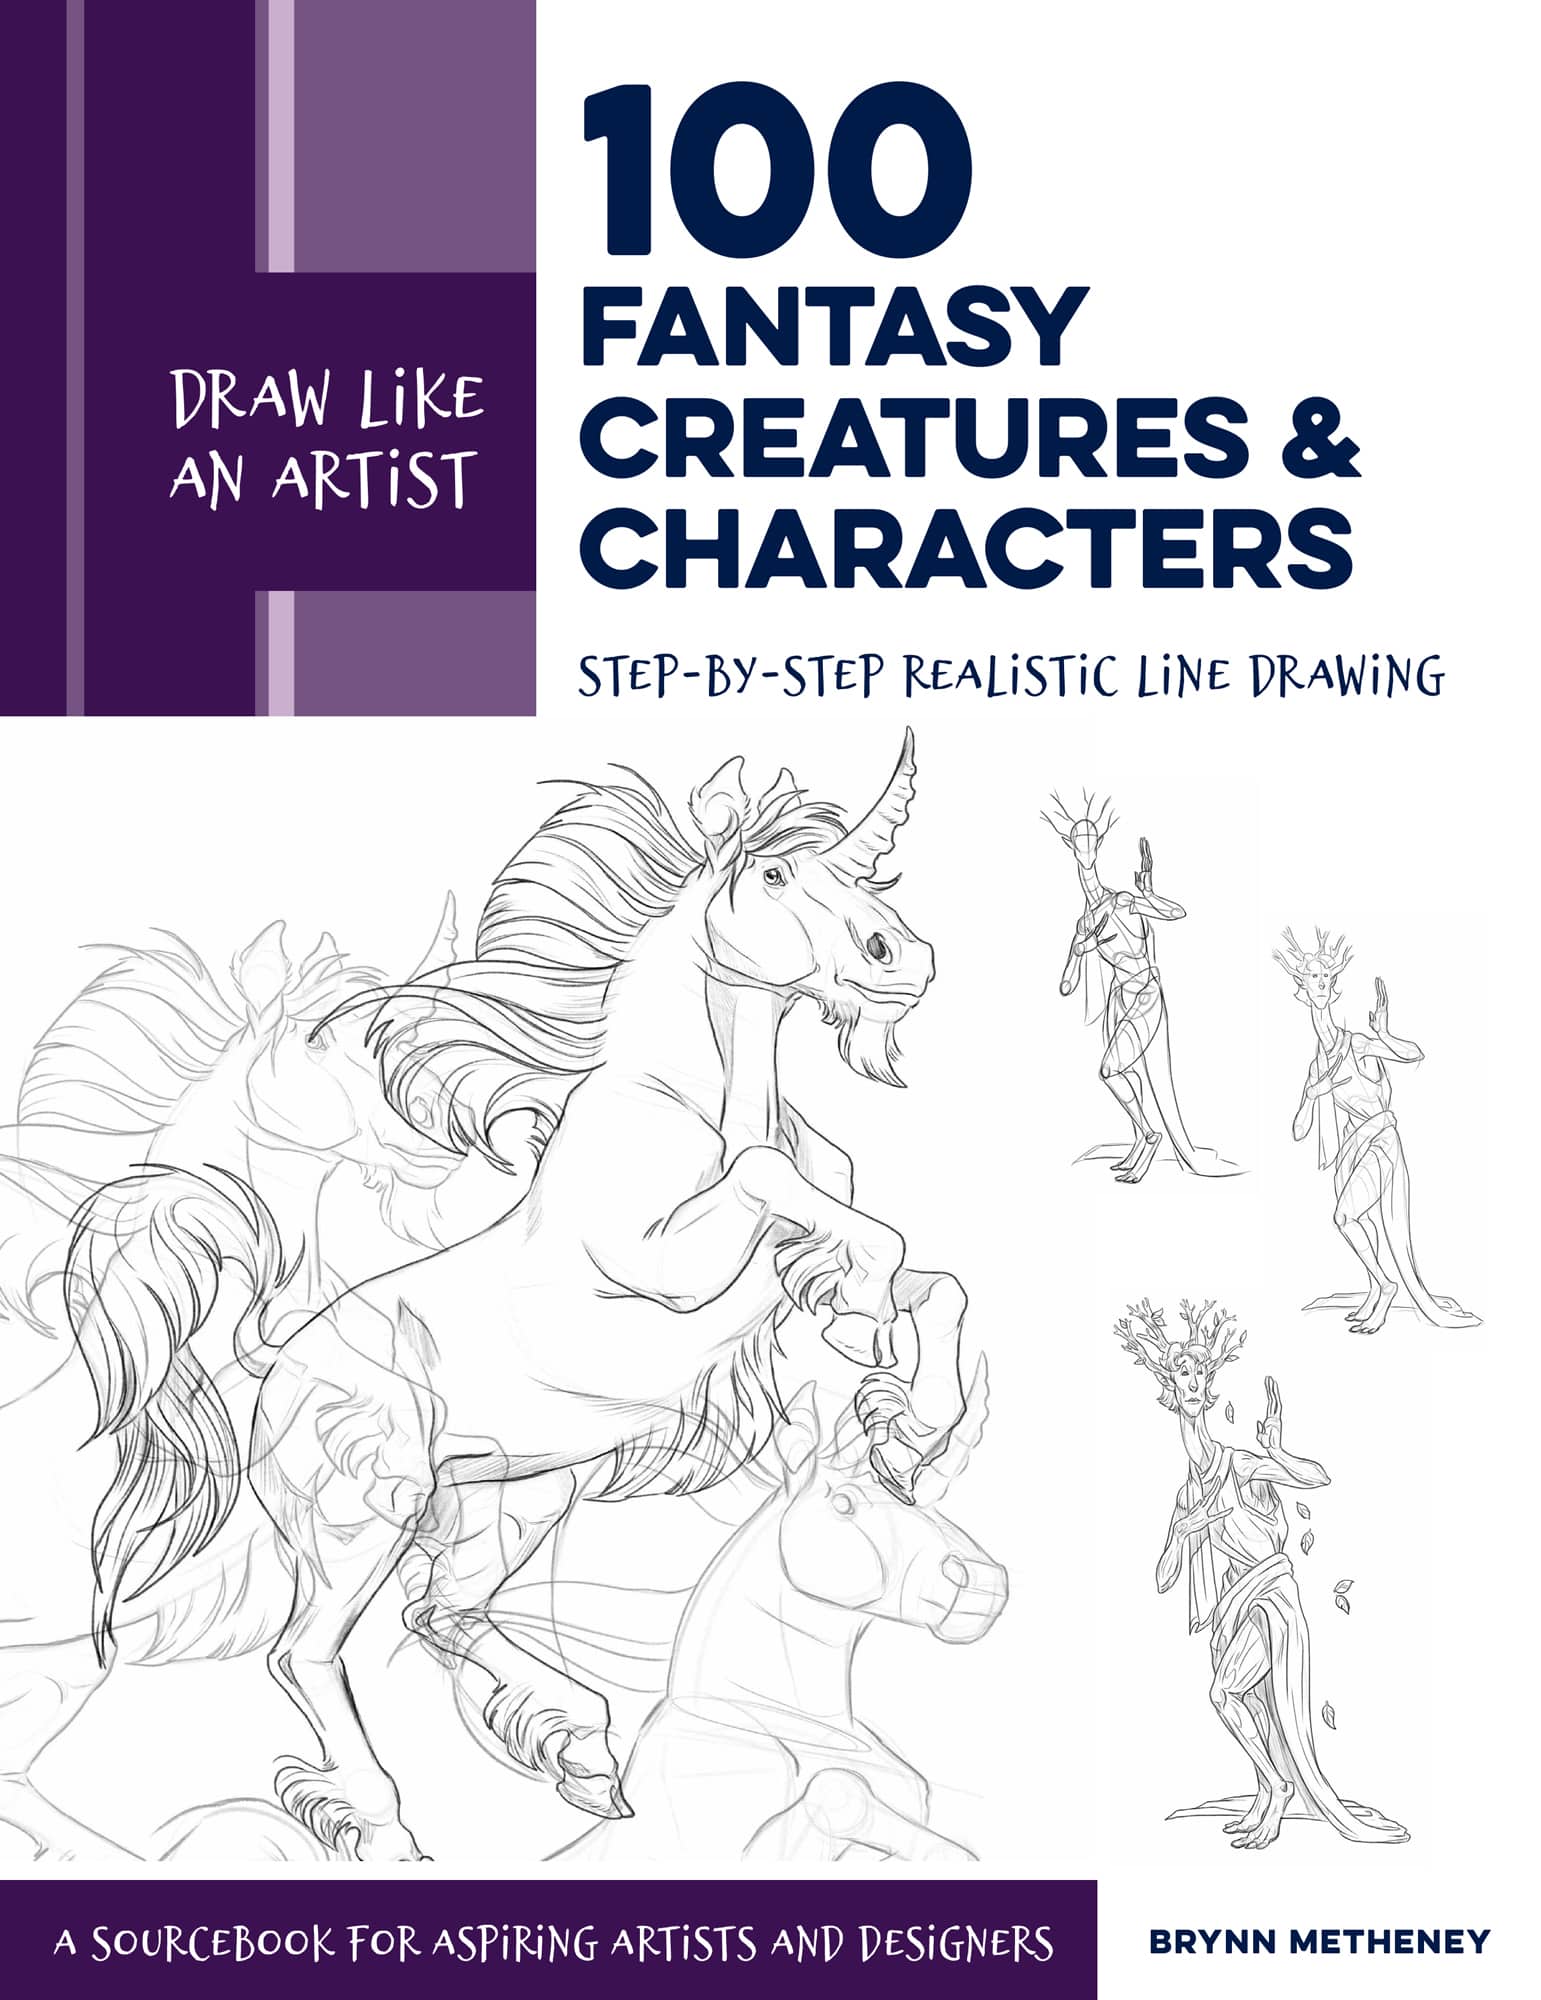
Draw Like an Artist
FANTASY CREATURES & CHARACTERS
Step-by-Step Realistic Line Drawing
A Sourcebook for Aspiring Artists and Designers
BRYNN METHENEY

INTRODUCTION
HOW TO USE THIS BOOK
Fantasy is where imagination and study meet to make something new. In this book, youll find a wide array of creatures and characters that combine real animals and observed subjects from our own world and twist them into the fantastical.
Suggested Materials
Graphite pencil
Any paper that you enjoy working on; I like marker paper or vellum
Eraser
Start with Wireframes
Wireframes are simplified skeletons or fancy stick figures. If you can imagine making your creature or character out of sticks or lines, you can make a wireframe! I use wireframes to help with modeling my creatures, especially those with complex poses. The wireframes help me visualize the pose without worrying about detail. Keep this step lightweight in your pencil pressure; we want this to be a construction line under our drawing later. With vellum and marker paper, you can layer pages to complete each step.
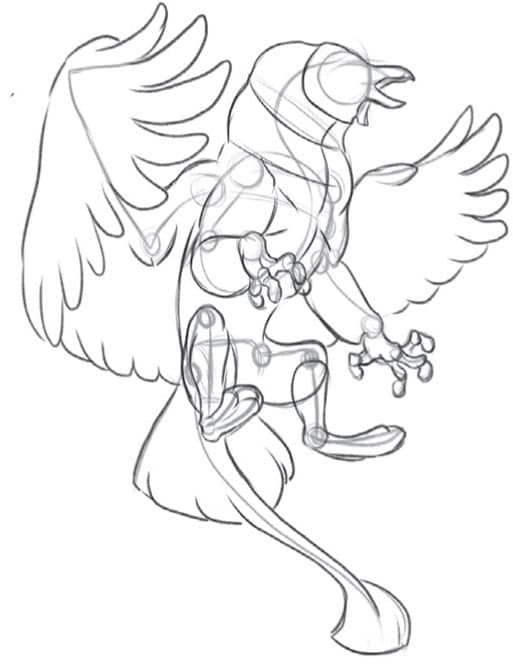
In the gryphon example, I start by mapping out different body parts with ovals, spheres, and lines to construct a simple skeleton.
STEP 1
Use Planar Shapes to Describe Body Forms
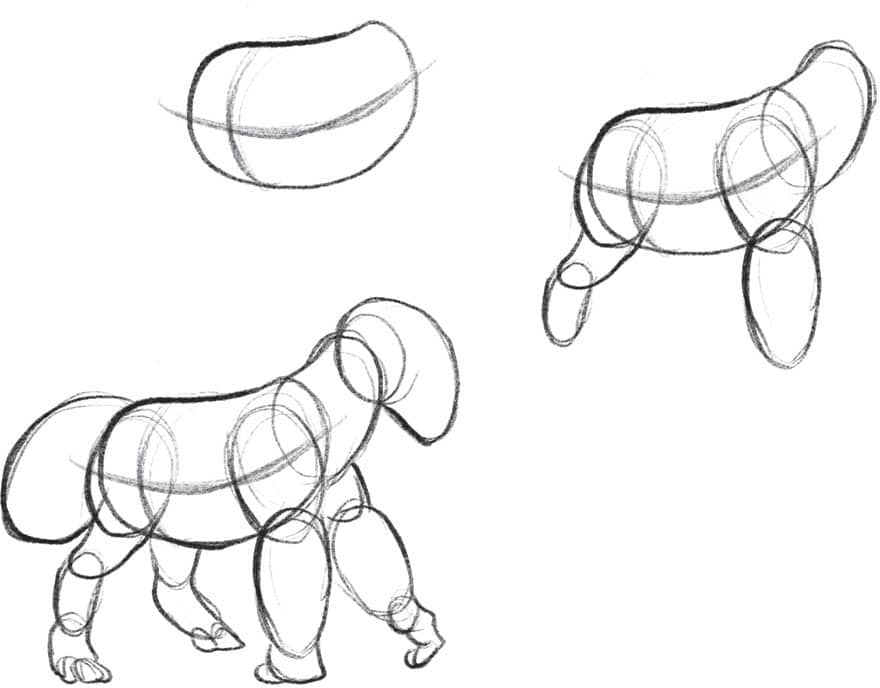
Draw big body shapes such as joints and landmarks. Draw through your forms and keep it simpleno details yet! This stage is important to figure out your characters volume and shape. Notice how the wireframe helps you find the different points of the body, such as knees, elbows, and the ribcage. Flesh out the planar shapes using cylinders, spheres, and contour lines. You can see the gryphons general structure begin to take shape!
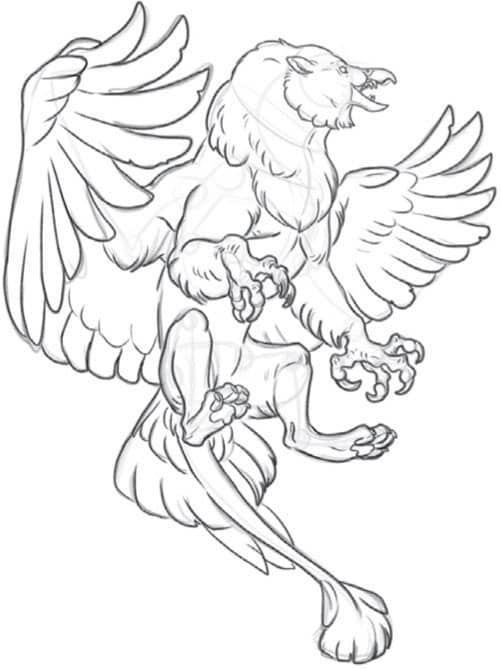
STEP 2
Find Features
As you work into step 3 of drawing your character, you can begin to find features such as eyes, horns, ears, and noses. Its important to work from general to specific when you draw these creatures. This stage serves as the transition. From here on, youll be finding more details. Ive drawn in the eyes and teeth of the gryphon as well as the arm feathers and details around the body.
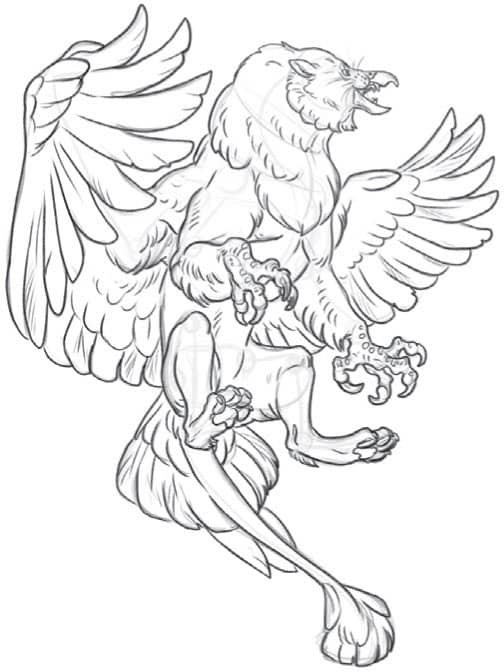
STEP 3
Dive into Details
Now that weve got our features mapped out, we can start to find the finer details in the character. Things such as wrinkles, scales, more facial features, and expression can be explored in step 4. In this example, you can see the gryphons wings start to take more shape, too. I detailed the feet with the paw pads and added more to the scales and claws on the front paws.
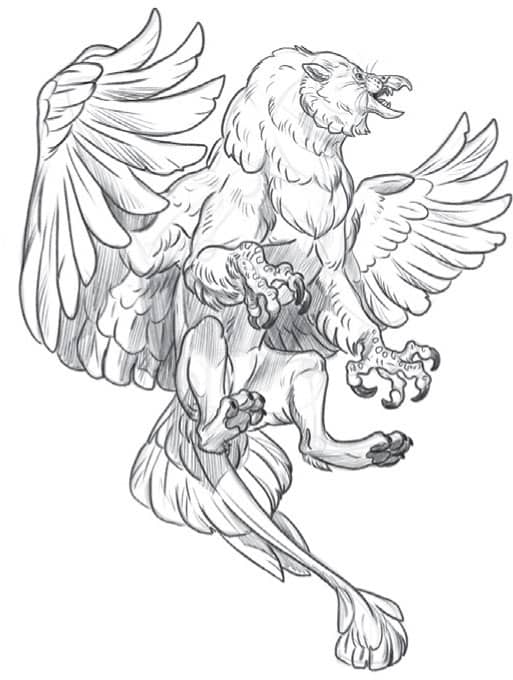
STEP 4
Refine Detail
Step 5 is where the creature starts to look finalized. Here you can see the gryphon has pupils and more of an expression on its face. The smallest details such as whiskers, scales on the front paws, and facial markings have also been drawn in at this step. This would be the time to clean up your drawing, erasing any pencil lines that you dont want.
STEP 5
Finish the Character
Now that weve got everything drawn, we can add the final details and a bit of value to make the image easier to read and to give some volume to our forms. I use a bit of pencil tone on the image to help describe its form as shadows fall over the gryphons body. Step 6 is all about polishing and making the image look the way you want by adding small adjustments.
If youre new to drawing, its important to remember that practice is your ally. Practice these drawings as much as possible, and youll be able to apply these rules to anything and everything you draw. Remember to be patient and stay the course. Its about persistence.
STEP 6
TIPS FOR PENCIL WORK
Using these tips will help you gain better control with your tools as you practice drawing these characters.
TIP #1: DRAW LIGHTLY, BUT WITH PURPOSE
As you draw, keep your pencil light in your hand. We want the first few drawings of our characters to feel alive and fluid. If you put too much pressure on your pencil, your drawings will feel stiff and heavy. This heaviness can be a challenge to work into the final drawing and to erase later on in your process. Keep it light!
EXERCISE. On a sheet of scrap paper, lightly draw lots of little wireframes of your favorite animal. Keep each wireframe under one minute to keep yourself moving quickly. Youre not trying to make good drawings; youre learning to get used to the feeling of holding your pencil lightly enough to keep the gestures fluid and workable.

TIP #2: DRAW THROUGH FORMS
This tip is one that Ive learned in studying animators and their work. The reason their drawings feel as though they have so much weight is because theyre drawing through their characters forms. When you stop your pencil stroke to avoid a line, theres a hesitation that can be seen in the energy and volume of the character. Drawing through your forms can help you nail a pose or a shape because youre able to keep the energy of the stroke intact as you finish the piece of the character on which youre working.
EXERCISE. Draw a cylinder to represent an imaginary animals body. Working directly on that drawing, draw legs and a neck and then a head. Keep all these body parts simple. Notice how you may want to avoid the line youve already drawn, but dont. Draw through it! Using these simple shapes can help you map out your drawing and give your creature volume and shape. Continue to keep your pencil light.
TIP #3: LET GRAVITY TAKE OVER
I like to make drawings that feel as though gravity is pulling on them. Its important to think about your characters weight while youre drawing it. If the character is large, it will be heavier, which will affect its posture and pose.
EXERCISE. Take a pillow or sack of rice and prop it up in different positions. Studying objects that change shape under the influence of gravity is a great way to see how you can apply it to a character and in other areas of your art.


