PUBLISHER: Amy Marson
CREATIVE DIRECTOR: Gailen Runge
ACQUISITIONS EDITOR: Roxane Cerda
MANAGING EDITOR: Liz Aneloski
EDITOR: Karla Menaugh
TECHNICAL EDITOR: Linda Johnson
COVER/BOOK DESIGNER: April Mostek
PRODUCTION COORDINATOR: Zinnia Heinzmann
PRODUCTION EDITOR: Alice Mace Nakanishi
ILLUSTRATOR: Mary E. Flynn
PHOTO ASSISTANT: Rachel Holmes
PHOTOGRAPHY by Kelly Burgoyne, Christina Carty-Francis, and Diane Pedersen of C&T Publishing, Inc., unless otherwise noted
Published by Stash Books, an imprint of C&T Publishing, Inc., P.O. Box 1456, Lafayette, CA 94549
Dedication
Chesney and Brayden! I know that growing up with a mom who travels a lot for work and has to miss important events in your lives hasnt been easy. Ive watched you two grow and become so brave and strong when Im gone. Youve been some of my biggest cheerleaders and so patient with me. Every time you two beg for me to buy fabric at the quilt shops or sketch out your own quilts, my little heart just wants to burst. I hope you two will always be creative and have a soft spot in your hearts for quilts.
Acknowledgments
Brad, thank you for everything you do! You are a rock-star husband who has done more than your fair share of household duties to help me live this crazy dream.
Special thanks to Kathleen Whiting for binding my quilts. You know Id never finish anything if it werent for your awesome binding skills.
Thank you, C&T Publishing / Stash Books. You have believed in me from the start. You have made the process great and the ride easy.
INTRODUCTION
When I bought my first longarm quilting machine twelve years ago I was given a few machine quilting rulers with my purchase. Those rulers sat all nicely packaged up on the shelf for a few years. I was afraid of ruler work and honestly didnt really know what to do with those rulers.
The day finally came that I needed to use a ruler for some stitch-in-the-ditch work, and I fell in love. I realized that with rulers or a walking foot I could create really beautiful designs with just straight lines.
In this book Ill walk you, step by step, through several machine quilting designs that can be done with a walking foot on a domestic machine; with a ruler foot on a domestic machine or longarm quilting machine; and a ruler. Once you become comfortable with these designs, the sky really is the limit.
BASICS
Machine Quilting
TOOLS AND TECHNIQUES
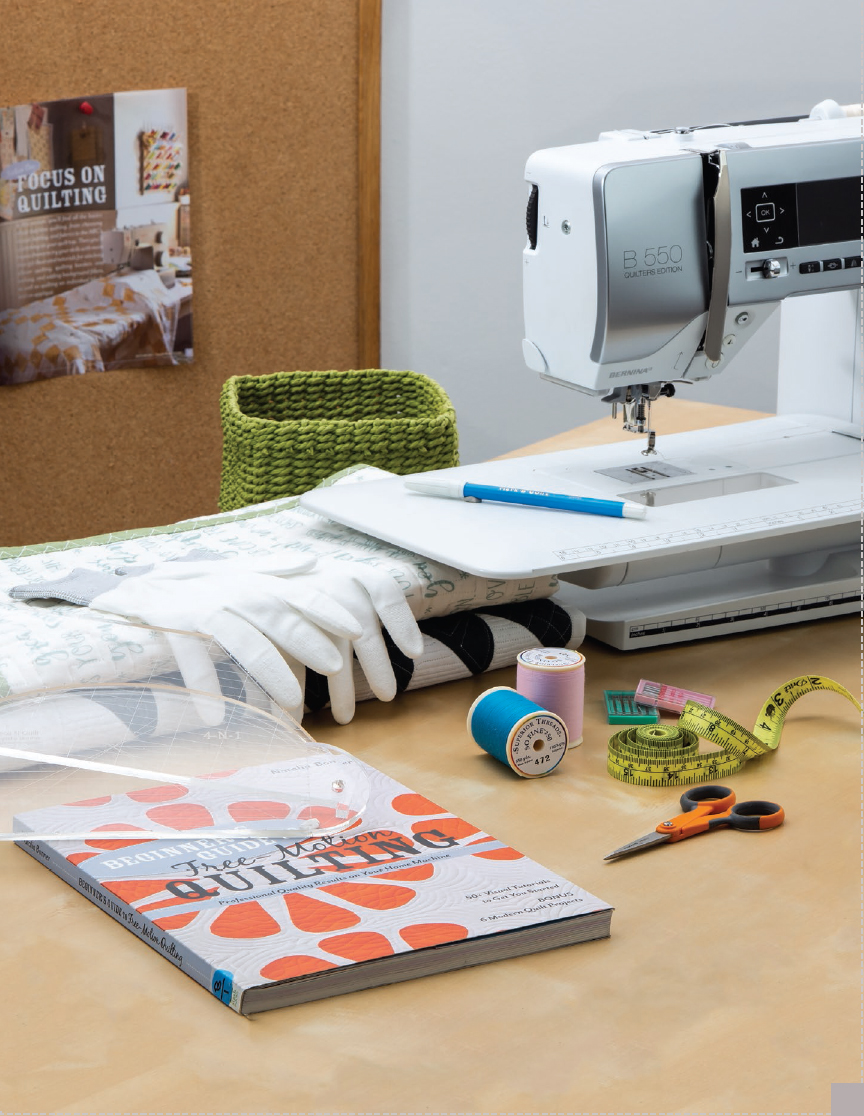
My first machine quilting book, Beginners Guide to Free-Motion Quilting, covered the basics in detailthreads, needles, machine feet, sewing machines, gloves, and basting. In this book, I will briefly review those tools so we can quickly move on to the exciting section, the machine quilting designs.
MACHINES
Straight-line machine quilting can be done successfully on a longarm machine or most conventional home sewing machines, as long as the machine has a free-motion foot or ruler foot and the ability to drop the feed dogs. I currently have a BERNINA Aurora 450 and a Gammill 22 machine. It is most helpful if your machine has a large table; this accessory creates a large working area that can make it easier to maneuver the quilt under the needle and also helps to hold your ruler flat and flush against the ruler foot.
 Natalias Tip
You can buy a lot of your machine quilting supplies at my website. Look there for my 4-N-1 and Trailer machine quilting rulers, Superior Threads, needles, TOWA Bobbin Tension Gauge, and other supplies.
NEEDLES
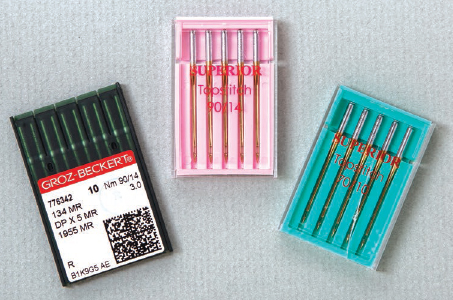
Multiple types of needles can be used for machine quilting on a home sewing machine. The quilting needle and topstitch needle are the most popular. Each has advantages. A quilting needle has a slim, tapered point and slightly stronger shaft for stitching through fabric layers and across intersecting seams. However, most machine quilting can be done using a topstitching needle, which has an extra-sharp point and a larger groove and eye to accommodate heavier threads.
I prefer to use a titanium-coated topstitching needle. Titanium-coated needles last up to five times longer than regular needles. I prefer the needles made by Superior Threads, but you can choose from the many others that are available.
It is very important that you have the correct size of topstitching needle for your thread. I recommend three sizes for quilting: 80/12 for machine quilting with fine/lightweight thread, 90/14 for machine quilting with medium-weight thread, and 100/16 for machine quilting with heavyweight thread.
 Natalias Tip
I always use lightweight thread with a topstitching 80/12 needle.
THREAD
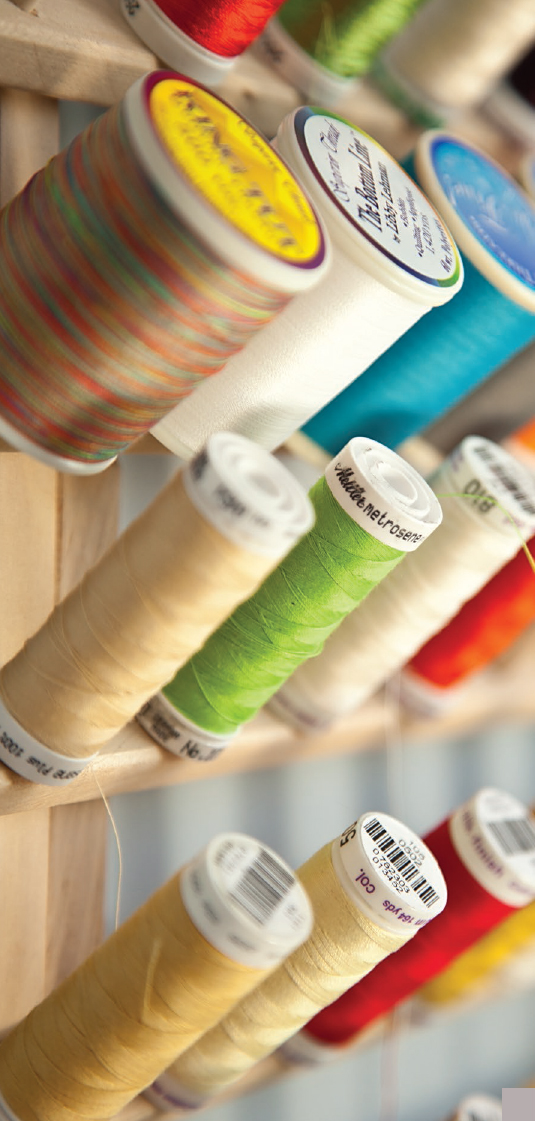
Choosing the correct thread for machine quilting is very important. The most common types of thread are cotton, polyester, and polyester-wrapped cotton.
 Natalias Tip
Never use hand-quilting thread for machine quilting. Hand-quilting thread has a waxy coating that is not compatible with sewing machines.
I always use lightweight threads, such as Superior Threads So Fine! for the top and Bottom Line for the bobbin. But you can certainly try various threads and brands to determine what look you prefer.
When choosing thread colors, I recommend using the same color on top and bottom, especially when you are first learning to quilt. As you experiment with the correct tension for your machine, the bobbin thread could occasionally appear on the top of your quilt. If the threads are the same color, no one will notice. As you gain confidence in your machine and your quilting, you can try different threads for special effects.
THREAD TENSION
Good thread tension means that your stitching looks good on both sides of the quilt, with an equal amount of thread on the top and bottom and no loops. Loopy threads mean that the tension is too loose; puckered and pulled threads mean it is too tight.
Adjusting tension can be very tricky because you may have to adjust both the top thread and the bobbin tension. Most newer machines have a recommended tension setting for piecing but may need to be adjusted for free-motion quilting.
You can easily change the top tension by adjusting your machines tension gauge, but it is often the bobbin tension that makes all the difference. You can adjust the tension of most bobbins by turning the screw on the bobbin case. Check your owners manual to see how to adjust both top and bobbin tensions on our machine.
You should check the tension before you begin machine quilting and every time you fill the bobbin.
Next page



 Natalias Tip
