Publisher: Amy Marson Creative Director: Gailen Runge Art Director: Kristy Zacharias Editor: Liz Aneloski Technical Editor: Helen Frost Cover/Book Designer: April Mostek Production Coordinator: Jenny Davis Production Editor: Alice Mace Nakanishi Illustrator: Amanda Murphy Photo Assistant: Mary Peyton Peppo Style photography by Nissa Brehmer and quilt photography by Diane Pedersen, unless otherwise noted Published by Stash Books, an imprint of C&T Publishing, Inc., P.O. Box 1456, Lafayette, CA 94549 dedicationTo everyone who has ever looked at a quilt top and wondered where to beginacknowledgments A heartfelt thanks to the team at C&T Publishing for believing in my dream of creating a quilting app that takes full advantage of the interactivity afforded by a digital platform along with a companion book. I am lucky to have the full support of their fantastically talented team, including Amy Marson; my editor, Liz Aneloski; Roxane Cerda; Gailen Runge; Kristy Zacharias; Helen Frost; Jenny Davis; Alice Mace Nakanishi; Mary Peyton Peppo; and April Mostek, among others. Ive so enjoyed working with them all. Also, a huge thanks goes out to BERNINA of America and the Professional Consumer Products Division team. Their fabulous machines, including the BERNINA 780 and their wonderful new longarm, the BERNINA Q 24, make my work not only possible but so very enjoyable! And last, but not least by far, thanks to my family, who put up with the chaos and unconventional hours of a home-based business in the quilting industry.
Love you lots!  As quilters, we love the sense of accomplishment that results from finishing a quilt top. Whether we are sewing for our own home or someone elses, quilts are truly personal creations that give satisfaction to both their creators and recipients. Yet, piecing is only half of what makes a truly successful quilt. Creating a quilting plan can be daunting and sometimes overwhelming even for the most accomplished quilters. We might not want to admit it, but sometimes we are too afraid even to venture out of our comfort zones, and we find ourselves stuffing our completed quilt tops into a closet because we dont know where to begin. This is a shame because quilting can be a lot of fun and equally, if not even more satisfying, than making the quilt top in the first place.
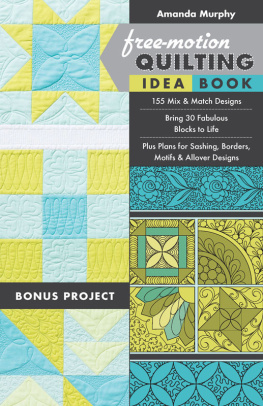
The key is to stop worrying, relax, and let our right brains take over. Sometimes this is easier said than done, but by breaking down the design into small chunks, quilting is much less intimidating. The texture that results adds extra dimension and depth to the design. You wont believe what you are able to accomplish with just a few simple patterns! This book contains 16 allover quilting patterns. These are broken down and then expanded upon to create 155 different block, sashing, border, and individual-motifs designs. But what makes the Free-Motion Quilting Idea Book truly unique is that each design is indexed, so you can peruse designs for a certain block and also easily find other designs in the same family to mix and match.
For a listing of designs by block, sashing, border, motif, and allover designs, see . For instance, if you like a design that features a looped shape, you can look up other designs that feature loops. By mixing and matching designs, or even elements of designs, the possibilities are endless. It is my hope that the Free-Motion Quilting Idea Book will be a catalyst for your creativity, taking you from initial concepts to the execution of a personal, cohesive design. The 155 designs in this book are suitable for both longarm and domestic machines. They are all based on simple overall patterns that you can master without the use of templates and with only minimal marking.
For tips on how to use this book, read on and dont forget to post your own projects to Instagram using the hashtag #FMQIdeaBook, so we can all celebrate your success! Happy quilting! Amanda
 Students in classes often ask me how I learned to quilt and I respond, I made a lot of bags. Why bags? Well, people are generally so delighted to receive them that they wont even notice the quality of the quilting. And the reality is that quilting takes practice. Having to rip out stitches can make the process miserable, so why not make something where quilting mistakes are less likely to be noticed? The summer I learned to quilt, I bought yardage in a variety of colorful fabrics and got started. I made ten bags that summer. I tried allover patterns like stippling, loops, and paisley shapes.
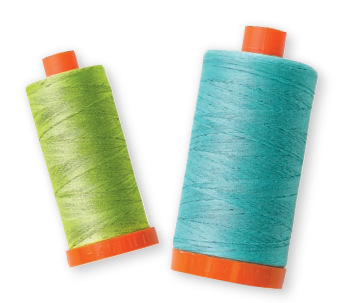
I also took some of the more interesting fabrics and tried to isolate the motifs (and learned that following lines exactly wasnt my strong suit in the process). Sure, the people who received the bags from the fabric quilted in August enjoyed better quilting than those quilted in June, but truth be told, I dont think anyone noticed other than me! Another approach is to practice on 10 squares of batting sandwiched between two squares of muslin, but keep in mind that any mistakes will show more on a solid, like a muslin, so if that is going to bother you, try using blenders or subtle prints instead. Remember, you are creating a texture, so try not to be overly concerned with individual lines of stitching! 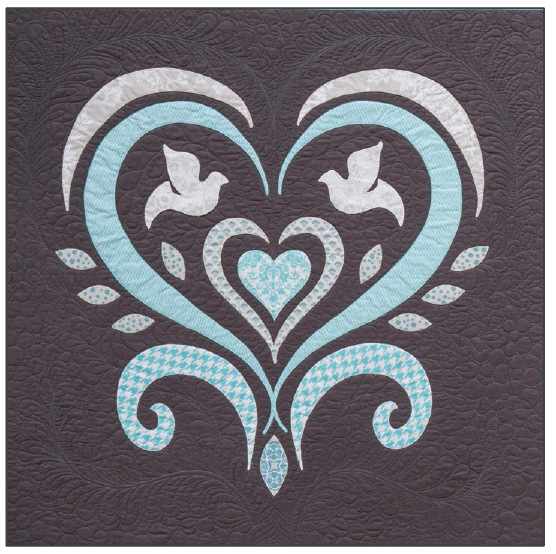 Toddler or baby quilts are also excellent candidates for practicing quilting skills, because they will be loved in rough-and-tumble ways. Small projects are also great because they are easy to move through the machine and, if you dont love how you quilt them the first time, you can make more! If you arent quilting an heirloom quilt top you will be much less likely to be nervous about making mistakes. Choose threads that blend in! Aurifil is my thread of choice and they have a wonderful array of colors to match any fabric.
  I have to confess, even now my mistakes have to be pretty egregious to warrant their removal.
  I have to confess, even now my mistakes have to be pretty egregious to warrant their removal.
This doesnt mean that I never take out my stitching, but those times are few and far between. Domestic Machines All these designs can be quilted on a domestic machine. In fact, I quilted for years on a BERNINA 580 and 780 before I got my BERNINA Q 24 longarm. Cut or piece the backing 4 larger than the top on all sides for a large quilt; on a small project like a table runner, an extra 2 on all sides should be plenty. When quilting on a domestic machine, I frequently skip pin basting in favor of basting with spray adhesive. 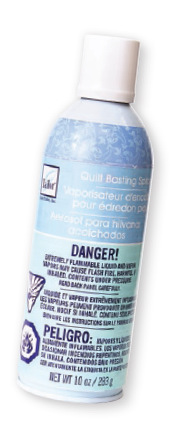 Spread out the quilt backing right side down on a smooth, clean outdoor surface, placing a piece of masking tape in the middle of each side.
Add pieces of masking tape every few inches on each side, working toward the corners, until the entire quilt backing is secure. The backing should be smooth, but not too tight. Center the batting over the backing. Peel back one side of the batting, apply spray adhesive to about a 10 section, and smooth it down. Continue in this manner until the entire side is secured. Do the same for the other side.
Next page

 As quilters, we love the sense of accomplishment that results from finishing a quilt top. Whether we are sewing for our own home or someone elses, quilts are truly personal creations that give satisfaction to both their creators and recipients. Yet, piecing is only half of what makes a truly successful quilt. Creating a quilting plan can be daunting and sometimes overwhelming even for the most accomplished quilters. We might not want to admit it, but sometimes we are too afraid even to venture out of our comfort zones, and we find ourselves stuffing our completed quilt tops into a closet because we dont know where to begin. This is a shame because quilting can be a lot of fun and equally, if not even more satisfying, than making the quilt top in the first place.
 Students in classes often ask me how I learned to quilt and I respond, I made a lot of bags. Why bags? Well, people are generally so delighted to receive them that they wont even notice the quality of the quilting. And the reality is that quilting takes practice. Having to rip out stitches can make the process miserable, so why not make something where quilting mistakes are less likely to be noticed? The summer I learned to quilt, I bought yardage in a variety of colorful fabrics and got started. I made ten bags that summer. I tried allover patterns like stippling, loops, and paisley shapes.
 Toddler or baby quilts are also excellent candidates for practicing quilting skills, because they will be loved in rough-and-tumble ways. Small projects are also great because they are easy to move through the machine and, if you dont love how you quilt them the first time, you can make more! If you arent quilting an heirloom quilt top you will be much less likely to be nervous about making mistakes. Choose threads that blend in! Aurifil is my thread of choice and they have a wonderful array of colors to match any fabric.
  I have to confess, even now my mistakes have to be pretty egregious to warrant their removal.
  Spread out the quilt backing right side down on a smooth, clean outdoor surface, placing a piece of masking tape in the middle of each side.