Copyright 2013 by Skyhorse Publishing, Inc.
All Rights Reserved. No part of this book may be reproduced in any manner without the express written consent of the publisher, except in the case of brief excerpts in critical reviews or articles. All inquiries should be addressed to Skyhorse Publishing, 307 West 36th Street, 11th Floor, New York, NY 10018.
Skyhorse Publishing books may be purchased in bulk at special discounts for sales promotion, corporate gifts, fund-raising, or educational purposes. Special editions can also be created to specifications. For details, contact the Special Sales Department, Skyhorse Publishing, 307 West 36th Street, 11th Floor, New York, NY 10018 or .
Skyhorse and Skyhorse Publishing are registered trademarks of Skyhorse Publishing, Inc., a Delaware corporation.
Visit our website at www.skyhorsepublishing.com.
10 9 8 7 6 5 4 3 2 1
Library of Congress Cataloging-in-Publication Data is available on file.
ISBN: 978-1-62087-466-0
Printed in the United States of America
CONTENTS


INTRODUCTION
I N one of the Popular Mechanics Handbooks (Arts-Crafts LampsHow to Make Them) the writer has described the method of constructing substantial and attractive Arts-and-Crafts lamps from such simple materials as colored paper and cardboard. In this book are presented a series of articles on home-made lamps in the construction of which metal and glass are utilized.
The subject of lamps appeals to the amateur craftsman for four reasons:the importance of a good and conveniently arranged light; the pleasing decorative effects that are possible; the variety and number of lamps that may be used to advantage in the home; and the small cost of equipment and necessary materials.
In the handbook referred to above are given designs for a wide diversity of lamps. In the chapters which follow the intent is to thoroughly acquaint the reader with the several methods of construction that come within the scope of the amateurs modest workbench, so that, having learned these and the subsequent possibilities, no difficulty will be found in executing in glass and metal, instead of paper and cardboard, the designs of my first book as well as those elaborated in these pages.
It is easy when you know how, is a saying that is as true as it is trite when applied to our subject; and the writer has never yet in his experience with the manual arts seen disappointment reward the amateurs efforts in this line of work. Of course, one must have that enthusiasm and interest that begets patience; for with haste there is nothing but failure. One must be willing to take a block of wood and trim it up squarely, smooth the end grain, bevel off the upper corners, all with mathematical accuracy, or the base of the lamp will not have the true finished effect. This means patience and the steel squarebut that is all.
Besides a little simple carpentry, the reader should be able to soft-solder, use a small breast drill, and properly set small rivets. The use of the lathe or other machine tool, forge or furnace, is not required. A good bench, a vise, a small assortment of drills, a hacksaw, a fretsaw, a hammer, a soldering-iron, are about all that are required.
There are four distinct methods of making lamp shades that are available for home construction:
1. Built-up Shades Those having their frames built up from strips and angles of brass and copper.
2. Soldered Shades Those in which each section or piece of glass is bound around its edges with thin metal, so that the whole may be soldered together.
3. Etched Shades Those in which the openings in the metal are eaten or etched out by acid.
4. Sawn Shades Those in which the metal design is sawn out with a small fretsaw.
Such is the general method of subdividing our subject, and no attempt will be made at any classification based on the type of lamp. Our object is primarily to set forth the different constructive methods available.
In regard to the construction of the bases and standards, the method to be presented is particularly adapted to home construction. Metal castings, stampings, spun metal and forgings are all avoided. Wood, used in connection with such simple pieces of brass and copper as may be easily shaped, forms the basis of construction. Let the wood be accurately and smoothly finished, stained with some reference to the general color scheme of the room in which it is to be used, polished so as to develop the graining, and finally trimmed with the necessary pieces of brass or copper; and we have a combination of materials of pleasing contrast and susceptible of very artistic treatment.
As there are so many beautiful kinds of glass to be had, no attempt will be made to refer to each variety by its trade name, so that the general expression art glass will be used throughout. Frosted, mottled, iridescent, watered, opalescent and butterfly effects may all be seen in any large fixture store. If your local dealer can not supply you, or direct you to the proper source, send a paper pattern to some dealer in manual training supplies.
N OTE: Throughout this book all measurements are stated in inches, and for that reason the conventional sign has been omitted .
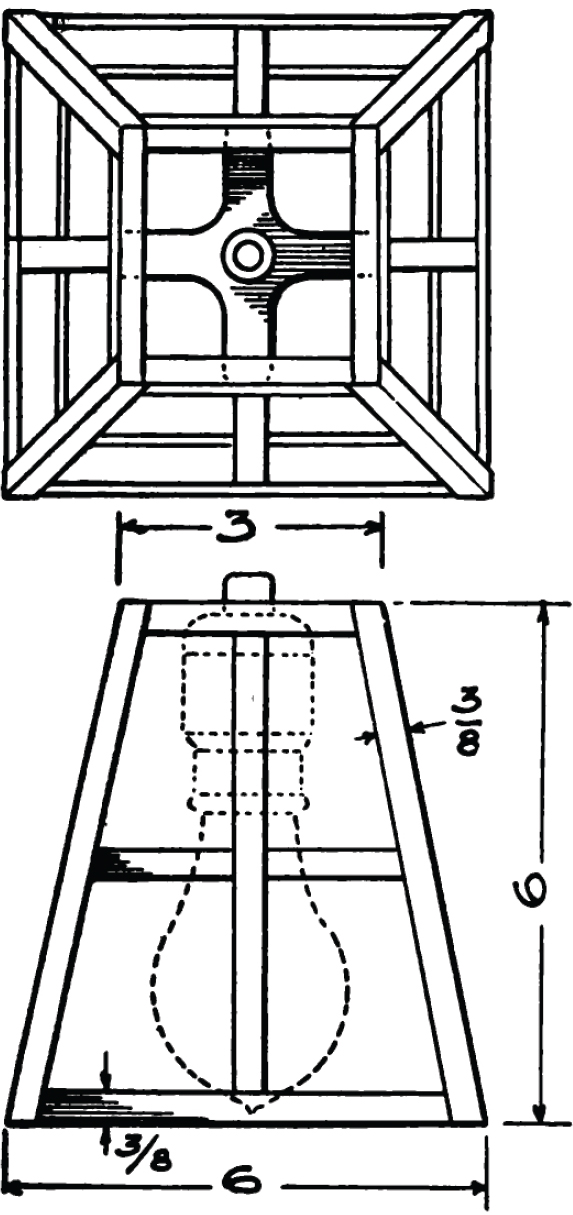
Detail of Droplight No. 1
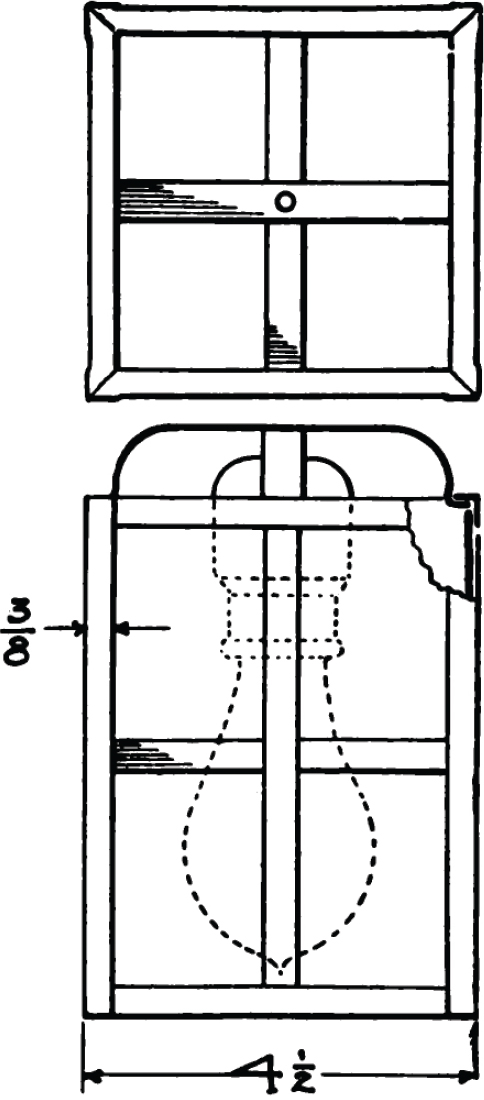
Detail of Droplight No. 2
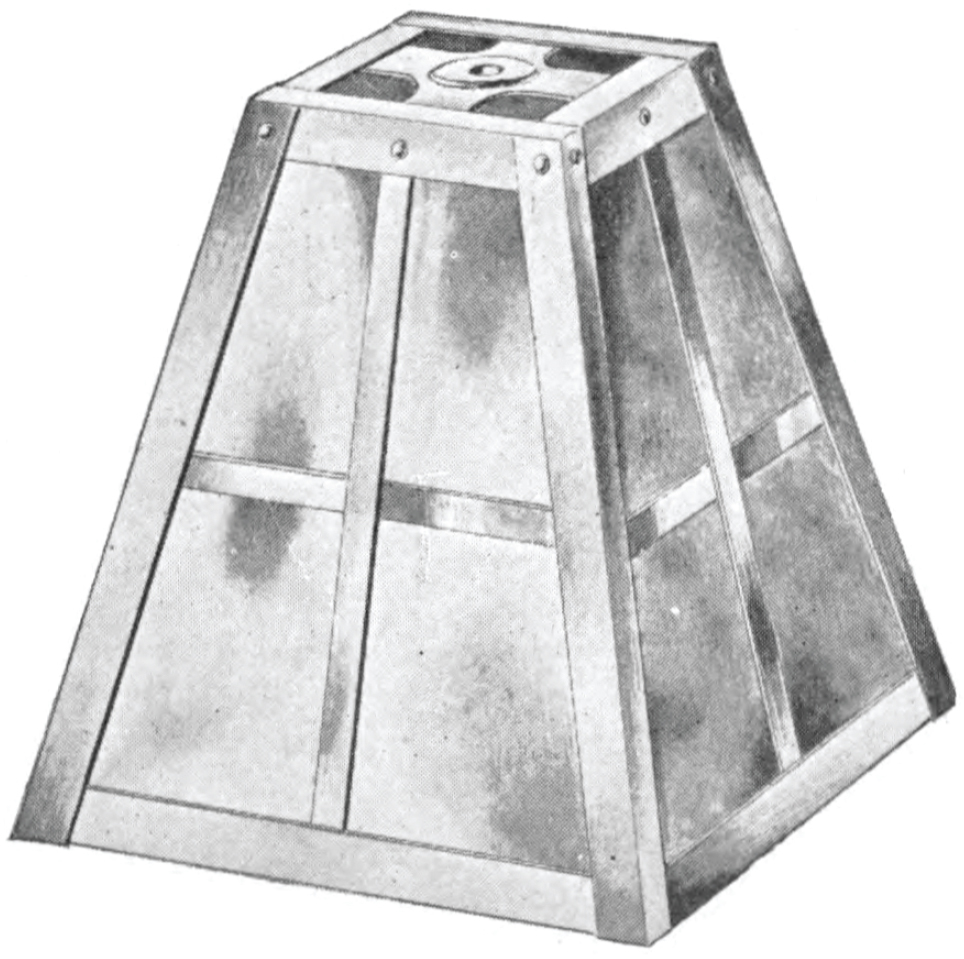
Droplight No. 1
(For detail working drawing see preceding page)
PART ONEBUILT-UP SHADES
CHAPTER I
DROPLIGHTS
T HE simplest form of built-up shade is that used for droplights and may be made with either parallel or slanting sides, as shown in the illustration. Let us consider the parallel form.
First procure a small supply of sheet brass not over one-fiftieth of an inch in thickness, and even less for the narrow crossbars. Mark out on this the strips that will be necessary to form the various anglestwelve in alland then accurately cut them. If a tinshop is in the vicinity, take the brass there and cut it on the foot trimmer, as there will then be no curling or twisting of the strips. Get clearly in the mind the relative positions of the one vertical and two horizontal members at each corner where they make a triple connection; and then trim off the strips to the exact lengths. Two or three dressed strips of hardwood should now be obtained, so that the strips may be properly held in the vise and without marring them. Draw a line accurately down the center of each strip to be bent, and then clamp them between the hardwood strips as shown in .
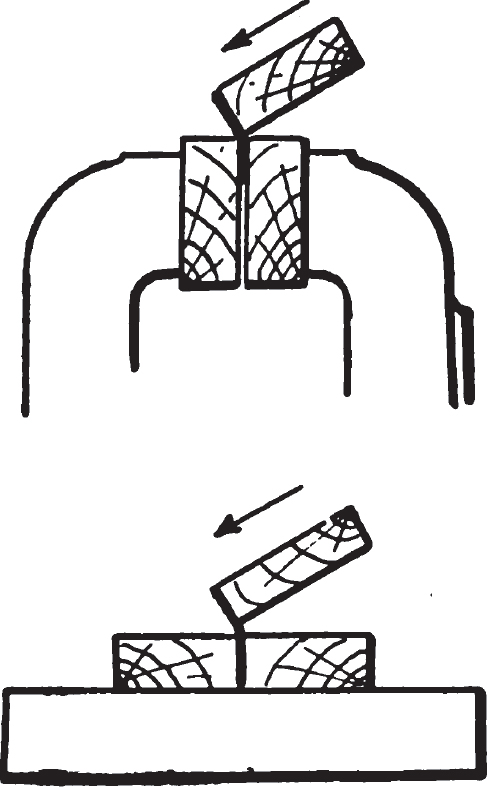
Fig. 1
Substitute for a Vise
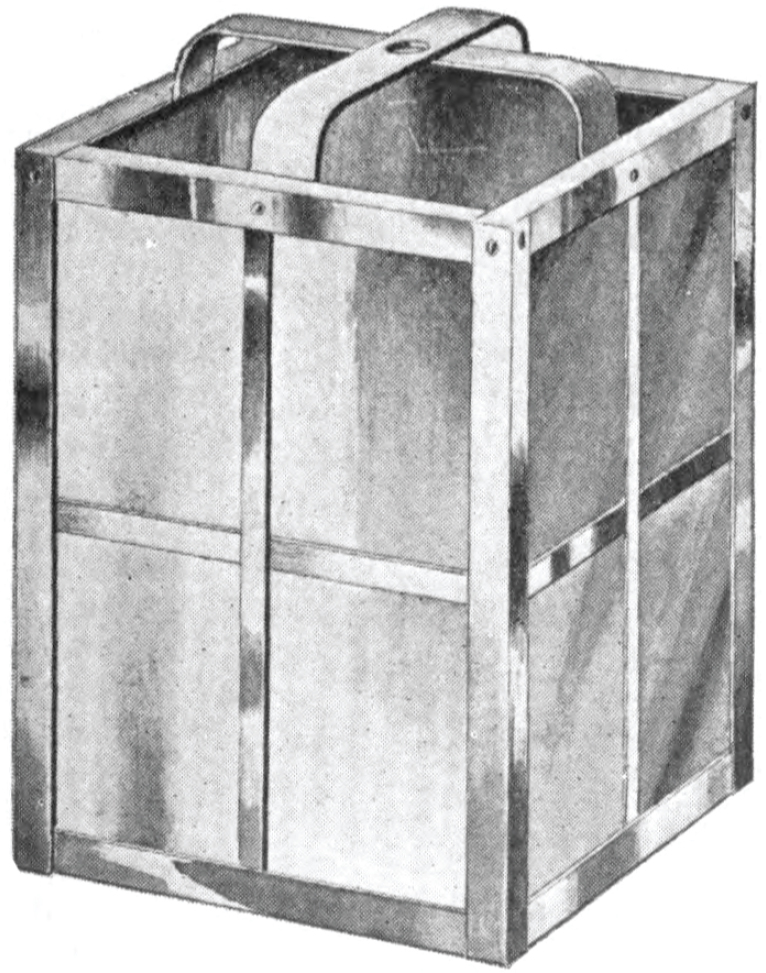
Droplight No. 2
In connecting up, the four angle strips of any one side are first joined, after which the vertical and horizontal crossbars are inserted. The four members of the side directly opposite are then to be connected in the same manner, after which the two complete sides so formed are connected by the four remaining angle stripsone at the top and bottom of each of the other two sides. It will usually be found advisable to use small rivets at the top connections, which hold the pieces together in a manner that permits their being adjusted squarely as the bottom pieces are placed and soldered.


