Gun Blomqvist - Tatting Patterns and Designs
Here you can read online Gun Blomqvist - Tatting Patterns and Designs full text of the book (entire story) in english for free. Download pdf and epub, get meaning, cover and reviews about this ebook. year: 2012, publisher: Dover Publications, genre: Children. Description of the work, (preface) as well as reviews are available. Best literature library LitArk.com created for fans of good reading and offers a wide selection of genres:
Romance novel
Science fiction
Adventure
Detective
Science
History
Home and family
Prose
Art
Politics
Computer
Non-fiction
Religion
Business
Children
Humor
Choose a favorite category and find really read worthwhile books. Enjoy immersion in the world of imagination, feel the emotions of the characters or learn something new for yourself, make an fascinating discovery.

- Book:Tatting Patterns and Designs
- Author:
- Publisher:Dover Publications
- Genre:
- Year:2012
- Rating:5 / 5
- Favourites:Add to favourites
- Your mark:
Tatting Patterns and Designs: summary, description and annotation
We offer to read an annotation, description, summary or preface (depends on what the author of the book "Tatting Patterns and Designs" wrote himself). If you haven't found the necessary information about the book — write in the comments, we will try to find it.
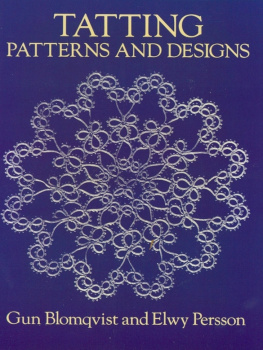
Here is a distinctive gallery of over 85 beautiful and useful tatted items mats, bookmarks, edgings, collars, crowns, medallions, and more all ideal for resting and developing the skills of both intermediate and advanced tatters.
Created and compiled by two well-known crafts and needlework experts, teachers, and editors, these delicate designs include the dainty Annette and charming Margareta lovely edgings that will add a touch of elegance to fine linens, handkerchiefs, and personal apparel and exquisite doilies such as Mignonette and Peony, perfect for use as centerpieces, vanity sets, and table settings.
Each project is clearly photographed and detailed instructions specify what thread to use, the size of the design and number of shuttles needed, tatting stitches involved, and proper sequence for each. Also included are a brief history of this great traditional craft and instructions on its principal techniques.
Gun Blomqvist: author's other books
Who wrote Tatting Patterns and Designs? Find out the surname, the name of the author of the book and a list of all author's works by series.

Tatting Patterns and Designs — read online for free the complete book (whole text) full work
Below is the text of the book, divided by pages. System saving the place of the last page read, allows you to conveniently read the book "Tatting Patterns and Designs" online for free, without having to search again every time where you left off. Put a bookmark, and you can go to the page where you finished reading at any time.
Font size:
Interval:
Bookmark:

Bridal crowns should be starched and put around a bottle of the same size to dry. When they are taken off they will keep their shape and firmness.
 in.) wide, and made of celluloid, bone, tortoise shell, or plastic. ( in.) wide, and made of celluloid, bone, tortoise shell, or plastic.
 It is made up of two tapering discs held together by a middle section called a bobbin. The tips of the discs should touch at both ends to keep the thread from getting loose unintentionally. There is a hole in the middle of the bobbin for threading the yarn. The yarn is pushed through the hole, wound round the bobbin of the shuttle until it reaches the outer edge. Make sure the shuttle is not too full, or the yarn will tend to get dirty and be harder to work with. It is a good idea to have more than one shuttle on hand so that you can try out several patterns at the same time.
In more advanced work requiring two shuttles, it is helpful if the shuttles are different in colour as the two seperate yarns can then be easily distinguished. You will get the best results if you use an even, fine yarn, one with neither too loose nor too tight a twist. This kind of yarn is easy to work with. D.M.C. Cordonnet Special is very good and is available in many different thicknesses and colours. The gauge numbers given in the instructions can, of course, be varied for coarser or finer yarns, as required.
When considering what thickness the yarn should be, take into account the size of the finished article and the intricacy of the motif. As a general rule thicker yarns will suit bigger motifs, smaller yarns more delicate patterns. We have tried out various other materials, such as window blind cord, fishing net twine, and rug warp, in an effort to produce a coarse, rustic effect, but these have proved uncomfortable to handle and difficult to work with. After all, the most delightful quality of tatting is its delicacy!
For this reason it is important to learn how to handle the shuttle evenly, without any jerking movements.
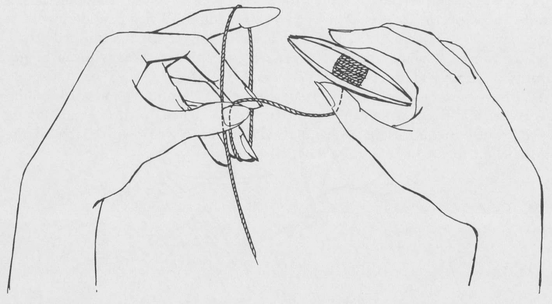
The starting positionhold the shuttle in the right hand with the thread passed round the left.
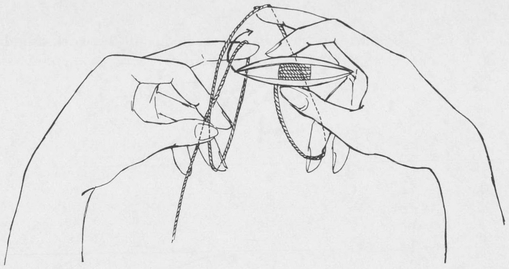
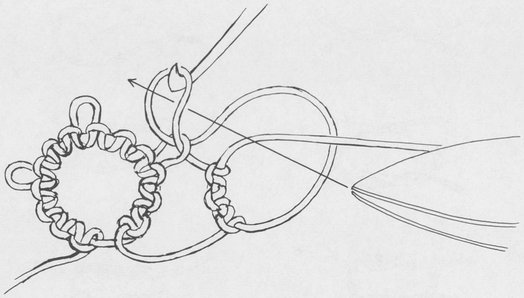
Tighten the stitch by again extending the fingers of the left hand. Hold it with the thumb and forefinger of the left hand. Note that the shuttle thread must always be kept tight.
The index finger of the right hand pulls the thread down, and the shuttle is passed through the loop from the back to the front in the direction of the arrow. Tighten as before. It is also possible to let the shuttle thread hang and to work as in the sketch.

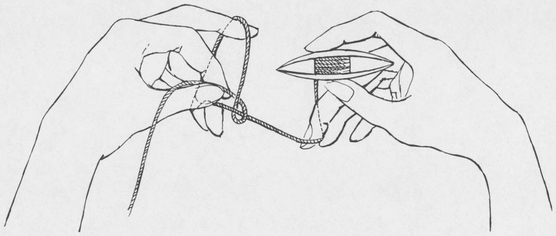
These are obtained by leaving a loop of the thread between two stitches. The picot forms through the closing of the double stitches naturally it is necessary to ensure that all the picots are of the same length.
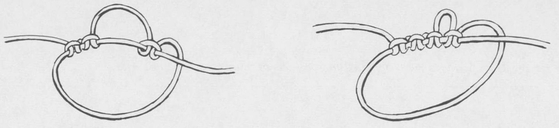
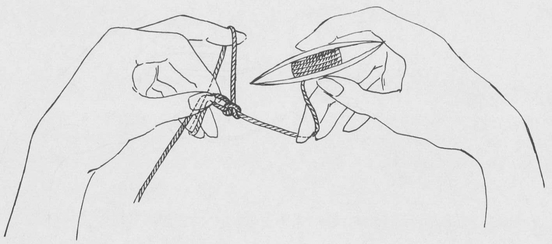
The join can be made either between two rings or onto the thread which is round the hand. The join should be positioned so that it is hidden by the stitches.
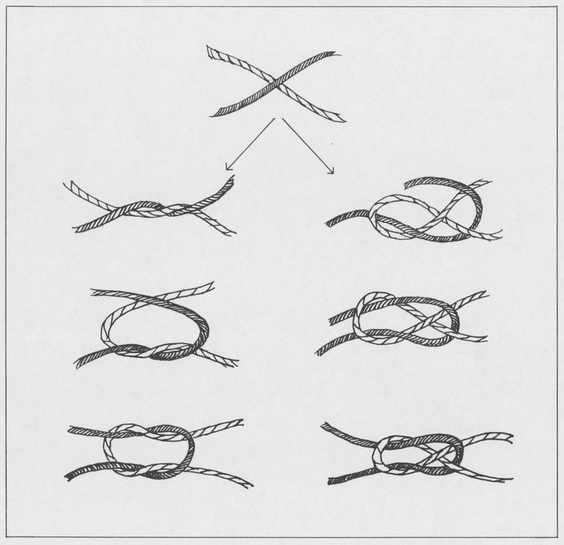
A sketch showing the two methods of making a weavers knot.
Josephine knot a section of the pattern consisting of half stitches. The beginning and end do not quite join. Half stitch the first half of a double stitch. Picot a loop between double stitches. A middle ring consisting, for instance, of 2 12, will theoretically contain only eleven picots, but actually it must have twelve.
Font size:
Interval:
Bookmark:
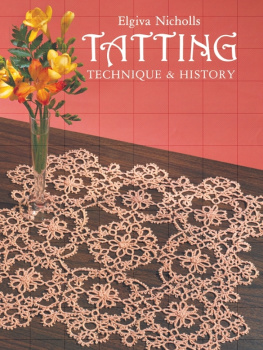
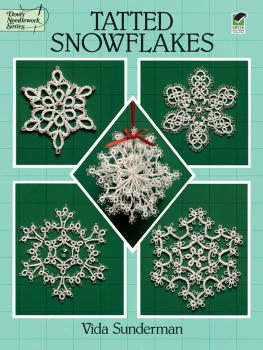
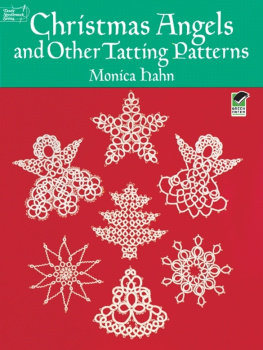
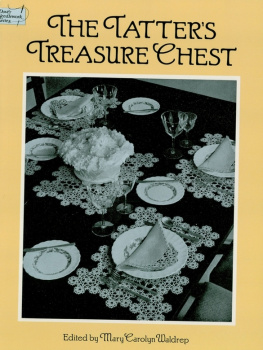
Similar books «Tatting Patterns and Designs»
Look at similar books to Tatting Patterns and Designs. We have selected literature similar in name and meaning in the hope of providing readers with more options to find new, interesting, not yet read works.
Discussion, reviews of the book Tatting Patterns and Designs and just readers' own opinions. Leave your comments, write what you think about the work, its meaning or the main characters. Specify what exactly you liked and what you didn't like, and why you think so.