Contents
List of Illustrations
List of Tables
Pages
Guide
Part I
Integrated Development Environment
Chapter 1
A Quick Tour
WHATS IN THIS CHAPTER?
- Installing and getting started with Visual Studio 2013
- Creating and running your first application
- Debugging and deploying an application
Ever since software has been developed, there has been a need for tools to help write, compile, debug, and deploy applications. Microsoft Visual Studio 2013 is the next iteration in the continual evolution of a best-of-breed integrated development environment (IDE).
This chapter introduces the Visual Studio 2013 user experience and shows you how to work with the various menus, toolbars, and windows. It serves as a quick tour of the IDE, and as such it doesnt go into detail about what settings can be changed or how to go about customizing the layout because these topics are explored in the following chapters.
GETTING STARTED
With each iteration of the Visual Studio product, the installation process has been incrementally improved, meaning that you can get up and running with Visual Studio 2013 with minimal fuss. This section walks you through the installation process and getting started with the IDE.
Installing Visual Studio 2013
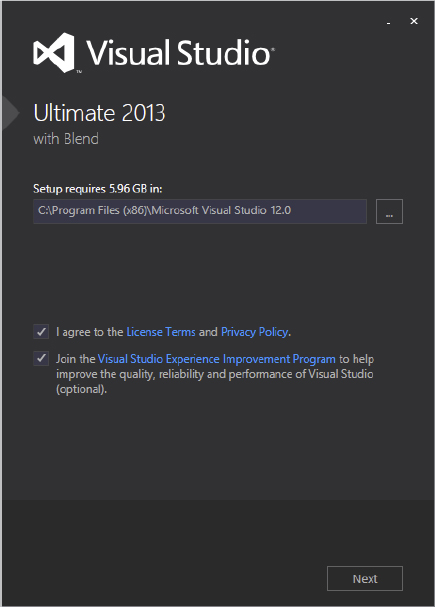
When you launch Visual Studio 2013 setup, youll see the dialog in , which enables you to specify the location for the installation. After you have read the licensing information (in great detail, of course), you can click the check box to accept the terms and move to the next screen in the installation sequence. Youll also notice an option to join the Visual Studio Experience Improvement Program. If you do so, anonymous information about how you use the product will be sent to Microsoft occasionally. And just so you have a sense of how that information is used, realize that many of the user interface changes that youre about to see were determined based on this feedback. So get involved, because your use (or lack of use) of Visual Studio helps make future versions better.
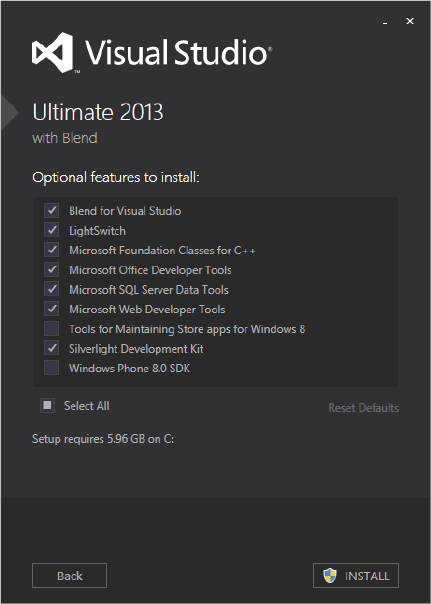
Visual Studio 2013 naturally has a number of mandatory features. Because these features are built in, the installation process doesnt bother mentioning them. However, you can select from a number of optional features, as shown in . Choose the features you believe you need (keeping in mind that you can always add or remove them later) and click Install to begin the process.
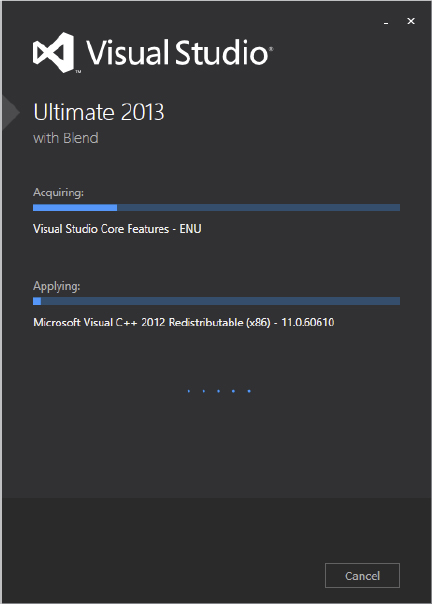
At this point, youll see the progress dialog, as shown in . Depending on which components you already have installed on your computer, you may be prompted to restart your computer midway through or at the end of the installation process. When all the components have been successfully installed, a Setup Summary dialog indicates that there were no problems with the installation process.
Running Visual Studio 2013
When you launch Visual Studio, the Microsoft Visual Studio 2013 splash screen appears. Like a lot of splash screens, it provides information about the version of the product, as shown in .
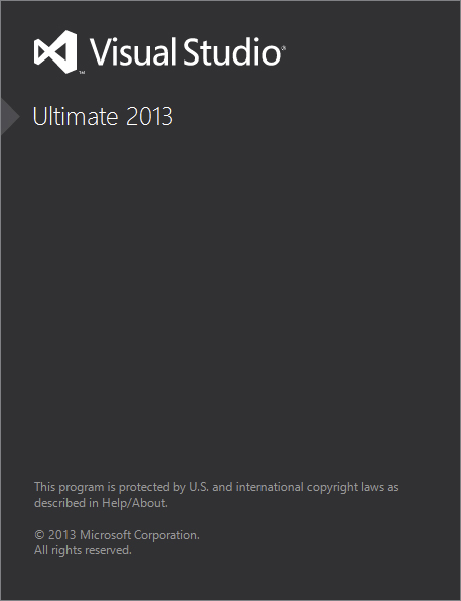
NOTEAn interesting fact about the splash screen is that although a large portion of Visual Studio uses Windows Presentation Foundation (WPF) to display its content, the splash screen in Visual Studio 2013 is done in native code so that it displays as soon as possible after you start Visual Studio.
The first time you run Visual Studio 2013, youll be given the opportunity to sign in, as shown in .
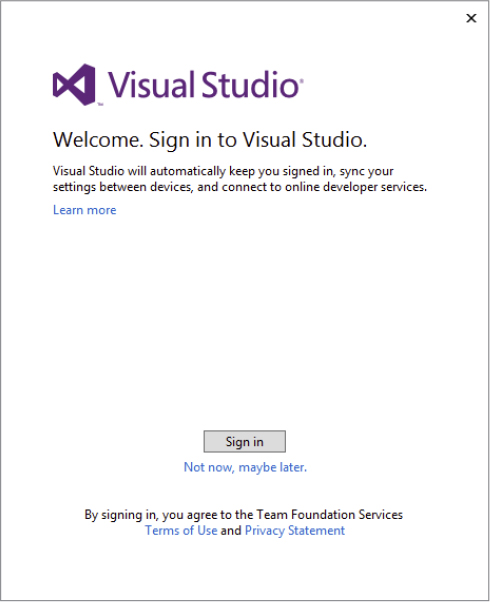
This behavior is different from every previous version of Visual Studio, and it moves the tool to be more in line with other productivity applications, such as Microsoft Word and Excel. There is no requirement for you to log in. If you look below the Sign In button in , there is a Not Now, Maybe Later link. Clicking on that link skips a number of steps (you still need to select the default environment settings) and lets you get to Visual Studio quickly.
Is Visual Studio Really Cloud Enabled?
The quick answer is Yes. A more accurate answer is Yes, if you want it to be. Part of the research work behind creating this feature involved Microsoft gaining an understanding of how developers identified themselves to various online functions. In general, most developers have two or more Microsoft accounts that they use when they develop. There is a primary identity, which typically maps to the credentials used by the person while working. Then there are additional identities used to access external functions, such as Team Foundation Server, or to publish apps onto the various Microsoft stores.
To mimic how developers work with these multiple online identities, Microsoft introduces a hierarchical relationship between these identities within Visual Studio. When you sign in, the account you specify is the primary identity for the Visual Studio IDE. It should, in theory, represent you (that is you, the person). Every place you sign into Visual Studio with the same credentials, your preferred settings will follow you. This includes customizations like themes and keyboard bindings. And a change on one device will automatically flow to the other devices you are signed into.
To handle the secondary credentials, Visual Studio 2013 contains a secure credential store. This allows the connections that you have made to external services to be remembered and used without the need to provide authentication each time. Naturally, you can manually sign out from a particular connection and the credentials will be removed.
To allow your settings to roam from machine to machine, you need to sign in, a process which is initiated when you click the Sign In button shown in . After a few moments, you are prompted to enter your Microsoft account credentials.
After you have signed in, you will be welcomed with the warmth that only a splash screen can provide, as illustrated in .
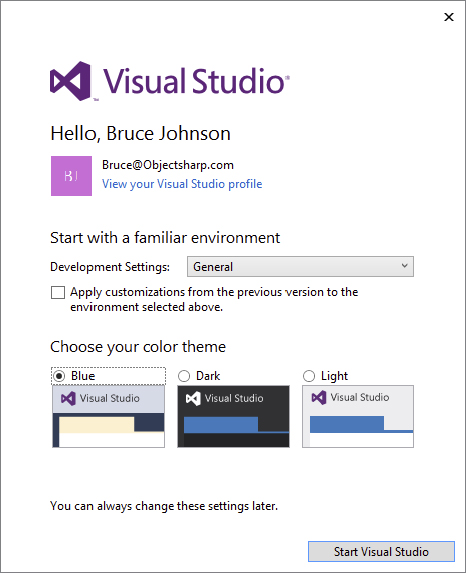
On this screen, you have the option to choose the default theme for the IDE. In addition, you can select from a number of pre-created sets of environment settings. The environment settings set up function keys and hot-key sequences as shortcuts to commonly used Visual Studio commands.
Take a moment to review the various options in this list, as shown in . The differences between them as reflected in the IDE vary. Youll find that the environment settings affect the position and visibility of various windows, menus, toolbars, and even keyboard shortcuts. Regardless of which option you select, you can easily modify the settings through the IDE.
Next page


