SEWING PATTERNS FOR REAL LIFE
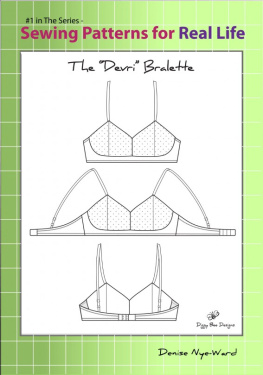
#1 in the Series - The Devri BralettePattern
Copyright 2016 Denise Nye-Ward
Published by Denise Nye-Ward at Smashwords
Smashwords Edition License Notes
This ebook is licensed for your personal enjoymentonly. This ebook may not be re-sold or given away to other people.If you would like to share this book with another person, pleasepurchase an additional copy for each recipient. If youre readingthis book and did not purchase it, or it was not purchased for yourenjoyment only, then please return to Smashwords.com or yourfavorite retailer and purchase your own copy.
Thank you for respecting the hard work of thisauthor.
TABLE OFCONTENTS
Introduction
PatternDescription, Sizing, and Materials
Devri BralettePrintable Sewing Pattern
SewingInstructions - Written
SewingInstructions - Pictured
ABOUT theAuthor
CONTACT theAuthor
OTHER BOOKS by DeniseNye-Ward
Introducing #1 in the "Sewing Patterns forReal Life" Series
We all have tried to get through a day (or severalhours) while wearing a garment that pokes, digs, scratches, ridesupit goes on and on.
It is just plain uncomfortable, if not impossible towear. At Diggy Bee Design, we feel that life is too short not to becomfortable in your clothes.
This sewing pattern line is designed to be simple.Simple to size, sew and wear and care for. It was only fitting thatthe first pattern be a bralette, unstructured with simple lines andultimate comfort.
It is my sincere hope that you enjoy making it asmuch as I did designing it.
Denise
SEWING PATTERNS for "REALLIFE"
The "DevriBralette"
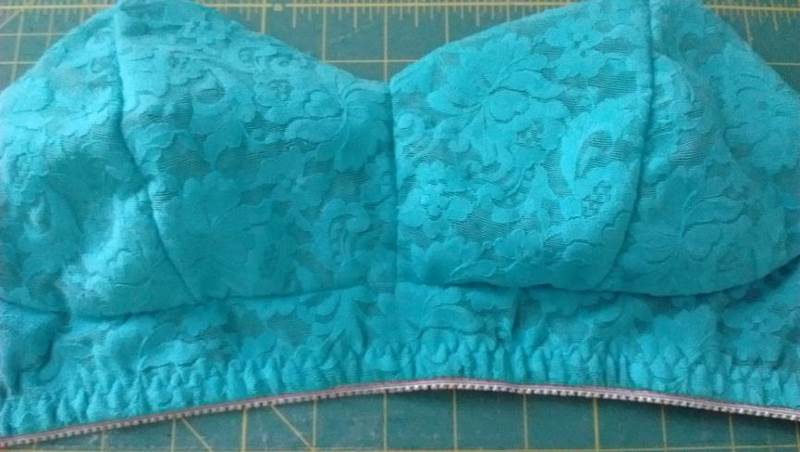
The Devri is a soft cup, non-underwiredbralette with more of a soft, natural shape than a structured,wired bra. The bralette is designed to be lined or unlined,(depending on the fabric selection) and comes with two styles ofbands.
The pattern was designed in small throughx-large sizing options based on the following measurements.
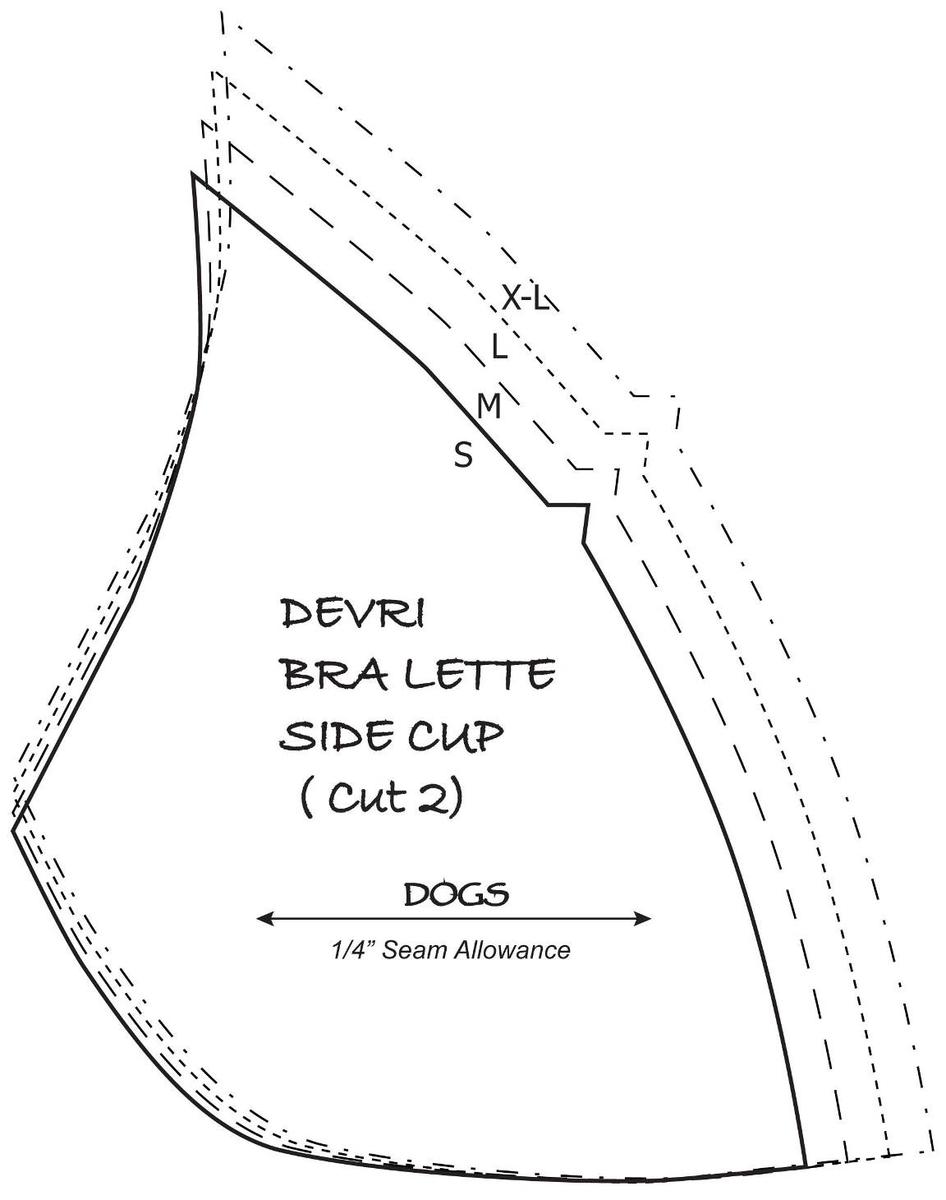
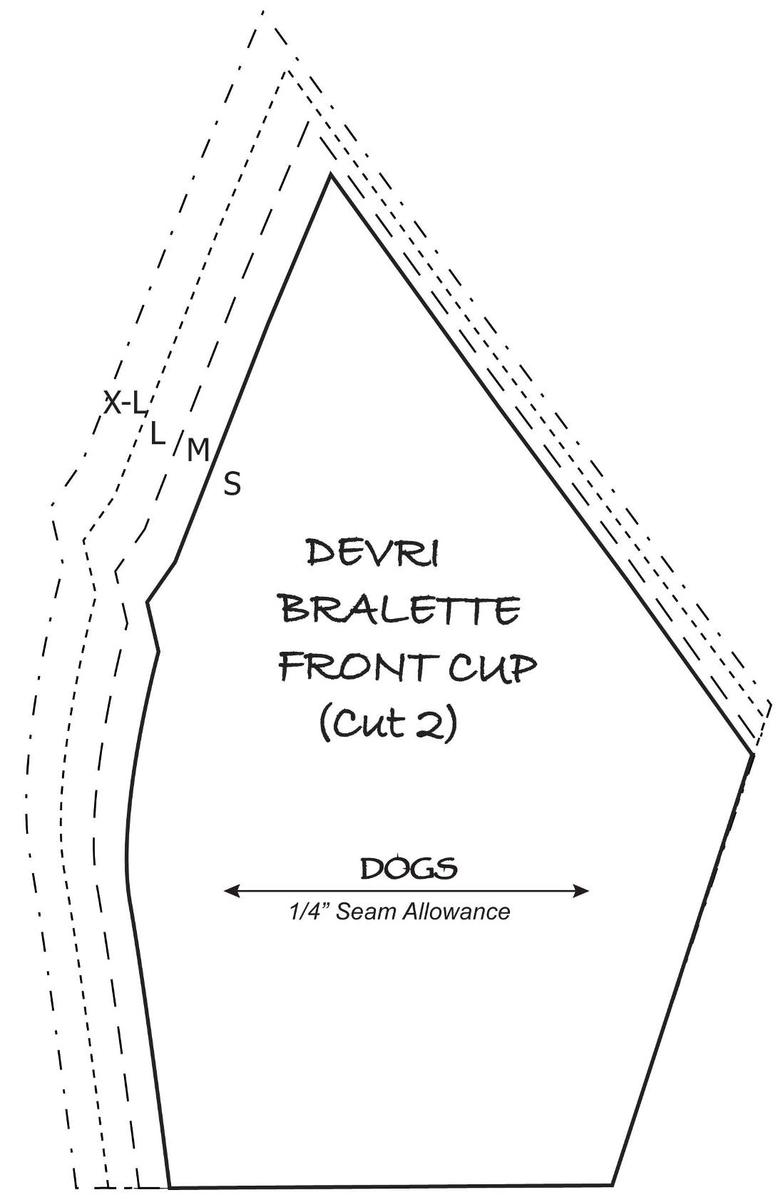
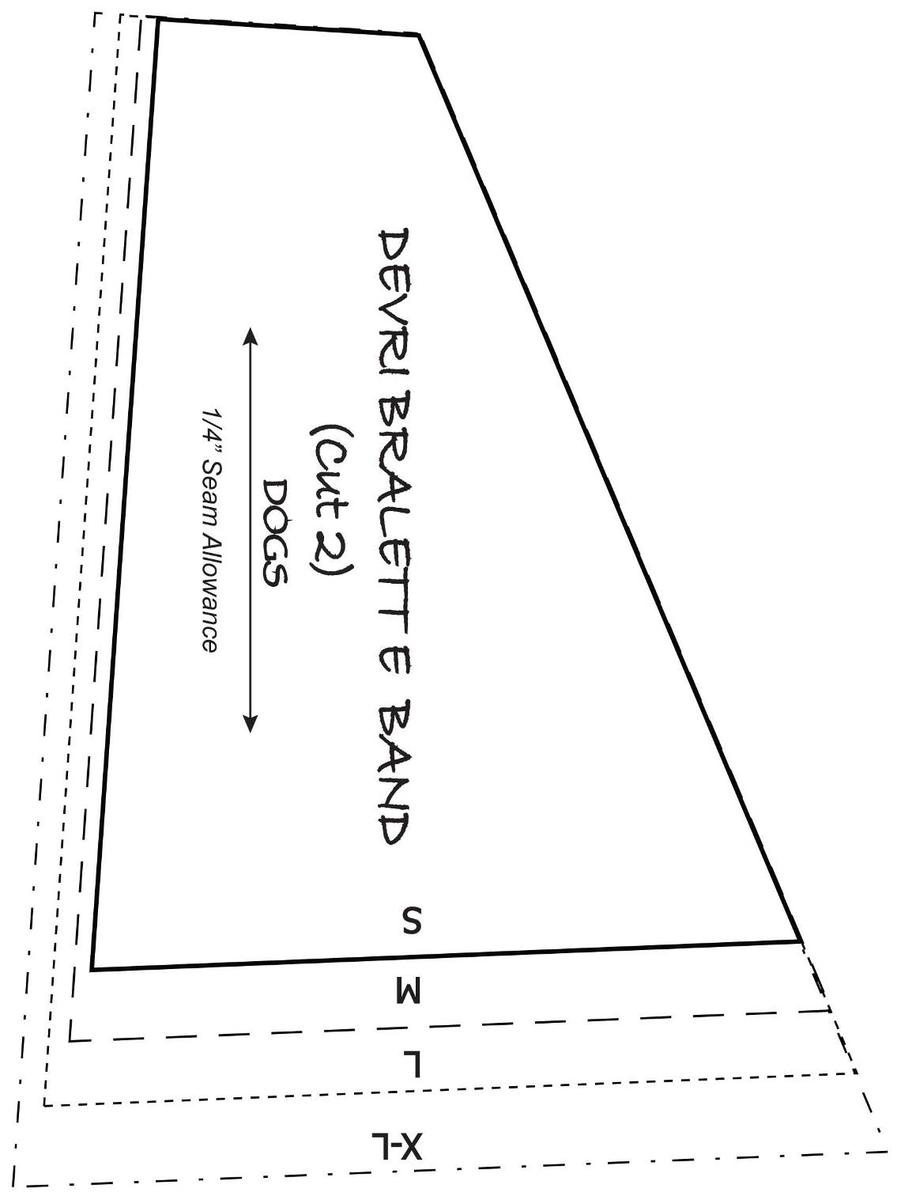
All pattern pieces have a 1/4 seamallowance included into the pattern. The instructions were createdfor a sewer with basic bra sewing knowledge.
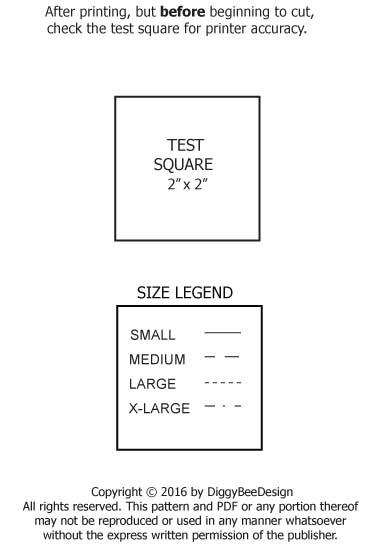
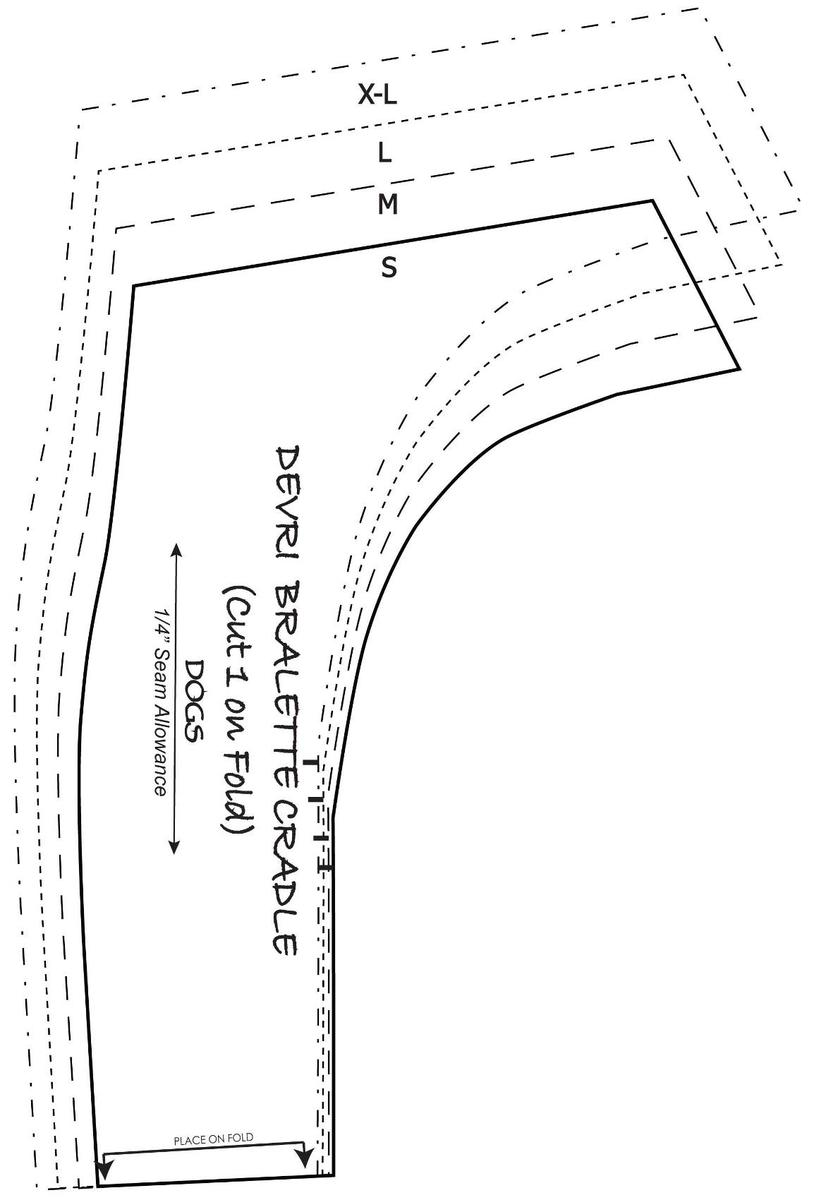
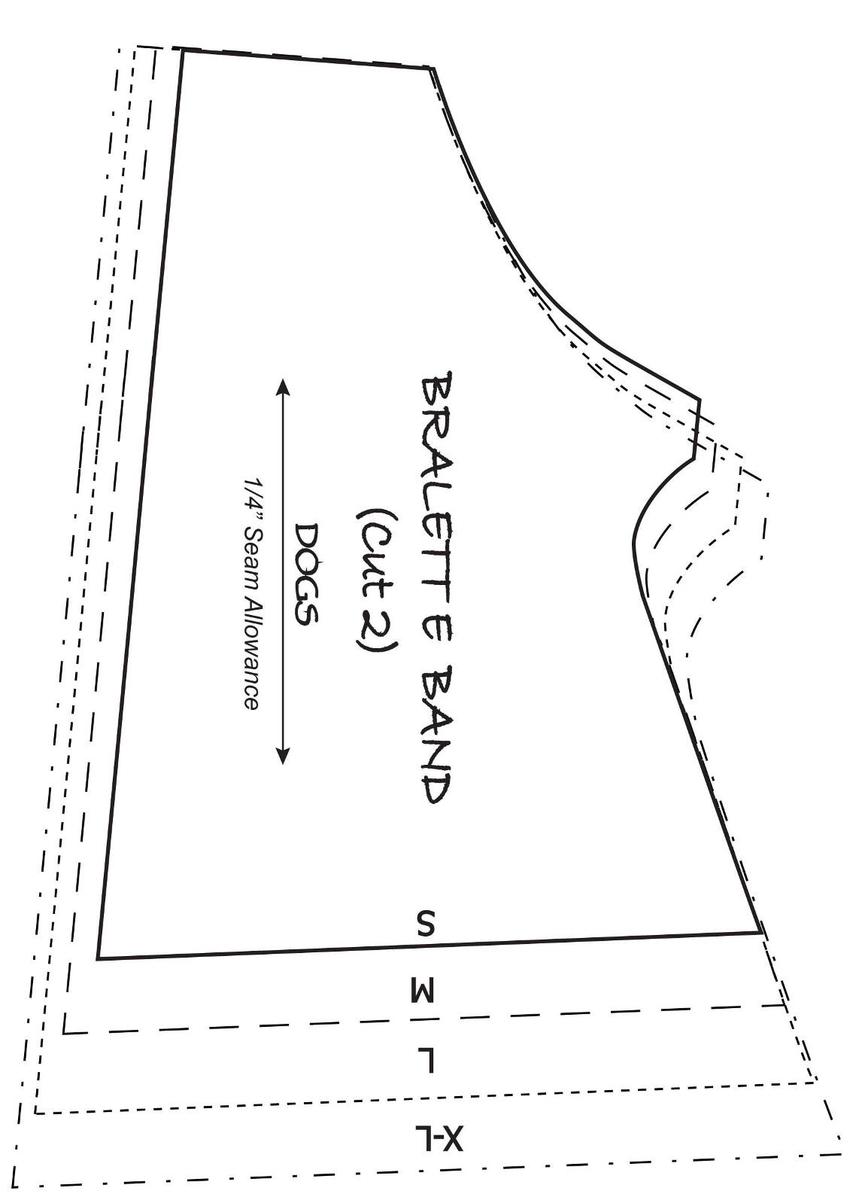
It is suggested that you download the PDF version ofthis e-book pattern in order to scale and print it properly. Checkyour printed version with the test square sizing for accuracybefore cutting the pattern out. Adjust print sizing as necessary,if needed.

MATERIALS:
BRALETTE - 1/2 yard stretch fabric, bandelastic, neckline and strap elastic, thread, hook and eye closure,bra rings and sliders. (details on each below)
4-way stretch lycra knit, stretch mesh, orstretch lace with 75% stretch.
4-way spandex, lingerie lycra, milliskin(matte or shiny/satin), tricot lycra, satin lycra , knit with 15%spandex
stretch mesh, powernet
powernet, stretch mesh or tricot (forstability)
powernet, stretch mesh or fabric used incups, reducing stretch by doubling or shortening the band piece tocompensate.
1/2 or 5/8 plush back lingerie elastic forband bottom (80% of band length)
3/8plush-back lingerie elastic or fold overelastic for band top, neckline and strap elastic (stretch slightlyto conform to pattern)
100% polyester threadlike Metrosene Plus 100% polyester or Gutermann Sew-all Thread 100%polyester
Bra slider and rings
Hook and Eye back closure
SUGGESTED STITCH - seams can be sewn with asmall zig-zag stitch (3W x 2L) or serged. Elastic should be sewnand top stitched with a small zig-zag stitch.
SEWINGINSTRUCTIONS:
STEP 1 - Print the pattern and cut out thecorrect size.
***Before cutting, be sure to check the testblock for printer accuracy***
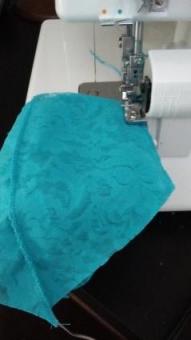
STEP 2 - Layout and cut the pattern pieces,being careful to place the DOGS lines (Direction of GreatestStretch) on the fabric stretch.
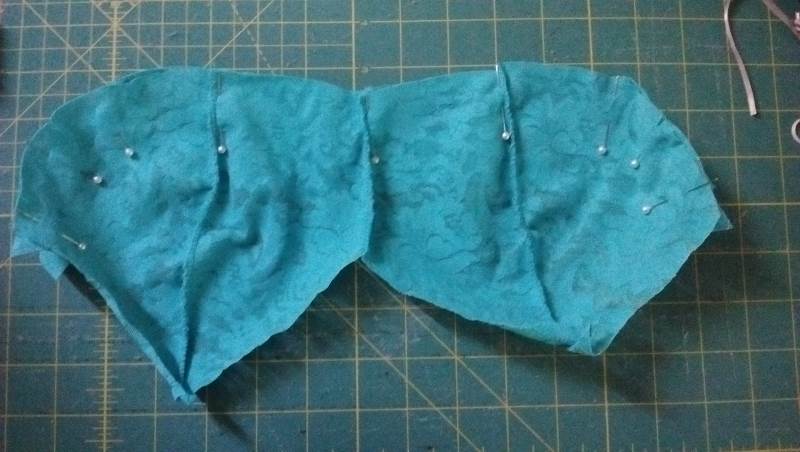
STEP 3 - Sew side cup to front cup matchingnotches. Do this for both cups.
STEP 4 - Sew cups together at centerfront.
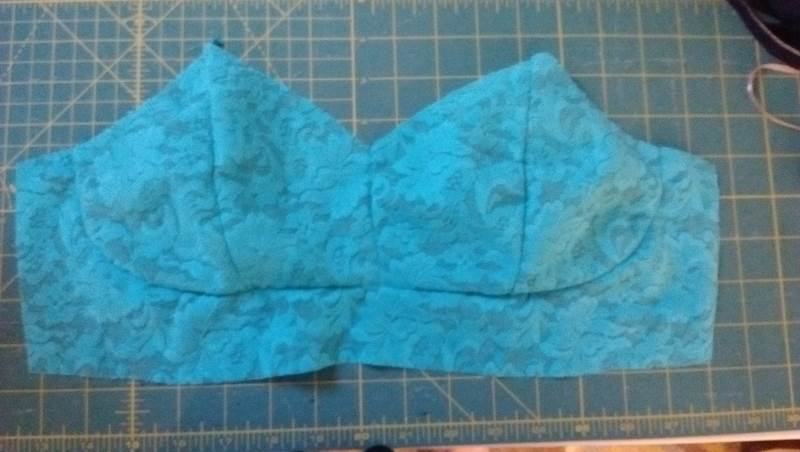
STEP 5 - Sew cups into cradle, matchingcenter seam to mid-point of cradle, and bra seam to line above theR on the cradle pattern.
STEP 6 - Attach band to each side of thecradle.
STEP 7 - Cut and attach elastic to thebottom. This is a two-step process. First, sew right sides togetherclose to the picot edge with a small zig-zag stitich. Next turnelastic to inside and top stitch edge using a zig-zag stitch.
STEP 8 - Attach elastic to band top andneckline. I have used fold-over elastic in this example but picotelastic is equally appropriate.
STEP 9 - Attach a ring to the back band andsew close to ends. (This procedure is shown in the example picture,but the adjustable strap feature could be placed in the front ofthe bra instead.)
STEP 10 - Assemble straps by sewing a braslider onto one end and sewing close to end of strap. Slide thestrap over the ring and back into the slider to create theadjustable strap feature.
STEP 11 - Attach other end of strap to frontof bra, sewing close to end.
STEP 12 - Sew hook and eye attachments ontoback of band.
STEP 13 - Top stitch along bra cups,pressing seam toward the cups, and attach embellishments to frontcenter, if desired.
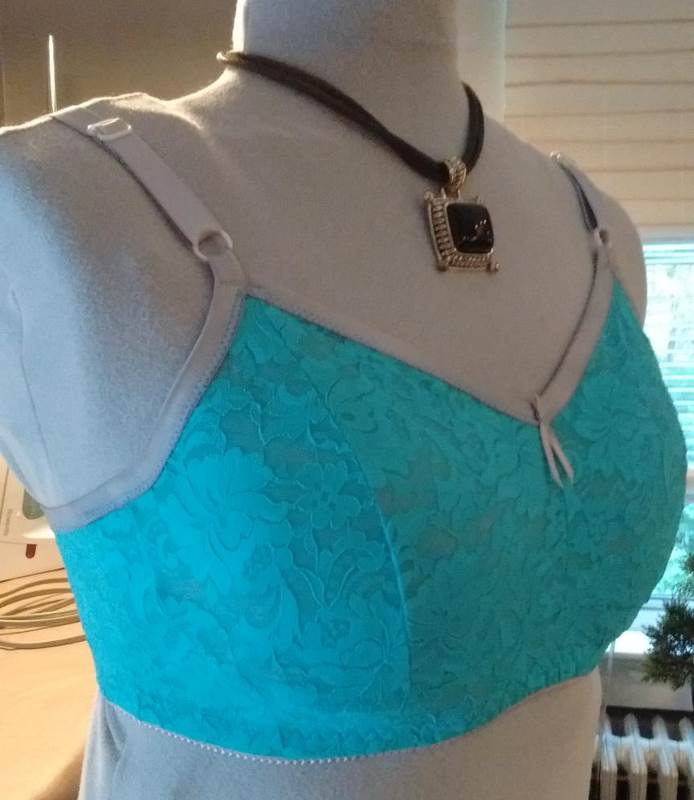
STEP 14 - The completed Devribralette.
Step-by-Step Picture Instructions
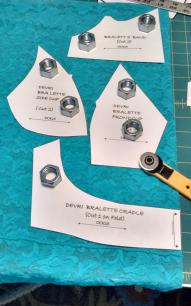
STEP 1
STEP 2
STEP 3
STEP 4
