3D Drawing Secrets For Beginner is the creative process and make it fun and easy for people to learn to draw 3D object. Teaching is truly rewarding! I love being a guide that helps people discover their hidden potential.
3-D drawing secrets can be viewed as a three-phase process of: Lighting, perspective and think outside the page.
SECRETS 1 :Lighting
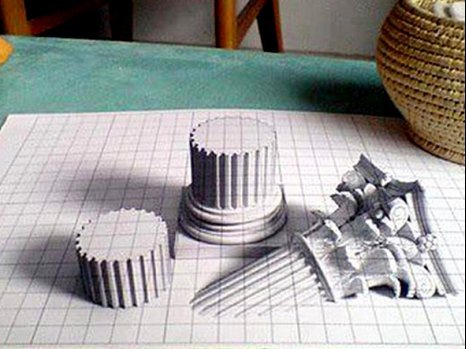
To make something look three dimensional, you need the light to do the work for you rather than your pencil.
Light shows you where to draw shading so you can transform a circle into a sphere.

The points where the light falls on the object youre sketching should be the lightest, and the object should get progressively darker the further from the light source you go.
Shading is also dependent on the lighting used. Usually, upon rendering a scene a number of different lighting techniques will be used to make the rendering look more realistic. Different types of light sources are used to give different effects.
This will heighten the impression that the object in the drawing is actually in the room. Also, dont forget to consider how texture stone, brick, leaves, etc. is influenced by lighting.
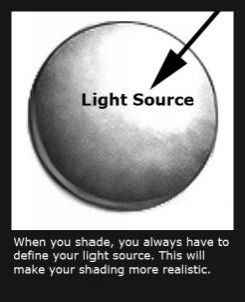
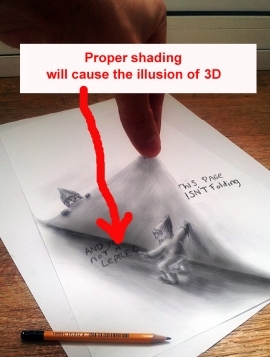
If your goal is to make the drawing look 3D, then shading is going to go the furthest to make that happen.
Real life objects are seen in three dimensions - objects have height and width and depth, and what most makes the object look 3-D is the third dimension - depth.
But if what makes drawing look 3-D is the depth, how are you going to create depth when you can't draw in the third dimension. The answer is SHADING!
Look at these two cubes.
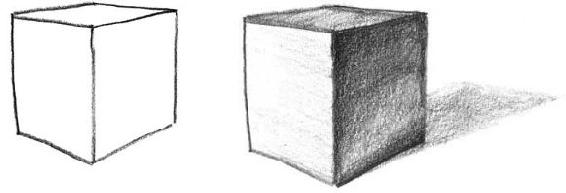
The one on the left looks like a cube all right, but it's very flat, and not very realistic looking. If, for example, you looked at a six sided die, you wouldn't see the image on the left - thick lines outlining the shape of the die, and the light appears exactly the same from all angles of the die. It's more likely that you'd see the image on the right.
This is the same drawing as the one on the left, but the one on the right has shading added to it. And the result is the image on the right looks more realistic, this is the way your eye might actually see a die (without the black dots).
The difference between the two images is one has shading, the other doesn't.
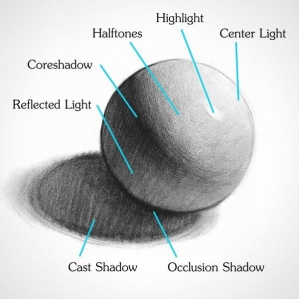
A cast shadow is a dark section on a surface, close to an object, that receives little or no light.
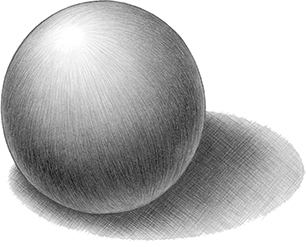
The values of the cast shadow are darkest right next to the spheres lower edge and become gradually lighter farther away from the sphere.
How you draw a cast shadow can create the illusion that objects are either touching or separated from adjacent surfaces (or other objects).
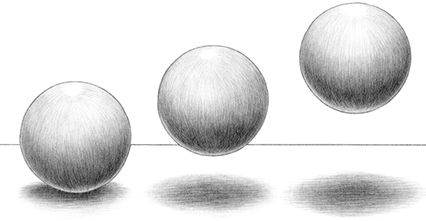
These shadows create the illusion that the spheres are floating rather than sitting on a surface.
A Bit More About Shading Elements That Create 3D Shapes
Before we do though, I would just like to introduce you to Highlights, Shadows and Mid-tones.
These are essentially your building blocks for creating depth and texture within a pencil drawing.
Highlight; This part of the subject will be the part which is directly facing the light source.
Shadow; This part of the subject will be the part which is facing away from the light source.
Mid-tone ; This part of the subject will be the part which is neither directly facing the light source, or the part facing away from the light source. It is the bit in the middle.
With our shading guide, this is how the highlight, shadow and mid-tone would look.

Now that you can determine light and shadows, your drawings will be even more realistic 3D.
SECRETS 2 :Perspective
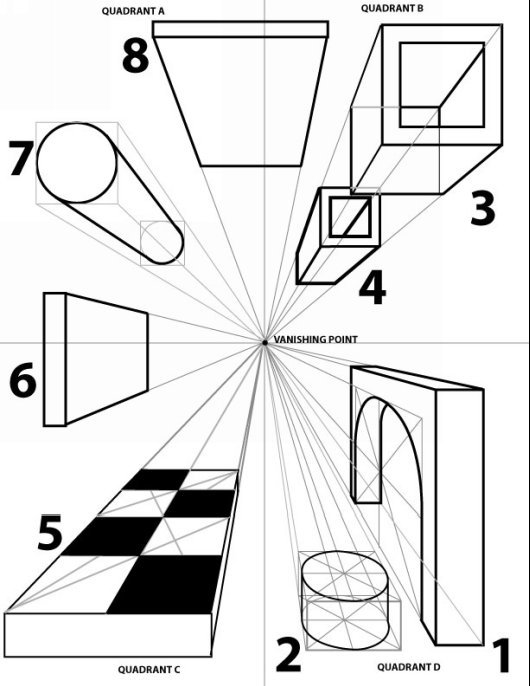
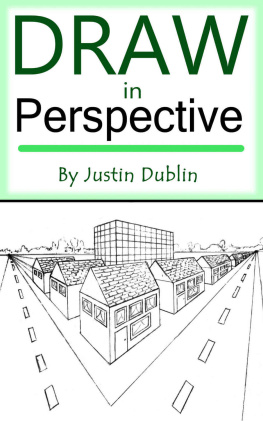
Perspective isnt too difficult when you remember this simple rule:
Objects that are closer appear larger, and objects that are further away appear smaller .


An understanding of perspective drawing is important no matter what subject you choose
