I am Marco Schwartz, and I am an electrical engineer, entrepreneur and author. I have a Masters degree in Electrical Engineering & Computer Science from one of the top Electrical Engineering school in France, and a Masters degree in Micro Engineering from the EPFL university in Switzerland.
I have more than 5 years of experience working in the domain of electrical engineering. My interests gravitate around electronics, home automation, the Arduino platform, open-source hardware projects, and 3D printing.
Since 2011 I have been working full-time as an entrepreneur, running websites with information about open-source hardware and building my own open-source hardware products.
This book has an accompanying website, Open Home Automation, which you can easily find by going at http://www.openhomeautomation.net. On this website you will find even more projects and resources around home automation and open-source hardware.
Also, if at any moment you are encountering an issue while reading this book, like some code that wont compile or a project that doesnt work, please contact me directly on the following email:
Also, if you bought this book on the Amazon Kindle platform, it would be amazing if you could leave a review there. It helps me a lot to get feedback about the book, and to create an even better edition of the book in the future. Thanks!
Ever saw those wireless security cameras that you can buy off the shelf? These are devices that you can setup somewhere in your home or outside, connect to your WiFi network, and then automatically take pictures if some motion is detected, for example. However, they are usually using the interface given by the manufacturer, which means you are quite limited with what you can do with your camera.
In this book, we are going to build our own DIY version of such devices. The project is based on the Arduino Yun, to which we are going to connect a standard USB webcam and a PIR motion sensor to create several cool applications.
The first application will be about testing the camera, and then making it stream video within your own WiFi network, so you can monitor it live from your web browser when you are at home.
Then, we will build on what we did in this first project, and make the camera send the stream online, so it can be accessed from anywhere in the world. Well actually also make the camera stream data on Youtube, so you can share the stream with other people & monitor your home live even from a mobile device!
Finally, the last project will be a modern version of a standard task that you expect from a security camera: taking pictures when some motion is detected. The project will store pictures taken by the USB camera on an SD card inserted into the Yun, but thats not all.
Because we are in the age of the Internet of Things, we also want these pictures to be automatically uploaded on a secure location. And thats exactly what we are going to do by uploading the pictures to Dropbox at the same time. Excited? Lets dive in!
The first step in this book is to make sure you have the right hardware components. First off, you will need an Arduino Yun, and a PIR motion sensor.
For the USB camera, you can choose any webcam that is compatible with the UVC protocol. Most of the recent webcams are compatible. I chose a Logitech C270 that can take pictures up to 720p resolution. You can find a list of compatible cameras here:
http://en.wikipedia.org/wiki/List_of_USB_video_class_devices
You will also need a microSD card to store the pictures locally on your Arduino Yun, and some female/male jumper wires to connect the PIR motion sensor.
This a list of the components that are required for this project:
- Arduino Yun (https://www.adafruit.com/product/1498)
- USB webcam (http://www.logitech.com/en-us/product/hd-webcam-c270)
- PIR motion sensor (https://www.adafruit.com/product/189)
- MicroSD card (https://www.adafruit.com/products/102)
- Some female/male jumper wires (https://www.adafruit.com/products/825)
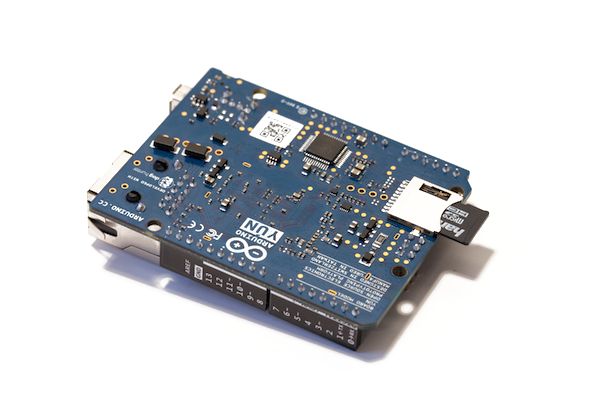
The first step is to insert the SD card in the Arduino Yun board:
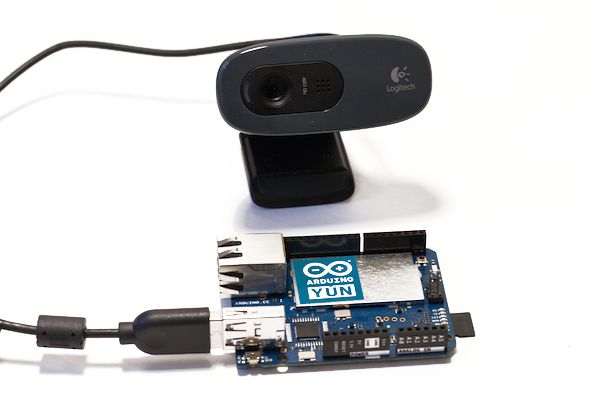
Then, connect the camera to the USB port of the Yun:
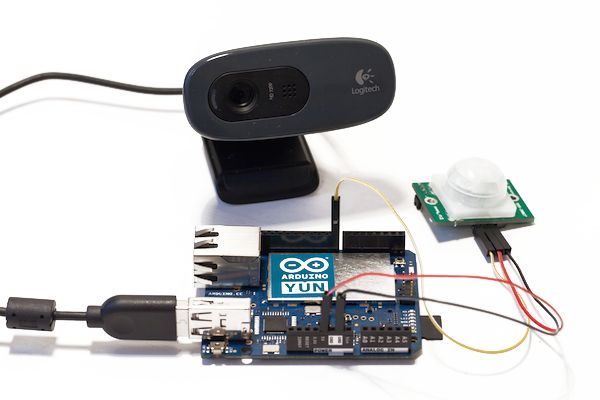
Finally, connect the motion sensor to the Yun. Simply connect the VCC pin to the Yun 5V pin, GND to GND, and the SIG pin to the Yun pin number 8:
Finally, just connect the project to your computer via the microUSB port, and youre good to go!
Before we can build any applications using the hardware we just built, we need to configure your Yun board for the first use. Of course, if you already have a Yun up & running, you can skip this chapter entirely.
Once your Yun is starting for the first time, it will automatically create a WiFi network that with Yun inside the name, so it is easy to identify:
Now, connect to this network using your computer. Once thats done, enter this IP address in your favorite web browser:
192.168.240.1
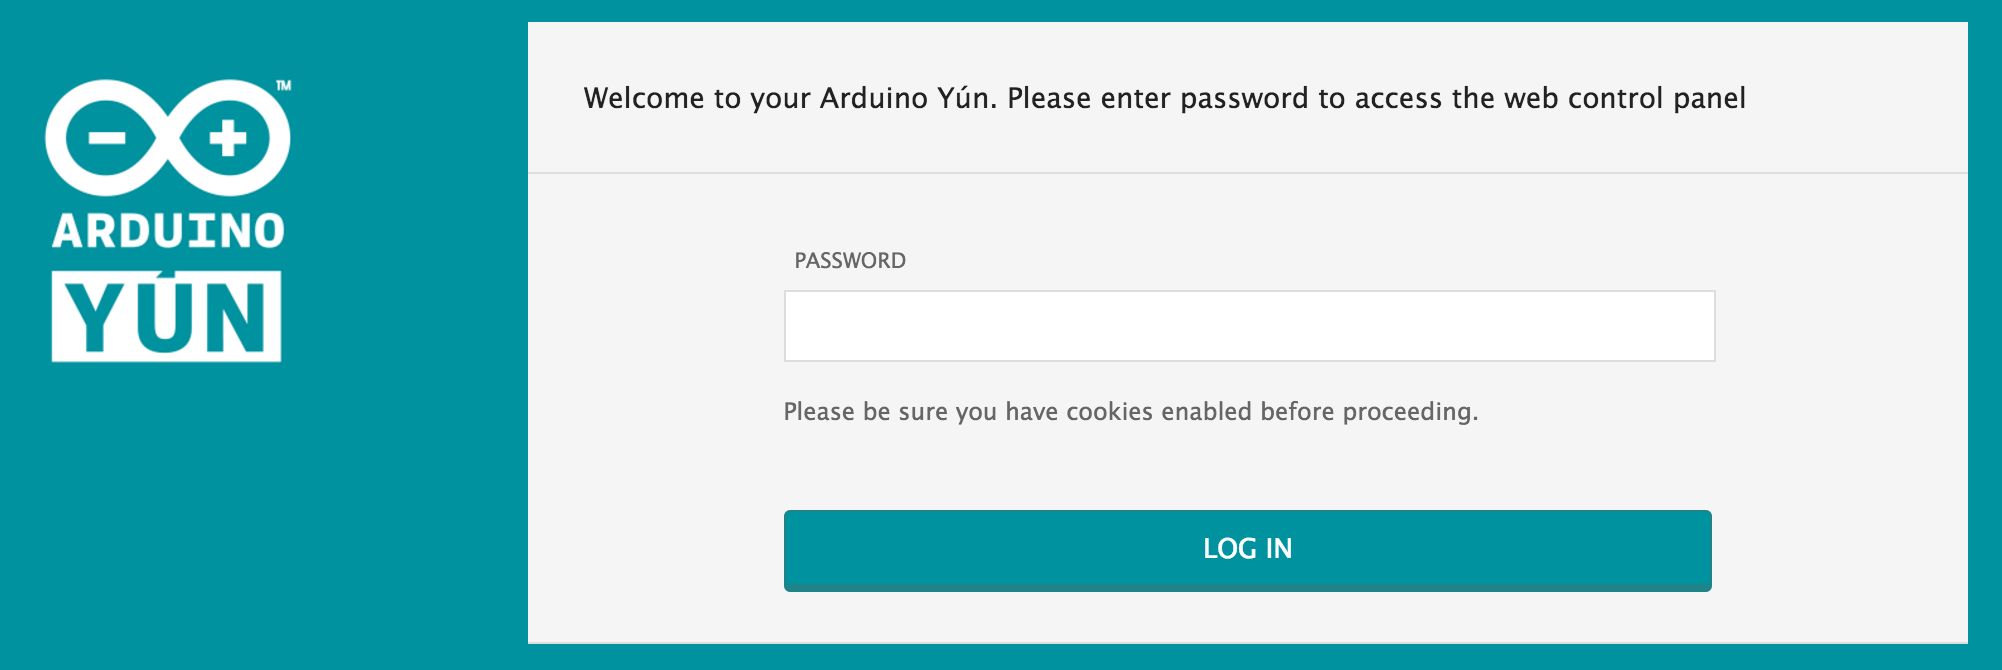
You will be redirected to a page which is actually hosted on the Yun itself, asking you for a password:
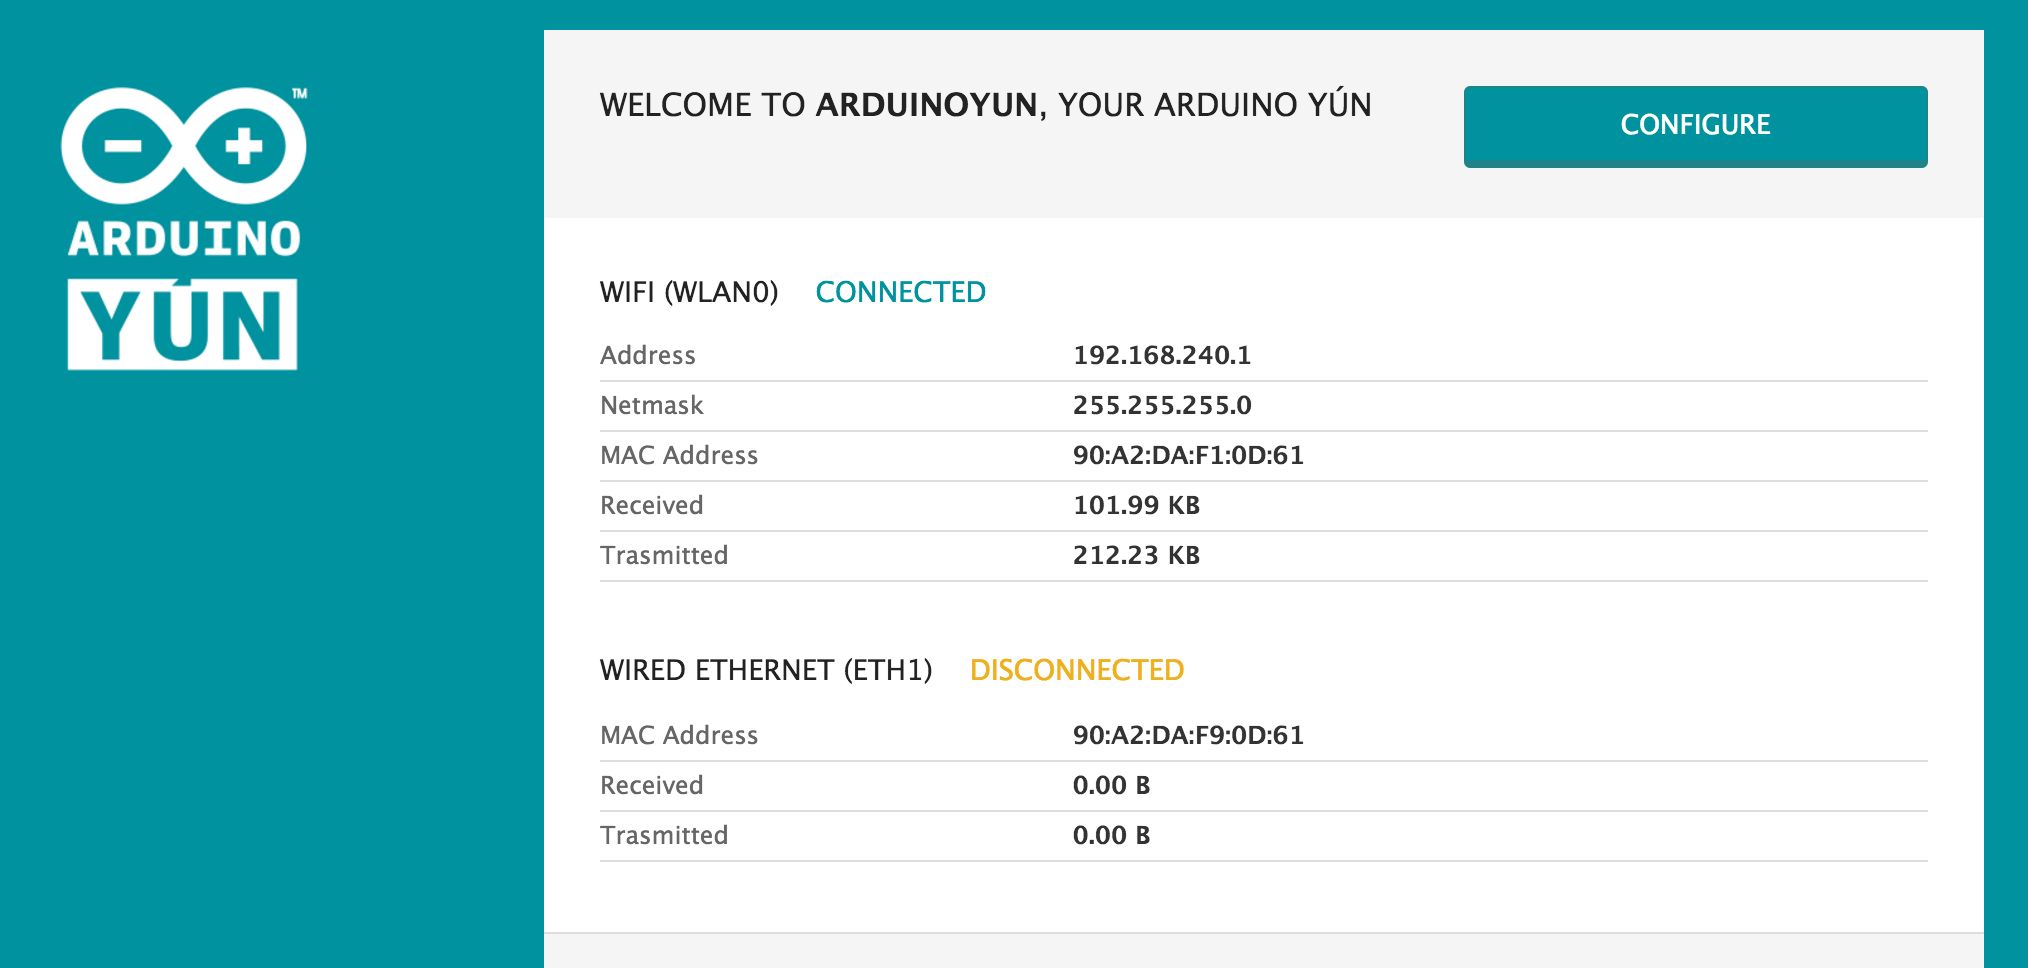
By default, the password is arduino. You will then be redirected to the main page on your Yun, where you can for example set a new password:
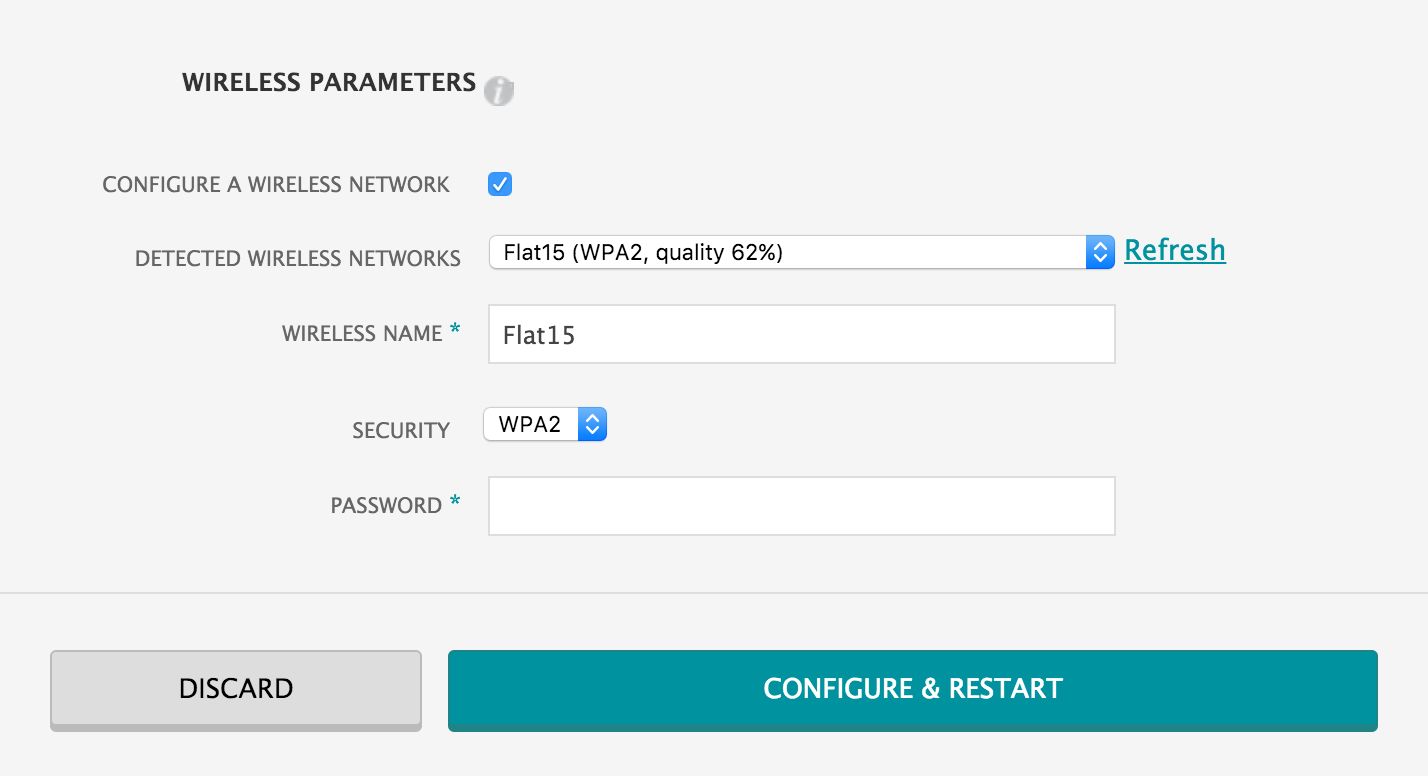
Now, click on Configure. The goal here is to make your Yun connect to your local WiFi network. Find your local network in the list, and enter your WiFi network password:
Then, click on Configure & Restart. You Yun will then reboot, and attempt to connect to your WiFi network. Once thats done, the USB LED should turn white on the Yun, and your Yun is now ready to be used!

