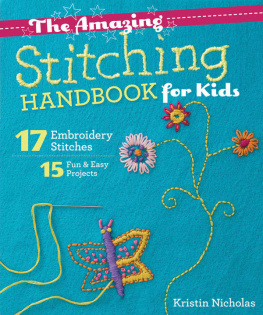
Publisher: Amy Marson
Creative Director: Gailen Runge
Art Director/Cover Designer: Kristy Zacharias
Editor: S. Michele Fry
Technical Editors: Ann Haley and Gailen Runge
Book Designer: April Mostek
Production Coordinator: Jenny Davis
Production Editor: Joanna Burgarino
Illustrator: Mary E. Flynn
Photo Assistant: Mary Peyton Peppo
Style photography by Nissa Brehmer and instructional photography by Diane Pedersen, unless otherwise noted
Published by FunStitch Studio, an imprint of C&T Publishing, Inc., P.O. Box 1456, Lafayette, CA 94549
Dedication
For my grandmother Frieda Ressler Nicholas, and for all of the grandmothers who encourage their grandchildren to follow their dreams.
Acknowledgments
Embroidery has been around for thousands of years. I learned to stitch from my mom, Nancy Nicholas , when she first placed a Sunset Stitchery kit in my hands in the 1970s. Back then, I fell in love with the rhythm, creativity, and texture of the stitching. Thank you, Mom, for starting me on my journey.
I dabble in many crafts, but embroidery has always been one of my favorites. The first edition of Kids Embroidery was published in 2004 by Stewart, Tabori, and Chang and was edited by Melanie Falick , and to her I am grateful for the chance to bring embroidery to the hands of many young people over a decade ago. As time has passed, there has been a revolution in the DIY culture. Through blogs and the Internet, hand embroidery is experiencing a rebirth. More and more people, young and old, are picking up needle and thread and creating their own art with stitches.
I am so happy that The Amazing Stitching Handbook for Kids is available in this new updated edition with new projects. Thank you to the folks at C&T Publishing for bringing it back to life and passing embroidery on to a new generation of stitchers. Thank you, Michele Fry and Ann Haley , for your editing. Thank you, Nissa Brehmer and Diane Pedersen , for your photos.
Thanks go to Linda Roghaar , my agent, who believed in the book and was able to find it a second home. Thanks to all of the companies that contributed supplies, especially A Childs Dream . Thank you to Tess Vreeland for stitching your blue jeans.
Last, thank you to Mark, my husband, and Julia, our daughter, who support and entertain me, and most of all, lived through the creative chaos.
Introduction
TO EMBROIDER MEANS TO EMBELLISH, OR DECORATE, A PIECE OF FABRIC WITH A NEEDLE AND THREAD. Its really just fancy sewing. In The Amazing Stitching Handbook for Kids, you will discover many ways to have fun. You can work on a grid and do needlepoint or cross-stitch, or you can work in a less structured way and do free-form embroidery, which is a lot like drawing. People have been embroidering all over the world for thousands of years.
This book shows many different projectsa stuffie, iPod carrying case (a cozy!), ornaments, coasters, pincushions, bags, bookmarks, and more. MOST OF THEM ONLY TAKE A COUPLE OF HOURS TO COMPLETE. You can start using scrap fabric to learn the basic stitches shown at the beginning of each chapter, or you can jump right into the projects and learn as you go.
If you dont want to make the exact projects you see here, make them your own way. For example, use the motif (design) and stitches shown on something else. Add personal designs to clothes. Create decoration. You can embellish almost anything! Embroidery can be done on any surfacebaskets, purses, backpacks, notebooks, even lampshades. The only requirement is that you be able to poke a threaded needle through the item. So while a wooden box wont work, a cardboard box will!
When you begin embroidering, DONT WORRY ABOUT BEING PERFECT . As you practice, your stitching will naturally improve. In no time, the stitches will be neat and even. When you look back at your first projects, you will probably loveor at least laugh atany strange-looking stitches. Amazingly, each time you touch a piece of embroidery you have made, you will remember where you were and what was happening in your life at that time. If you embroider gifts for family members or friends, they are sure to treasure them. Theres really nothing like something handmade to show people that you think theyre special.
YOU CAN EMBROIDER ALMOST ANYWHERE in a car, in the library, at the park, or in your roomfor a few minutes or a few hours. You can embroider while youre listening to music, watching television, or even talking with friends.
The choices are all yoursthe stitches, the colors, the threads, the fabrics. Use this book as a guide, but LET YOUR CREATIVE SIDE LOOSE AND EXPLORE . Once you learn how to embroider, be sure to teach your friends and even your parents and other relatives.
ATTENTION LEFTIES
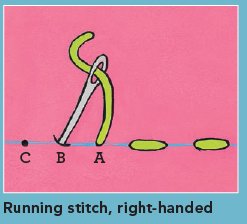
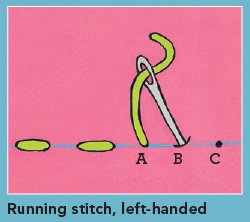
If you are left-handed and dont feel comfortable making your stitches the way they are shown, then try this: Turn the book upside down so that the stitch illustrations are upside down. Follow the instructions as they are written, but every time the instructions say right, substitute left (and when they say left, substitute right). It may help to photocopy the page of instructions for the stitch you are working on so that you can read the photocopied words of the instructions right side up while you are looking at the illustrations upside down.
Embroidery Tools
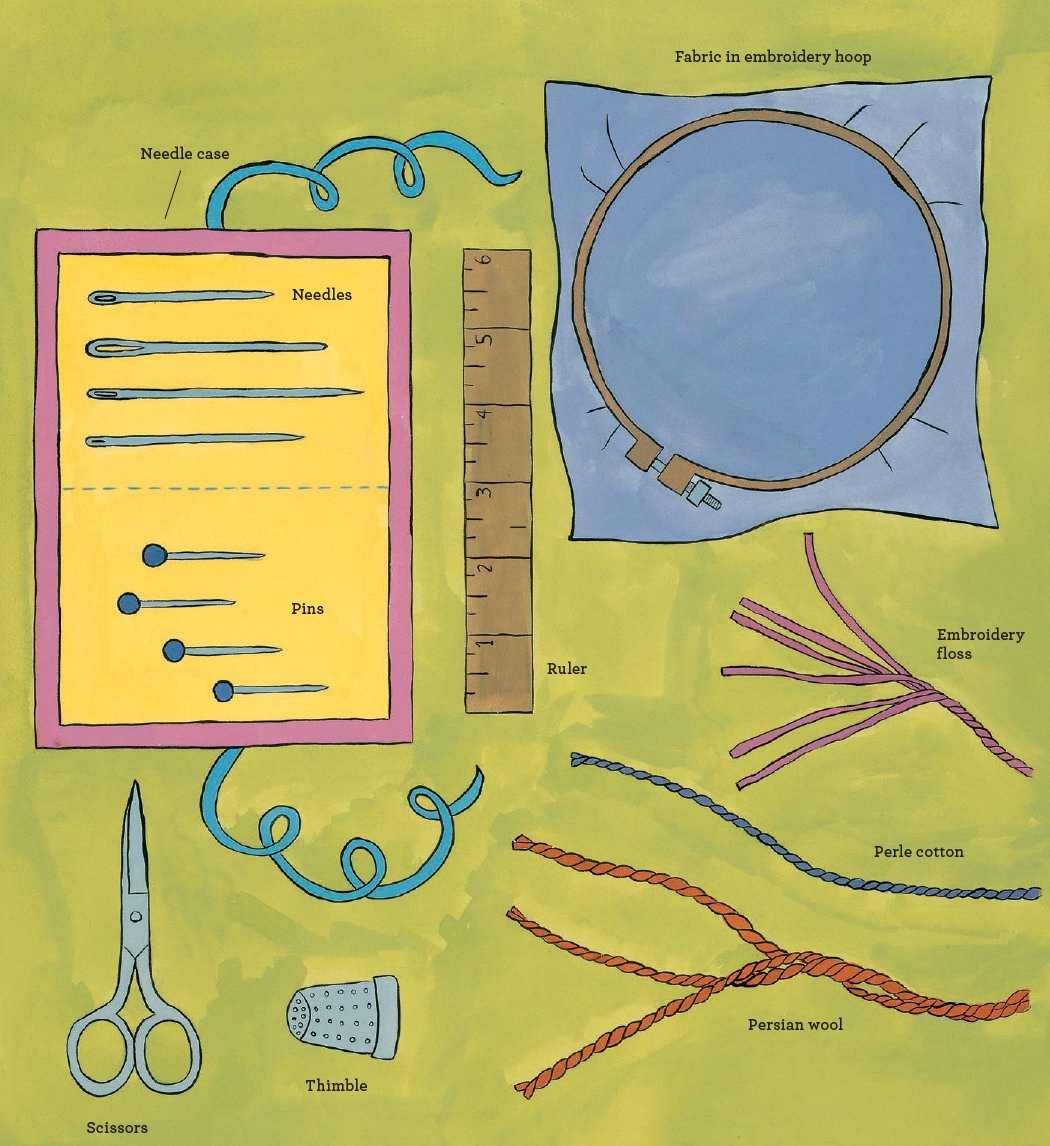
Embroidery is a wonderful craft that you can learn to do with just a few basic tools available at most craft stores. For almost every project, you need fabric, a needle, pins, embroidery scissors, and a short ruler. Ideally, you should keep all of these tools in a special place, such as a basket or small bag. That way youll never lose your tools, and theyll always be ready and waiting for you when you want to start stitching.
Embroidery Fabric
Embroidery can be stitched on all sorts of fabric. The type of fabric you choose determines the look of the finished project.
Fabric for Needlepoint
The two needlepoint projects in this book call for plastic needlepoint canvas. Plastic canvas looks like a giant tic-tac-toe grid. It is very stiff and should be used for projects that do not need to bend. Plastic canvas is usually white and is commonly sold in two counts (7 and 10). This means it has about 7 or 10 boxes per inch. It is the easiest fabric to use when you are learning to needlepoint.
Fabric for Cross-Stitch
In this book, you cross-stitch on a cheerful checked fabric called gingham. Gingham fabric is great for learning because you can use the checks to make your stitches nice and even.
Fabric for Free-Form Embroidery
Free-form embroidery can be stitched on just about any fabric, even blue jeans, T-shirts, and sweaters. Many of the projects in this book use wool felt. It is very easy to cut and stitch. Make sure that your needle can easily slip through the fabric you choose. Some fabrics are so tightly woven that it is difficult to sew through them. IT IS IMPORTANT THAT THE FABRIC IS THICK ENOUGH THAT YOU CANT SEE THROUGH IT, so the knots and threads on the back of the project will not be visible from the front. Natural-fiber fabrics like cotton, wool, and linen are easiest to stitch on. Shop for free-form embroidery fabrics at fabric stores, craft stores, and thrift shops. Or, look in your closets at home for old clothes, sheets, or curtains that you might be able to recycle (with your parents permission). See for more ideas.
Next page
