PUBLISHER: Amy Marson
CREATIVE DIRECTOR: Gailen Runge
EDITOR: Liz Aneloski
TECHNICAL EDITOR: Debbie Rodgers
COVER/BOOK DESIGNER: April Mostek
PRODUCTION COORDINATOR: Tim Manibusan
PRODUCTION EDITOR: Alice Mace Nakanishi
ILLUSTRATOR: Mary E. Flynn
HAND MODEL: Kristi Visser
PHOTO ASSISTANT: Mai Yong Vang
STYLE PHOTOGRAPHY by Lucy Glover and INSTRUCTIONAL PHOTOGRAPHY by Diane Pedersen of C&T Publishing, Inc., unless otherwise noted
Published by Stash Books, an imprint of C&T Publishing, Inc., P.O. Box 1456, Lafayette, CA 94549
DEDICATION |
As always, this book is dedicated to my adorable husband, Stuart, for believing in me until I believed in myself. |
Acknowledgments
I would not be teaching Making Faces had it not been for the encouragement of Penny Layman, who offered me such a fun and forgiving opportunity to try teaching that I couldnt say no. I didnt know how much I would love teaching. Thank you, Penny.
Its a treat to again be working with Roxane Cerda at C&T, who held my hand through my first book-writing experience in 2009. Roxane, thank you for your humor, your friendship, and your confidence in me.
Liz Aneloski at C&T, thank you for taking the reins so gently. You are a dream to work with.
To the Modern Quilt Guild / QuiltCon, all the MQG chapters Ive visited, and the students in Making Faces with Melissa classes Its through my work with you that Ive fine-tuned the process I teach in this book. The excitement I see in your faces when you realize you can do it makes my heart go pitter-patter. (And thanks for all the excellent hugs!)
Most of the art knowledge I have and use every day I learned from my high school art teacher, Carl Lopes. Thank you, Carl, for creating a safe space for a troubled, weird art kid like meits the only reason I made it through school.
Thanks to my dad, Tony Averinos, for encouraging my creativity with gifts of art books and supplies all through childhood and since.
Thanks to my mom, Linda Averinos, for letting me raid your craft supplies and draw on the walls.
Thanks to my dear Debbie Kimball, who helps me stay on track in work and in life.
And finally, thanks to my adorable husband, Stuart, for being my rock while I figured all this out. Youre the best thing ever and Im so lucky.
INTRODUCTION
Ive been making art since I can remember. When I started painting in middle school, it was always faces. In high school, I continued to explore this theme through self-portraits, glazing pottery with faces, and sculpting clay into little face pendants to use in jewelry. Any medium I tried would soon show someone staring back at me!
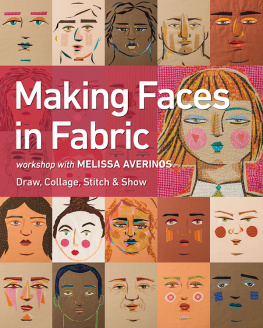
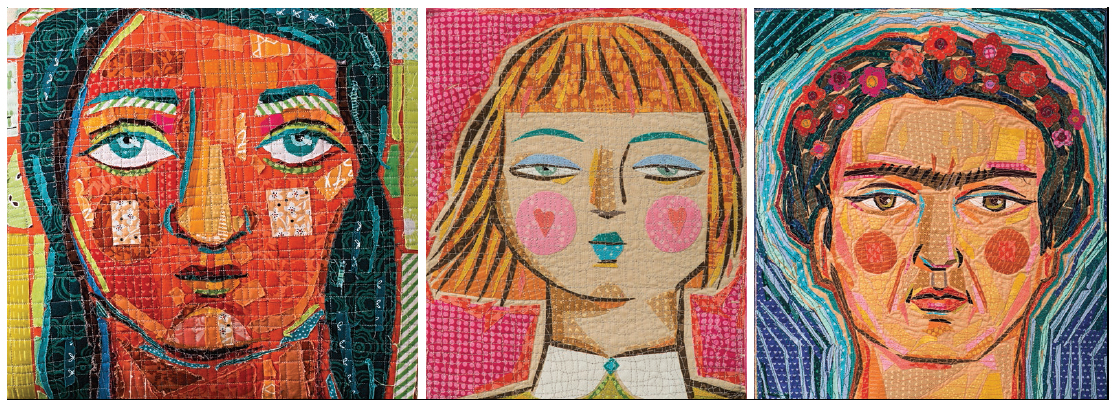
It was only a matter of time before this trend would show up in my quilting. After sharing my work on Instagram and exhibiting at QuiltCon, I found that other people wanted to make faces tooand my Making Faces with Melissa workshop was born! I now travel all over the country teaching quilters how to make these raw-edge appliqu faces. I love it so much.
People in class are usually intimidated by faces; they are sure they wont be able make a decent one. I remind them that they just havent learned how yet! My favorite thing is seeing people light up when they get itand they always do. Since not everyone has access to classes, I crammed this book full of my best tips and tricks (and the occasional pep talk), so it will be just like Im there with you.
In Chapter One: Draw, youll learn a simple formula to get the correct proportions of the face and Ill guide you through drawing the features. In Chapter Two: Collage, I share the basics of collaging with fabric, simple ways to create features, and tips for how to tack them down in preparation for sewing. Then in Chapter Three: Stitch, youll learn a handful of stitching options to add texture and secure the fabric.
Once youve spent some time with the technique, check out Chapter Four: Show, where youll find a handful of easy projects into which you can incorporate your collage panels. Peruse Chapter Five: Gallery of Author Work to see a collection of my quirky faces. And finally, Chapter Six: Gallery of Student Work is full of some of the incredible work created in my workshopsmany from people with no art experience!
I invite you to approach this book with a willingness to experiment and an attitude of play. The more you can let go and have fun with it, the better your work will be. Id love it if you would share photos of your collages with me on Instagram (see About the Author. I cant wait to see the faces youll make!
Chapter One
Draw
While there are endless variations that make us look different from one another, we all have the same essential facial features. In this chapter, youll learn how to draw a basic human face, to which you can apply your own artistic style in fabric collage. If you follow these instructions and practice a little, you will be able to draw a faceI promise.
Before Drawing
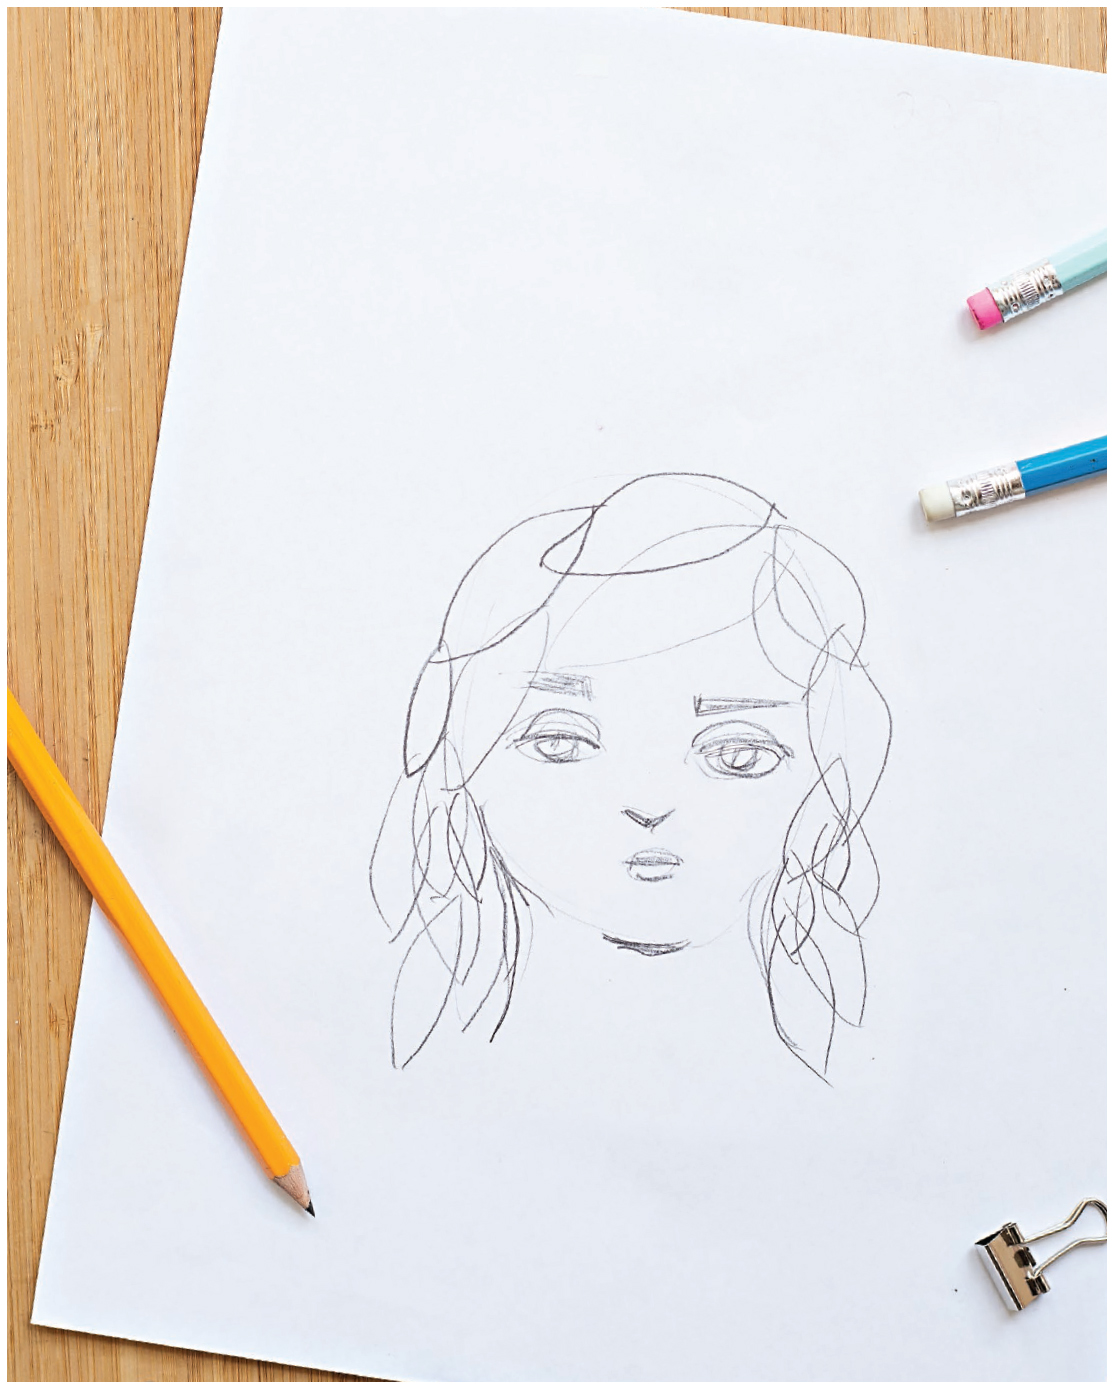
Once you dive into this chapter, youll learn the basics very quickly. Right now, before youve learned the proportions of the face, I encourage you to take a moment to do a before drawing. You wont be able to go back and do this after youve learned some stuff!
To create your before drawing, simply grab a plain piece of printer paper, set a timer for 90 seconds, and just draw a face. It may look like a childs drawing and thats perfectly fine! Remember, the worse your before looks, the better your after will be!
Lets Get Started
What makes a drawing of a face successful is mostly a matter of proportions. Placing the features in the correct spots and making them the right size in relation to one another is the key to drawing a face that looks right.
To get started, youll need a stack of plain white printer paper, a pencil, and an eraser.
THE MAGIC OF PRINTER PAPER
Though it happens to the best of us, fear of making mistakes is detrimental to creativity. The less precious you can make your process, the more freedom you will feel to mess up or do a bad job. Making mistakes, learning from them, and correcting them is how you get to the good stuff.
One of the best ways to make drawing less precious is to use plain printer paper instead of a sketchbook. Its liberating to draw on such a cheap and ubiquitous type of paperyou feel totally free to ruin it! If youd like to keep the pages all together, you can use binder clips, a clipboard, put them in a folder, or use a three-hole punch and keep them in a binder.
DISCLAIMER! Yes, the basic face that I base my instructions on is my own face! Ive always painted self-portraits, so its the face I know best. Dont worry, Ill give you plenty of tips and options for how to customize your collage to make it look however you like.
PEP TALK
Learning how to draw a face is like going to a new friends house that youve never been to before, in a town you dont know. At first you may have to drive slowly and pay close attention to the map or directions and you may even make a few wrong turns. After a few times going to the house, you will start to feel more comfortable with the area and youll know where to go and not need to consult your map. Thats how it is with drawing the face. Dont expect it to go perfectly right from the start! You are exploring new territory. Fret not; Ive got a good map for you to follow.
Next page
