Contents
Guide
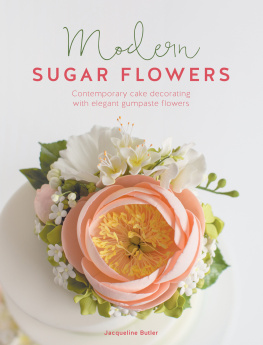
Modern
SUGAR FLOWERS
Jacqueline Butler

www.sewandso.co.uk
Contents
INTRODUCTION
I started baking as a teenager, creating fancy treats for my family during the holidays. Cookies, cakes and pies, I experimented with them all, to mostly enthusiastic sibling reviews. Working in the kitchen with careful precision made sense to me, and I loved the time watching and learning from my mom.
Those early days led to baking cakes for friends and family celebrations, and I soon ventured into sprinkles, piping bags and modeling cute animal figurines. I happened upon a book on pulled sugar flowers, and worked my way through all of the blossoms quickly. The process of shaping a simple ball of paste into a stunning, delicate flower was truly magical to me, and I couldnt get enough of the art form! I researched artists whose work I admired, and traveled extensively to learn a solid foundation in making sugar flowers. At home, I practiced these new skills over and over again until I felt confident enough to try new flowers on my own. Over time, I began incorporating sugar flowers into all of my cake designs and developed a personal style that became Petalsweet.
The sugar flowers I create are stylized, and simply my own interpretation of the real thing. The flowers take a bit of practice, but are not overwhelming, because I try to keep extra details as simple as possible. If a flower detail isnt pretty or functional to me, I might change it or even omit it, and that keeps the flower-making process relaxed and fun. I also use simple cutter shapes and veiners across a variety of flowers where possible, and find this helps me work quickly and efficiently. I encourage you to not focus on perfection, but rather on learning how to make flowers that are well crafted. Practice the techniques, and soon you will be creating beautiful flowers with ease.
Petalsweet cakes are clean and modern, with flower arrangements that are full and fresh. Im so excited to share some favorite flower combinations in the cake project designs, as well as a variety of arranging techniques that work for me across a range of cake sizes and styles. Most of the projects are on small cakes, so if you are new to flower making, you can jump right in and make a beautiful creation for the next birthday or anniversary! If you are more experienced, you can easily scale up to a stunning wedding cake by working several of the arranging techniques into a larger design.
Im honored to have the wonderful opportunity to travel the world and teach sugar flowers to truly lovely and passionate students. The best parts of class are meeting the students on the first day, who are usually nervous about making sugar flowers, and then the moment later in class when they are smiling and excited because they have created something they love, and they cant wait to make it again.
I hope you find the tips and techniques helpful so you can begin adding beautiful new sugar flowers to your repertoire right away! And I hope all of the projects and photos will inspire you to create your own elegant and charming floral cake designs.
Jacqueline x
ESSENTIAL TOOL KIT
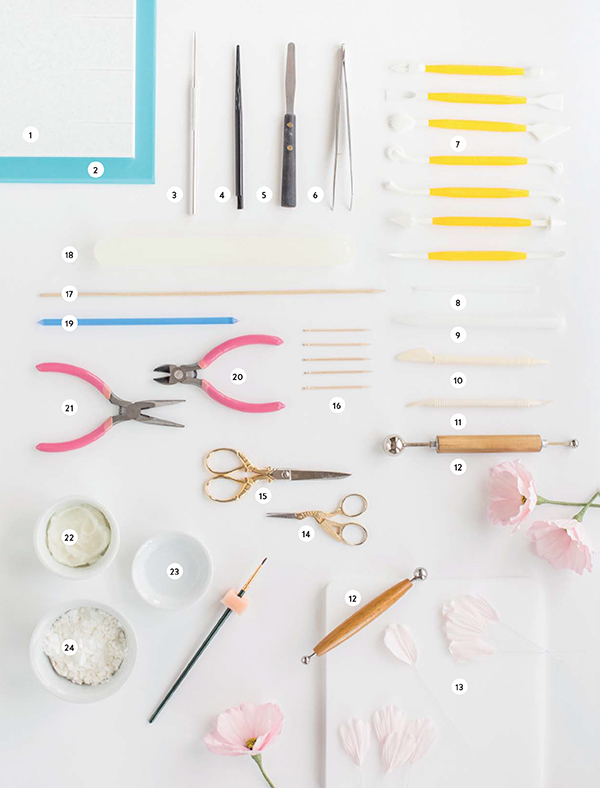
Groove board, a non-stick sugarcraft multi groove veining board with holes for Mexican hat flower backs, with a smooth rolling surface on the reverse side
Petal protector or acetate sheet to keep rolled paste and cut petals from drying too quickly
Needle tool
JEM veining tool
Mini palette knife
Tweezers
Set of sugarcraft modeling tools
Mini Celpin
Celpin
Knife/scriber tool
Dresden tool
Metal ball tools in a variety of sizes
Foam petal pad
Small embroidery scissors, both straight and curved
Sharp scissors
Toothpicks (or cocktails sticks)
Wooden skewers
Non-stick small rolling pin
Mini rolling pin
Wire cutters
Pliers, for making hooks in wires, and to aid in flower arranging
Vegetable shortening (white vegetable fat)
Sugar glue and a small brush
Cornstarch (cornflour)
SPECIALIZED TOOLS AND SUPPLIES
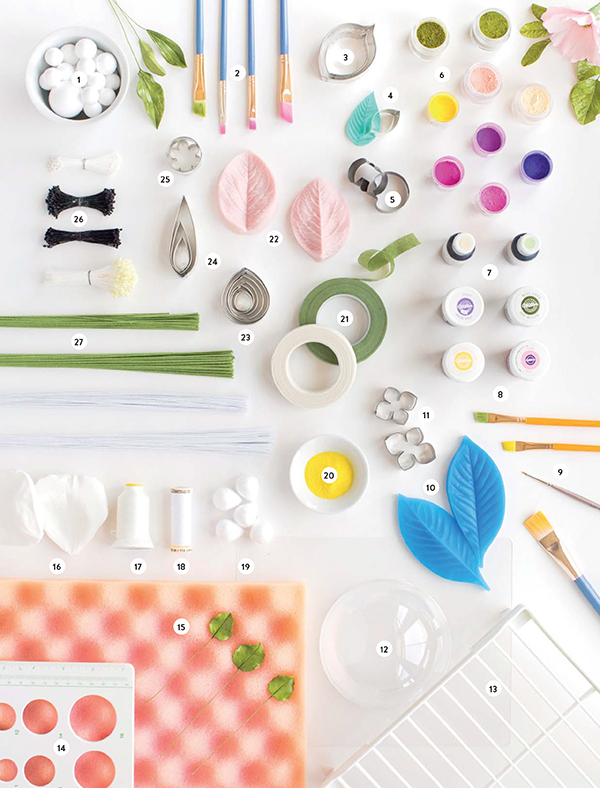
Styrofoam balls in a variety of sizes
Flat and round paintbrushes for dusting and detail work
Metal leaf cutters (hydrangea leaves)
Leaf cutter and leaf veiner sets (cherry blossom leaves)
Metal petal and flower cutters (sweet peas)
Petal dust
Gel food colors
Flat paintbrushes for dusting
Detail paintbrush
Silicone leaf veiners
Metal petal cutters (hydrangea)
Plastic half sphere molds and formers in a variety of sizes
Hanging rack
Size guide for gumpaste and modeling paste
Egg crate foam for drying petals and leaves
Silicone petal veiners
Polyester outdoor thread
Cotton sewing thread
Styrofoam buds (Celbuds)
Pollen created with unflavored gelatin mixed with petal dust (see ).
Floral tape
Silcone leaf veiners (all-purpose)
Metal petal cutters (small rose petals)
Metal petal cutters (dahlia)
Metal petal cutters (freesia)
Stamens
Florist wire
GUMPASTE AND COLORING
Gumpaste is a pliable dough usually made with sugars, egg whites or oils, vegetable shortening and a gum agent, which makes the paste elastic and allows it to be rolled very thin. This makes it ideal for flower making, and it can also be used for modeling, ribbons and other fine detail work. There are a lot of wonderful pastes available; from homemade to ready-to-use commercial brands. As with other aspects of sugarcraft, gumpaste is sensitive to different weather conditions and environments, so its best to try a variety of pastes to find what will work best for you. When working, keep cornstarch (cornflour) handy to dab on hands if the paste feels sticky, and a bit of vegetable shortening on fingertips if the paste feels dry.
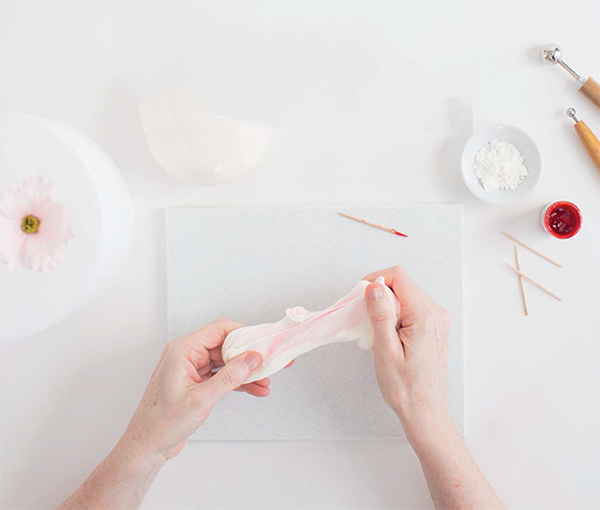
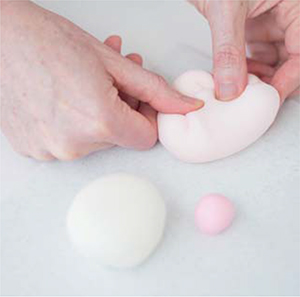
TYLOSE GUMPASTE
The gumpaste recipe I have used for years was created by the fabulous Chef Nicholas Lodge, and he has graciously given me permission to share it here. Its quick and easy to make, smooth and elastic, and dries beautifully.
- 125g fresh or pasteurized egg whites
- 725g + 100g powdered sugar/icing sugar
- 30g (27g) tylose powder
- 20g vegetable shortening (Crisco)
Place egg whites in a mixer fitted with the flat paddle attachment. Turn mixer on high speed for a few seconds to break up the egg whites.
Turn mixer to the lowest speed; slowly add the 725g of powdered sugar to make soft consistency royal icing.
Turn up the speed to medium-high for about 2 minutes.
Make sure the mixture is at the soft-peak stage. It should look like shiny meringue with the peaks falling over. If coloring the entire batch, add the gel color at this stage, making it a shade darker than desired.

