FLY TYERS GUIDE TO
TYING ESSENTIAL TROUT FLIES
FLY TYERS GUIDE TO
TYING ESSENTIAL TROUT FLIES
David Klausmeyer
LYONS PRESS
An imprint of Globe Pequot Press
Guilford, Connecticut
Copyright 2013 David Klausmeyer
ALL RIGHTS RESERVED. No part of this book may be reproduced or transmitted in any form by any means, electronic or mechanical, including photocopying and recording, or by any information storage and retrieval system, except as may be expressly permitted in writing from the publisher. Requests for permission should be addressed to Globe Pequot Press, Attn: Rights and Permissions Department, PO Box 480, Guilford, CT 06437.
Lyons Press is an imprint of Globe Pequot Press.
All interior photos by David Klausmeyer unless noted otherwise.
Project editor: Staci Zacharski
Text design and layout: Sue Murray
Library of Congress Cataloging-in-Publication Data
Klausmeyer, David, 1958
Fly tyers guide to tying essential trout flies / Dave Klausmeyer.
pages cm
E-ISBN 978-1-4930-0468-3
1. Fly tyingHandbooks, manuals, etc. 2. Flies, Artificial. 3. Streamers (Fly fishing) 4. Trout fishing. I. Title. II. Title: Guide to tying essential trout flies.
SH451.K5297 2013
688.7'9124dc23
2013023722
CONTENTS
Chapter 1
Tooling Up
What Gear You Need to Start Tying Flies, and What You Might Want to Add to Your Bench As You Gain Experience
Like any hobby, youll need to acquire some tools to tie flies. And as with most activities, a fool can be quickly parted from his hard-earned money. This is especially true when selecting unfamiliar tools for a craft in which you have no experience: what do you absolutely need, what dont you need or can purchase later, what are considered reasonable prices, and what are the best brands? These are very reasonable questions, and there are some reasonable answers.
First, well discuss what you will need if you have never tied flies before; our goal is to select quality tools that will not break your bank account. Next, well examine a few items that you can add to your tool kit as you gain experience tying flies; these will add enjoyment to your time at the fly-tying bench or let you experiment with new ways of tying flies.
Selecting Your First Vise
The vise will be the centerpiece of your fly-tying station. Whether you create a permanent place in your home to tie flies, or you get out your tools and materials every time you sit down to tie, all the action will occur around your vise.
A vise has five basic components. First, the jaws grasp the hook while tying the fly. Second, the locking mechanism opens and closes the jaws. Third, the head of the vise holds both the jaws and locking mechanism. Fourth, a post holds the head (and thus the jaws and locking mechanism) above the bench top. And fifth, youll place the vise on your bench using a clamp or pedestal base . Well consider each of these components in turn.
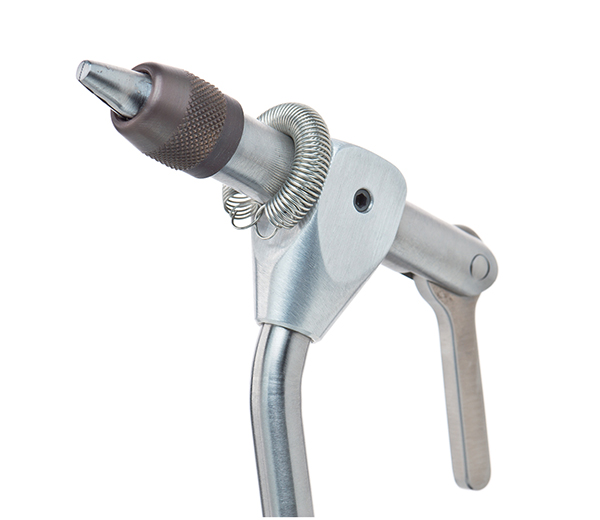
This is the head of a Dyna-King vise.
A vise must hold a hook securely; this is obvious. Nothing is more frustrating than having the hook move while tying a fly. All quality vises have jaws made of either high-carbon or stainless steel. Some jaws have smooth surfaces that hold the hook, while others have slight serrations that are supposed to help the jaws grasp the hook. Frankly, however, I have vises with smooth jaws that do a fine job of grasping hooks, and other vises with serrated jaws that do a mediocre job of holding hooks. Whether a vise has serrated jaws should play a minor role in your decision when making a purchase.
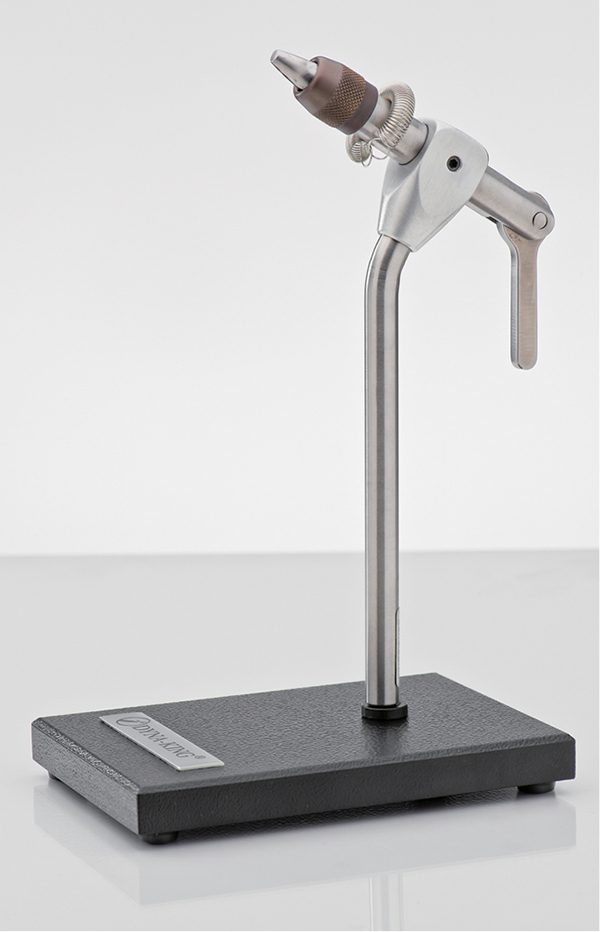
Dyna-King
A more important consideration is whether the jaws can accommodate a wide range of hook sizes. The jaws on some vises readily handle everything from the smallest midge hooks to large saltwater irons; the jaws on other specialized vises are designed to accommodate, for example, very small hooks or magnum-size bass bug or saltwater hooks. If you know you will concentrate on tying bass or saltwater flies, you might prefer one of these specialized vises, or you might consider a vise that will allow you to change jaws. I prefer one vise that can do it all, and there are many options from which to choose.
There are several different styles of jaw-locking mechanisms, but we dont have to get into the specifics about these. What does it matter how a vise closes the jaws to grasp the hook? We simply want the vise to hold the hook firmly while tying the fly. I do not want, however, a vise that requires placing a lot of force on the locking mechanism to close the jaws tightly on the hook; undue force can crush and weaken the hook or fatigue some part of the vise.
I also prefer a vise that requires minimum adjustment of the locking mechanism when changing hook sizes; I want to spend my time tying flies, not fiddling with my tools. As best as I can remember, all brands of vises except one require some amount of adjustment when changing hook sizes. This is not to say that you should avoid those visessome are among the best on the marketbut you should carefully examine the locking mechanisms of the vises in your local fly shop to see if they are relatively simple to use.
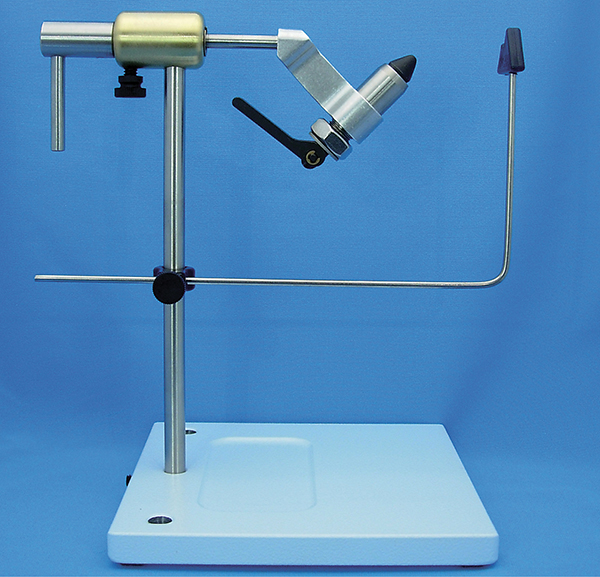
The Peak vise is an example of an affordable rotary vise.
The head on a vise is either stationary or rotates. We will not delve deeply into what is called rotary fly tying in this book, but a vise with a rotary head will allow you to easily turn the jaws and hook to examine the fly from all angles. There are excellent vises with stationary heads, but a rotary vise is very convenient to use.
I think the post is one of the most overlooked components of a vise. This steel piece determines the height of the head and jaws from the bench top. This is important because you need ample space to wrap thread and materials on the hook, and very importantly, allow the spool of thread to hang freely from the hook between tying steps; if the thread rests on the tabletop, it will lose tension on the hook and the fly might come apart. Far too many vises, some carrying high price tags, have posts that are too short.
How the vise attaches to the bench top is a matter of personal preference. A clamp, often referred to as a C-clamp, is probably the oldest method. A lot of very experienced tiers prefer vises with C-clamps because these tools grasp the bench top very tightly; tiers who specialize in making deer-hair bass bugs, which requires placing a lot of tension on the thread when fashioning the bodies of these flies, strongly favor C-clamp vises. Also, because the vise post travels through the clamp beyond the edge of the bench, you can adjust the head up or down to raise or lower the jaws. The negative of a C-clamp, especially if you plan to take fly-tying classes or otherwise travel with your vise, is that you must always have a table that can accommodate the clamp on your vise; every experienced fly-tying instructor can tell stories about students who show up for classes with vises that do not fit the tables in the classroom.


