LIFELIKE HEADS
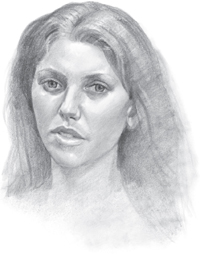
By Lance Richlin

2008, 2011 Walter Foster Publishing, Inc. Artwork 2008, 2011 Lance Richlin. All rights reserved.
Walter Foster is a registered trademark.
Digital edition: 978-1-6005-8066-6
Softcover edition: 978-1-6105-9857-6
This book has been produced to aid the aspiring artist. Reproduction of work for study or finished art is permissible. Any art produced or photomechanically reproduced from this publication for commercial purposes is forbidden without written consent from the publisher, Walter Foster Publishing, Inc.
3 5 7 9 10 8 6 4 2
CONTENTS
INTRODUCTION
Heres some good news: Theres no such thing as talent. Talent actually is a skill developed by combining good technique and practice. In the 25 years that Ive been teaching, Ive never had a student who didnt learn to draw after following directions and practicing. Of course, regular beatings are also essential.
If youre a beginner, youre about 60 heads away from being a good draftsman and about 100 away from being an expert. Here are three tips to help you get there:
1. You must read this book and follow the seven stages. Artists generally prefer to look at pictures only, but the words are essential to understand the pictures.
2. When you draw the 60 heads, spend between three and six hours on each onedont just dash them off.
3. The portraits should be drawn from live modelsnot copied from photographs.
However, to avoid embarrassment and disappointment, you must practice from good photos for some time before persuading someone to sit for you. Once you can make an accurate drawing (without tracing) from a photo in three hours every time, you can move on to a live model. Of course, you can get started by copying all the drawings in this book.
Great works can be created by copying photographs, so I dont mean to put down artists who rely on them. But the experience of working from life teaches the artist how to measure by eye and how to capture subtleties of light, dark, and color that the camera can distort. (When you have to redo a portrait because the client turns out to be blond and not brunette, youll be less trusting of the cameras accuracy.) All the drawings in this book (with the exception of two) were drawn from live models. Ive included the two exceptions to show you how to use photographs as tools. Photos are extremely useful, and sometimes theyre all you have.
My normal practice is to spend one to two hours on a drawing and then color it in with oil paint. (I paint classical portraits within two days.) But for this book Ive done fairly elaborate life-size drawings, and Ive observed a limit of one working day for each life-size headfive to a maximum of nine-and-a-half hours over two to three sessions. There also are several small heads drawn in one to one-and-a-half hours.
MATERIALS & BASIC TECHNIQUES
Generally, graphite drawing requires a few simple tools, such as a pencil, eraser, and paper. However, my approach to this medium requires the small list of materials below. You dont need anything else to complete the projects in this book.
1. Woodless graphite pencils: 9B, 2B, and 5B
2. Staedtler 8B pencil (to achieve matte blacks)
3. Stumps (smooth, not ridged)
4. A jar of graphite powder (store-bought isnt dark enough, so buy Design Ebony Sketching Pencils (Matte Jet Black) and sand the tips into a jar; this will give you a powder that will create velvety blacks)
5. Powder puffs and eye make-up applicators for blending and applying graphite powder (youll find they can be used for things stumps cant)
6. Kneaded, vinyl, and battery-operated erasers
7. A retractable, pen-shaped stick eraser
8. A knitting needle or ruler
9. Marker paper (at least 18 lb; thinner than this is too flimsy)
10. Bristol paper with a rough finish
11. A drawing board with clips to hold the paper or pad

Paper
The two papers I use must be handled differently. The 18-lb marker paper is the best paper for heads smaller than a fist and can be used for life-size heads. The rough Bristol paper should never be used for small heads; the tooth (or raised areas of textured paper) will obliterate the detail. Marker paper is essential whenever speed is an issue because it automatically looks smooth and requires very little blending. The Bristol paper is excellent for large, time-consuming drawings. It is much more resilient, and the tooth absorbs graphite, which results in marvelous darks and blends. Unfortunately, the tooth also makes it necessary to continually blend the graphite to achieve smooth gradations. Please try both papers.
Shading
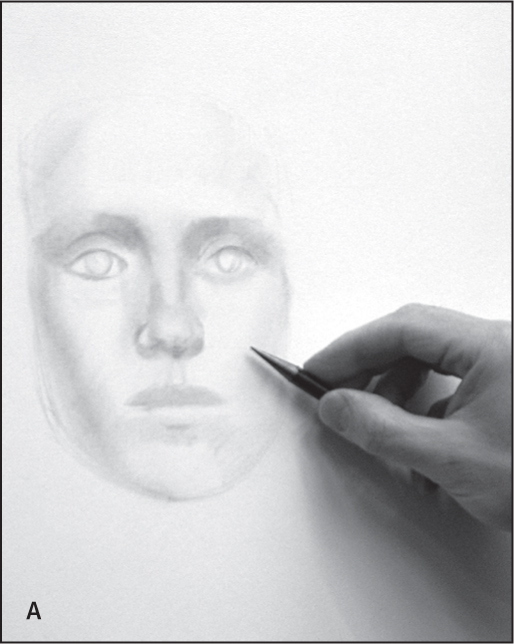
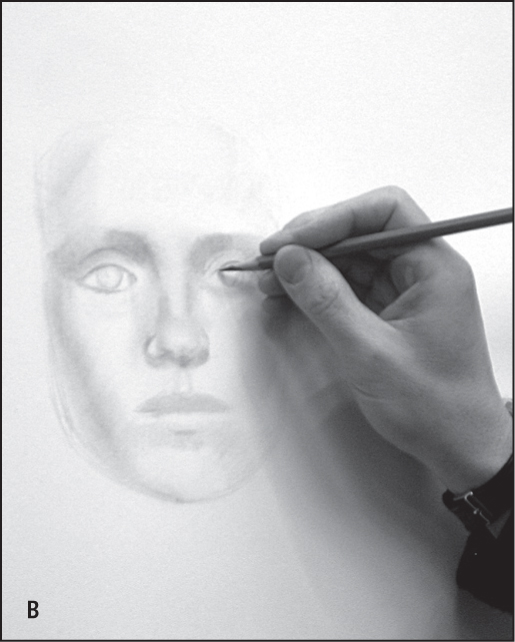
I always draw with the woodless 9B graphite pencil, switching to the 5B and 2B only for finer details. I respect using hatch lines for shading (see ), but I want my drawings to look a bit like black-and-white paintingshighly realistic. There fore, I usually draw with the side of the graphite (A) and use the tip for fine detail and thin outlines (B).
Below are a few methods for applying tone to your drawing, as well as examples of what to avoid when shading. Practice the recommended methods before you begin the projects so you can achieve clean, controlled tone in your drawings. Use whichever method adequately describes the form.

Shade Across the Form Create convincing form with pencil strokes that follow the width of the form.
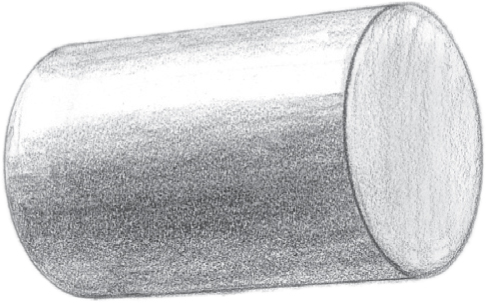
Shade Along the Form You can achieve similar results by shading evenly along the length of the form.
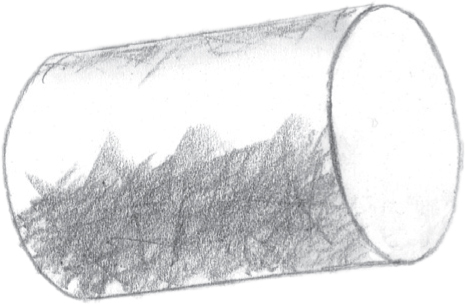
Dont Shade Chaotically Dont use several directions of shading over the formthis is messy and uneven.
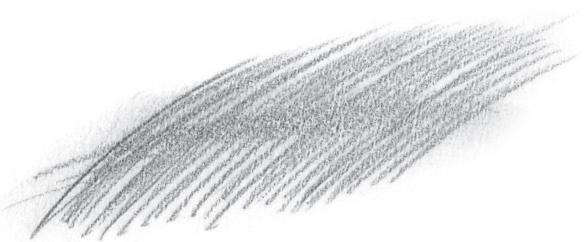
Hatching This involves applying parallel pencil strokes close together. This method is common, but I dont use it.
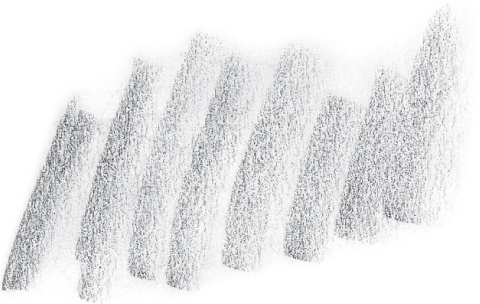
Next page

