Contents
Guide
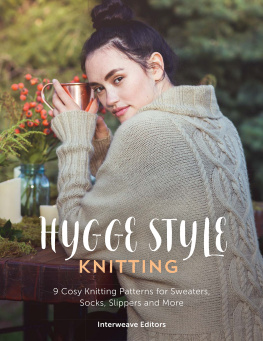
HYGGE STYLE
KNITTING
9 Cosy Knitting Patterns for Sweaters, Socks, Slippers and More
Interweave Editors

www.sewandso.co.uk
CONTENTS
INTRODUCTION
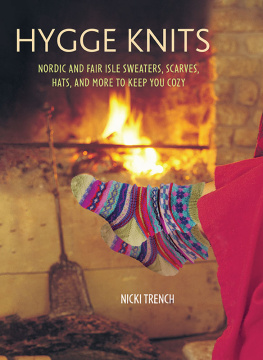
Welcome to the ultimate collection of hygge knitting patterns. Hygge is the Danish art of taking pleasure in the simple things: a hot drink on a cold day, relaxing with friends in front of a crackling fire, a delicious freshly baked cake straight from the oven.
Weve collated a luxurious collection of stylish hygge knits to keep you warm and toasty while at the same time looking chic. This really captures the spirit of hygge. After all, what could be more hygge than settling down with your needles and yarn for a spot of knitting during the cold winter months?
Choose from the gorgeous Ambrosia Cowl to give you an extra layer of protection when youre out enjoying the great outdoors, give yourself a hug with the Augusta Cardigan or cuddle up on the sofa under the Zagtarsia Blanket.
There are basic knitting instructions to help you on your way if you are a novice knitter. So, why not get yourself a drink and settle down on the sofa to enjoy!
AMBROSIA COWL
Katya Frankel
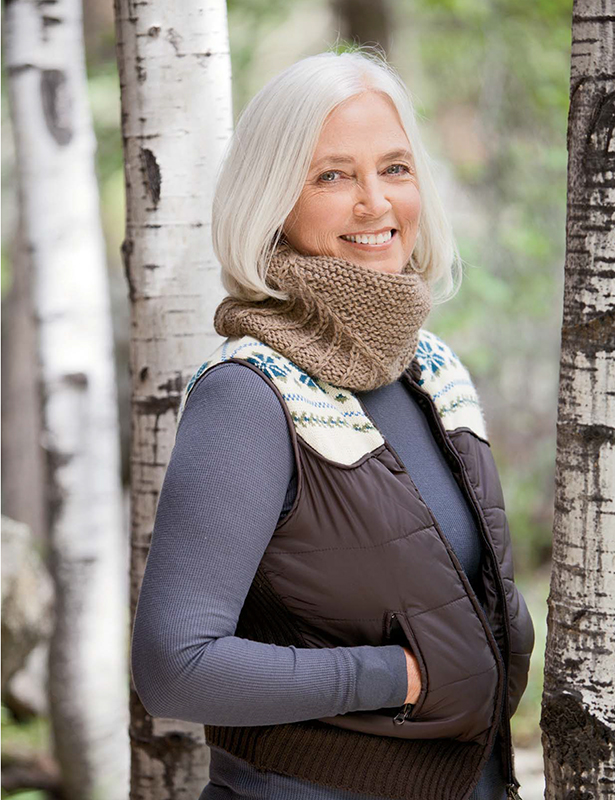
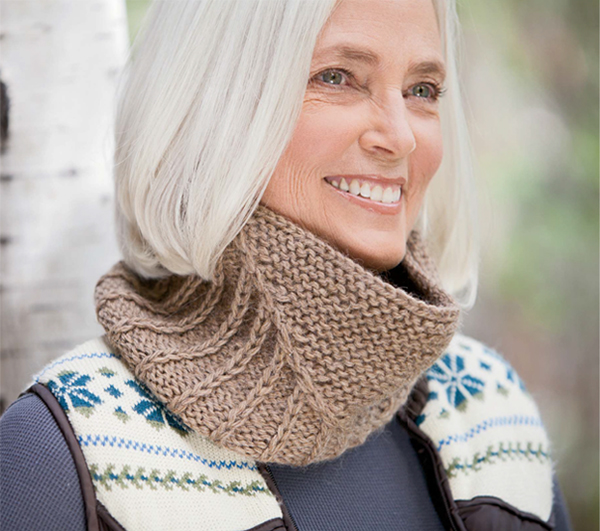
This delightful little cowl is the perfect project for a skein of lofty alpaca wool. It is worked in the round as a seamless tube and uses a simple one by two cable.
Finished Size 21 (53.5 cm) circumference and 9 (23 cm) tall (at the narrowest edge).
Yarn Artesano Aran (50% alpaca, 50% Peruvian highland wool; 144 yd [132 m]/312 oz [100 g]): #C859 walnut, 1 skein.
Needles Size 8 (5 mm): 16 (40 cm) circular (cir). Adjust needle size if necessary to obtain the correct gauge.
Notions Markers (m); cable needle (cn); yarn needle.
Gauge 14 sts and 26 rnds = 4 (10 cm) in garter st.
Notes
- Slip stitches purlwise with yarn in back.
Stitch Guide
1/2 LPC:
Sl 1 st onto cn, hold in front, p2, k1 from cn.
COWL
CO 3 sts, place marker (pm), CO 89 sts92 sts. Pm and join in the rnd.
Rnd 1 K3, sl m, sl 1 (see ), *p3, sl 1; rep from * to end.
Rnd 2 P3, sl m, 1/2 LPC (see ), p1, k1, *p3, k1; rep from * to end.
Rnd 3 Knit to m, remove m, k2, pm, sl 1, p1, sl 1, *p3, sl 1; rep from * to end.
Rnd 4 Purl to m, sl m, 1/2 LPC, *p3, k1; rep from * to end.
Rnd 5 Knit to m, remove m, k2, pm, sl 1, *p3, sl 1; rep from * to end.
Rnd 6 Purl to 2 sts before m, p2tog, sl m, 1/2 LPC, p1, k1, *p3, k1; rep from * to end1 st decd.
Rep Rnds 36 ten more times81 sts rem. BO all sts.
FINISHING
Weave in ends and block lightly.
AUGUSTA CARDIGAN
Kephren Pritchett
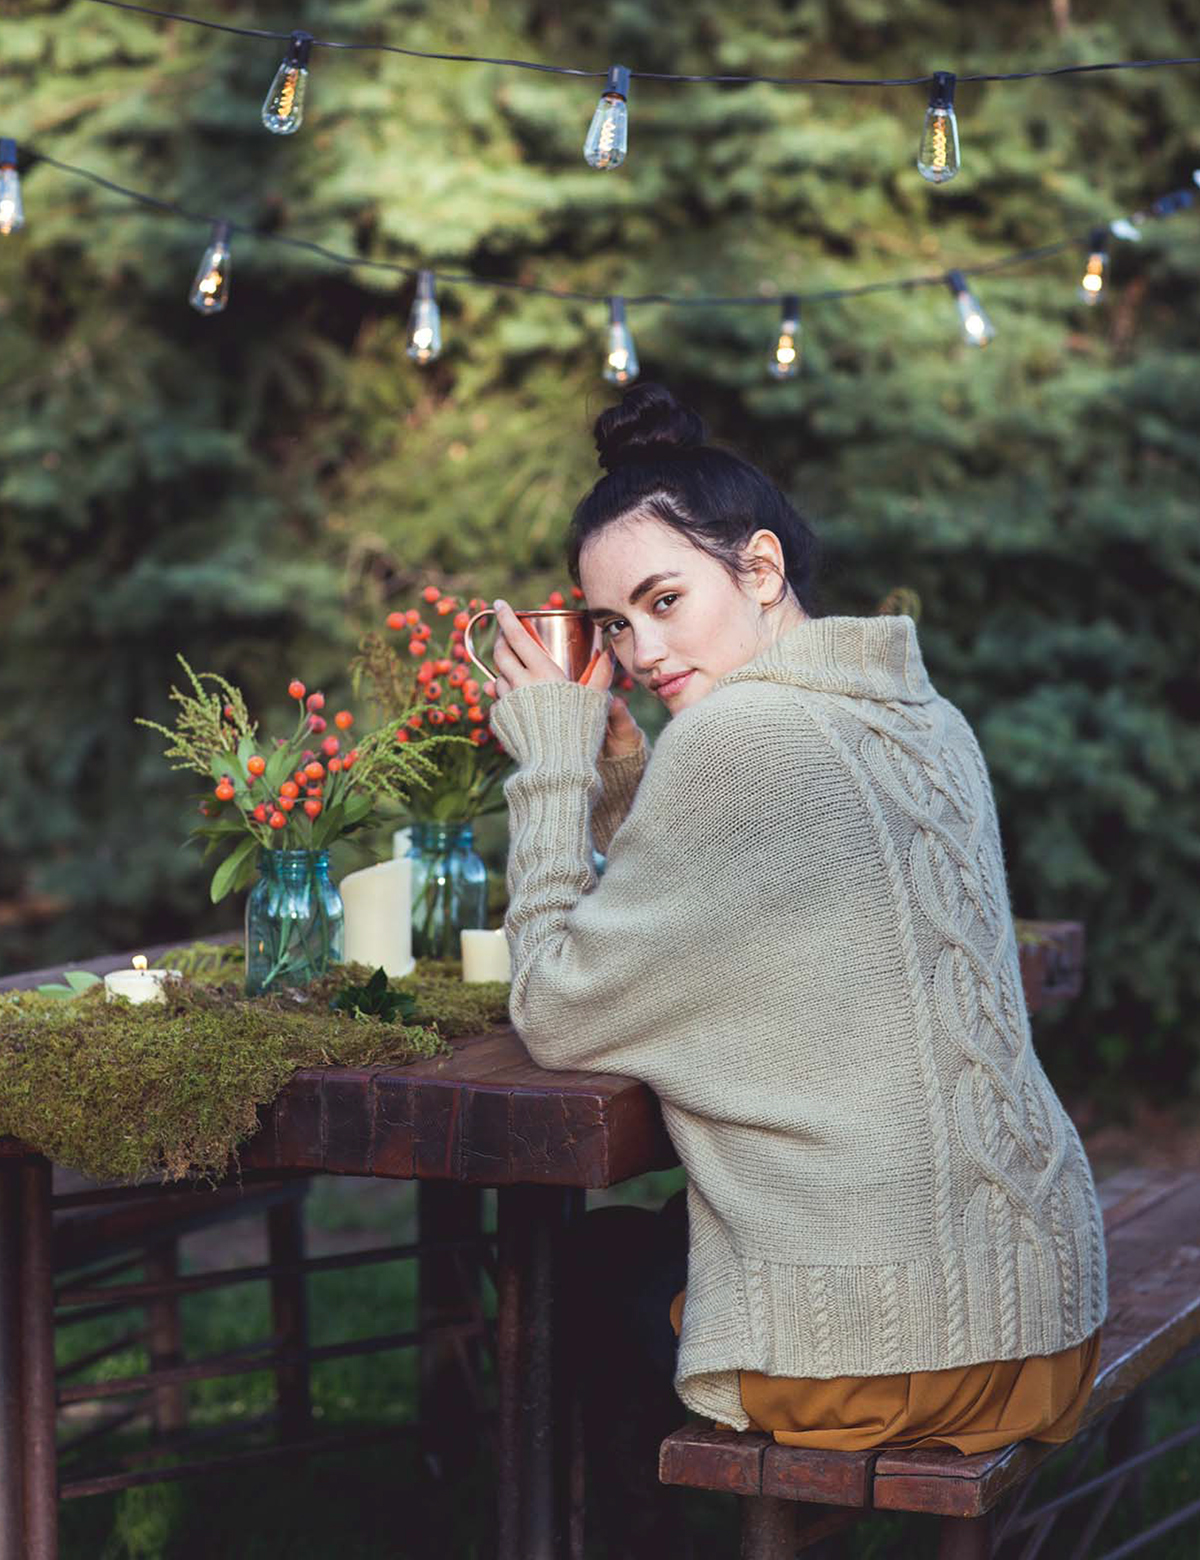
Cocoon yourself in this oversized cardigan; the ideal throw-on so you can take your coffee break al fresco. It has a splendid large cable detail worked all the way down the back and a rolled rib neckline to keep you warm.
Finished Size 18 (20, 22, 24, 26, 28) (45.5 [51, 56, 61, 66, 71] cm) wide at back hip. Cardigan shown measures 20 (51 cm).
Yarn Woolfolk Fr (100% Ovis 21 ultimate merino wool; 142 yd [130 m]/134 oz [50 g]): #6 parchment, 10 (11, 13, 14, 16, 17) skeins.
Needles Size 8 (5 mm): 32 (80 cm) circular (cir). Size 7 (4.5 mm): set of double-pointed (dpn). Adjust needle size if necessary to obtain the correct gauge.
Notions Markers (m); cable needle (cn); stitch holder; yarn needle.
Gauge 18 sts and 28 rows = 4 (10 cm) in St st on larger needle; 57 sts of cable panel =712 (19 cm) wide.
Notes
- This cardigan is worked mostly in a modular fashion. First the back cable panel is worked from the bottom up. The sides are worked by picking up stitches from the sides of the cable panel and working outward toward the sleeve cuffs. Stitches for the ribbed lower edging are picked up from the body and worked downward. Stitches for the collar are worked from held cable panel stitches and picked up from the body, then worked outward.
- A circular needle is used to accommodate the large number of stitches.

CABLE CHART
BACK CABLE PANEL
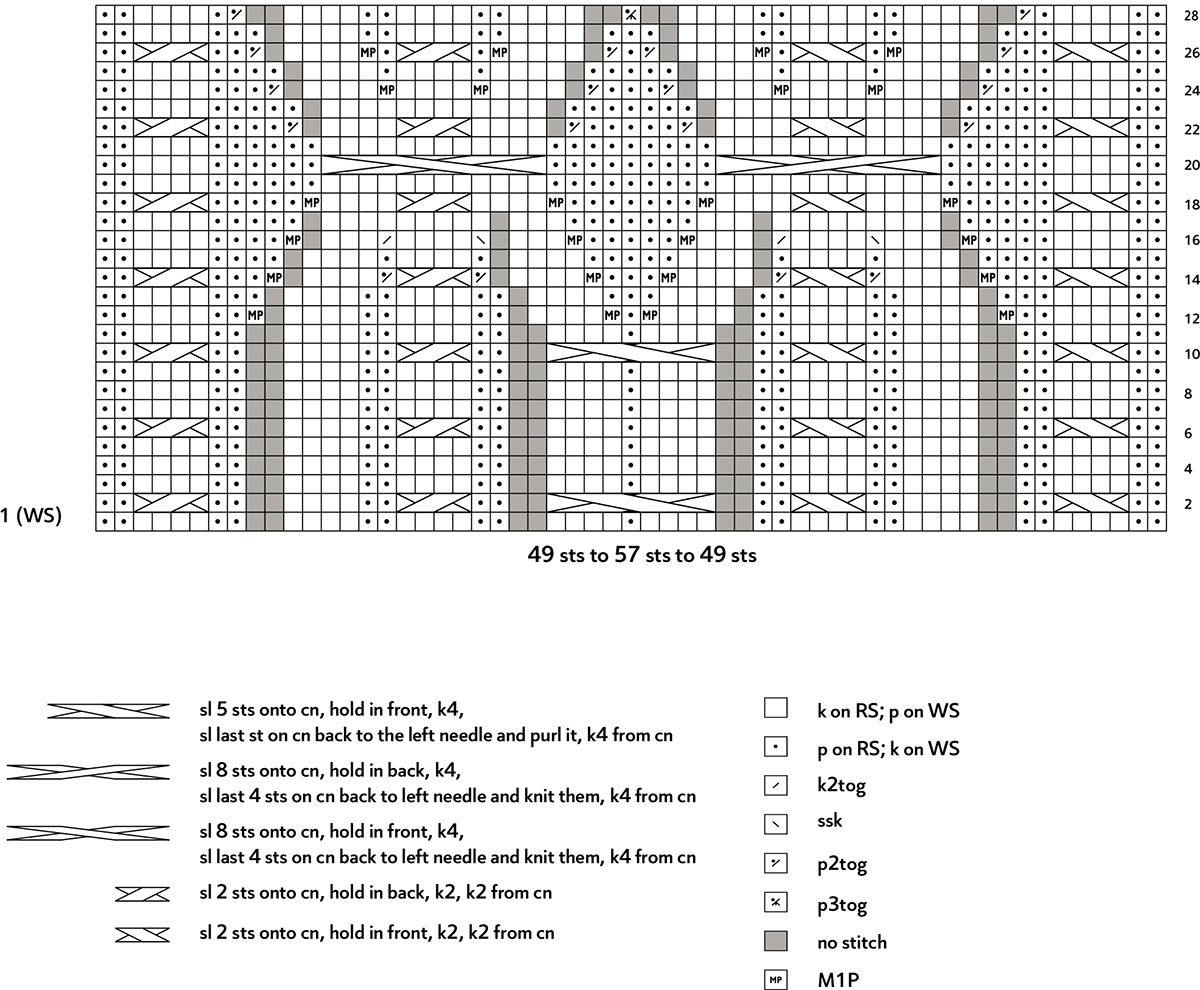
With cir needle, CO 49 sts. Do not join. Beg with a WS row, work Rows 128 of Cable Chart (5, 6, 6, 6, 6) times, then work Rows 110 (110, 12, 12, 110, 110) once more. Do not break yarn. Place sts on holder.
LEFT SIDE
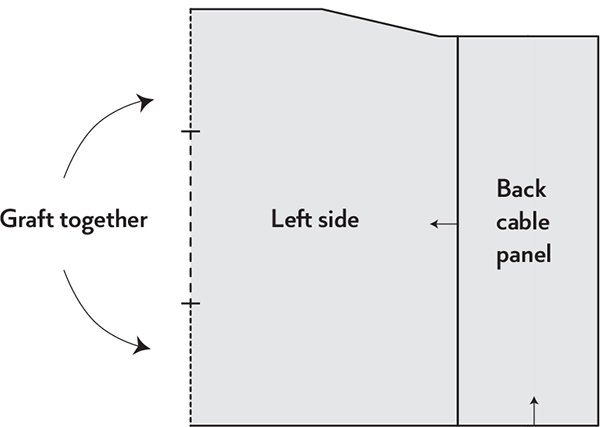
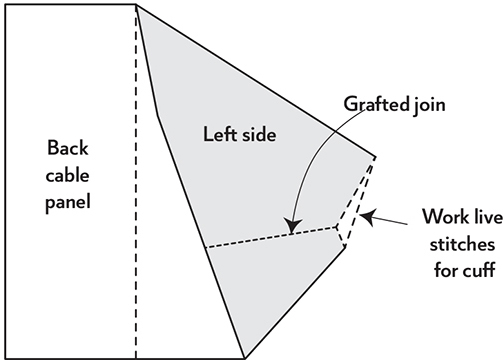
With cir needle and RS facing, using yarn from back cable panel, pick up and knit 100 (100, 112, 112, 118, 118) sts evenly along left edge of back cable panel (see ). Cuff Transfer sts to smaller dpn and, with RS facing, rejoin yarn at grafted row. Place marker (pm) and join in the rnd. Next rnd Knit to last st, sl 1 kwise wyb, pick up and knit 1 st from gap at join, return these 2 sts to left needle and k2tog tbl. Next rnd *K1, p2, k1; rep from * to end. Work 18 (18, 8, 8, 8, 8) more rnds in rib patt as established. Dec rnd Ssk, work in patt to last 2 sts, k2tog2 sts decd. Rep dec rnd every 20 (20, 10, 10, 10, 10)th rnd 3 (3, 7, 7, 7, 7) more times40 (44, 44, 48, 52, 56) sts rem. Work even until cuff measures 12 (30.5 cm). BO all sts in patt.
ASSEMBLY DIAGRAM 1
ASSEMBLY DIAGRAM 2
RIGHT SIDE
With cir needle and RS facing, pick up and knit 100 (100, 112, 112, 118, 118) sts along right edge of back cable panel. Do not join. Work in St st for 1 (2.5 cm), ending with a WS row. Inc row (RS) Knit to last 2 sts, M1R, k21 st incd. Rep inc row every 6th row 5 (7, 9, 11, 13, 15) more times106 (108, 122, 124, 132, 134) sts. Work even until piece measures 1312 (14, 16, 1612, 1712, 18) (34.5 [35.5, 40.5, 42, 44.5, 45.5] cm) from pick-up row, ending with a WS row. Break yarn, leaving a 25 (63.5 cm) tail. Fold in half and, with tail threaded on a yarn needle, graft first 29 (28, 31, 30, 32, 31) sts to last 29 (28, 31, 30, 32, 31) sts using Kitchener st48 (52, 60, 64, 68, 72) sts rem. Cuff Work as for left side.
BACK RIB
With cir needle and RS facing, beg at CO edge 514 (614, 714, 814, 914, 1014) (13.5 [16, 18.5, 21, 23.5, 26] cm) to right of cable panel, pick up and knit 31 (37, 43, 49, 55, 61) sts evenly along left side edge, 49 sts along cable panel, and 31 (37, 43, 49, 55, 61) sts along right side edge, ending 514 (614, 714, 814, 914, 1014) (13.5 [16, 18.5, 21, 23.5, 26] cm) to left of cable panel (see )111 (123, 135, 147, 159, 171) sts total.

