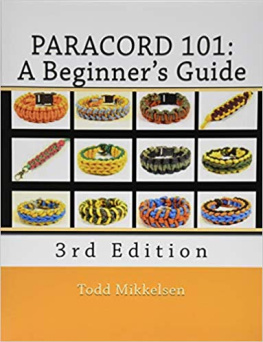
PARACORD 101: A BEGINNER'S GUIDE -THIRD EDITION by Todd Mikkelsen
Copyright 2014 by Todd Mikkelsen. All Rights Reserved. No part ofthis document may be reproduced or transmitted in any form or by any means,electronic, mechanical, photocopying, or otherwise, without prior writtenpermission of Todd Mikkelsen, except by a reviewer, who may quote shortpassages in a review where suitable credit is given.
PREFACE This is thethird edition of Paracord 101. Why a third edition? I never taught any of myscience courses the same way twice. I made small and large changes to mycurriculum all the time due to current scientific discoveries and good teachingmethods such as project based science, flash based simulation labs, andmodeling with whiteboards.
I have to be true to myself and change Paracord 101from its original purpose due to the ever changing methods and basic designspeople can learn from. This book provides simple to complex designs that I hopethe reader will enjoy so much that one day that person will call one's self aparacordist.
Question:What is a Paracordist? Answer: Onewho creates art through paracord; Paracord Artist. You canfollow Paracord 101 at: -YouTube - https://www.youtube.com/user/ToddM101 -Blogger - http://paracord101.blogspot.com -Facebook -Twitter - https://twitter.com/Paracord101 -Instagram -http://instagram.com/therealparacord101
TABLE OFCONTENTS
Chapter 1 What Do You Need?

If this is ahobby or a business and you wish to make paracord bracelets, key fobs, andlanyards, then you may need several tools that will assist you. These toolswill help reduce the time it takes to make paracord projects and help relieveanxiety and/or frustration. Most of the items listed in this chapter can befound on popular internet market places.
Keep in mindthat these are the tools that this author prefers to use. Other paracordistsmay have differing opinions. You may need the following items:

1. Paracord The standard for most paracord bracelets and projects is550, 7 strand core, paracord.

2.
3.

3.
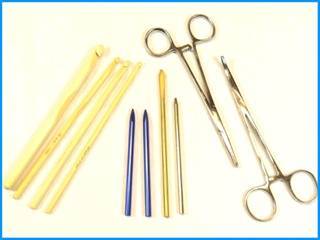
Fid (Lacing Needle), Crochet Hooks, and Forceps These can be used to thread or pull paracord through severalloops.
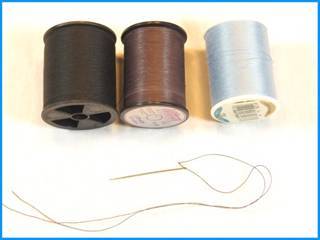
4. Sewing Needle and Thread A sewing needle and thread may be used to join or splice twostands of paracord together. It can also be used to secure a loose end.
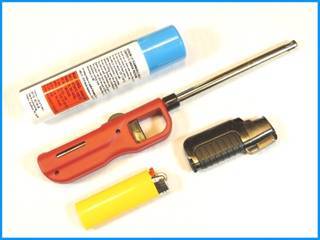
5.
6.

6.
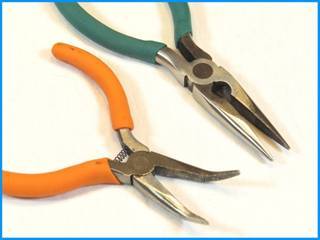
Needle Nosed Pliers Pliers can be used to help take apart a project due to anerror. The flat, non-textured, part of the pliers can be used to flatten meltedcord.
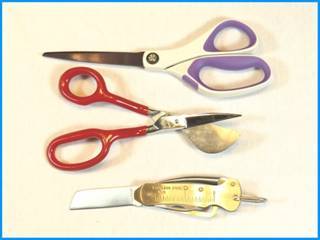
7. Scissors and/or Knives Scissors of various kinds can be used to cut paracord andthread; knives and carpet shears can also work well.
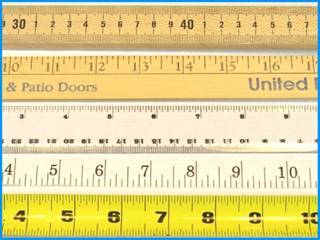
8. Ruler, Measuring Tape...
A ruler, yard stick, meter stick, garment tape, measuringtape, etc. can be used to measure paracord.
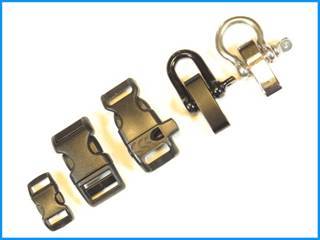
9. Buckles... Most paracordists make bracelets with a 3/8 inch or 5/8 inchplastic buckle.
10.

10.
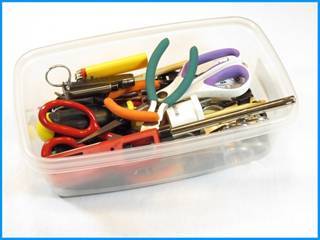
Plastic Containers Plastic Containers can keep tools and accessories organized.
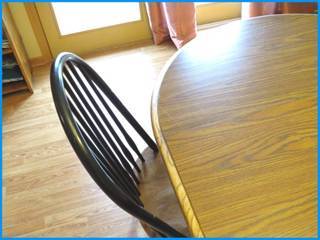
11. Work Space A work space will be needed to make your paracord projectsand keep supplies within reach.

12. Spreadsheet or Notebook If you are going to make more than one bracelet and want torepeat the process again and again, then you should keep track of paracordproject data with a notebook or spreadsheet.
1.

1.
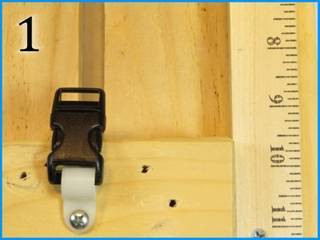
Measure your wrist size. Add 1.25 - 1.5 inches to thebracelet Length for comfort.
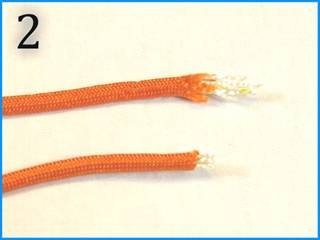
2. Prep the cord to make it easier to use when threading the5/8 inch buckles.
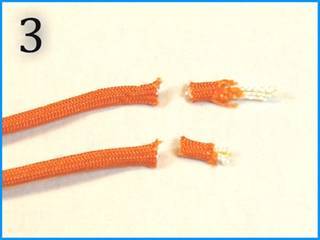
3. After cutting the cord, make sure there are no white corestrands sticking out.
Trim excess or make a new cut to the paracord.
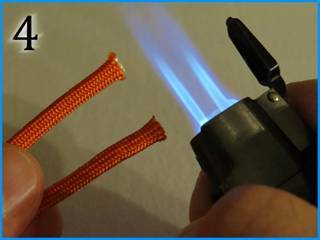
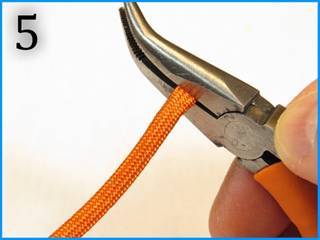
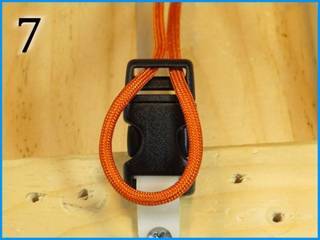
4. and 5. Next, melt the newly cut end and smash it with theflat portion of the pliers' claw. Why do this? The "melt and smash"method allows the paracordist to easily (usually) thread through the bucklewith ease.
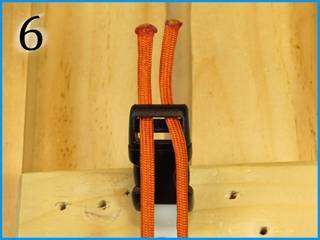
6.
Thread the bottom buckle.



 1. Paracord The standard for most paracord bracelets and projects is550, 7 strand core, paracord.
  2.
2.  3.
3.  4. Sewing Needle and Thread A sewing needle and thread may be used to join or splice twostands of paracord together. It can also be used to secure a loose end.
  5.
5.  6.
6.  7. Scissors and/or Knives Scissors of various kinds can be used to cut paracord andthread; knives and carpet shears can also work well.
  8. Ruler, Measuring Tape...
  9. Buckles... Most paracordists make bracelets with a 3/8 inch or 5/8 inchplastic buckle.
  10.
10.  11. Work Space A work space will be needed to make your paracord projectsand keep supplies within reach.
  12. Spreadsheet or Notebook If you are going to make more than one bracelet and want torepeat the process again and again, then you should keep track of paracordproject data with a notebook or spreadsheet.
  1.
1.  2. Prep the cord to make it easier to use when threading the5/8 inch buckles.
  3. After cutting the cord, make sure there are no white corestrands sticking out.
 4. and 5. Next, melt the newly cut end and smash it with theflat portion of the pliers' claw. Why do this? The "melt and smash"method allows the paracordist to easily (usually) thread through the bucklewith ease.
  6.
6. 