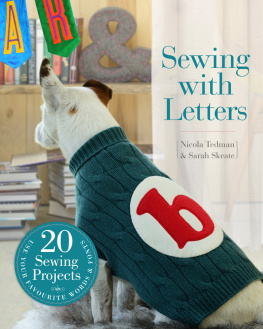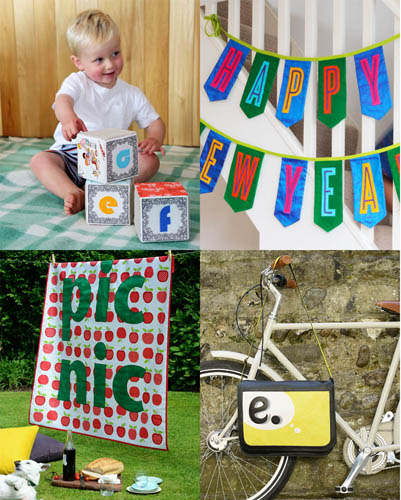
W ords and letters have never been more popular as decorative motifs for the homeeveryday objects are adorned with everything from single characters in a bold sans serif to whole words and phrases in elegant calligraphic faces. Soft Fonts takes this trend and runs with it, offering 20 neat, fabric-based projects that will appeal to a new audience of design-literate crafters. From cell phone cases and pillows to window shades and doorstops, each project showcases a classic font or group of fonts.
Sewing
with
Letters
Using your favourite
words & fonts

Nicola Tedman & Sarah Skeate

First published in the UK in 2014 by
Ivy Press
210 High Street
Lewes
East Sussex BN7 2NS
United Kingdom
www.ivypress.co.uk
Copyright 2014 Ivy Press Limited
All rights reserved. No part of this book may be reproduced or transmitted in any form or by any means, electronic or mechanical, including photocopying, recording, or by any information storage-and-retrieval system, without written permission from the copyright holder.
British Library Cataloguing-in-Publication Data
A catalogue record for this book is available from the British Library
Print ISBN: 978-1-78240-087-5
ePub ISBN: 978-1-78240-158-2
Mobi ISBN: 978-1-78240-159-9
This book was conceived, designed and produced by
Ivy Press
Creative Director Peter Bridgewater
Publisher Susan Kelly
Conceived by Sophie Collins
Editorial Director Tom Kitch
Art Director James Lawrence
Designer Clare Barber
Photographer Neal Grundy
Illustrator Vicky Woodgate
Models Anna and William Stevens
Ivy Press would like to thank Dan Gneiding for permission to use his font Ribbon and Peter Fritzsche for permission to use his font Origami.
Colour origination by Ivy Press Reprographics
10 9 8 7 6 5 4 3 2 1
Distributed worldwide (except North America) by
Thames & Hudson Ltd, 181A High Holborn,
London WC1V 7QX, United Kingdom

Contents
Before You Start
T he projects in this book include accessories you can make from scratch, as well as inspirational ideas for personalizing existing items. The designs vary in complexity so even if youre relatively inexperienced there will be plenty for you to make, but read this section before you start on your first project youll find it useful in helping you get the best possible finish.
FINDING FONTS
The fonts weve suggested you use are a mixture of those that may have come bundled with your computers operating system and others that can be purchased online.
A few projects use specific words or phrases, and templates have been supplied for these. In other cases, youre free to choose your own initials or letters. Once youve established the font you want to use and loaded it on your computer, type the characters in the correct font in your word processing or desktop publishing programme, then simply change the font size to fit the project. Most programmes offer onscreen rulers or the option of viewing your work in a print layout view so you can scale your fonts size accurately before printing it out. Instructions are provided for making templates or stencils to use in your chosen project.

EQUIPMENT
Youll only need basic crafting tools and sewing supplies for the majority of these projects, and all have full equipment as well as materials lists at the beginning, so that you can check that you have everything youll need before you start. Some projects call for you to sew leather or suede, in which case a leather needle for your sewing machine will be necessary.
There are two other pieces of kit that are called for in a few projects and that may prove worth investing in: a laminator and a bias tape maker.
Laminator
A laminator is used to coat a piece of paper or card with flexible plastic. In these projects its use is sometimes suggested to help you to create hardy templates or stencils which can be used with paint. Laminators and the glue pouches that are used with them are invaluable to keen crafters, are relatively inexpensive and are easy to get hold of. If you decide youd like one, check out the different models and sizes online to get the best deal; youll find that there are plenty of options. Its worth investing in one of the bigger sizes, as this gives you the option of creating larger templates or stencils.
Bias tape maker
Bias tape makers are small and cheap, and can be found online or in the haberdashery departments in stores. You can buy them to create different widths of tape, but regular sewers may want to own several in different sizesyou simply pull your length of bias-cut fabric through a tape maker and it turns in the edges to create instant bias tape that you can then use for binding edges, making loops and so on. In this book, youll find bias tape is also sometimes used to recreate flowing, calligraphic fonts.
TECHNIQUES
Sewing
The projects use both hand and machine sewing. Any special needles ie for sewing leather or suede are mentioned in the materials lists for the projects, which use a wide range of textiles and fabrics.
Hand sewing is generally straightforward. However, you may be unfamiliar with ladder stitch, which is used in a few of the projects. Ladder stitch is used to close gaps between two edges of fabric.
To sew ladder stitch, align the two fabric edges and bring the needle up from the wrong side of one piece of fabric, then stitch between the fabrics as shown in the diagram. Sew loosely, pulling the thread up to tighten it every few stitches.

Gluing
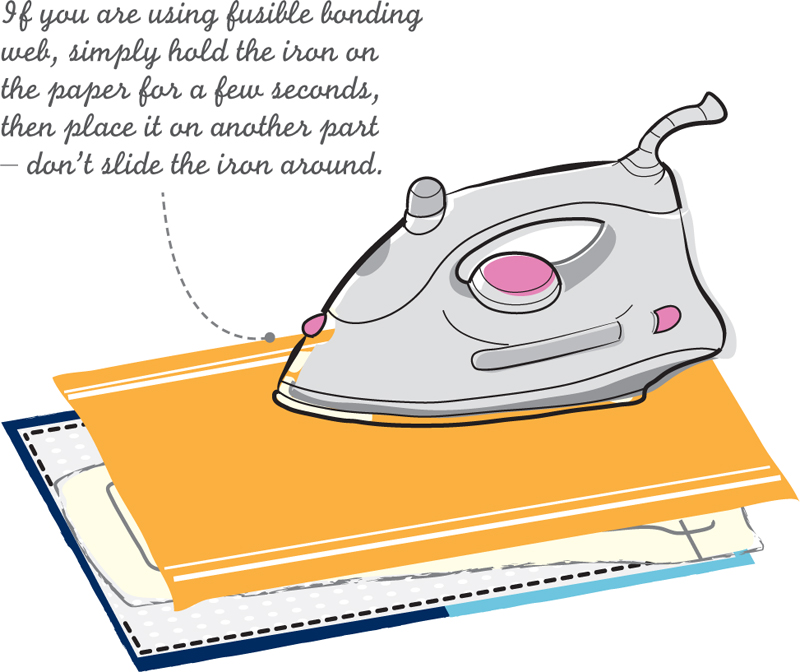
FUSIBLE BONDING WEB
This is used to glue two fabrics together; the type used in this book has an adhesive and paper backing on one side. It is pressed directly onto the wrong side of the fabric you are using (the heat dissolves and activates the glue, so it fuses to the fabric).
INTERFACING
This is used to stiffen fabrics. The type used in this book has an iron-on adhesive on one side to allow it to be easily applied to fabrics.
GLUE
Two sorts of glue are specified in the projects. One is high-tack craft glue, which is very sticky. Its best to use it sparingly and to aim it accurately a little goes a long way.
The second is contact glue, which has a strong hold provided its used correctly. Spread a very thin layer of glue on both of the surfaces to be stuck together (a spatula spreader is useful here; some contact glue comes with one, ready to use), leave to dry for a minute or two, then press the surfaces firmly together to stick.
Next page
