Learn How to Draw
Portraits of Famous People in Pencil
For the Absolute Beginner
Paolo Lopez de Leon
And
John Davidson

HOW TO LEARN
Book Series
JD- Biz Publishing
All Rights Reserved.
No part of this publication may be reproduced in any form or by any means, including scanning, photocopying, or otherwise without prior written permission from JD-Biz Corp and at http://JD-Biz.com . Copyright 2013
All Images Licensed by Paolo Lopez de Leon, Adrian Sanqui
Fotolia .com and 123RF.com
Read More Learn How to Draw Books

TABLE OF CONTENTS
Introduction:
Drawing Materials
Rendering
Sphere
Cone
Cube
Cylinder
Lesson about Light
Application
Outlining
Rendering parts of the Face
A. Eyes
B. Nose
C. Mouth
D. Ears
E. Hair
F. Face
Drawing and Rendering
A. Katy Perry
B. Thomas Edison
C. Queen Elizabeth II
Tips to Remember
The Last step-by-step Demonstration
Author Bio
Introduction:
A Portrait as we all know, are meant to tell something. It could be an achievement, position in life of one person and simply how he live that he want others to see him with his delightful expression. That may also means that it is a representation in a form of drawing, sculpture, photography or any artistic form of oneself in still time (its his Utopia).
An artist who makes a self-portrait knows this, since he is always moved by his passion that stimulates and drives him to make his masterpiece.
The artist that Im referring to is not just me, but anyone who have the artist spirit in them, especially you. Yes I repeat YOU, as you picked this book and read it; you had take a big step to become an artist, you will be in a journey of finding yourself and you are in a right direction.
Things that you need to poses are dedication and perseverance. Also I have to include, you have to get motivated, and one key that I have to share to keep your creative side to work is to get an inspiration, it can come from any form, conscious or not, so always be thankful to, our creator GOD and our universe for it provide us what we need, The Artist Spirit.
This book will help you achieve realism in doing your drawing specially portraits, believe it or not, you will be amaze of your accomplishment, also people who are close to you will be impress, who know you will be making a living out of your Portrait drawings. Which I presume, and I will be happy to hear from you if that day will happen.
Drawing Materials
Pencils

The most important tool, made from Graphite with a mixture of Clay, soft pencils like B have little amount of clay or not at all, used for outlining and giving texture to your drawing, comes in different scales: H(Hard), F, HB, and B(Soft) varying grades like 9H(lightest)to 9B(darkest)range.
For our drawings we need the following: 4H, 2H, F, HB, 2B and 6B, but if youre short of supplies, you can use HB only, just apply pressure when you want a darker tone and light pressure for light tone.
Mechanical Pencils
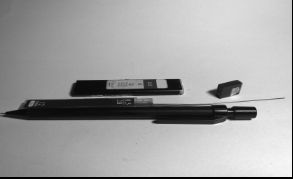
Like Pencils the lead is also made of Graphite, Good for details, come in handy especially for tight areas, the difference is it doesnt need a sharpener if the lead breaks, just press the cap on the end of the pencil and its good to go, it comes in different sizes: 0.2mm to 5.6mm, for our drawing 0.5 will just be suffice.
Erasers
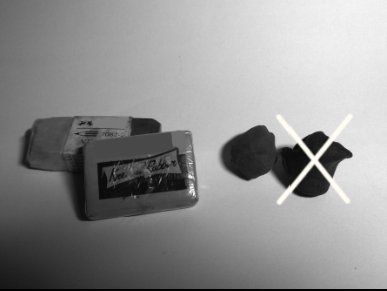
Kneaded Eraser
This is like a clay or putty eraser, which can be mold to any difference shape and thickness, depending to your needs, it can lift Graphite in the paper without any damage, good for tight areas, can lighten areas in your drawing, and used for making highlights in your drawings to make it more realistic. Need to be replaced if it is already dark due to accumulation of Graphite.
Vinyl Eraser
This kind of eraser does not smudge the surface of the paper; it can erase hard and tough areas totally especially for large areas, and does not harden.
There are other types of Erasers like Pink Eraser, Typewriter Erasers and Peel-Off type Eraser, you can also use those, as it depends on the availability of the materials in your area, feel free to experiment what works best for you.
Sharpener
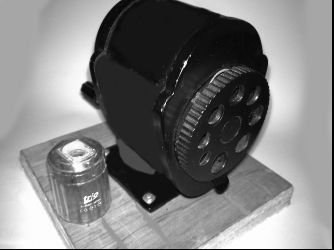
There is manual Sharpener, Wall-Mounted Sharpener and Electric Pencil Sharpener, Any type of Pencil sharpener will do, just make sure that it is safe to use.
Spray Fixative
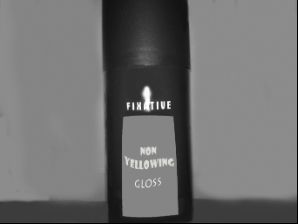
T hese are available in spray cans, it will make youre drawing fix to the paper, so that it will not smudge and to have professional looks, they comes in Matte or Gloss Finish, better to choose a trusted brand and a non-yellowing.
Smudge Sticks
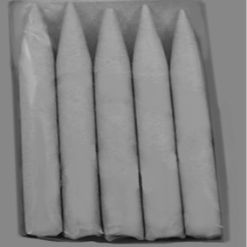
Used to blend your drawing, smear one tone to another (this is the only time you are allowed to smear your work) when making even tones, especially in facial areas. You can use fine sand paper to make polish the pointer, when its ruin.
Paper
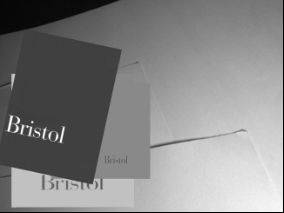
For our drawings Bristol paper will be used, they come in board and pads 2-ply, the front has a Plate surface, a smooth finish and has an egg shell texture, while the back has the Vellum surface texture, I used the Vellum surface which is good for shading.
Ruler and Template
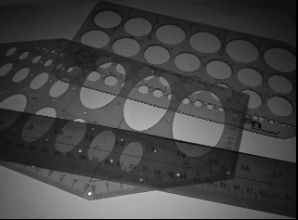
Ruler helps you draw straight lines, measure distance, you can use plastic or wooden for our drawings.
Templates can be use to draw circles or ellipse accurately, especially when drawing the parts of the eyes. Which demand a good form of shape.
RENDERING
I know you are eager to make your beautiful Masterpiece now, and I promise you that you will after you learn how to render, this is the part that will make a big difference as an artist. So be ready of your Pencils, Kneaded erasers, and smudge stick for our lecture.
This is our value scale this will help us select the right tone

You can make your own Value Scale to have a reference, take note that I blend (using the smudge stick) to the right, so that you will have an idea, how will it look like.
Next page
