PUBLISHER: Amy Barrett-Daffin CREATIVE DIRECTOR: Gailen Runge ACQUISITIONS EDITOR: Roxane Cerda MANAGING EDITOR: Liz Aneloski EDITOR: Karla Menaugh TECHNICAL EDITOR: Del Walker COVER/BOOK DESIGNER: April Mostek PRODUCTION COORDINATOR: Tim Manibusan PRODUCTION EDITOR: Alice Mace Nakanishi ILLUSTRATOR: Mary E. Flynn PHOTO ASSISTANTS: Gregory Ligman and Kaeley Hammond COVER PHOTOGRAPHY by Windborne Studios, Inc. SUBJECTS PHOTOGRAPHY by Windborne Studios, Inc.;
INSTRUCTIONAL PHOTOGRAPHY by Estefany Gonzalez
of C&T Publishing, Inc., unless otherwise noted Published by C&T Publishing, Inc., P.O. Box 1456, Lafayette, C 94549  Dedication This book is dedicated to my husband, David, who quietly and patiently tolerates the quilting thing that he just doesnt understand.
  Acknowledgments Every creative spark requires a steady breeze to fan it into flame. Greg Barner is that whirlwind.
He shapes brainstorms into reality and as Chief Stitch Master has pieced all the quilts for this book. 
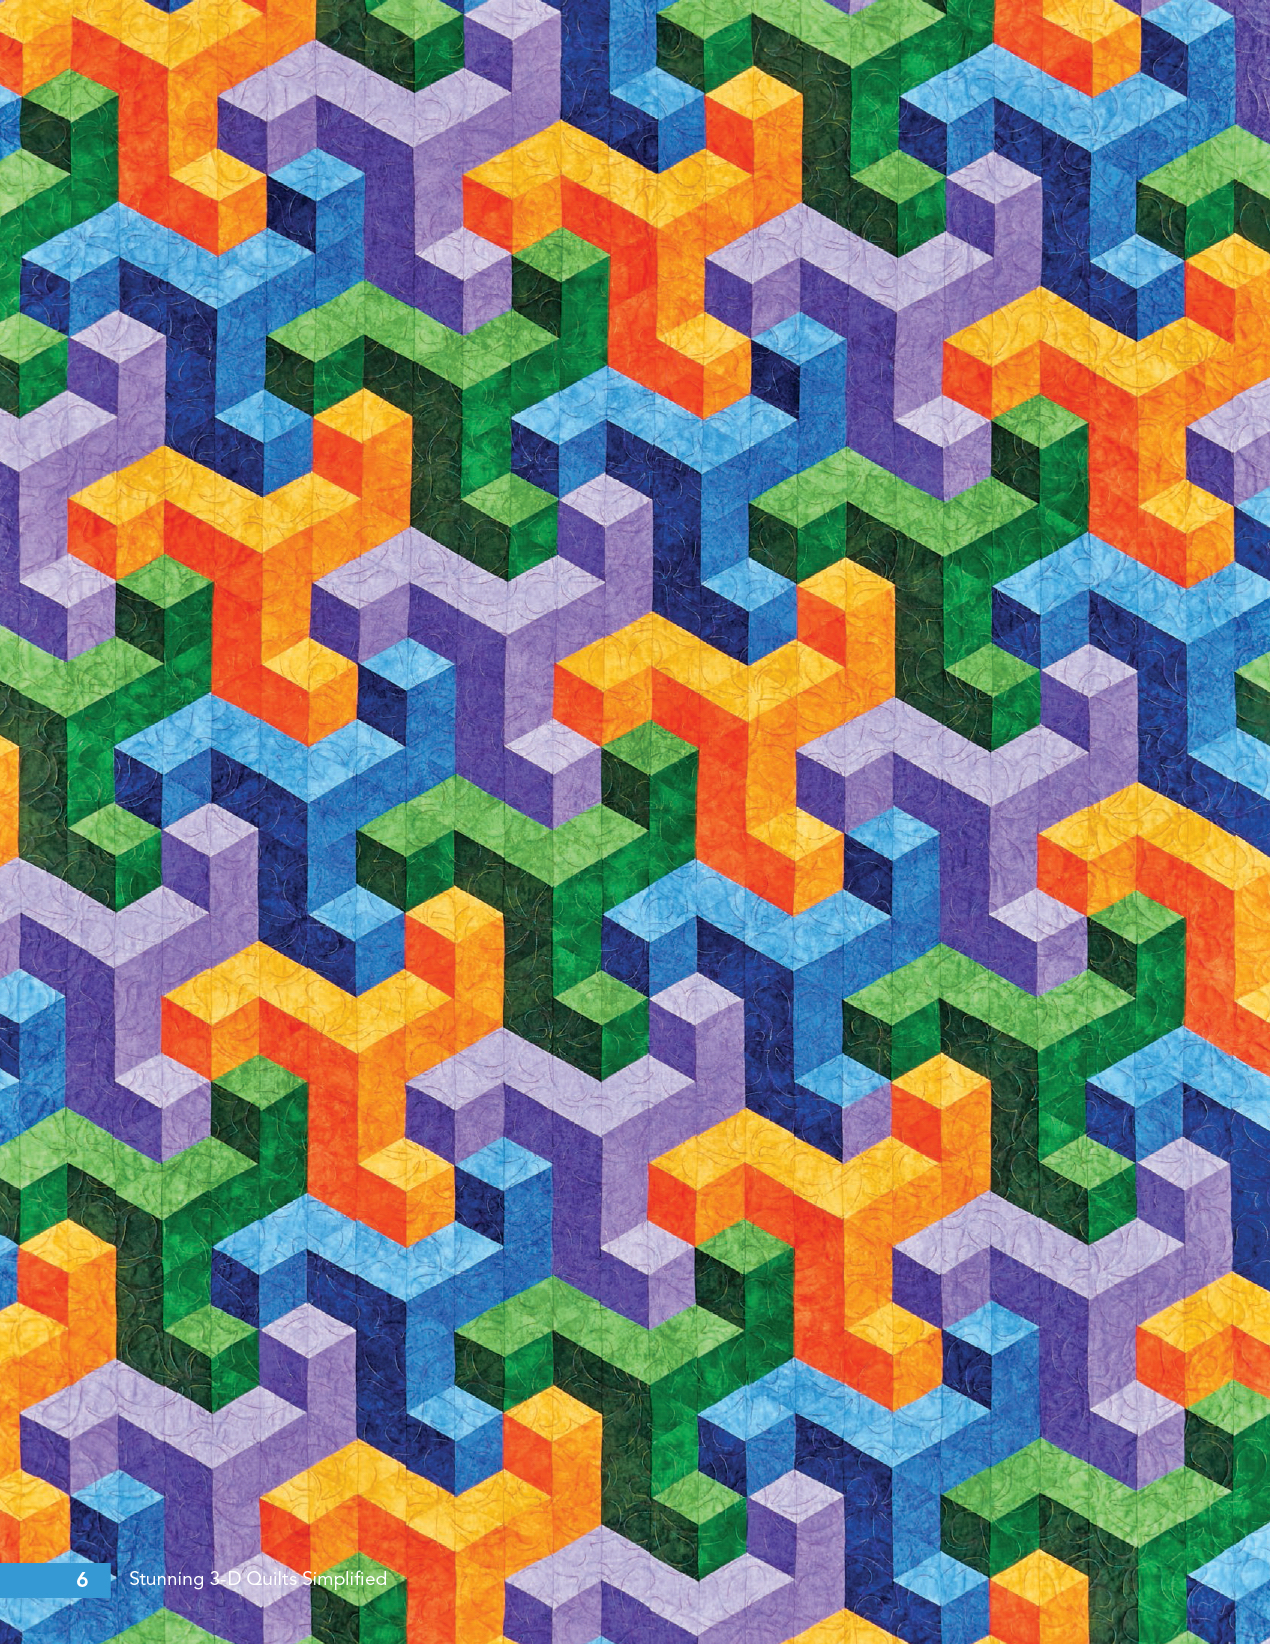 Introduction I am captivated by any kind of artwork that is displayed on a flat surface but has the appearance of being a three-dimensional object. To me, sidewalk chalk artists are the epitome of 3-D magicians. A little shading here, a little tweaking of perspective there, and a dimensional landscape appears on level pavement. Isnt it magic how the eye can create depth where there really isnt any? How fascinating that light and shadow applied with pencil, brush, or chalk can create dimension on a flat surface. I have often wondered if a similar effect could be translated into fabric.
Then I discovered isometric graph paper! Who knew?! If you draw an object on it, decide on a direction of an imaginary light source, and apply three values of shading Voil!a dimensional object materializes. I noticed that 60 paper really is just vertical stacks of equilateral triangles. The triangles could easily be fabric in light, medium, and dark values to mimic the shading done with a pencil. The columns with triangles constructed vertically would eliminate any need for set-in seams, and the completed columns sewn together create the illusion of depth. Following this idea to conclusion, any gadget, gizmo, or doojigger you dare to imagine can become a 3-D quilt. The skys the limit! 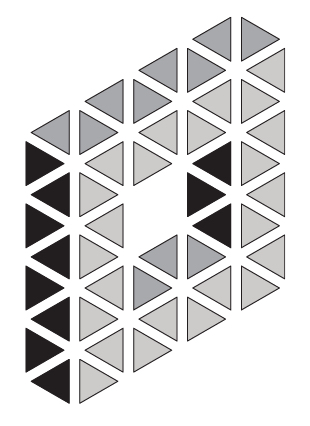 Making a 3-D QuiltTools You wont need any specialized tools for these 3-D quilts, just a 60 triangle ruler and other basic sewing supplies.
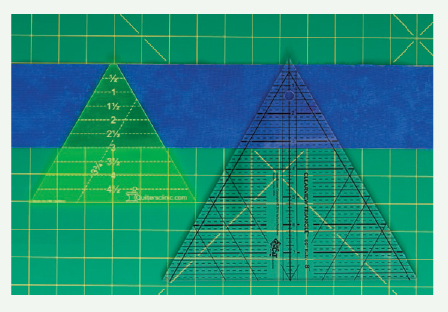
Heres a list of the tools I used. Rotary cutter and mat 6 24 straight ruler 60 triangle ruler with one blunt point Scissors Pins Marking pencil Clothes pins or binder clips  You dont have to buy a new 60 triangle ruler if yours doesnt have a blunt tip. To use a ruler with a pointed tip, align the bottom of the fabric strip with the ruler mark that is more than the width of the strip.
  Selecting Fabric To make one of these simplified 3-D quilts, choose blender, solid, or tone-on-tone fabrics in sets of three. Each box, beam, or square-nut element requires three fabricsa light, a medium, and a dark. One option is to select fabrics of the same color in three values, as in Echoes.
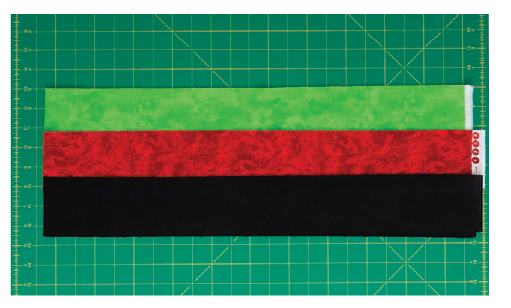
The fabrics within each colorway should graduate smoothly from light to dark but have enough contrast to be easily differentiated from each other. 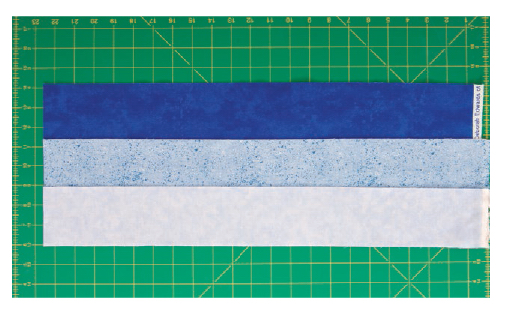 Another option is to choose three different colors for an element, still using a light, medium, and dark value but not necessarily the same color, as in Soulmates.
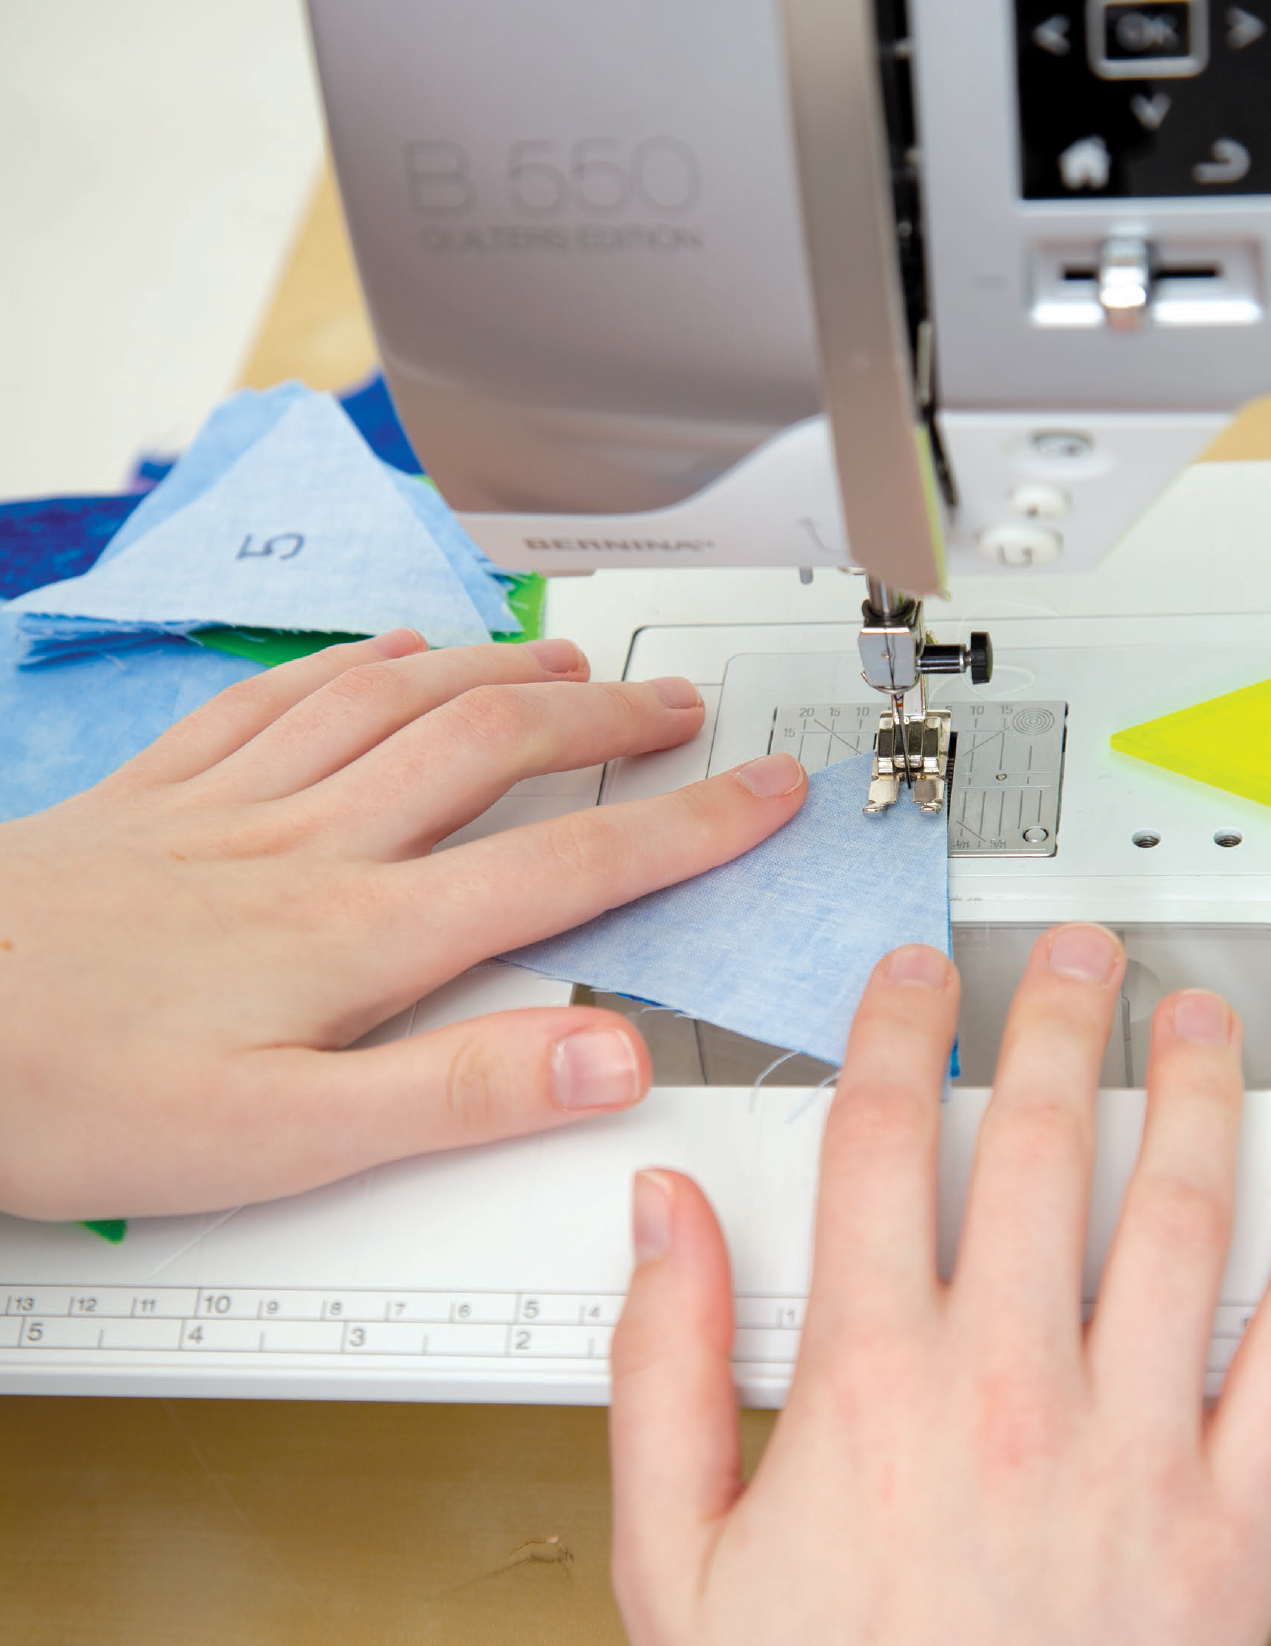 Using the Project Page Each project page features a cutting chart that contains each fabrics color description, yardage requirement, and the number of triangles to cut from the strips.
  Many of the projects offer more than one finished-size option based on the cut width of the strips. The patterns are easily sized up and down by changing the width of the strips. The strip width and finished size information is located at the top of the cutting chart.
The yardage requirements and cutting instructions are provided for up to four different size options. These 3-D quilts are all constructed in columns of triangles, so that no Y-seams are required Making the Quilt CUTTING TRIANGLES FROM STRIPS From the project page, choose a finished size and note the width of the strips required. In each fabric color, start by cutting a width-of-fabric strip as indicated in the chart. Starting at the selvage end of the strip, use a blunt-pointed 60 ruler to subcut the strip into equilateral triangles. Note: Do not cut the border fabric into triangles! If you have a 60 ruler with a pointed tip, see 60 Ruler Options. 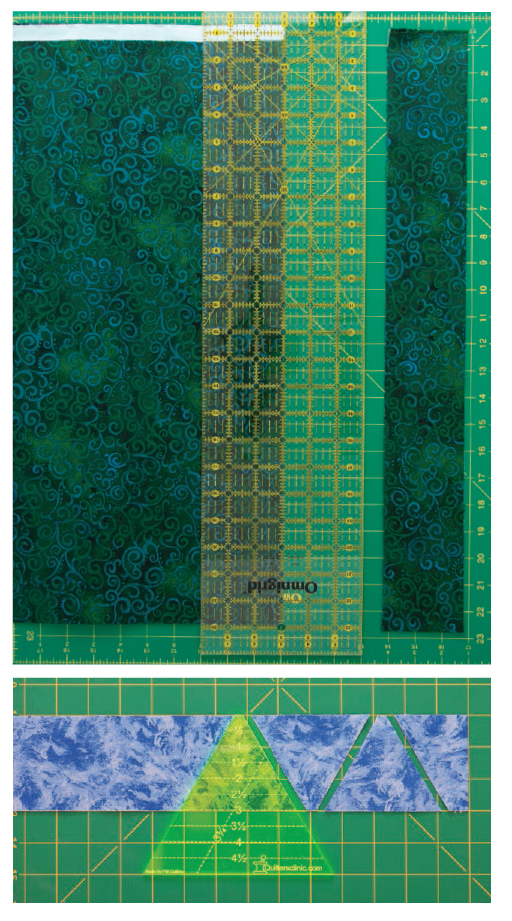
 TIP: How Many Triangles Can You Get From a Strip? Assuming your fabric has 40 of usable width, you should be able to cut the following 60 triangles: 3 strip: 18 triangles 3 strip: 15 triangles 4 strip: 13 triangles 5 strip: 11 triangles STACKING IN COLUMNS Referring to the design chart, stack the triangles needed for each column in order from top to bottom, with the first triangle for the top of the column on the top of the stack.
 TIP: How Many Triangles Can You Get From a Strip? Assuming your fabric has 40 of usable width, you should be able to cut the following 60 triangles: 3 strip: 18 triangles 3 strip: 15 triangles 4 strip: 13 triangles 5 strip: 11 triangles STACKING IN COLUMNS Referring to the design chart, stack the triangles needed for each column in order from top to bottom, with the first triangle for the top of the column on the top of the stack.
Clip each stacked column together using a large project clip or clothespin. Optional: Alternatively, you may choose to keep each color stacked separately and add triangles one at a time as you sew, marking off the design chart as you go. 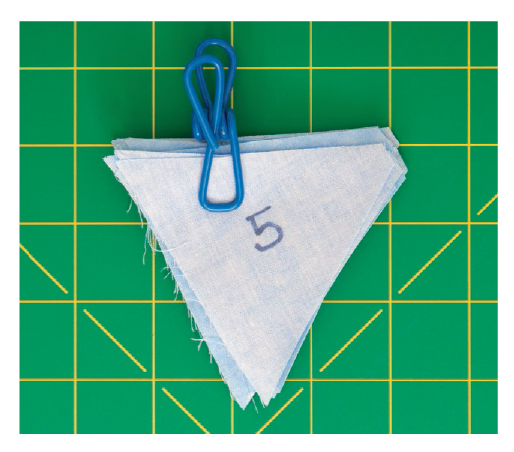
Next page
 Dedication This book is dedicated to my husband, David, who quietly and patiently tolerates the quilting thing that he just doesnt understand.
  Acknowledgments Every creative spark requires a steady breeze to fan it into flame. Greg Barner is that whirlwind.
 Introduction I am captivated by any kind of artwork that is displayed on a flat surface but has the appearance of being a three-dimensional object. To me, sidewalk chalk artists are the epitome of 3-D magicians. A little shading here, a little tweaking of perspective there, and a dimensional landscape appears on level pavement. Isnt it magic how the eye can create depth where there really isnt any? How fascinating that light and shadow applied with pencil, brush, or chalk can create dimension on a flat surface. I have often wondered if a similar effect could be translated into fabric.
 Making a 3-D QuiltTools You wont need any specialized tools for these 3-D quilts, just a 60 triangle ruler and other basic sewing supplies.
 You dont have to buy a new 60 triangle ruler if yours doesnt have a blunt tip. To use a ruler with a pointed tip, align the bottom of the fabric strip with the ruler mark that is more than the width of the strip.
  Selecting Fabric To make one of these simplified 3-D quilts, choose blender, solid, or tone-on-tone fabrics in sets of three. Each box, beam, or square-nut element requires three fabricsa light, a medium, and a dark. One option is to select fabrics of the same color in three values, as in Echoes.
 Another option is to choose three different colors for an element, still using a light, medium, and dark value but not necessarily the same color, as in Soulmates.
 Using the Project Page Each project page features a cutting chart that contains each fabrics color description, yardage requirement, and the number of triangles to cut from the strips.
  Many of the projects offer more than one finished-size option based on the cut width of the strips. The patterns are easily sized up and down by changing the width of the strips. The strip width and finished size information is located at the top of the cutting chart.
 TIP: How Many Triangles Can You Get From a Strip? Assuming your fabric has 40 of usable width, you should be able to cut the following 60 triangles: 3 strip: 18 triangles 3 strip: 15 triangles 4 strip: 13 triangles 5 strip: 11 triangles STACKING IN COLUMNS Referring to the design chart, stack the triangles needed for each column in order from top to bottom, with the first triangle for the top of the column on the top of the stack.