UNION SQUARE & CO. and the distinctive Union Square & Co. logo are trademarks of Sterling Publishing Co., Inc.
Union Square & Co., LLC, is a subsidiary of Sterling Publishing Co., Inc.
All rights reserved. No part of this publication may be reproduced, stored in a retrieval system, or transmitted in any form or by any means (including electronic, mechanical, photocopying, recording, or otherwise) without prior written permission from the publisher.
For information about custom editions, special sales, and premium purchases, please contact .
Introduction
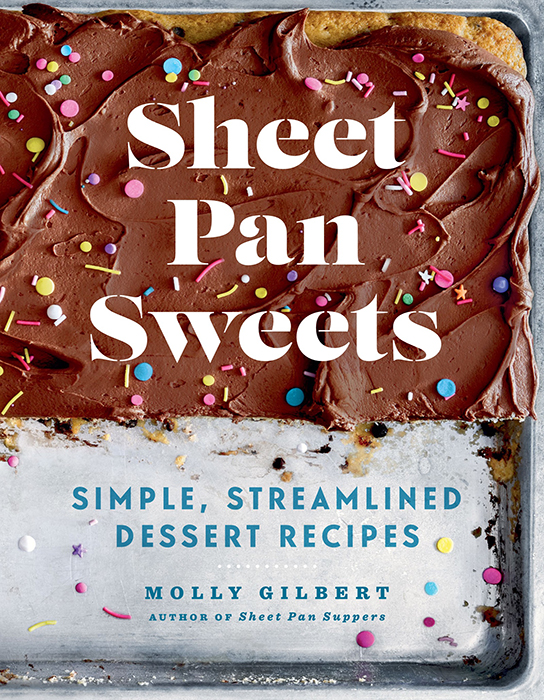
When I wrote my first cookbook, Sheet Pan Suppers, nearly ten years ago, I had no idea that sheet pan cooking, as both a concept and a food trend, would skyrocket to popularity. Today, sheet pan recipes flood the internet, and cookbooks dedicated to sheet pan cooking are seemingly everywhere. Its nothing really new, of coursesheet pans have been around for decades and restaurant cooks have been using them for just as longbut for the home cook (or the busy parent, the hungry student, the host and hostess intent on feeding a crowd), the ease, simplicity, and elegance of cooking a whole meal on one sheet pan has been a game changer. Im so glad to have any part in this trend and that it seems here to stay.
The really good news for us, though (and by us I mean we of the sweet teethyou wouldnt be here if you didnt feel incomplete without dessert at pretty much every meal, would you?), is that sheet pan baking is just as wonderful and game changing as its savory counterpart. Its true! I graduated from culinary and pastry school over a decade ago, and Ive been happily baking away, both professionally and personally, ever since. This book is my opportunity to address the center of the Venn diagram of my areas of expertisesheet pans and bakingand I really couldnt be more delighted. Heres what I know: the joys of sheet pan baking are threefoldvolume, quick bake times, and quick cooling.
, for the latter.) The massive surface area of the humble half sheet ensures that there will be cake, bars, cookies, slab pie, and more to feed a crowd.
Quick bake times and quick cooling pretty much speak for themselves, and Ive got science to back me up herethe large surface area and shallow sides of a sheet pan help cakes bake up more quickly than they would in more traditional round, square, or rectangular cake, loaf, or Bundt pans, and theyll cool in a fraction of the time it would take those other pans, too, which ultimately means youll have cake in your face (not still in your pan) like, now. Have I sold you yet?
Youll find this book divided up into six delicious chapters: Sheet Cakes, Layered & Rolled Cakes, Cookies, Bars, Pies & the Like, and Breakfast & Breads. My goal in each chapter is to give you simple, sweet, streamlined recipes to help you fill that block party table, light up that holiday cookie swap, and fulfill that birthday wish. Because no meal is complete without dessert. So what are we waiting for? Lets give sheet pan baking a whirl!
Tools & Equipment
A Sheet Pan Primer
A quick word on equipment and ingredients! Lets get our ducks in a row. First and foremost, lets talk sheet pans.
For the recipes in this book, I use a half sheet pan, also called a rimmed baking sheet, which is a flat, rectangular metal pan that measures 18 13 inches and has a 1-inch rim around the sides. Sheet pans are usually made out of aluminum or stainless steel, and these days many varieties come with a nonstick coating. In general, I prefer the plain aluminum or stainless-steel varieties, although for baking, the nonstick layer can be useful; either variety will work for the recipes in this book.
Its important to note that a jelly-roll pan, which has the same shape as a sheet pan, is not sheet pan equivalentjelly-roll pans are smaller and less sturdy than true sheet pans, and they will not work for the recipes here. Youll get a lot of overflow and oven spillage, which, trust me, youd rather avoid. So, sorry to be exclusive, but only sheet pans are invited to this particular party.
If youre into the quick cooking and cooling benefits of sheet pan baking but have less need for volume, you may want to invest in a quarter sheet pan. These are tiny sheet pansat 13 9 inches, theyre half the size of a regular half sheet pan and work well if you want to bake just half a recipe (or if your oven is adorably, comically small, like the one in my beloved fourth-floor walk-up apartment in San Francisco many years ago).
Everything Else
Now that weve got the all-important pan figured out, what else will we need? Just a few other items. Heres what I like to keep on hand for sheet pan baking:
Parchment paper and nonstick baking spray: To make sure our perfect bakes dont get stuck! For baking spray, I like to use regular-old PAM, though any kind of neutral oil spray will do the trick. I buy parchment paper in a big box of precut sheets, which I find saves a lot of time and hassle, as they conform perfectly to the size and shape of my sheet pans.
Nesting bowls for mixing: You dont need many, but one good large bowl and a few smaller ones are a must for most of the recipes in this book. I have sets of both stainless-steel and glass mixing bowls, and I find I reach for the stainless-steel ones the most, as theyre sturdy yet light. Glass bowls are great when I need a microwave-safe option.
Balloon whisk: I use my trusty 10-inch balloon whisk for everything from mixing up dry ingredients to aerating simple cake batters to drizzling glaze over a finished cake or bar recipe. Smaller ones are cute and fun, but the 10-incher is your kitchen workhorse.
Stand mixer or handheld electric mixer: Although many of the recipes in this book can be made without a mixer, some cant be (unless you have superhuman strength and enjoy making buttercream or meringue by handand if thats the case, I tip my hat to you and your Michael B. Jordan muscles). Ive had and loved my KitchenAid stand mixer for years. When I started baking more with my young kids, I found having a smaller handheld option useful and easy for their little hands to maneuver. Neither needs to be fancy.
Measuring tools: I love my simple, stainless-steel measuring cups (my set has sizes from cup to 1 cup) for dry (sugars, flours, etc.) or semi-solid (sour cream, pumpkin puree, jam, nut butters) ingredients. When I measure my dry ingredients, I use the scoop-and-sweep method: I mix up my flour to aerate it, scoop my measuring cup full, then sweep excess flour from the top with a knife to level it. I find the scoop-and-sweep (not to be confused with the bend-and-snap) less fiddly and time consuming than other methods. I also have a few different-size spouted glass and plastic measuring cups for liquids (water, juice, milk, oil). To ensure accuracy, its important to use the dry cups for dry ingredients, and the spouted measuring cups for liquids. A good set of standard measuring spoons, in increments from teaspoon to 1 tablespoon, is vital for measuring ingredients like baking soda, baking powder, and spices.


