Introduction
Drawing isnt a mystery even if you havent touched a drawing implement since childhood, you can start to draw now and achieve impressive results. In this book, you will find everything you need to develop your drawing skills, from the first basic exercises that are suitable for complete beginners, to more complex projects which involve looking at a subject in depth. I have given suggestions for 10 weeks of drawing practice, incorporating time-honoured methods used by art students and professional artists. Even if you are a practised artist, I encourage you to follow the course from the beginning as drawing exercises are always valuable to your development. In the first sections, we will look at how to manipulate line, texture and shading to make recognizable forms with a degree of dimensionality. Then we will consolidate those skills across a full range of subject matter, from objects around the house to plants, animals, landscapes and people. As the course progresses, you will revisit certain subject areas, exploring them in more depth and looking at how to create detailed finished drawings.
When you have completed the exercises in this book, you should see a marked progress in your drawing skills, whatever your starting point. Dont worry if you have to miss a week or if you dont finish all the exercises within exactly seven days; the main things are to practise as regularly as you can, to correct mistakes when you see them and above all to enjoy your drawing.
Materials
When you first start to draw the most obvious tools to use are pencils, as you will have used these since you were a child and will feel very comfortable with them. I suggest you start with B and 2B pencils, which have slightly softer leads than HB pencils. Later on in the course, when you are feeling more confident and preparing to take your drawing skills further, you could try a variety of mediums to see the different marks they make, enjoying the way you can expand your range of techniques. You will find drawing implements described in Week 6 (see ), with exercises to try them out on.
For your surfaces, you will need medium-weight cartridge paper, which you can buy in sheets or in a sketchbook. The latter will be more versatile, because you can take it around with you as well as using it at home. The sizes you will find convenient for travelling with are A5, A4 and A3 anything larger is unwieldy.
A drawing board to use at home can be bought ready-made from an art supplies shop, but its easy enough to make one cheaply by sawing it from a piece of MDF or thick plywood; an A2 size is most useful. To attach your cartridge paper to the board, traditional clips or drawing pins can be used, but I prefer masking tape, which is light, easy to adjust and doesnt seem to damage the paper if it is used carefully.
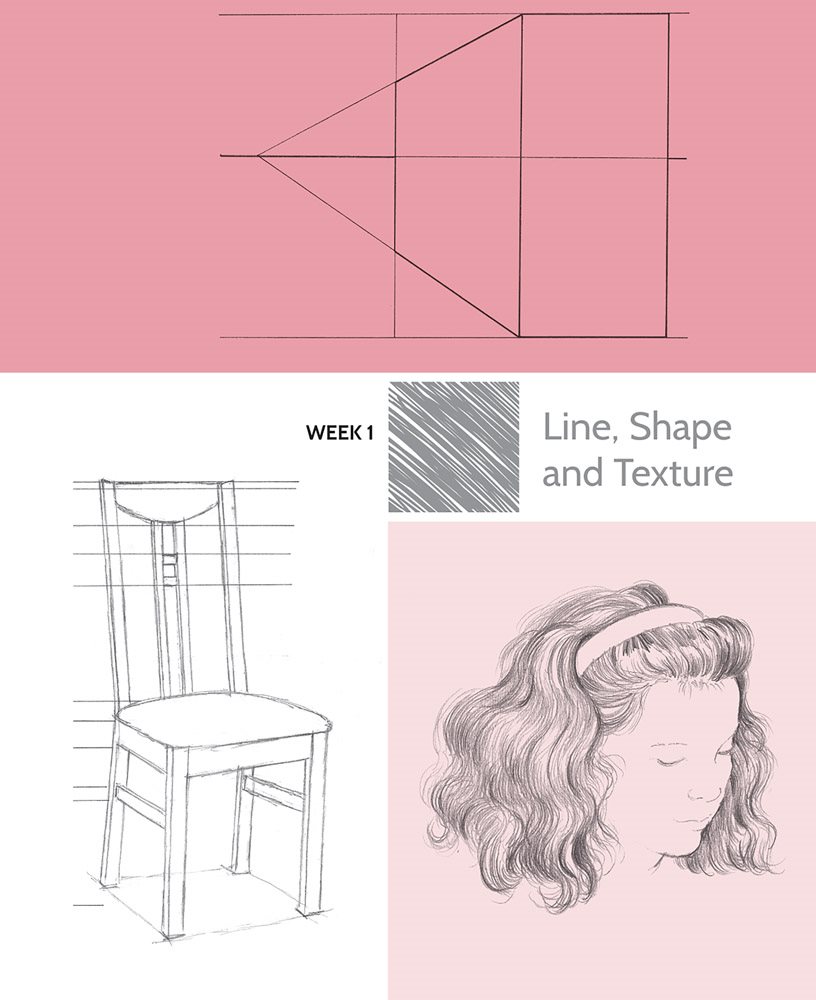
The exercises in this first week are primarily designed for people who havent done very much drawing, but even if you are already quite practised you may find that following the examples shown here is a good way to loosen yourself up for the rest of the course. The main point of them is to work on the basic skills necessary to draw anything with some degree of verisimilitude. The practice of making marks, which after all is what drawing consists of, never loses its usefulness however accomplished you become.
So included in this section are exercises in drawing lines, tones, textures, and then simple shapes. All of the latter need a certain amount of control of the pencil, and practising this is never time wasted. You will also find exercises in simple perspective to introduce you to the practicalities of drawing shapes that appear to have some dimension.
These are followed by drawing the outlines of objects you have in front of you in order to familiarize yourself with working from life. This is where the real skill of an artist is honed, and it is something that you will never stop practising if you want to draw well. Finally, you will find exercises that give you some practice in adding texture to the objects that you draw in order to make them look more realistic.

Mark Making
These exercises are mainly for the benefit of complete beginners in drawing, but even if you are reasonably competent they will still be of great benefit. It is practising every day that produces manual dexterity, which is essentially what the artist needs. The more often you follow exercises such as these the more your hand and eye learn to work together, making your drawing more skilful.
Dont ignore the aesthetic quality of making marks; try to make your group of exercises look good on the paper.
Exercise 1

Start by making a scribbly line in all directions. Limit it to an area and try to produce a satisfying texture.
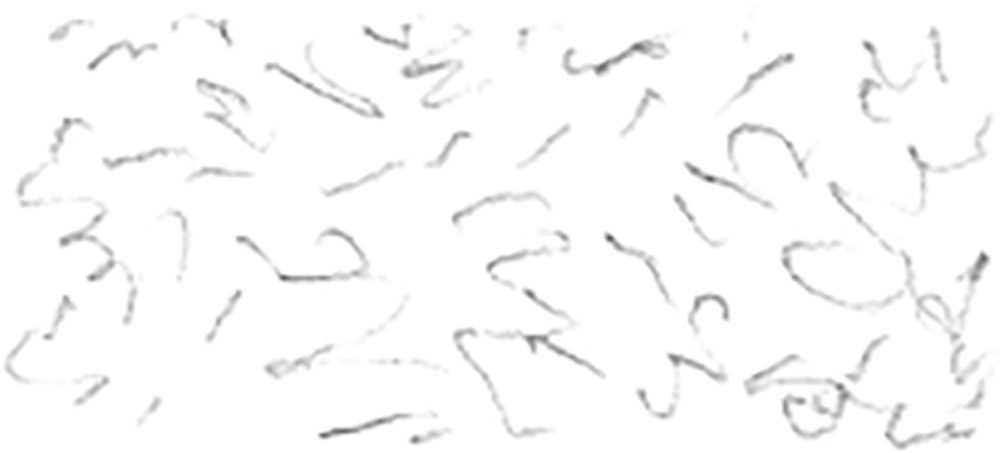
Next try short, staccato marks that fill the space. Notice how none of them overlap and the spaces in between remain similar.
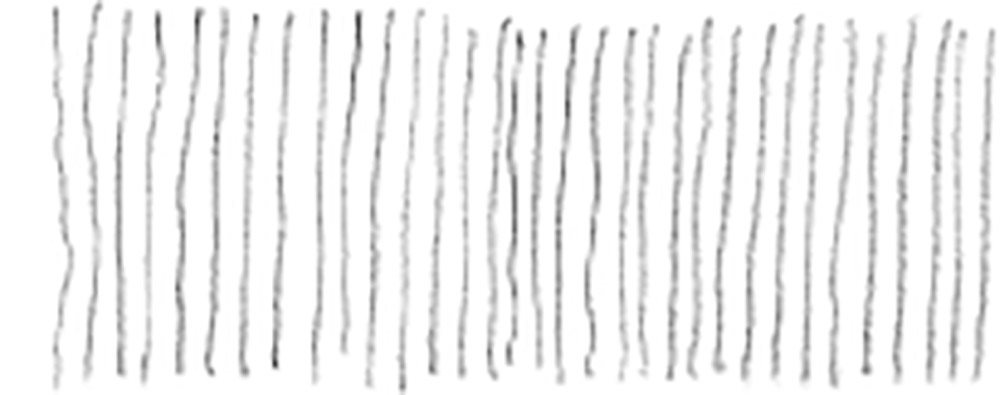
When you are drawing these more controlled uniform lines, make them all the same length and the same distance apart, keeping them as straight as possible.
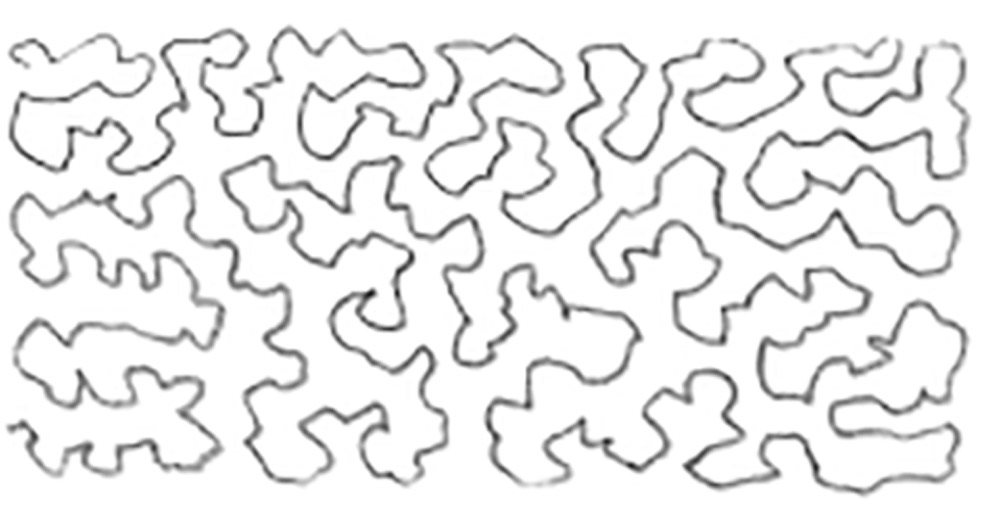
Now take a line for a walk, but dont cross over it anywhere. This may seem rather obsessive, but it is a step on the way to drawing recognizable forms.
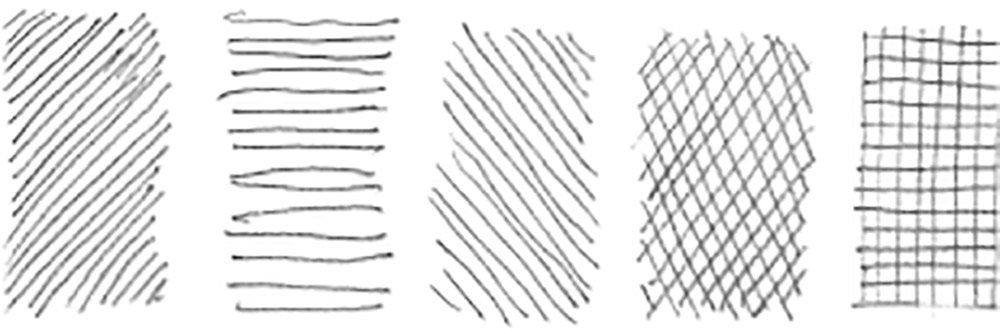
Next try a variety of straight lines, again trying to get them straight and the same distance apart, fitting into an imagined rectangle. First do diagonals from lower left to upper right, then horizontals, then diagonals from upper left to lower right. Next, try the two diagonals across each other to form a net, then the horizontals and verticals in the same fashion.
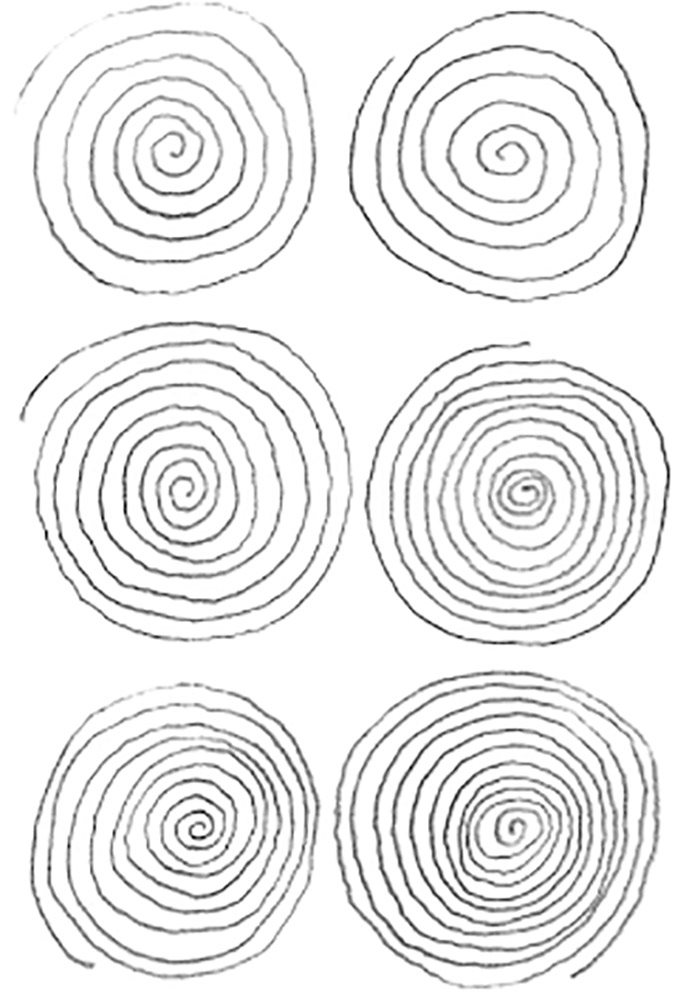
To practise more circular forms, make spirals. Work from outside to inside, clockwise and anticlockwise, then tighter with the lines closer together; next work from the centre outwards, anticlockwise then clockwise.
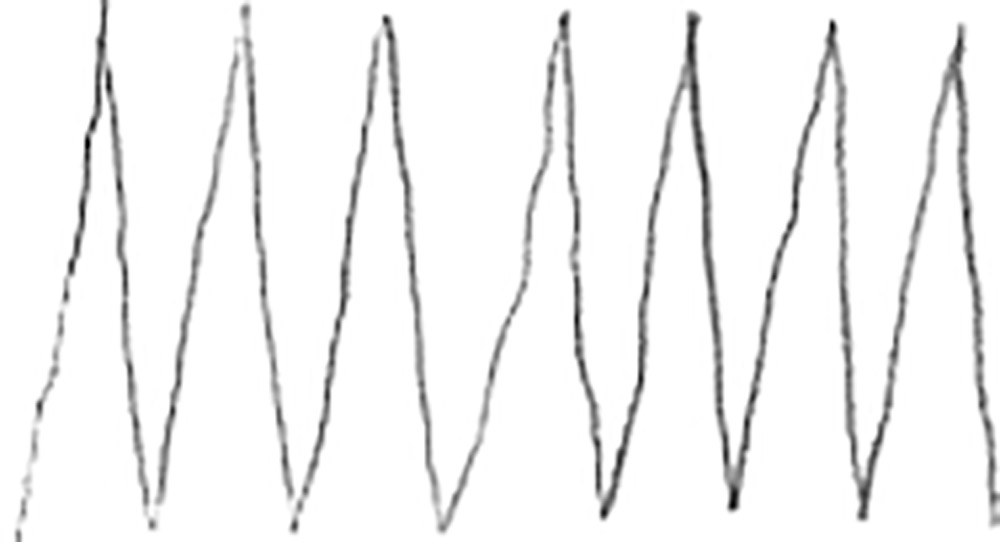
Now zigzag your pencil up and down.
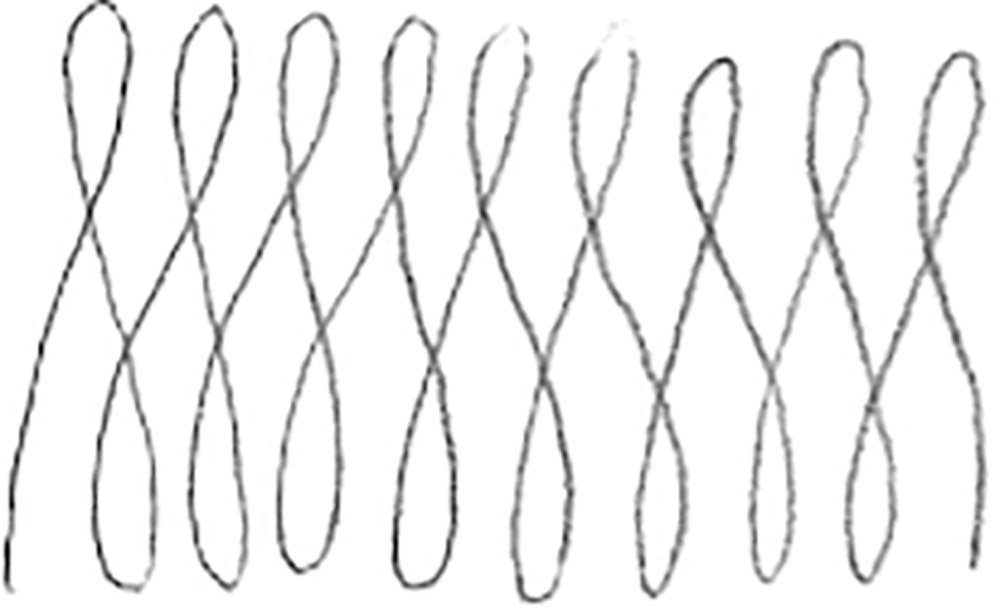
Use the same action, but incorporate some loops.

