Contents
Guide
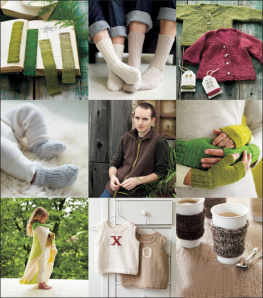
50 DIY Gifts
Fifty handmade gifts for creative giving
Edited by Ame Verso

www.sewandso.co.uk
Contents
Introduction
This collection of 50 gifts to make yourself, to give to others, is not just for established crafters but for anyone with a love of all things beautiful. What youll discover throughout is that the projects provide an opportunity to indulge your love of pattern and colour, making the simplest of gifts look sophisticated and elegant.
And, while experiencing the joy of choosing fabrics, yarns, patterned papers, ribbons and beads, youll be trying your hand at a wide range of crafts, including knitting, papercraft, crochet, appliqu, sewing, beading, patchwork and quilting. All of the projects are ideal for those just getting started or with only basic skills, although some may stretch you but they are well worth that extra effort. For experienced crafters the book offers 50 great ideas to adapt and enhance with your own specials skills.
Many of the projects take a couple of hours or less some take only minutes and all can be completed easily in a weekend, making them ideal for that last-minute gift or when you have a number to make, like at Christmas time. The Needle Know-how pages show the sewing, crochet and knitting skills you will need to complete the projects in a simple visual way. Templates for featured projects are provided at the back of the book and are also available at: http://ideas.sewandso.co.uk/patterns.
Nothing says I love you more to friends and family than making time for them, so, whether youre a needle newbie or sewing sage, grab a cup of coffee, decide which project is just right for your loved one and get crafting this weekend!
ELLEN KHARADE
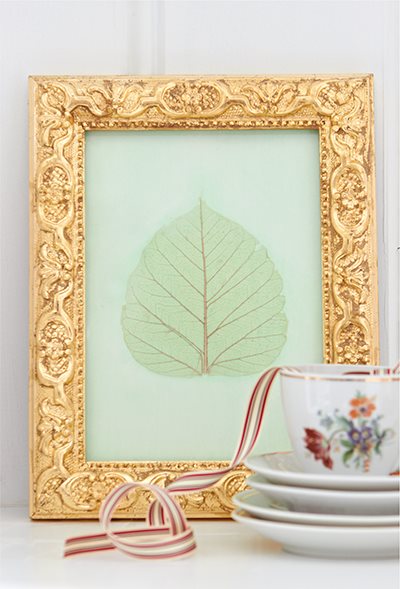
Gilded Vintage Frame
A junk-shop vintage picture frame is given a new lease of life by gilding with 9ct gold leaf. For a real vintage look, you could use it to display an old sepia photograph, maybe of some mysterious relatives with an untold story.
Gather
- Old junk-shop picture frame
- Acrylic primer paint
- Wide bristle brushes
- Paintbrush
- Gold-leaf size
- 9ct gold leaf, loose
- Soft, clean cloth
Using a wide bristle brush, apply a thin undercoat of acrylic primer paint to the frame and leave for several hours to dry out.
Using a wide dust-free bristle brush, apply a coating of gold-leaf size to the frame, making sure that it is completely covered. Leave the frame in a dust-free environment for at least 12 to 24 hours for the size to become tacky.
Carefully pick up the gold leaf using the corner of a paintbrush and gently lay it over the frame. Press the leaf onto the frame using the brush.
Continue in this way until the frame is completely covered, taking care not to miss out any areas. Stray bits of gold leaf can be picked up and re-applied to sized areas.
Once completed, gently brush with a large bristle brush to remove any stray bits of gold leaf.
Using a soft cloth or a large piece of cotton wool gently rub over the frame to burnish the leaf to a soft sheen and to make sure the gold has adhered well to the frame.
LINDA CLEMENTS
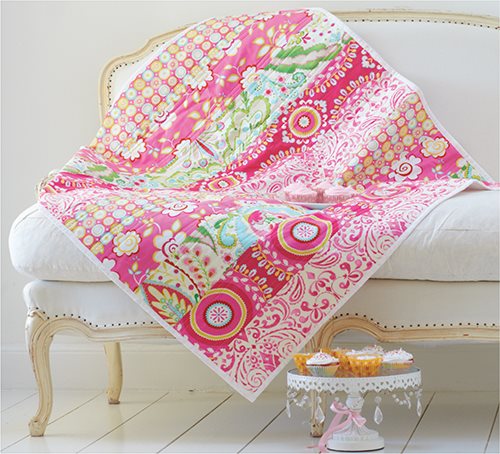
Striped Lap Quilt
This quilt is easy to make for a special Mothers Day gift. You could add more strips to make it into a single-bed quilt. Why not try adapting the colour scheme for a Fathers Day present?
Gather
- Five prints: 0.25m (14yd) of each cut into two strips 12.7cm x 111.8cm (5in x 44in)
- White backing fabric 1.6m (134yd) 106.7cm (42in) wide
- Wadding (batting) 127cm (50in) square
- Sewing thread
- Quilting thread
- Safety pins
Arrange the strips and sew them together along the long sides using 6mm (14in) seams; press. Trim so the edges are straight.
Cut the wadding slightly larger and safety pin it to the back of the quilt, with the layers flat. Machine or hand quilt 1.3cm (12in) away from each seam. Remove the pins, press and trim the wadding so it is flush with the quilt.
Prepare the backing fabric so that it is 5cm (2in) larger than the quilt all around. Place the backing right side down and the quilt right side up on top, with a border of backing all round. Safety pin the layers together.
Do further quilting 1.3cm (12in) away from the previous quilting lines. Remove the pins and press. Pull the quilting thread ends through to the front of the quilt.
Trim the backing so that it is 2.5cm (1in) larger than the quilt all round. Working one side at a time, fold the backing over by 1.3cm (12in) and then again, on to the quilt front. Pin in place and machine sew 3mm (18in) from the edge of the binding. Repeat on all sides and press.
JENNIFER GRACE
Tissue Paper Flowers
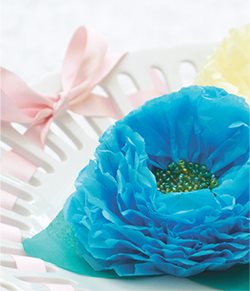
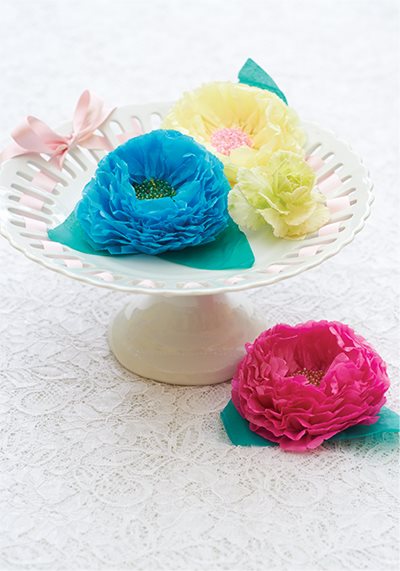
These exotic tissue paper flowers with their jewel-bright beaded centres make pretty corsages and are also perfect for adding a flamboyant touch to wedding gifts. If you would like a more delicate look, choose papers in colours to complement the brides and bridesmaids dresses.
Gather
For each flower:
- Tissue paper in your chosen colour, or colours if you are going for a variegated look: enough for ten 12 x 18cm (434 x 7in) rectangles
- Green tissue paper for leaves
- Silver wire (2in length)
- Seed beads for flower centre
- Tacky glue
Cut 10 rectangles of tissue paper measuring 12cm x 18cm (434in x 7in). Lay the paper rectangles on top of each other to make a neat stack. Making sure a short edge is nearest to you, begin to concertina fold fan style making the folds approximately 1cm (38in) apart.
Cut a 5cm (2in) length of wire and twist it tightly around the middle of the tissue paper fan, folding the excess flat against the back of the flower. Cut the ends of the flattened fan into arch shapes. Unfold the flower to reveal the scalloped petals.
Gently lift the tissue paper layers to separate them, to give the flower some dimension, and pull them lightly to join the petal gaps (there is no need to glue them together).
Put a 2.5cm (1in) dollop of tacky glue into the flower centre and sprinkle on some seed beads. Leave to dry.
Cut two tissue paper leaves freehand, approximately 8cm (318in) long, and stick to the underside of the flower to hide the wire.
DAISY BRYAN
Suffolk Puff-ery


