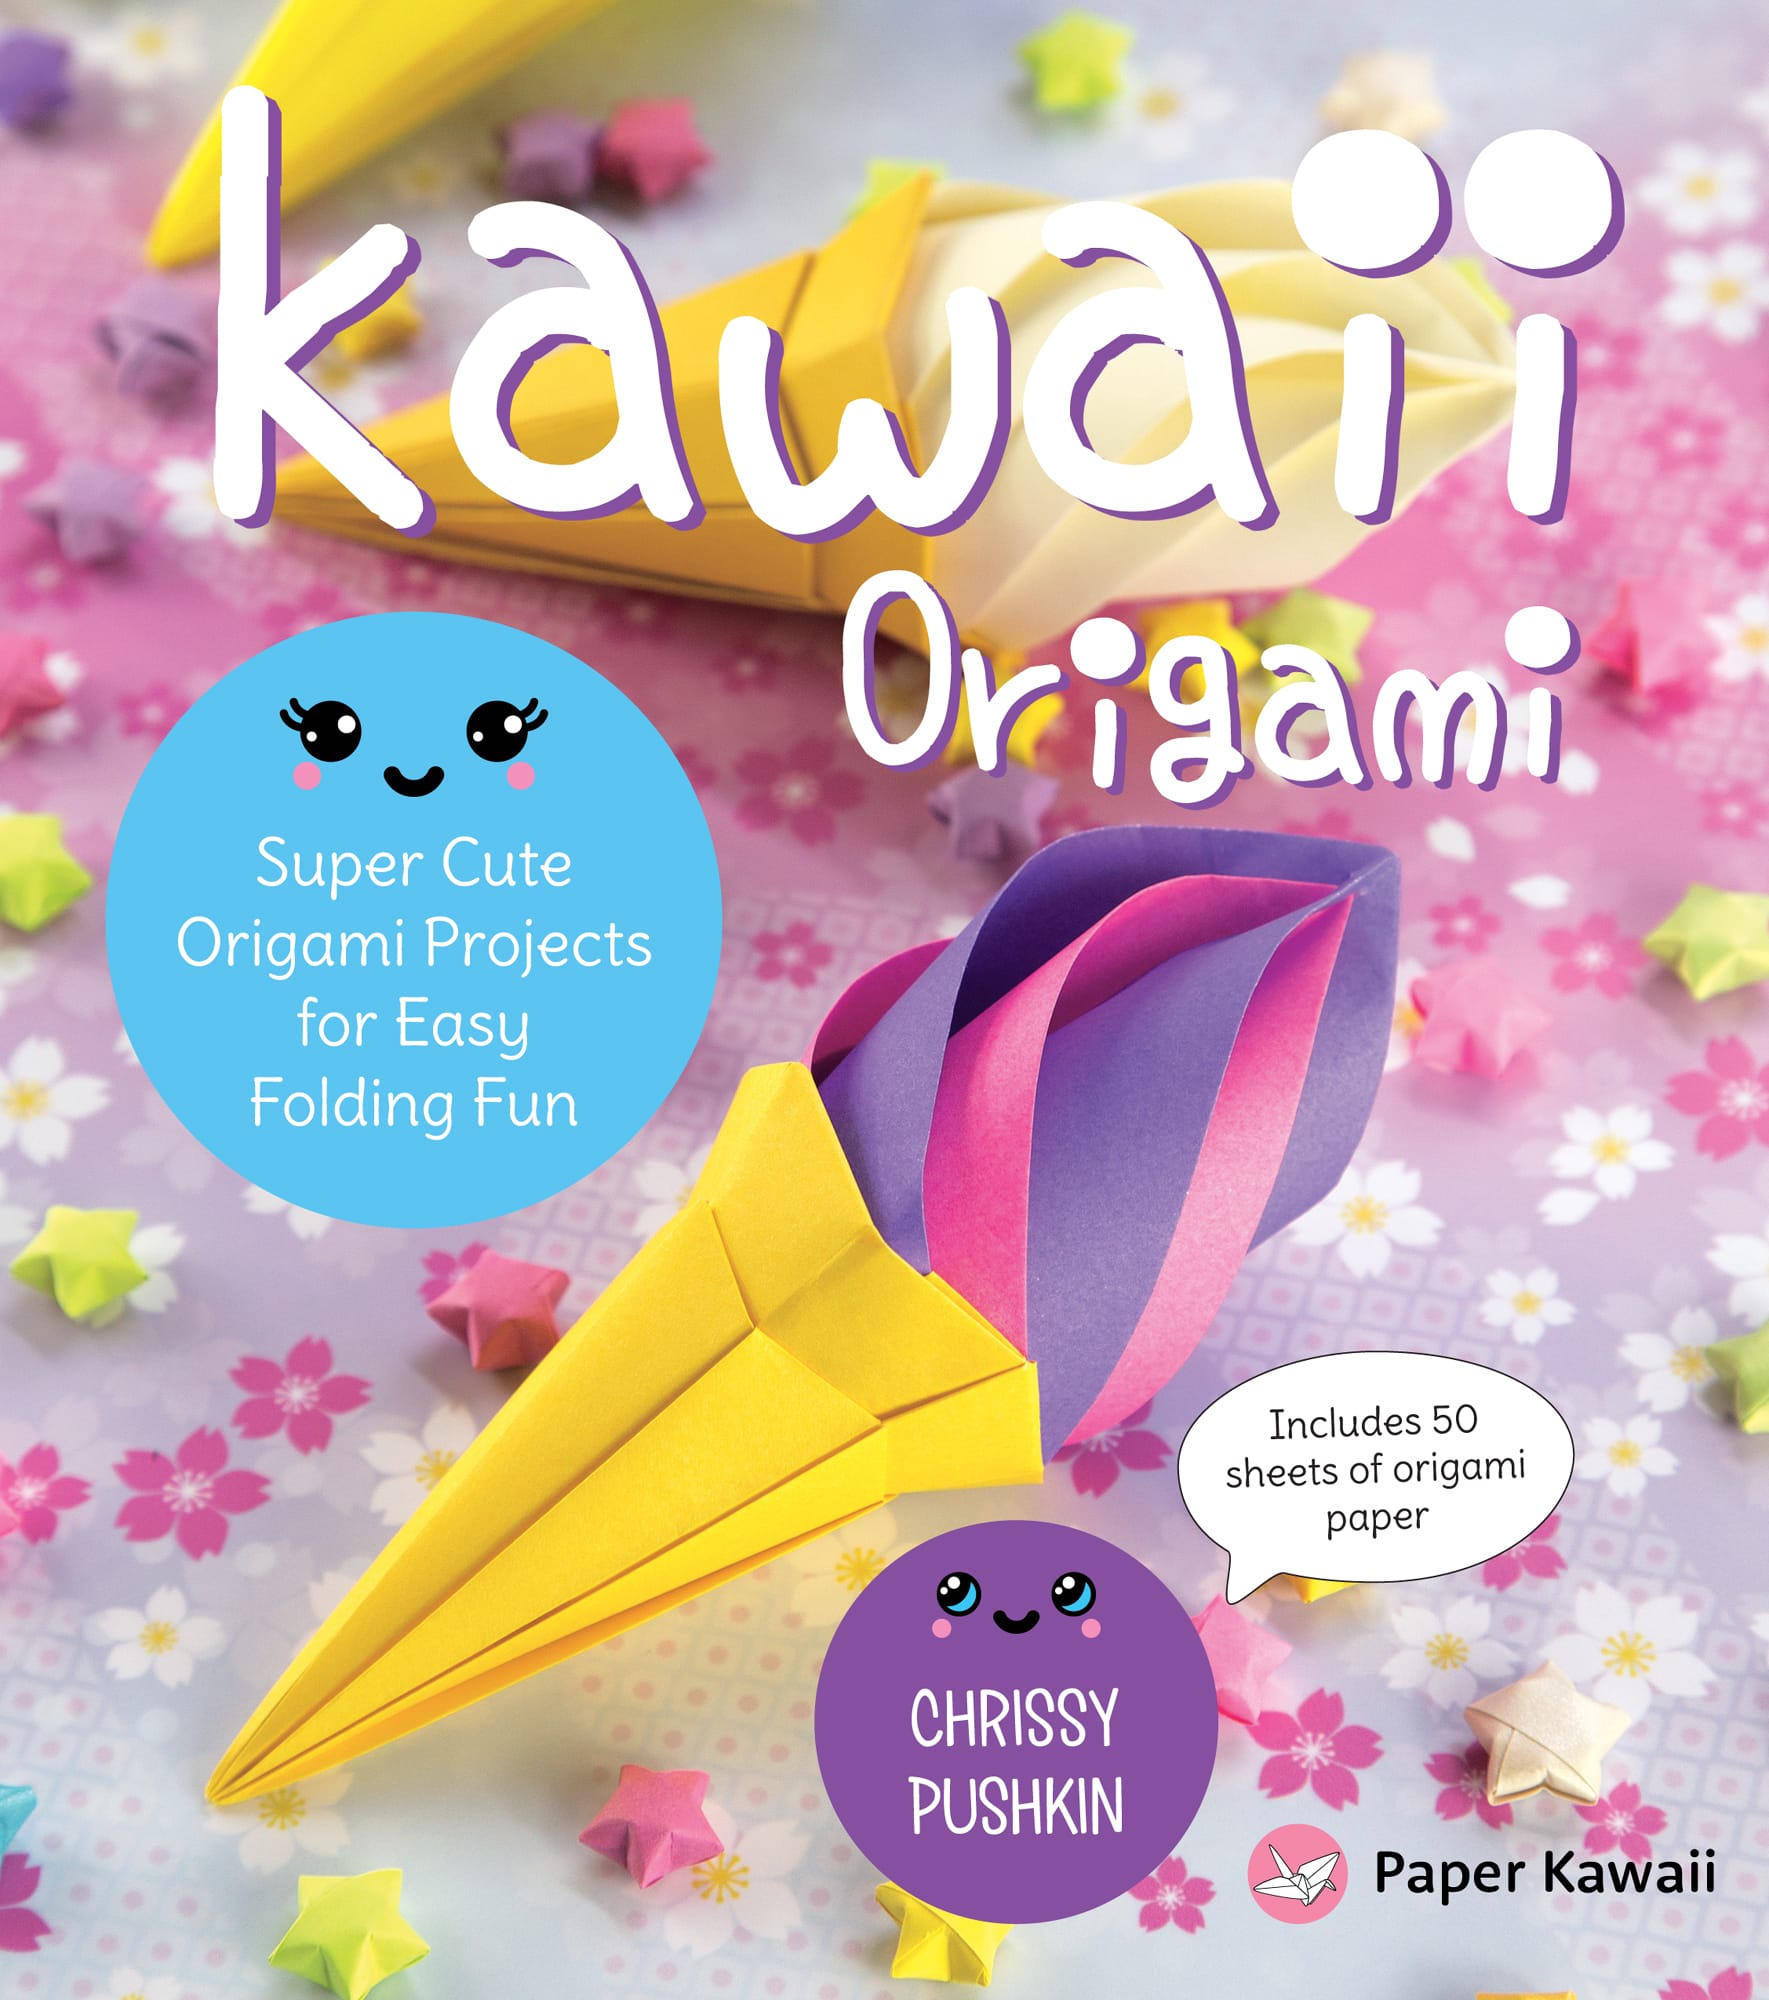
Introduction
ORIGAMI HAS BEEN A FAVORITE HOBBY OF MINE since I was a child. In fact, I loved all sorts of paper crafts, but origami is the one that has continued to intrigue me to this day. That you can create something very beautiful from just a simple sheet of paper is what makes origami magical to me.
Although I learned a few origami models by heart when I was a child, it wasnt until I was about twenty that I really got interested in it as a serious hobby. I found that, depending on what you want to create, origami can be challenging or relaxing. Folding can be quite meditative in some cases, especially repetitive, modular origami that requires you to make the same forms over and over. But what I really enjoy making is origami that looks Kawaii.
The word Kawaii translates simply as cute in Japanese, but it is now used to describe a certain style that is adorable, bright, and friendly. I was really interested in Japan and Japanese culture as a teenager, and when I created my origami blog in 2008, I decided to include this word in my title, Paper Kawaii. I started making video tutorials, and Paper Kawaii became a YouTube channel in 2009. Since then it has slowly grown to become a popular how-to origami resource for people around the world, which is something I never expected would happen!
So how do you make your origami look Kawaii? The end result of any origami model can be Kawaii if you choose a pretty pattern or color! Each of the origami models included in this book can look Kawaii if you use the paper provided, or you can make them with paper of other colors and patterns to produce any style you like. For instance, using red, blue, and white can give you a nautical style; black, purple, and red will give projects a gothic feel, or if you want something that looks rustic and natural, use brown, white, and gray papers. Those are just a few examples; there is honestly no limit to what can be created with origami.
Kawaii Origami is the very first full book that I have put together, so I want to cover quite a wide variety of origami models but keep them all in the same kind of style. Practical origami models that serve a purpose, like boxes, have always been my favorite, so I have tried to strike a balance of practical models and models that are just for display. All of the models included can be given as gifts, and in some cases, made into jewelry, so even when they arent practical they can still serve a purpose!
There are several new origami models in this book that have not been seen anywhere else. These include the projects: .
Models such as the origami were featured on my blog and YouTube channel and received great receptions, so I am very happy to include them in my first book. These three origami models in particular represent the Kawaii theme and style of origami models that I enjoy designing the most.
You will also find a few traditional origami models that are great for beginners to fold, such as the which is lovely to hang up and super fun to make as well!
I hope you enjoy creating Kawaii origami with me!
Tools & Techniques
Before we start our super fun Kawaii origami projects, there are a couple of basic tools and techniques that you will need to start, and some that come in handy when you want to make variations of the basic origami project.
Paper
All you really need for most origami models is paper! There are quite a few different kinds of paper that you can use. The most popular and easy-to-use paper for origami is known as kami paper. Kami paper is thin, crisp, and easy to fold but doesnt rip easily like regular printer paper. You can find kami paper in packs of 50, 100, or 500 in most craft stores and many places online. Depending on your budget, you can get inexpensive packs for under $3 or higher-quality papers that cost a good deal more. Another paper that is commonly used in origami is chiyogami paper, which is traditional Japanese paper that is printed in a countless array of beautiful patterns and colors.
But you dont need specialized paper to make origami. There are lots of different types of paper you can fold with, some which you may already have around your house. Wrapping paper, pages from a magazine or newspaper, fancy handmade paper, and even parchment paper used for baking all work!
When you first begin learning origami, it helps to use paper you dont mind throwing away so you can experiment without worrying about wasting special or pricy paper. This could be cheap kami paper or even just printer paper that you cut into a square.
Included in this book are 50 sheets of 6 6-inch (15 15-cm) origami paper to get you started, which is both the most common size of origami paper and the one needed for most of the projects included in the following pages. In a couple of projects, you will need to cut a sheet of origami paper into one or more smaller pieces or strips.
Other Tools
A few tools can make origami easier to do. I suggest making an origami tool kit that includes:
A folding tool, or bone folder, which is used to flatten creases.
A ruler and a pencil, because some models require that you measure something.
Scissors, or another cutting tool.
A paper scoring tool to make precision folds.
A chopstick to round the edges of the paper.
Glue to reinforce a box or attach decorations like glitter and ribbons.
Kawaii Art Style

Kawaii is a Japanese concept that started in the 1970s. The word itself translates to cute in English. Although the word Kawaii in Japanese can be used to describe almost anything that is cute, ranging from clothing to jewelry, it is commonly used to describe the immensely popular and immediately identifiable art style seen in emojis and characters like Hello Kitty and Pokmon. Like most art styles, there are countless interpretations of what is considered Kawaii, the common attributes to this pop style are simple black lines, rounded characters with a youthful appearance, and the use of pastel colors. Kawaii art also makes use of simple facial expressions on characters with oversized heads on top of small bodies. In this book, use your imagination and turn any, or all, of the origami models into fun and whimsical Kawaii characters. Use pens, markers, or crayons to transform your paper art into fully realized animals, characters, and personas!
Basic Origami Folds
Throughout the book, you will see symbols that represent common origami folds in the instructional diagrams. Always be sure to align the fold sides as precisely as possible in each step before moving on to the next. Hold and rotate the origami model according to the instructional diagrams, and use whichever fingers are the most comfortable for you and allow you to make a correct fold. Over time, you will develop a preference. Remember, practice makes perfect, and after a couple of trials and a few errors, you will soon be folding like an origami pro.


![Marcia Joy Miller - Origami for Busy People: 27 Original On-The-Go Projects [Origami Book, 48 Papers, 27 Projects]](/uploads/posts/book/151502/thumbs/marcia-joy-miller-origami-for-busy-people-27.jpg)

