Acknowledgments I am grateful to the guest creators for allowing me to include their origami designs. Their models enrich the books collection. The following individuals tested particular projects which was quite helpful: Gay Merrill Gross, Barry B. Miller, Bill Reyes, and Millie Camacho Richardson. I also appreciate the general advice provided to me by Gay Merrill Gross, Robert J. Lang, and Meenakshi Mukerji.
A heartfelt thank you is offered to my extraordinary editor William Notte for his guidance and expertise. In addition, I appreciate the hard work and enthusiasm of the staff at Tuttle Publishing. Lastly, I thank my husband Barry for his patience and for finishing the photography when my ankle was sprained. I have written this book in memory of my parents.
CHAPTER 1 Getting Started To Download the folding papers, please click .
This book was designed with the busy person in mind. It is organized so that you can enjoy origami, even on a hectic schedule.
Each of the chapters that follow includes projects that are geared to a particular span of free time that you have available in your day. For example, if you would like to make an origami creation during a short period of time, such as your coffee-break, refer to Chapter . They include projects that have components that can be made during coffee breaks or lunch breaksand then the completed creation may be assembled at a later time. 
 Each project is taught through step-by-step illustrated instructions that are simple to follow. Getting started on a project will be easy. The opening segment of the instructions for each project indicates what type of paper is required and which basic techniques you need to know.
In addition, the instructions indicate the skill level required for the project. There are many beginner projects. If you are new to origami, these are the ones that you should start out with. After you complete several of them and feel comfortable with the beginner level, you will be ready for the intermediate projects. Now, lets focus on this chapter which prepares you for the projects. It will describe the papers that are required, all of which are readily available.
You will learn about the special terms and symbols that are used in the instructions for each of the projects. In addition, you will be given some folding tips and you will learn to read the diagrams. The last section of this chapter includes short exercises on basic techniques that can be practiced during coffee-breaks. Throughout the book, you will find information and photographs that depict attractive ways for displaying your origami. Origami is a very creative activity. Soon you will find yourself experimenting with paper choices and ideas for showing off your creations.
You may even surprise yourself and invent an origami design!
SUPPLIES Choosing paper for each origami project will be simple and fun. The instructions specify which types of paper that you will needall of which are easily obtained. For each project you will be able to use either paper that you have around the house or, for those models specified in the book, the included folding paper. All of these materials and a few options are described below. Bond paper is the type of paper used in photocopy machines and computer printers. A variety may be found in stores that sell office supplies.
This book will refer to 20 pound bond paper as lightweight and 24 pound as medium weight. When at your local office supply store, be sure to also peek at the memo cube papers. They are conveniently packaged and suitable to use for some origami projects. Origami paper is sold in packages of pre-cut squares. Most have a color or attractive pattern on one side and are white on the other. The sizes that will be most useful to you are six-inch and ten-inch although, in reality, these papers are a little smaller.
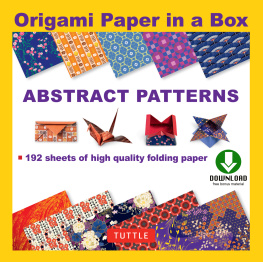
Their exact measurements are fifteen centimeters and twenty-five centimeters respectively. Washi paper, also sold packaged, is softer and thicker than regular origami paper and has a fancier fabric-like appearance. Some origami creations, especially simple ones, can be folded and look lovely made from washi. Those that produce a movement or a noise generally do best with regular origami paper because of its ability to take crisp folds. Origami paper may be purchased at arts and crafts supply stores or from an origami supplier.  Folding paper, which is included in the back of the book for your convenience, may be used for twenty-one of the projects when indicated by the instructions.
These papers are designated for certain specific projects and have patterns that complement the finished project. All of the projects that have designated folding paper may also be made from either origami paper or bond paper, as described by the paper requirements for each of those projects. Ordinary paper that you have on hand, such as notebook paper or brown wrapping paper, will often work satisfactorily for origami. These papers may also be used in the practice exercises. Notebook paper can be an adequate substitute for origami paper when color is not important and is especially suited for easy projects. Brown wrapping paper, depending on its weight, can possibly be substituted for bond paper.
Junk mail, some of which is printed on bond, is an economical and colorful alternative. Look around you for an endless supply of other free papers that you can experiment with such as brochures, discarded gift wrap, magazine covers, and old calendars. Not every sample of free paper will fold well, but you will have a good time testing them. Aluminum foil is needed for one project in this book. What you have in your kitchen will work just fine. Paper-backed foil is not required for any of the projects.
It is, however, suitable for a few projects in the book. Paperbacked foil is elegant in appearance but more difficult to work with than regular paper. You will find this material in two weights. The lightweight variety is thin like candy foil and the medium weight is of greater thickness. Both types may be found in pre-cut squares that are sold as packaged origami paper. Medium weight paper-backed foil is also available in rolls at arts and crafts supply stores and at party supply stores.
Scrapbook papers are not required for any of the projects, but are an interesting option for some. These papers are sold at arts and crafts supply stores. They are generally a little thicker than medium weight bond paper and are printed in a multitude of designs. Scrapbook paper varies in weight and durability. So, buy just one or two sheets of a design or type and test them before buying several.
OTHER SUPPLIES Although paper and your enthusiasm are the most important supplies that you will need, there are a couple of other items that will be helpful.
A hard surface to fold on is useful for allbut essential for a beginner. The smooth surface of a table or desk works great and even the cover of a sturdy book will do. Even though you will be folding without cutting, you may wish to use scissors to prepare squares from bond paper. Refer to pages for instructions on how to make squares from rectangular sheets of paper. You may also use scissors to cut the eight-inch square folding papers into four-inch squares when required by the instructions for a few projects. Its easy to cut a square into four smaller squares.

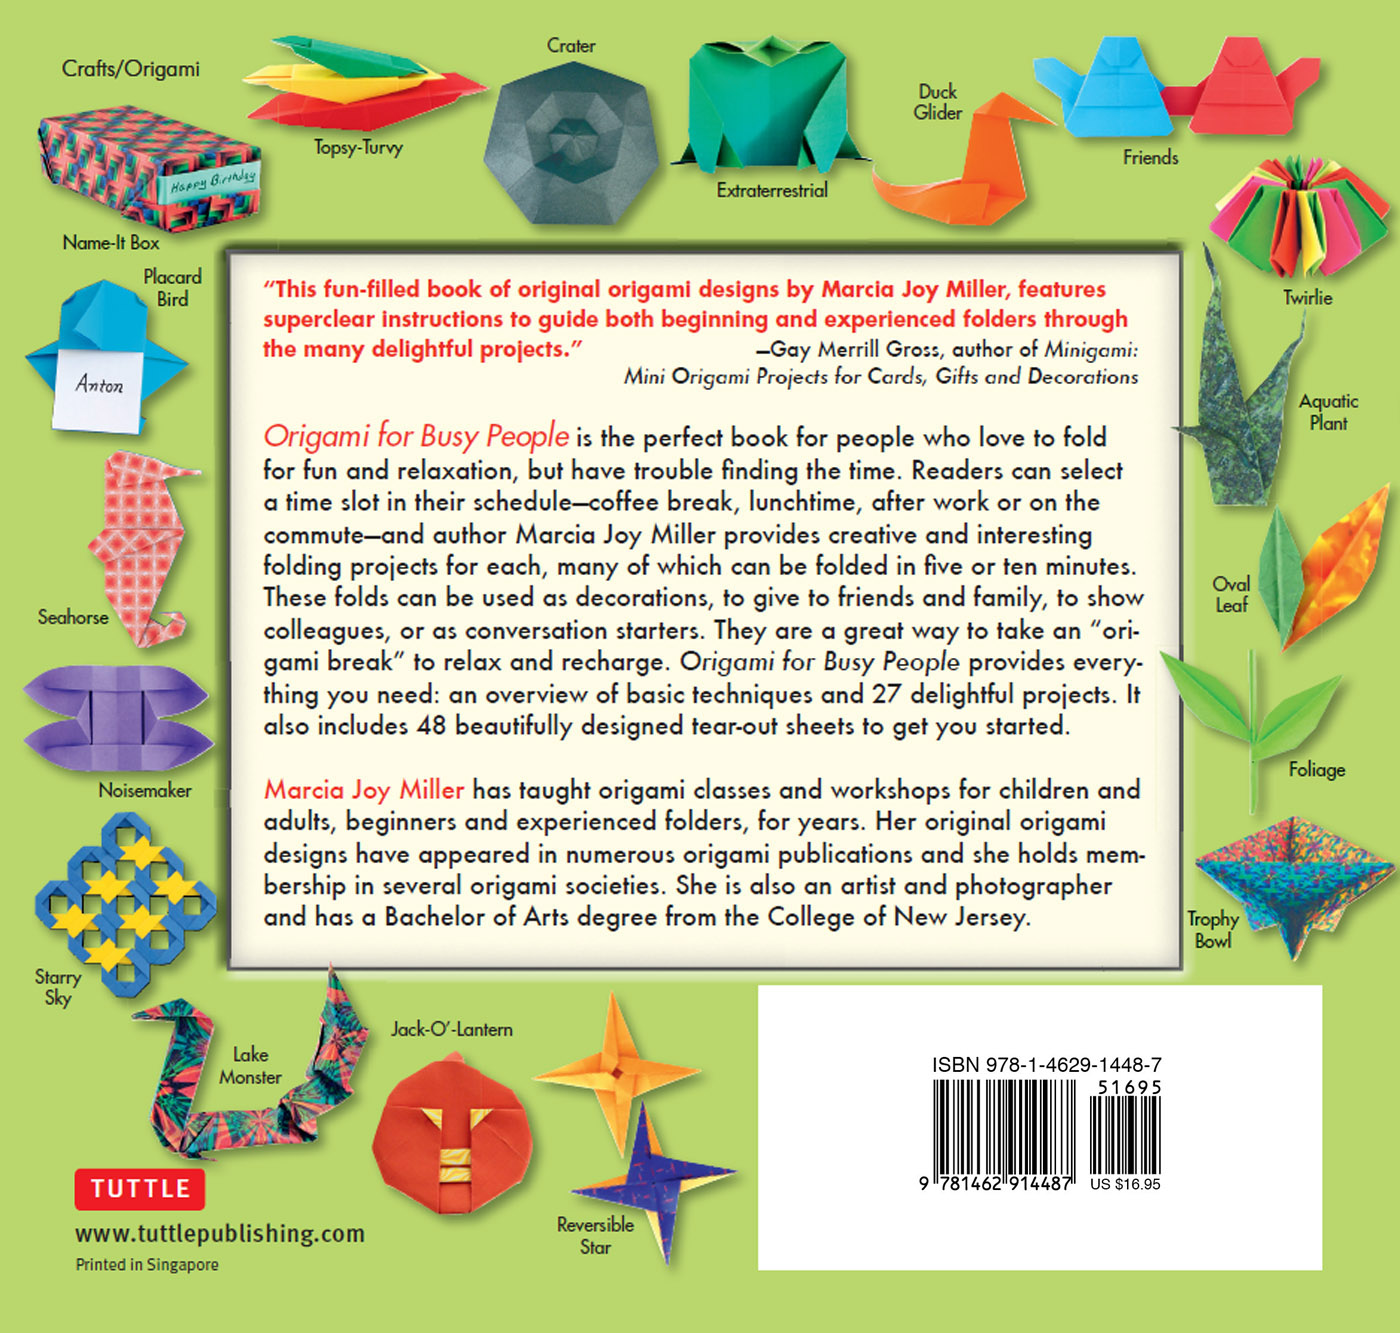
![Marcia Joy Miller Origami for Busy People: 27 Original On-The-Go Projects [Origami Book, 48 Papers, 27 Projects]](/uploads/posts/book/151502/thumbs/marcia-joy-miller-origami-for-busy-people-27.jpg)





 Each project is taught through step-by-step illustrated instructions that are simple to follow. Getting started on a project will be easy. The opening segment of the instructions for each project indicates what type of paper is required and which basic techniques you need to know.
 Folding paper, which is included in the back of the book for your convenience, may be used for twenty-one of the projects when indicated by the instructions.