Keri Lee Sereika - Coloring Techniques for Paper Crafts
Here you can read online Keri Lee Sereika - Coloring Techniques for Paper Crafts full text of the book (entire story) in english for free. Download pdf and epub, get meaning, cover and reviews about this ebook. year: 2014, publisher: Annies, genre: Home and family. Description of the work, (preface) as well as reviews are available. Best literature library LitArk.com created for fans of good reading and offers a wide selection of genres:
Romance novel
Science fiction
Adventure
Detective
Science
History
Home and family
Prose
Art
Politics
Computer
Non-fiction
Religion
Business
Children
Humor
Choose a favorite category and find really read worthwhile books. Enjoy immersion in the world of imagination, feel the emotions of the characters or learn something new for yourself, make an fascinating discovery.
- Book:Coloring Techniques for Paper Crafts
- Author:
- Publisher:Annies
- Genre:
- Year:2014
- Rating:5 / 5
- Favourites:Add to favourites
- Your mark:
Coloring Techniques for Paper Crafts: summary, description and annotation
We offer to read an annotation, description, summary or preface (depends on what the author of the book "Coloring Techniques for Paper Crafts" wrote himself). If you haven't found the necessary information about the book — write in the comments, we will try to find it.
Keri Lee Sereika: author's other books
Who wrote Coloring Techniques for Paper Crafts? Find out the surname, the name of the author of the book and a list of all author's works by series.

Coloring Techniques for Paper Crafts — read online for free the complete book (whole text) full work
Below is the text of the book, divided by pages. System saving the place of the last page read, allows you to conveniently read the book "Coloring Techniques for Paper Crafts" online for free, without having to search again every time where you left off. Put a bookmark, and you can go to the page where you finished reading at any time.
Font size:
Interval:
Bookmark:
If you are an Annies customer and have a question about the instructions on a pattern you have purchased, please visit:
http://www.anniescatalog.com/pages/customer_care/pattern_services.html
Cards
The purest and most thoughtful minds are those which love color the most.
John Ruskin, The Stones of Venice
Color. Color is all around us. We take note of it in nature, fashion, art, home decor, etc. The subtle hues of color are often what excite us or deter us. One may love the color aqua, yet teal holds no inspiration. So many times one is inspired and has a need to express that inspiration. For some the art of applying color is exactly what is needed. Following on the heels of my first book, Coloring Techniques for Card Making, my aim for this book is to inspire you and educate you on a variety of coloring techniques, all the while challenging you to think outside the box of your normal routine or your known coloring techniques. From the basics in watercolor, colored pencil and alcohol ink markers to the application of chalks, embossing powders, glitter and more, my sincerest hope is that you find the pages ahead of you filled with helpful information, thoughtful tips and pleasant, even surprising, inspiration!

Keri Lee, currently living in South Carolina, is a stay-at-home mother of four and wife to an airline pilot who also serves in the U.S. Air Force Reserve. She has authored crafting articles for a variety of magazines and online media, and she has had her designs featured in numerous publications. When shes not busy playing with her kids, youll find Keri Lee in her studio creating projects or researching and writing articles on crafting. Keri Lee has published two additional books, Exquisite Embellishments for Paper Crafts and Coloring Techniques for Card Making. She is also the instructor for several Annies Online Classes in beading, jewelry making and coloring techniques, all of which can be found at AnniesOnlineClasses.com.
Color is a means of exerting direct influence on the soul. Color is the keyboard, the eyes are the hammers, the soul is the piano with many strings. The artist is the hand which plays, touching one key or another purposively to cause vibrations in the soul.
Wassily Kandinsky
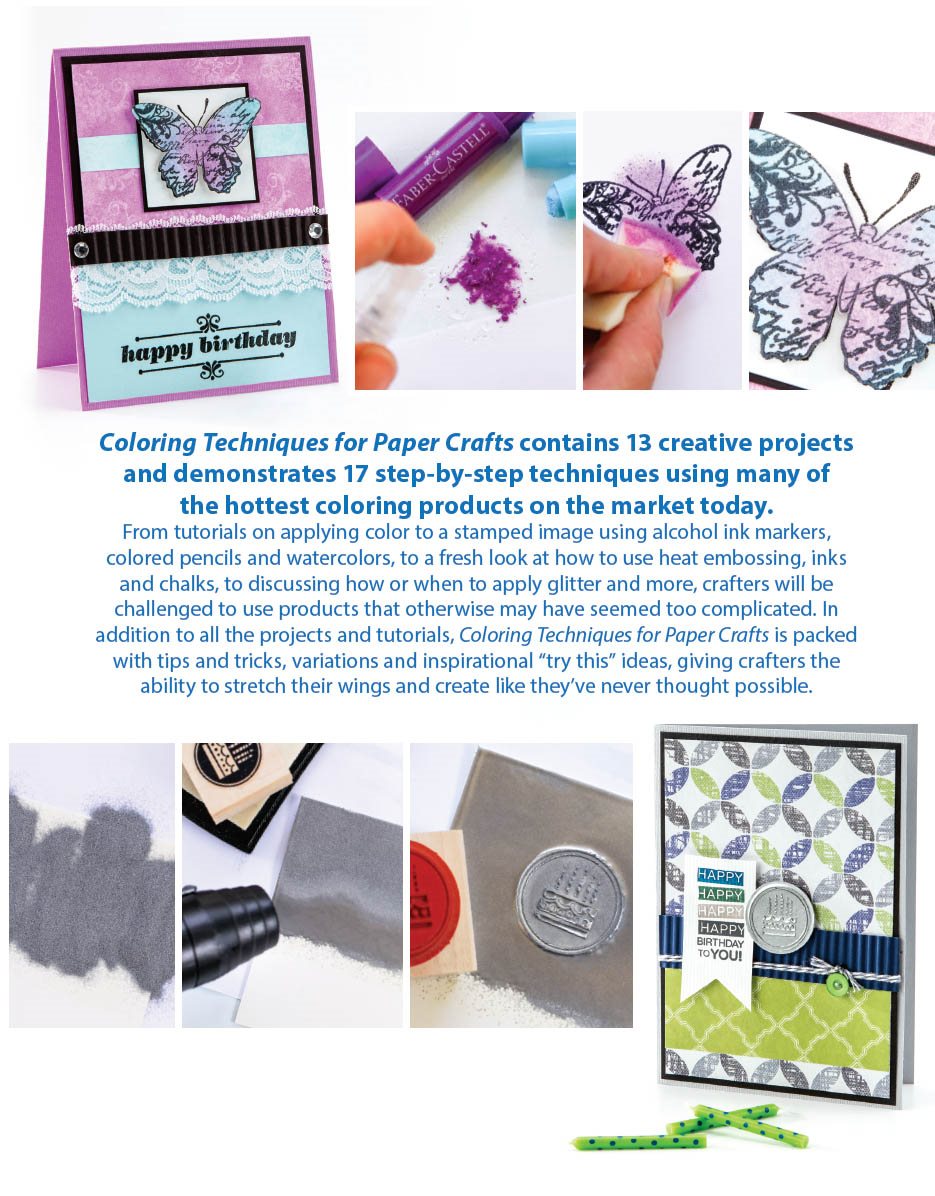
Still one of the hottest techniques for coloring stamped images, alcohol ink markers are now readily available from many different manufacturers. Each manufacturer has a slightly different marker body and/or brush or tips on their markers, but the basic steps to applying color to a stamped image remain the same.
Along with alcohol ink markers you will need two additional items to learn how to color stamped imagesa non-solvent-based ink pad and smooth-surface cardstock. A high quality, dye-based detail ink will allow you to stamp a crisp, clean impression that will dry quickly without the use of a heat tool to fully set it. A good smooth-surface cardstock with tightly woven fibers is key to blending colors well. Because the ink formula in alcohol ink markers can affect the ink of the stamped image, causing it to bleed, run or smudge while being colored, take time to test the ink and cardstock combinations you plan on using prior to beginning your project.
Stampin Up! white cardstock
Scrap paper
Stampin Up! stamp sets: By the Tide, Fabulous Four
Imagine Crafts/Tsukineko Memento ink pads: rich cocoa, summer sky
Copic markers: R11, R14, R27
Copic Colorless Blender
Craft sponge
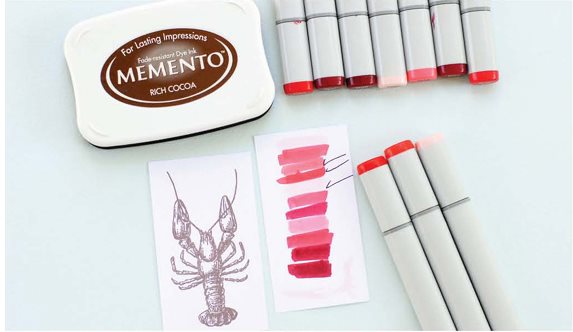
As you can see in the materials photo, I have already created my palette and chosen the light, medium and dark shades of red and pink that work best for my image. Note: If you are just beginning, sometimes it is best to start with an image that has a sense of shading already there and use it as a guide when applying your color.
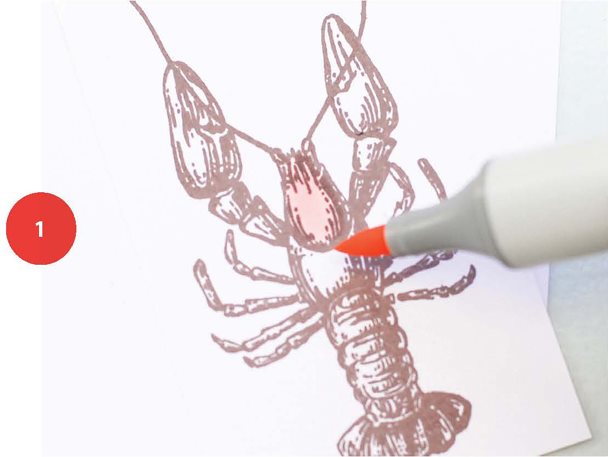
Begin by stamping your image onto smooth cardstock. Allow ink to dry completely. Begin to apply color starting with the lightest color (Photo 1).
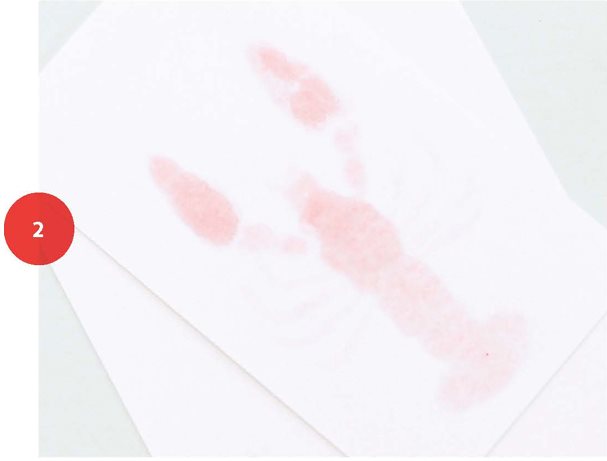
Apply color using small circular motions until the paper is fully saturated through to the back side. Fully saturating the paper will help when you begin to blend in the deeper, darker colors (Photo 2).
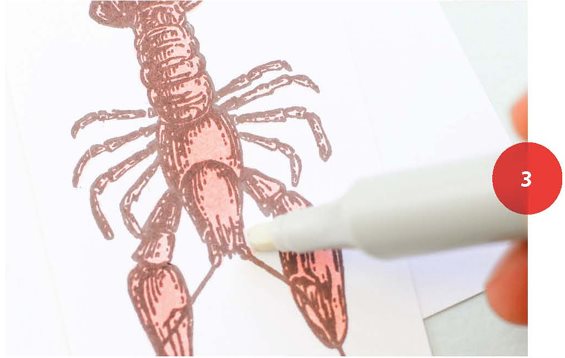
Having a Colorless Blender on hand is a helpful tool for fixing where you might color outside the lines. Simply place the edge of the Colorless Blender onto the stamped panel and push the color back toward the stamped image outer lines. Think of it this way, the Colorless Blender doesnt blend the colors; it really acts more like an eraser or a pusher of color (Photo 3).
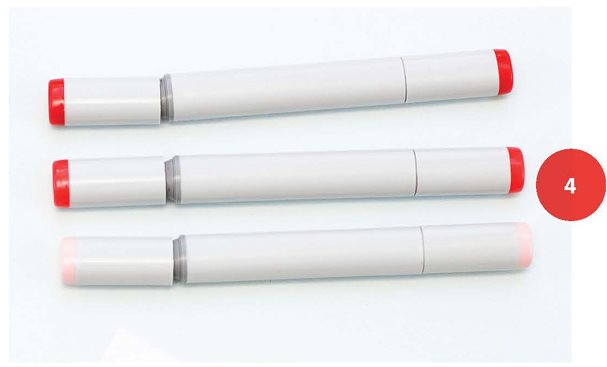
Prior to applying the additional layers of color, I prefer to loosen all of the caps on the markers of the color set I will be working with. This allows me to easily pick up and blend with the lighter colors as soon as I am done adding in my deeper, darker layers (Photo 4).
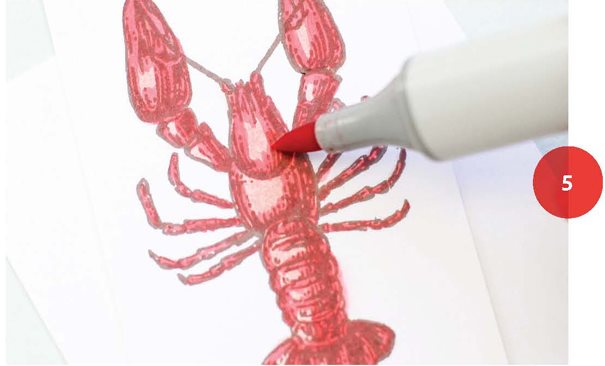
Apply the medium-tone color to the shaded portions of the image, overlapping just a bit into the more open areas of the image (Photo 5).
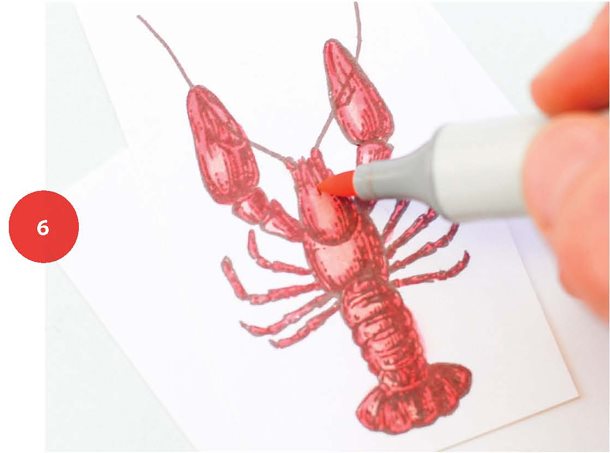
Using the lightest color that had been used as the base color, go in and soften the lines by blending over the edges of the medium tone, again using that small circular motion to blend (Photo 6).
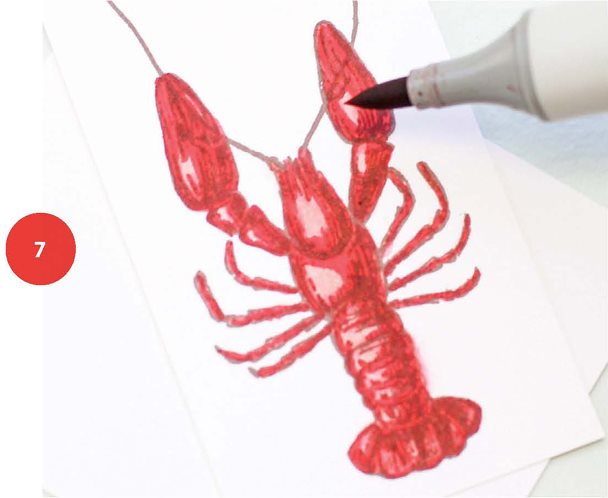
Finally, apply the darkest color to the deepest shaded areas and blend with first the medium-tone marker and then finally the lightest-tone marker. Apply more or less color as your preferences dictate (Photo 7).
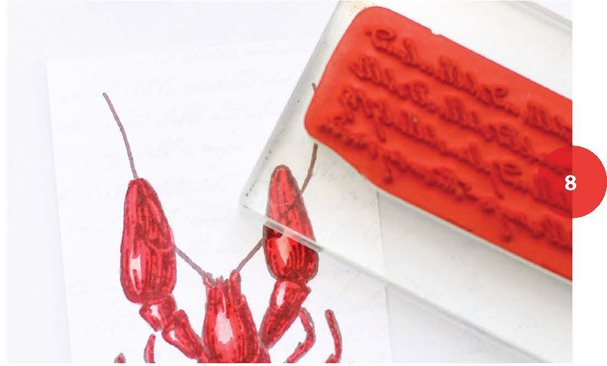
Once you have finished coloring your image, add interest and depth by simply stamping on top of the image with a fine texture image and a very pale ink (Photo 8).
As a way of giving your finished image that final boost, try adding a dark edge by applying color using a sponge (Photo 9). Begin by placing the sponge onto the scrap paper beneath your image, and then use a small pouncing motion as you work your way toward the edge of the stamped panel. Repeat by applying ink to the sponge and working from the scrap paper to the images edge until the entire border is fully sponged (Photo 10).
Font size:
Interval:
Bookmark:
Similar books «Coloring Techniques for Paper Crafts»
Look at similar books to Coloring Techniques for Paper Crafts. We have selected literature similar in name and meaning in the hope of providing readers with more options to find new, interesting, not yet read works.
Discussion, reviews of the book Coloring Techniques for Paper Crafts and just readers' own opinions. Leave your comments, write what you think about the work, its meaning or the main characters. Specify what exactly you liked and what you didn't like, and why you think so.